When you click on links to various merchants on this site and make a purchase, this can result in this site earning a commission. Affiliate programs and affiliations include, but are not limited to, the eBay Partner Network.
LTX and LSXPutting LT1s, LS1s, and their variants into Third Gens is becoming more popular. This board is for those who are doing and have done the swaps so they can discuss all of their technical aspects including repairs, swap info, and performance upgrades.
Next we installed the knuckles and new Strut shocks and then put the rotors and calipers on. Take a look:
The spacers are so we can use front wheel offset wheels from my Vette, you know the turbine wheels.
Christmas brought us some more parts, thanks Santa. We got the complete steering linkage set up. After reading how to install the idler arm and bracket which is adjustable (we lost the locating marks when we painted the engine bay) it talks about measuring the centerlink height, etc. We don't have the special tool needed for this measurement. Anybody know how to set the idler arm adjustment?
We also got the mid shaft upgrade piece to get rid of the "rag" joint set up.
So, we're back at after a break in the build. All we need now is a stretch of good weather and some free Mondays off to get this project going. Happy New Year
After we get the steering linkage on, we want to try out a set of 92 Corvette wheels (275/17). Any idea if they will work ? The wheels are a front wheel drive offset so I assume I'll need spacers. Any thoughts? As you can see we already have spacers on the front thinking we'll need them for the Vette wheels.
We got all the steering linkage parts from the steering box to the idler arm assembly. We decided to paint them before we put them on. We also decided to replace the mid-shaft of the steering column with a shaft from an Astro Van. This does away with the "rag" joint and gets rid of play in the Camaro steering. Pictures to follow. Again, we misplaced the two mounting bolts and nuts that hold on the idler arm to the sub frame. They're here somewhere.
Yesterday we got back to work on our project. We put wheels on the car and put it on the ground so we could tighten the control arms and shocks. We ran into a problem with the tie rod sleeves. We bought Hotchkis sleeves and the left hand threads of the sleeve seemed to be too tight as we tried to bring the toe into place. It feels like the threads are not threaded all the way in. So we are waiting for Hotchkis to advise us as to the problem. We did get the braces from the frame to the K-member in place and torqued. Oh, we also cut the left hand threaded tie rods by 1/2" to allow for full toe in adjustment. For some reason the replacement tie rod on the out was 1/2" longer than the OEM rods. I'll get some pictures out to you soon.
Additional info: Okay, the Hotchkis sleeves are fine. we had to shorten the tie rods by 1/2" as the geometry of the newly installed after market steering knuckles was a little different.
Still working on it. We finished the steering linkage. Now we'll have to connect the power steering hoses. Just test fitting the fenders. It's been a long time since they have been out of storage.
Just a note on the steering linkage, Apparently, the geometry of the steering knuckle we installed is a little different from the OEM. We had to shorten the tierods by 1/2" so we could adjust the toe in far enough.
Hello again. Yes we're still working on it. Today we went to "pull a part" looking for some brackets to hold things like the purge valve solenoid to the intake, etc. and no luck. So, we'll fabricate them. We stopped by a really impressive shop that does restorations and put us onto a wiring harness company that makes complete harnesses for your project. I have to make a complete list of everything that requires electrics and location of each connection if different from a standard position. I also have to decide where to put my PCM, under the dash or in the engine compartment. After that, we're running the fuel lines from the tank to the fuel rails. We were going to use the nylon lines, but not comfortable with that so we're going with more substantial hoses. More later. We just got a Go Pro and we started a website on you tube but haven't figured out how to post the videos. I guess I need a twelve year old to help me out
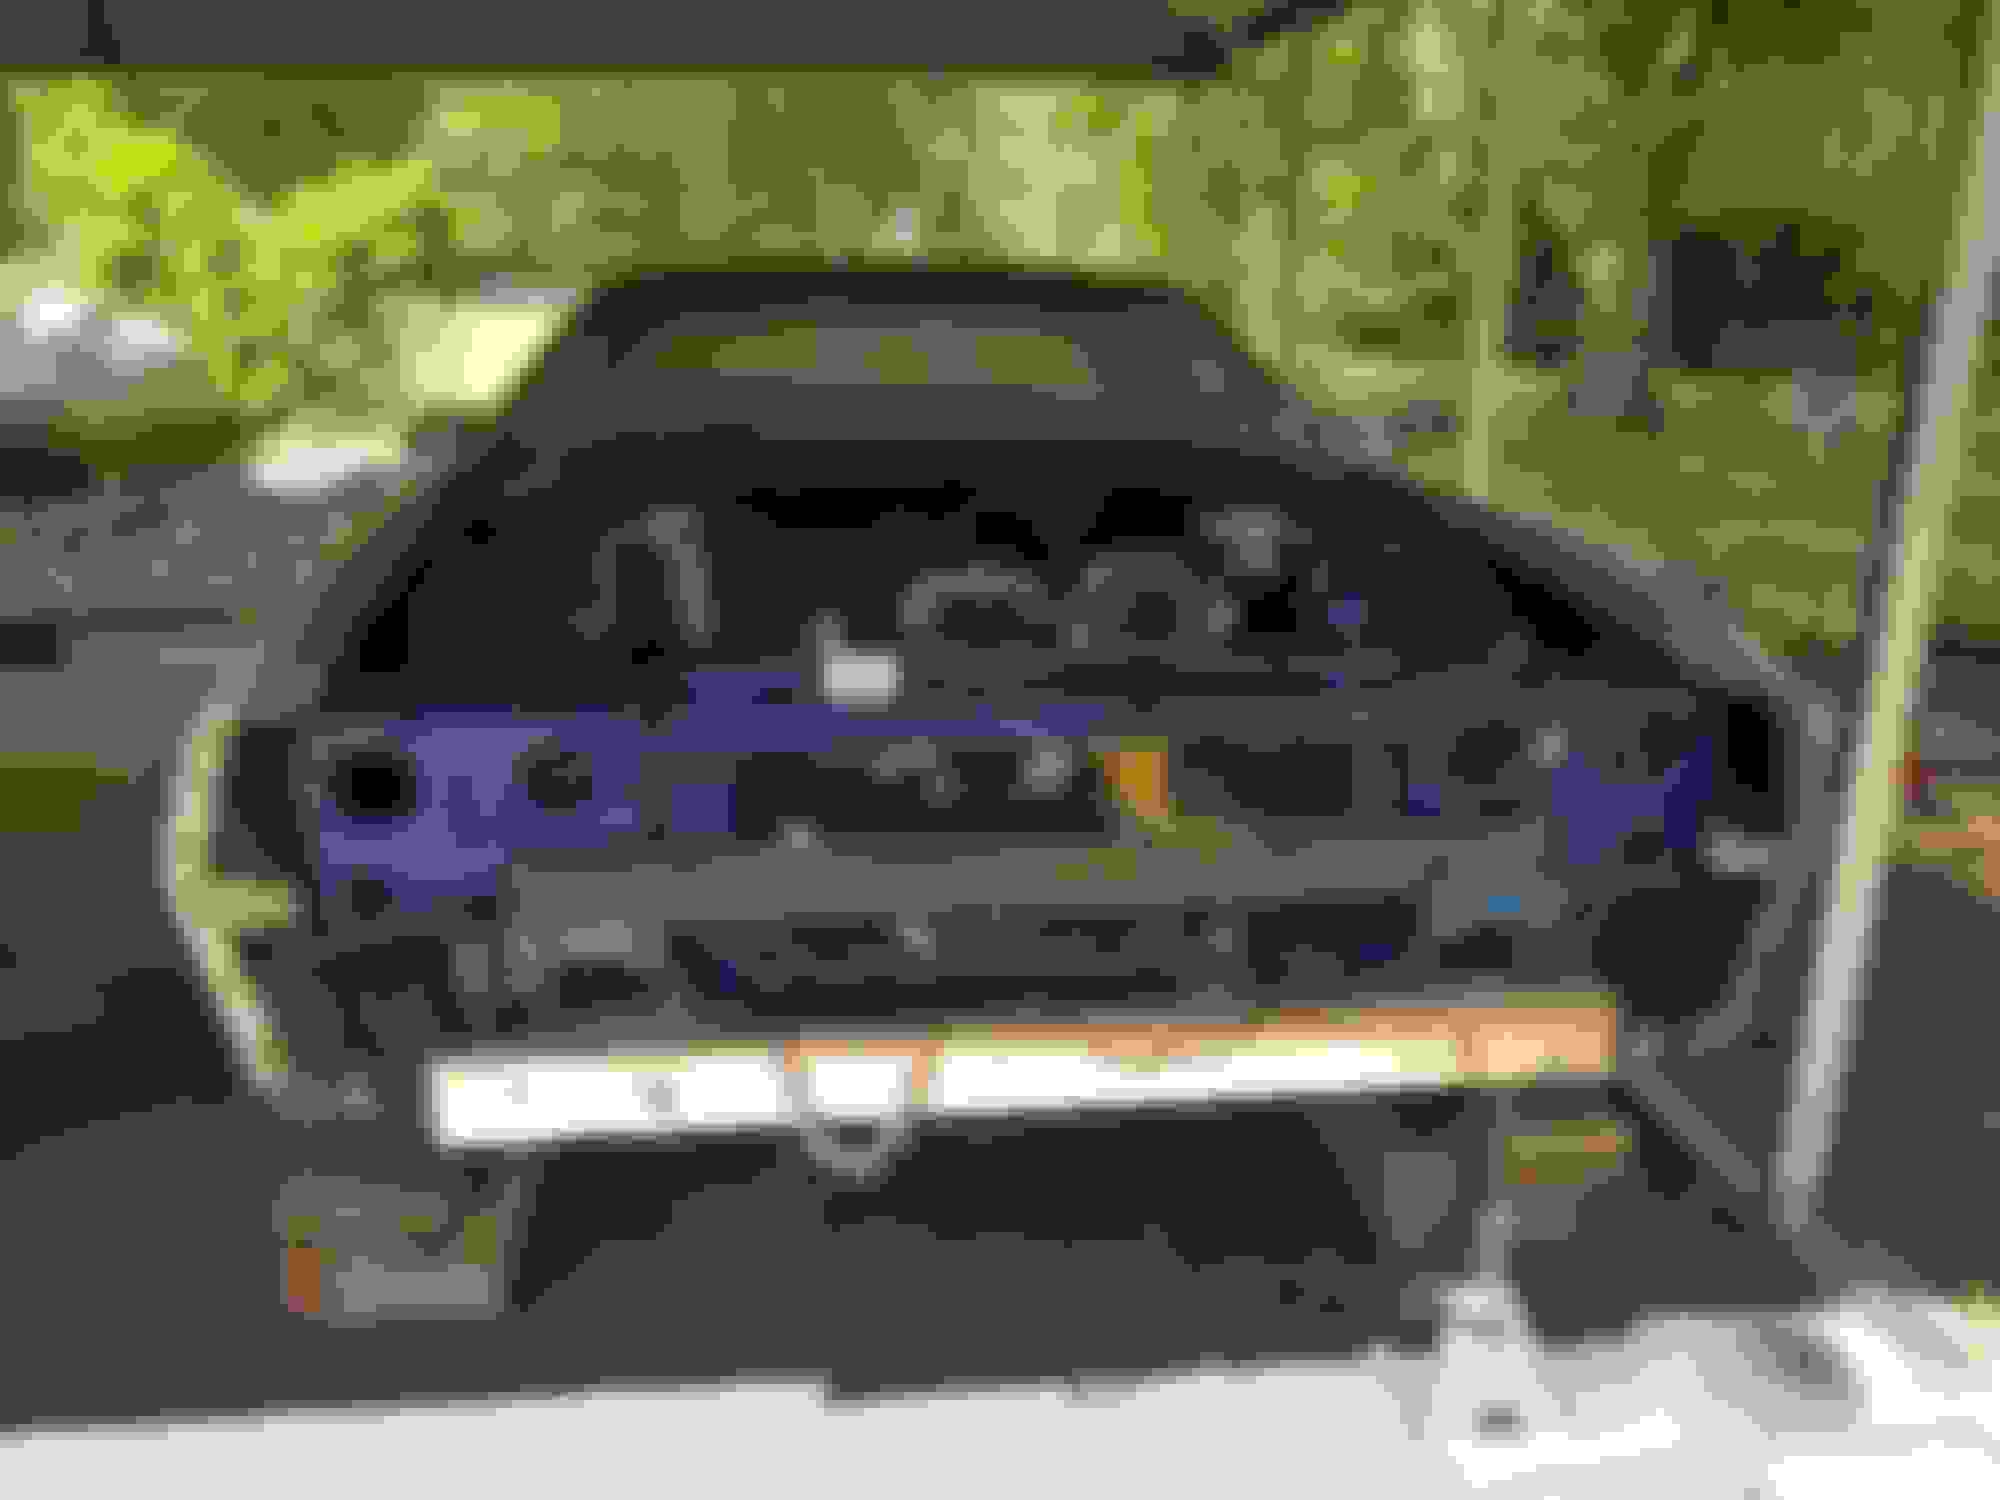
Today we received our wiring harness for the Camaro. It's a stand alone harness which means we'll have to integrate this into the Camaro's wiring. We also sent out the PCM to be reprogramed to control our modified engine and T-56 tranny. Not too many guys work on LT1 PCM any more which is another reason to go the LS way if you are thinking about an engine swap into a Gen 3 . So it was time to order the knock sensors and O2 sensors which are from a 1995 Camaro which is the same part # as the Caprice. We also rearranged our carport and bought dollies so we can move the car around as needed. We took the dash out several years ago and we are trying to figure out what needs to be done before we put it back in. The main problems seem to be the HVAC and wiring. I'd hate to put it in and not be able to get at things. We took some pictures back then but they weren't very detailed. So if you are just starting this kind of project, TAKE AS MANY PICTURES AS YOU CAN. Another project we have to work on is mounting the PCM. We need to fabricate a bracket to hold it under the dash or in the engine compartment. Still haven't decided where yet. Just need to put the dash in and see if it is ok to put the PCM under the dash.
Our progress should be picking up here as most of the other "higher priority " projects are done. I wonder if this is the longest engine swap ever done?
Well, as it sometimes happens, we ordered the wrong harness. Because of the Corvette accessory set up we should have ordered the "Corvette" harness which puts the coil and module connections and the alternator wiring on the correct side of the motor. PSI was very cool with returning the harness in exchange for the right one. We also got the PCM back and it's all set to go. We decided to mount the PCM inside the car under the dash on the passenger side. Just have to make a good bracket to hold it in place. Next we're installing the new knock sensors and O2 sensors along with the new coil and module. Simple enough. Once the wiring is here, we might be close to starting this sleeping beast.
We received the correct harness and we're proceeding with installation.
It's been a while since we rebuilt the motor and we never cranked it since. We used plenty of oils and grease when rebuilding but I'm wondering if I should just spin it over with the plugs out to see if it spins ok. What do you guys think?
May be a good idea to hand turn it just to see if it moves before you go too far.. If you used assembly lube and it was sealed up afterwards I'd say it'll be fine as long as it was fine in the first place.
May be a good idea to hand turn it just to see if it moves before you go too far.. If you used assembly lube and it was sealed up afterwards I'd say it'll be fine as long as it was fine in the first place.
Thank you for your reply. I was wondering if anyone was watching anymore. This has been the longest project that I have ever seen. Yes, we used assembly lube throughout the build but that was a few years ago. Good idea to hand crank it over a few times.
Right now I'm working on wiring. Integration of the 83 wiring and the PSI harness and the Dakota digital dash is a little puzzling. Fuel pump wiring might take a little time, also, as we have to find a pigtail that will connect to the fuel pump terminal.
We also scrapped the idea of using the plastic fuel lines so it's off to the hot rod shop for the correct fittings and fuel lines.
We're working on the fuel system. We bought fuel lines and fittings and even bought the crimping tool. We have run into another problem. Where to put the fuel filter. Also running the fuel lines under the car and into the engine compartment without getting too close to the exhaust. It's always something. We had ti lower the fuel tank to secure the fuel lines to the tank. Thank goodness we made the trap door modification.
Last edited by Strick1; Feb 1, 2021 at 07:02 AM.
Reason: additional text
I can't believe this weather. Every day we plan on working on it, the temps drop or rain hits. Now my son's Honda (his go to work car) has lots of water in the oil.
I have not replied in a while but I am still keeping up with your thread. Hopefully you can get it started up soon. I know how things in life will throw a curve ball and push your build to the back burner.
Thanks for dropping a line here. I was beginning to think nobody is watching. But I'm doing this step-by-step so I can look back to see what I have done. I'm setting a record for the longest engine swap project on record.
It may take a while to finish the swap but it is looking great. I wish I would have taken pictures and kept up with it as I swapped mine.I was on a shoestring budget and worked on it basicly an hour or less at a time.
I am partial to the Gen ll Lt1 swaps since I have done it,so I am definitely keeping up with your build and I think many others are as well.
where did you get your spindles? I jumped around in the thread but didn't see a reference to them
good luck with getting the car cranking over soon!
-jason
We got them from BAER Brakes as a complete kit. You can get just the spindles, but we got the whole kit with rotors, etc. Just go to the Baer Brakes website. It's really nice stuff.
Well I had several replies detailing more of my progress and they are not here. I know it shows 9 pages but is that the limit?
Thanks for the reply.
No, there is no limit to number of replies or pages. We have threads with X times more replies.
Again, the logs show no moderation (deleted posts, moved posts, etc.,) on this thread so there is no evidence of any missing content and I don't know what you believe is actually missing. The database does not just lose a few posts and especially not without some trail.
Only possibility I can think of is if you were replying to the email notifications. Those are email notifications and you can't reply to them. You must visit the site and reply to the content. You've been around long enough to know this, but then again I see this occur on a regular basis with new and old members.
Hello it's me again from the past. Believe it or not my son and I are finally back working on the record setting engine swap. Record setting you ask? It's been over 10 or 12 years since we started on this project. But it is still out there waiting for us to continue on it. So, it will be back to the fuel system first. It's been so long that I had to reread my plan on how to make it work. But, first we have to give everything a good washing and reorganize our plan of attack. After looking over this thread I noticed that a few pictures have disappeared. I may put some of them back later. I hope everyone got through the Covid episode without any real problems. I'm glad our forum hasn't gone away. More later.
It's Jun 2024!!!!! and we have started back on our swap. Just think, we started this swap back in Mar of 2013. That's 11 years ago!!!!!
The past two days we have completed the install of the plastic fuel tank with the S/S fuel lines up to the engine fuel rails. We had the tank back out to make sure the fuel lines and electrical wiring were correct as we forgot to check out everything. It's been a while. And, we had to fabricate some mounting bolts and fix as the OEM captive nuts had broken and had to replace them. The straps that hold the tank in didn't quite fit and we had to use longer bolts. It's always something. Then we installed the pan hard bracket and the rear end is complete. Earlier in this thread I explained how we mounted the plastic fuel tank. Now we are working on the drive shaft. It's a little dirty and a bit of rust, but appears to be ok. We also mounted the wheels we intent to go with (1992 saw blades from my Vette) on the rear and they seem to fit just fine and to us look great. Now it's on to the front end. More pictures soon.
Once we install the drive shaft, we'll put the fluid in the tranny. However, the rear seal might be a little old and we should replace it. I'm not sure but I think the tranny takes automatic trans fluid. Am I right?
I went through this thread and noticed some of the photos were missing. I'll see if I can get those back up.
Here is a shot of the wheels we're going to use: The car is still up on jacks so the wheels look a little low in the wheel well. When it is back on the ground they fit very nicely. We feel these wheels fit the car's era.
Today we went out and bought the tranny ATF and the differential fluid with limited slip additive. Boy, did things go up in price! We decided to lengthen the wheel studs so we ordered new ones. Getting the old ones out was a breeze when you use an air hammer. I also found a tool that makes installing the studs very easy. I'll show this when it all arrives.
I also found a guy that says he is a good wiring guy and he works for our auto supply store. Things may be moving along much better.
Update. Today we replaced the studs in the rear axle. I was worried that this would be a problem, but then we found this tool (wheel stud installer) that made this a breeze.
We had to go with a 2" stud as the Vette wheels are a little thicker than the Camaro wheels. Again, we put the vet wheels back on and all is well.
Notice on this shot how close the header is to the wheel. What do you think, too close?
we might have to clearance the inside of the rear wheel well. probably use a hammer.
I have run into a problem. I can't seem to find a coil wire to fit . The wiring harness I bought had a different terminal connector to the coil. I had to buy a 96 LT1 coil ( D577) which has a different snout for the coil wire we have. As you guys know, the opti will only be able to use a straight plug terminal. All of the coil wires I found on the web have 90 angles on both ends. I found one complete plug set with what looks like the correct coil wire I need. That is too expensive and a waste. More later.
Today, we started looking at the Dakota digital dash we bought. The entire dash is out of the car and on a table. Our plan was to rewire most of the car, but that doesn't seem reasonable. So we got out the Caprice manual wiring diagrams, the Camaro manual wiring diagrams and the Dakota diagrams so we could figure out how to merge all of the electrics. We had an LT1 wiring harness made but that only wired the engine. We sent the PCM from the Caprice out to disable the auto tranny circuits so we don't get check engine lights. Pictures to follow.
I would use the Camaro's wiring for the coolant temp,oil pressure,battery voltage,fuel level,and Tach.
I would use the 95 PCM speed output signal for the Speedometer.The output should be 4000ppm.
How does the Gauges hook up,do you use the factory senders?
The Dakota Dash system has everything. Starting with the VSS for the T56 and even the fuel gauge problem (ohms, I don't have to fool with the resistor problem to get the gauge to read accurately) . They also gave us the oil pressure system problem solver. The coolant system supplies everything you need for integration from the engine to the Dakota. I didn't realize that this Dakota system was so complete. All we have to do is marry it with the harness we bought for the LT1 engine. Most of the system is on youtube and it clears up many of our questions.
My son started routing the wiring for the lights all around the car. It's a good thing we have to old shop manual from Helms that shows where it all goes. Next will be installing the instrument panel back into the car. Getting the Hvac and running the wiring behind the panel will be our next hurtle.
The light at the end of the tunnel is getting brighter.
Believe it or not, we are working on it again. We spent most of the day figuring what to do next. I think it is time to hand crank the engine and bore scope the cylinder walls for anything abnormal. There was a lot of dust and pollen all over the car and washing it is next. After filling the tranny there is no leaks . We need a radiator and calipers for the rear brakes and then we'll run new brake lines. That may be easier said than done.
We went to the Z Max 4 way drags and saw a couple of Gen 3 Camaros but they all went with newer LS motors.


 " projects are done. I wonder if this is the longest engine swap ever done?


 . We need a radiator and calipers for the rear brakes and then we'll run new brake lines. That may be easier said than done.