When you click on links to various merchants on this site and make a purchase, this can result in this site earning a commission. Affiliate programs and affiliations include, but are not limited to, the eBay Partner Network.
LTX and LSXPutting LT1s, LS1s, and their variants into Third Gens is becoming more popular. This board is for those who are doing and have done the swaps so they can discuss all of their technical aspects including repairs, swap info, and performance upgrades.
Pulled my 521 BBF to do this. I wanted something I can actually drive around and not blow through gas like crazy. Should be very fun and should be able to drive the car more
OEM block info
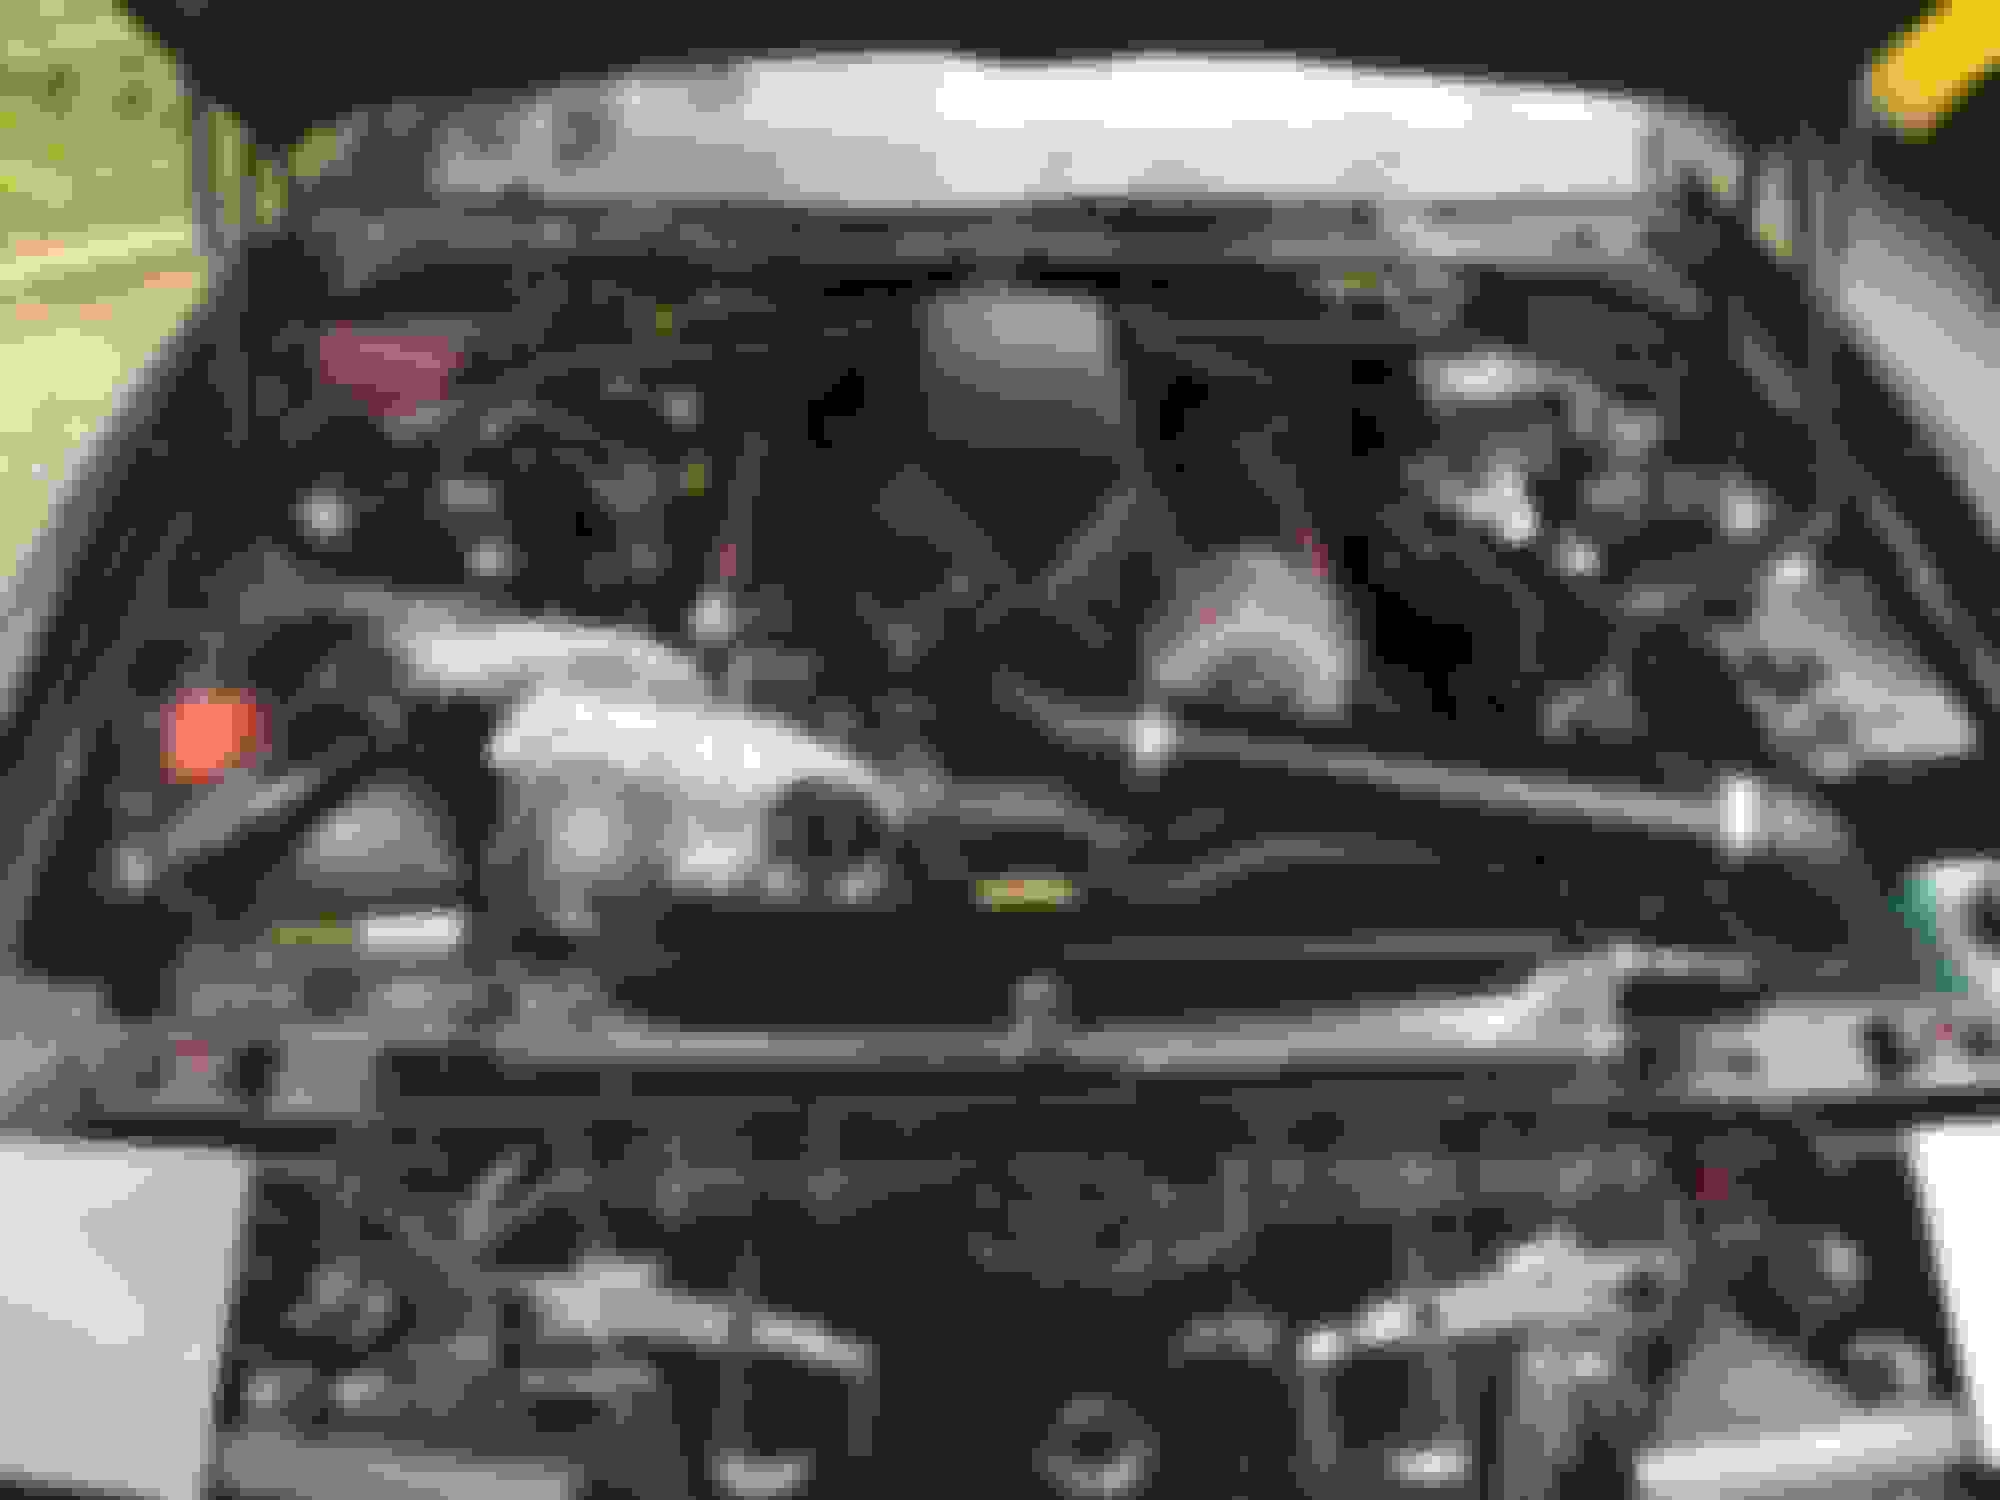
Engine is a 5.3 LM7 from a 1999 silverado with 150k on it. Got the complete engine with accessories and ECM/harness for $750. Video of it running looked and sounded great. I opened the motor to confirm its in great condition for its mileage. The long block is stock for this build. Shooting for 500-550hp at the crank with a stock block/heads/cam motor and 10psi boost to be super fun on the street with 5500-6k max rpm.
Suspension/drivetrain
Rest of the car is not stock lol. Full Moly tubular racecraft Kmember, UMI tubular Aarms, home made weight jacks, Hotpart Caster/camber plates, TDS wonderbar, rear is all tubular rod ended UMI and founders PHB relocation bar and bracket, rear has home made weight jacks as well. Trans is a full billet upgraded 2004R from CK performance, 2400 stall billet lockup converter. Rear is a ford 8.8 from a 95 crown vic with 3.55 ford gears, upgraded track lock with SVO carbon fiber clutches, stock 28 spline axles, ARP cap studs, Moser support girdle, solid pinon spacer. Drive shaft is a nitrous ready 3' unbreakable 1350 u joints from dennys driveshaft. Brakes are BAER black label 13" vette style rotors and calipers, rears are stock forc 11.5" vented and drilled disks with stock iron calipers and pads. I run a custom made Hydroboost setup and stock master cylinder. Also my home made 1.25" DOM adjustable 3 pt STB.
Exhaust
Ebay RI full length SS LS swap headers, Added SS 02 bung in driver header collector for innovate WB02. Dual 3" Sbends into flowmaster dual 3" to 4" Y merge. 4" cat back with 4" hooker Maxflow muffler in stock location then 4" dynomax ultra flow near the bumper with short turndown. Dual mufflers should help with excess noise (couldnt fit it by the DS). This exhaust is tucked up nicely and should have more ground clearance than stock.
Cooling system
procomp HV LS1 waterpump with billet truck spacers. Mr gasket 160 Tstat with 1/8" hole drilled. Waterpump pypass nippled removed and tapped and plugged. Steam vents functional and plumb into the billet waterpump spacers. Radiator is a 28x19 HOWE dual core aluminum radiator with new Mark V 2 speed fan. Fan is controlled by a custom 2 speed fan control harness and uses inputs from the stock ECM to trigger the fan speeds. Upper hose is a GTO stock Dayco, lower is two 90* silicone hoses 1.75" to 1.5" with aluminum connector and a 1.5 to 1.5" 90 degree onto the billet water neck that came with supercharger.
Motor Mods
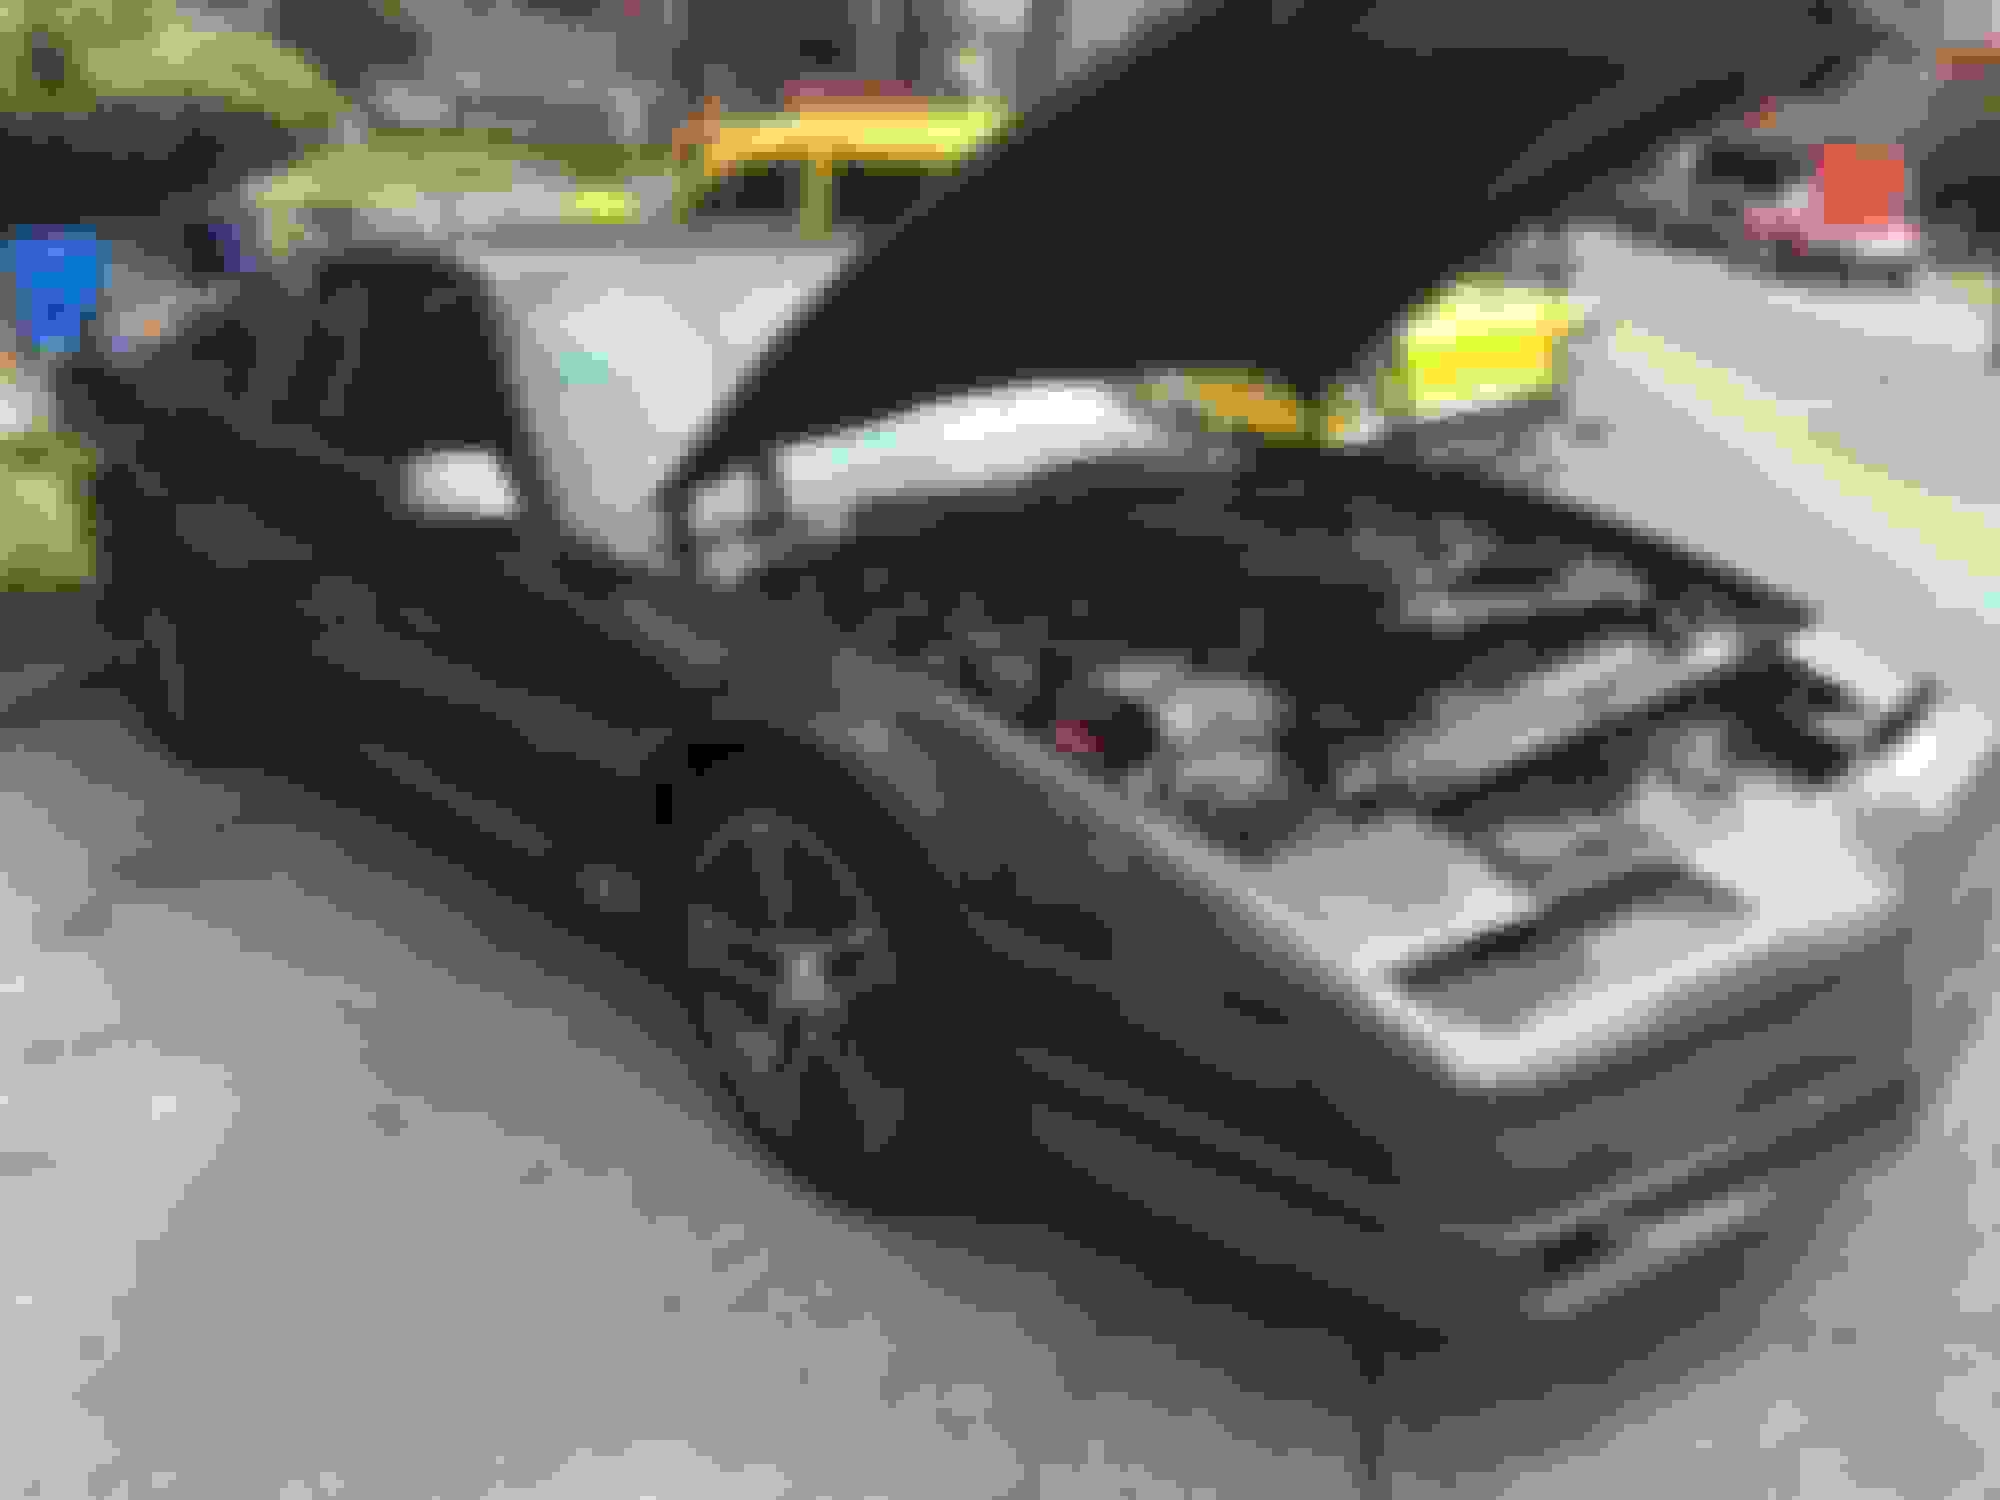
Stock LM7 285hp, removed the stock pan for new GM Fbody oil pan and checked for 5.3 verification and everything looked great with cross hatch still on cylinder walls. Fbody oil pan, Fbody windage tray and oil pump pickup. Swapped truck Waterpump for high volume aluminum LS car version with billet truck WP spacers (.75" thick). Stock truck accessory brackets, stock PS pump (swapped 5" dorman pulley for steering box clearance), New Dbelectrical 130amp large case alternator. New LS1 gates tensioner, ICT billet idler pulley relocation and new Gates serpentine belt. Stock valve springs swapped for new LS6 GMPP valve springs. Stock truck Intake with EGR Now houses IAT sensor and EVap purge blocked off. Stock 3 bolt cable TB modded for TV control on throttle bracket. LS1 billet fuel rails with handmade fuel rail brackets. All AN pushlock hose and fittings. 72lb new flow match bosch injectors from FIC as well as their quality injector conversion harnesses. Used cheap Street ray setback motor mount plates with standard SBC solid motor mounts in the stock location (would have liked to set it back 1" but I would have to shorten the DS... no thanks).
Supercharger specs
Brand new Billet torqstorm centrifugal supercharger with 8rib pulley system. This is a complete kit that come with every tube/silicone connection, hose clamp and belt you need. Very happy with the quality of the kit, MADE IN MI USA! I'm running 3" pulley (smallest) and should be boost by 1700rpms . No intercooler but will be running Snow performance stage 1 water/meth kit on hobbs switch and wiper fluid. Charge pipe is 3" with bungs for IAT(mines in EGR port) and meth and a billet blow off valve. Fresh air is 3.5" aluminum with 3.5" AirRaid filter and will be over my the pass side firewall/fender opening.
Tuning/electrical
Stock 99 PCM and harness that came with the motor, harness gone through and slimmed down and ECM moved to pass side firewall mounting. 2bar MAP sensor in stock location, FAST IAT sensor in EGR port block off plate. Innovate PSB-1 boost controller/WB02 will kill 1/2 the injectors in case of overboost or lean condition. Stock Before cat 02 sensors in both header collectors. Stock ECM tuning with HPT PRO and should be pretty easy given that the motor is stock with just a supercharger. I will be converting from MAF to 2 bar MAP base operating system. Stock 581D truck coils and talyor 9mm spark plug wires and NGK 1 step colder plugs.
Engine Dress up
Billet fabricated Coil covers wrapped in 4D carbon fiber vinyl, in the process of getting custom decals printed. Stock truck intake but thinking of making a billet cover wrapped in 4D carbon fiber vinyl as well. Didn't want to relocate the coils as they perform best in the stock location with short wires and wont get burned by exhaust. Aftermarket covers aren't worth the cost and the cheap ones leak like crazy... so its best to just cover it all and make it look good.
So far I got most of it installed. Just got the SC mounted for good, need to do the belt and final mount the charge pipes and fresh air. Exhaust is done but I'm waiting on some Mr gasket ultra header gaskets to do final install. Just finished rad mount/shroud. All that's left is all the electrical wiring (finishing the ECM harness relay/fuse block) and associated wiring. Need to run new Alt charge cable to 150amp breaker and install new Innovate PSB-1 gauge and associated wiring/ connections. I'm pretty far along but want to redrill ford axles to GM and get new rims/tires.
Last edited by customblackbird; Jan 29, 2016 at 02:07 PM.
With boost that low in the RPM range, you'll be sucking the meth tank dry just as bad as the gas tank with your old BBF, meth costs more too
Also, move your IAT upstream from the meth ports or it will seriously skew the readings. Its compounded with SD
Since this is a streetbeast, why no intercooler?
Meth doesn't kick in till whatever psi I set it to come on. I prob won't set it lower than 3psi and maybe closer to 5-7psi. So I'm thinking I won't use too much as it's still not a DD car. Might see a few drives a couple of weekends a month in the warm months and maybe a trip to a show every couple of weeks. I will be using wiper fluid which is like $2 a gallon and if I go through a gallon a day that would be a lot. I'm also trying to use the stock wiper fluid tank to feed the water/meth tank so I have alittle more capacity.
I wanted the IAT sensor in the intake downstream of the meth so the ECM will know when the meth is working, if the meth doesn't fire and the IATs are super high I want the ECM to keep pulling timing. When the meth is working correctly the IAT sensor should see a massive drop in temps and use a different timing table. If the IAT is upstream of the meth nozzle then it won't know if the meth is firing correctly and won't know to pull timing.
Street beast around here means I can't go WOT often or even get on in. Hence why I wanted boost to come in soon so it's more fun on the street. Running an inter cooler on a TA is a PITA as its a bottom feeder compared to a Camaro. Plus the supercharger kit is based around meth injection. I didn't want to sacrifice engine cooling to run a large Air to air IC especially when speeds around me as less than 40mph most of the time. Hence a big aluminum quality radiator (and not a stocker), low temp Tstat and high flow pump. Lower engine temps will also help with IATS and heat soak. I also didn't want to cut up the front bumper to make enough room for a IC but I would prob have to relocate the battery to the trunk and I already had my unused water/meth kit from a nitrous build. I should also add I plan to run 91 pump and maybe some 93 to be safe. But 10psi with the LM7s lower compression doesn't worry me enough to have to run the 93. So I've saving money by not having to get 93 which helps offset the costs of the wiper fluid. Also boost is depended on engine speed and load so if I don't get on it as much then I won't use as much gas/wiper fluid. Something the 521 didn't have lol as idling it used more gas than the 5.3 will in the lower ranges lol.
Coil covers are done and mocked them up. Supercharger is fully bolted down. Just need to do the belt and all the Meth/water pumbling and wiring as well as a bunch of other wiring.
Also figured out oil/air seperator mounting with 1 way check valve installed (above hydroboost). Figured out it will be smarter to get a vacuum/boost block to feed all my boost referenced/vacuum needs (Boost gauge, FPR, Hobbs switch for water/meth etc).
Waiting for the new SC belt before I fab up the lower radiator hose.
Then its:
Alternator Charging cable running/hookup
Wiring/mounting Mark IV cooling fan relay/harness
Boost/vacuum block mounting and routing of hoses
Boost/WB02 gauge install and wiring
Other miscellaneous wiring
Water/meth install/plumbing and wiring
Finish standalone LS ECM/harness modding and install.
prob a bunch of other stuff I can't think of at the moment.
Great work. Torqstorm kits look pretty nice. Nice robust bracket. The rear feed sucks a tad but i think it helps make it more compact up front. Great work. Glad you didnt go turbo?
Great work. Torqstorm kits look pretty nice. Nice robust bracket. The rear feed sucks a tad but i think it helps make it more compact up front. Great work. Glad you didnt go turbo?
Jay
So far in pretty happy with the kit. Two small issues and mainly bc mines a custom setup utilizing part of the GTO kit and the Silverado setup. My original belt was a tad to short and the new one is just a smidge too short due to the pulley lip,loosening the supercharger from the bracket and tilting it allowed the belt to barely get on and get past the lip. Now it worked out perfectly as I don't need to put as much tension on it and hopefully it stretches alittle so it's easier to remove. The next belt size prob would have been too long. Other issue was the thickness of the gates stock tensioner which was too thick. Rick at torque storm rectified it both times which is why I'm pleased thus far. The 3/4" billet brackets are really nice and all the craftmanship is top notch.
Got a lot more work to do but yea overall the lack of exhaust under the hood will and should keep engine temps and heat soak to a minimum and it's all much less complicated. Although prob not as fun and easy to build power I like that it should last longer and have less hiccups. Plus building boost below 2k should be a tad more fun.
I will know for sure when I get to start and tune it and drive it.
Nice work, it fits well. Valve covers look good too, an intake cover would really finish up the look.
What will you be maxing out at with boost?
Thank u. They are coil covers that mimic BBC valve covers. The only cheap nice looking fabricated valve covers are ebays and the concensis is they don't seal very well on most. Last thing I want to deal with is engine leaks and you still need to see all the coils and wires. Also since I'm running stock cam and mostly valve train (minus the Ls6 blue valve springs) there's no need to get taller valve covers, and the OEM seal best. So cheap fabbed coil covers it was!
With the smallest pulley I should see 10-12psi on a stock 5.3. Since boost is a reflection of restriction it would be less if I put higher flowing heads etc. I'm hoping it will be closer to 10psi. In a few years I'll prob pull the whole motor and due a full rebuild or get a new block and put a rotating kit in it as well as port the heads and such which should lower the boost a bit more. Sticking to stock will keep tuning at a minimum hopefully.
For updates I've only gotten smaller stuff done on the motor and no pics. Biggest pita was doing the oil dipstick. Using the OEM dipstick that came with the fbody oil pan out the dipstick too far forward and thus interfered with the coil cover and the air inlet tube for the supercharger. I had to completely rebend the dipstick to push it farther back. 45 min later I was able to bolt it down but getting the dipstick to go through was an ordeal to say the least. Not very happy with it but nothing I can do now.
Other than that I got the new supercharger belt on and tq'd down. No idea what the tension is suppose to be and I don't have the recommended gates tensioning tool. Instructions said 280lbs or something.
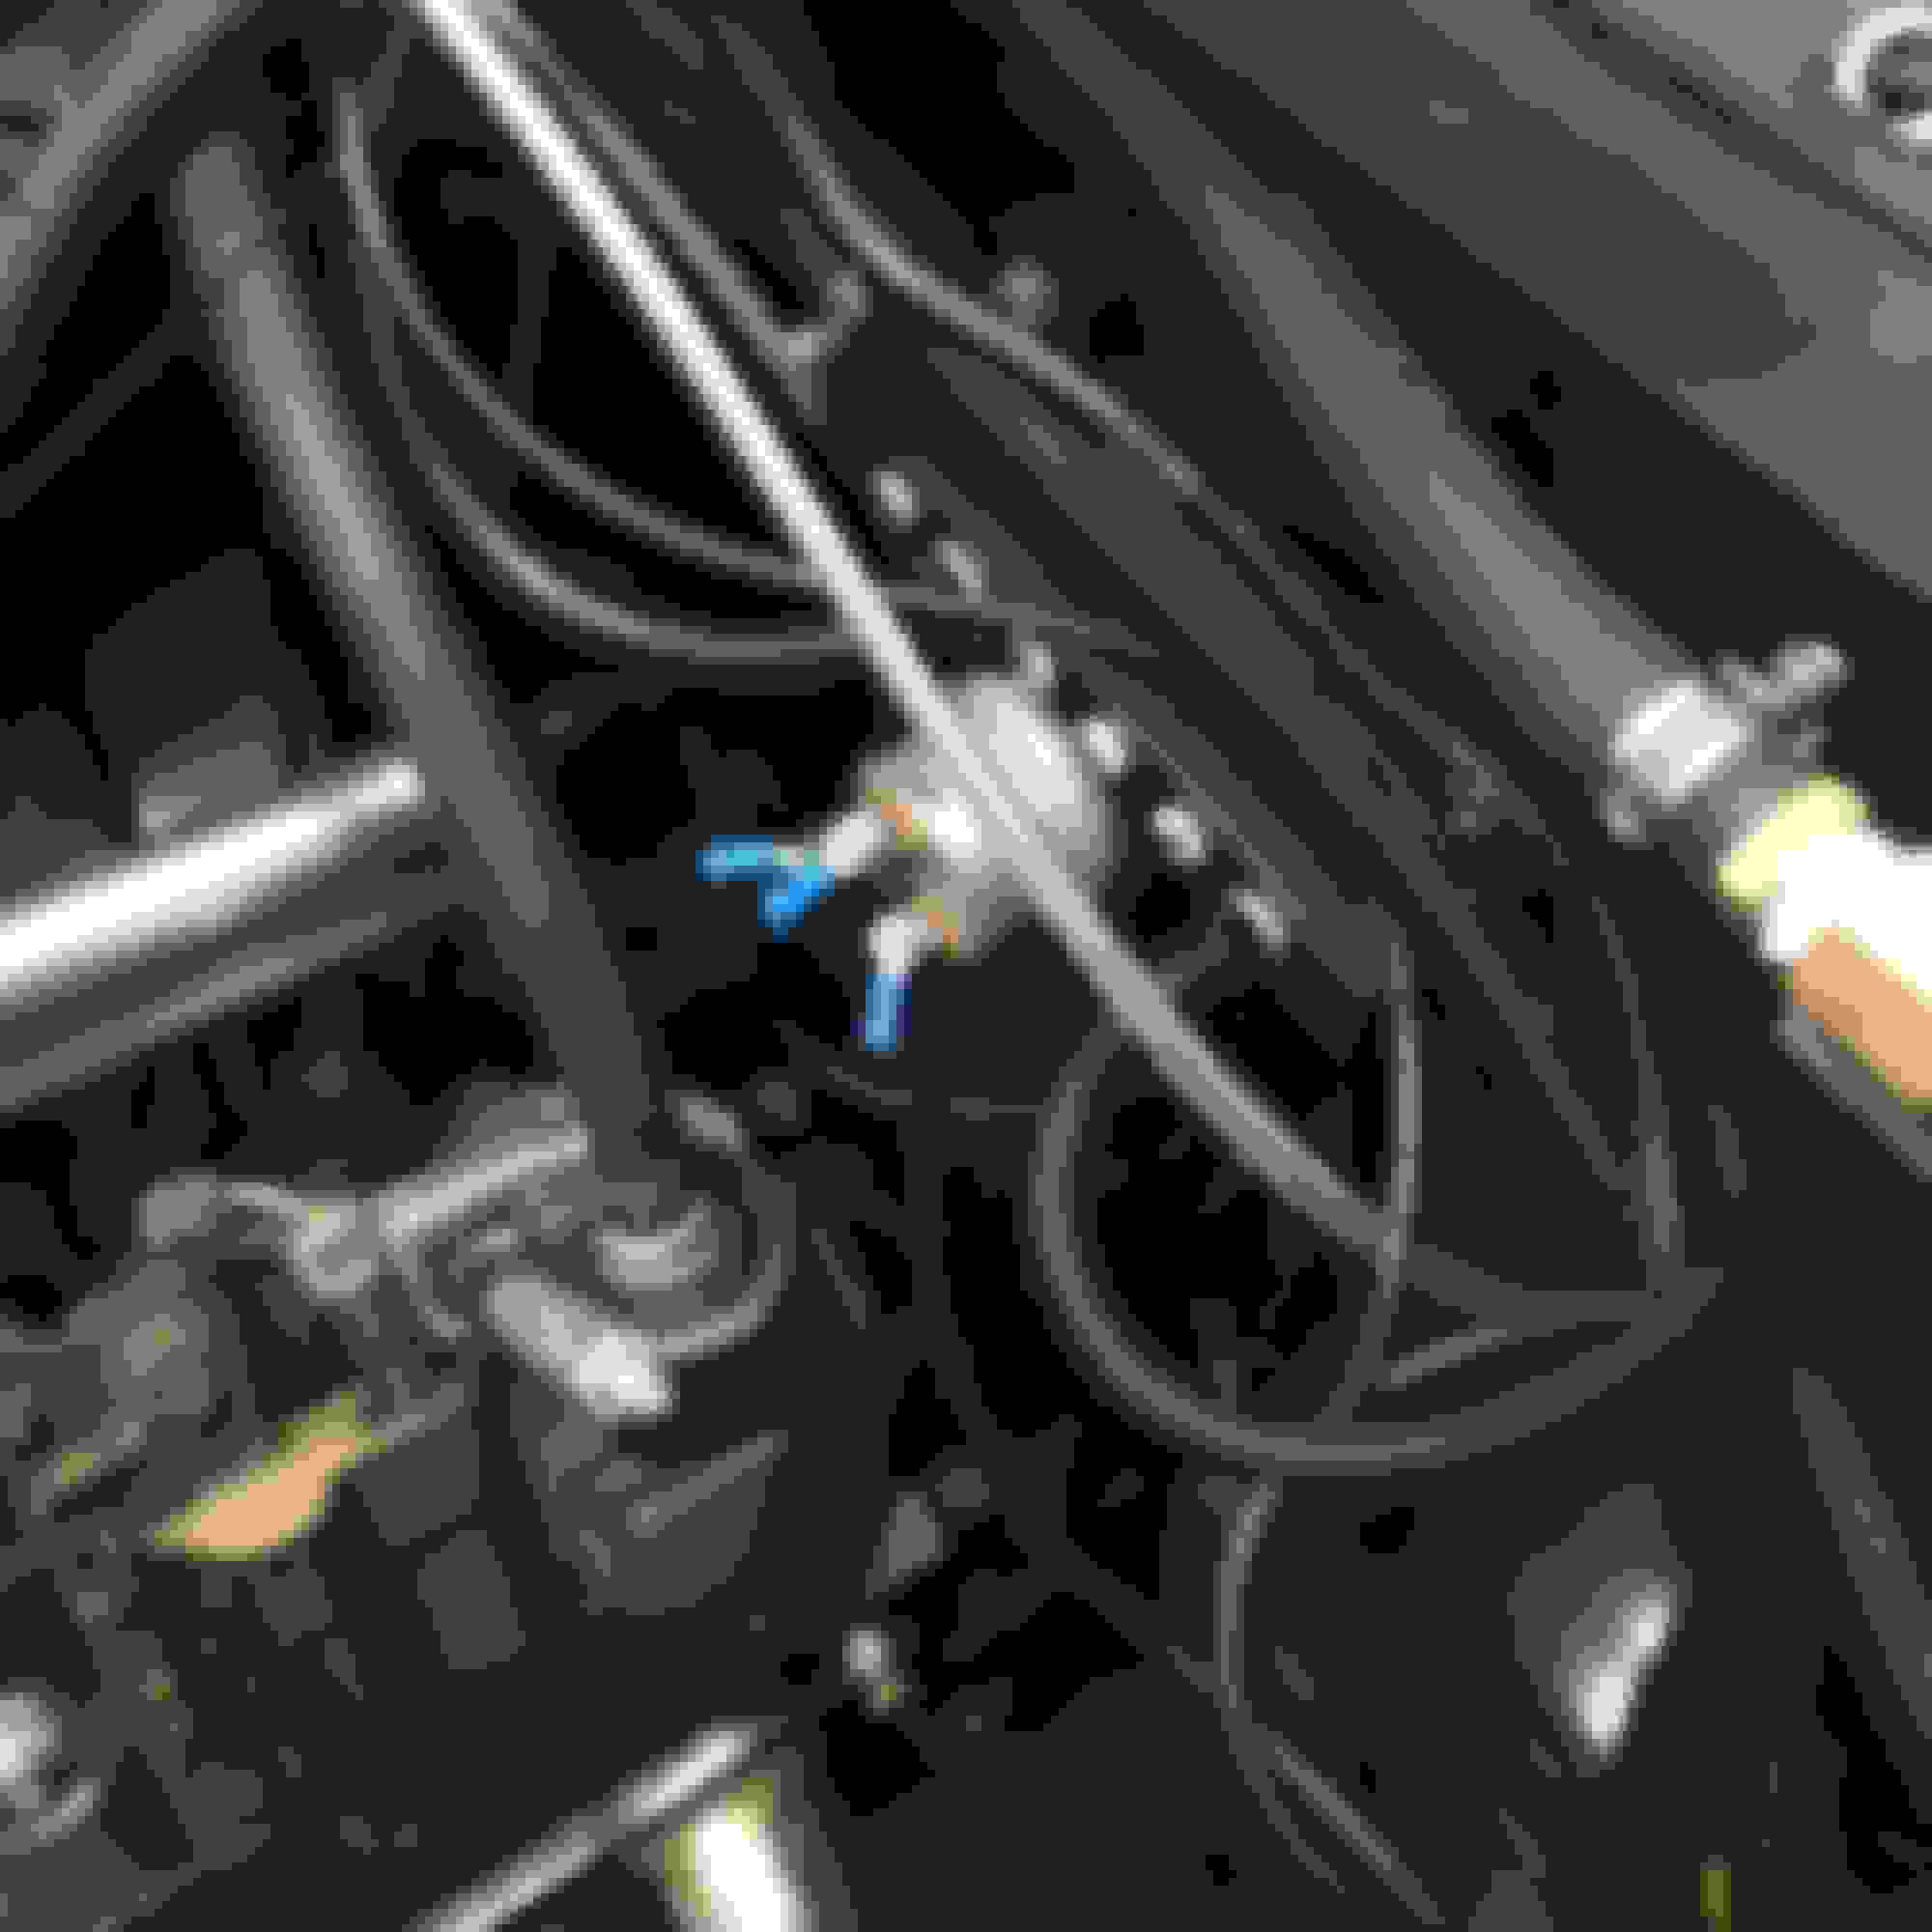
Got the vacuum block mounted on the firewall and ran most of my vacuum/boost reference lines from the port on the TB that is normally used for crank case evac for the pass side valve cover. I believe it's open to the inlet air streak before the TB blade so I think im good to use that to feed my vacuum/boost block.
Mounted the innovate PSB-1 boost/WB02 gauge in the cluster and got the wideband harness run through the firewall and plugged into the sensor. Still need to hook and wire the gauge up.
The big accomplishment this weekend was I was able to fab my own wheel stud bolt pattern tool and convert my ford 8.8 with ford 5x4.5 lug pattern to GM 5x4.75. I was able to figure out a way to do the wheel pattern conversion without pulling the axles. It involved opening up the hole in the backing plate so I could push out the super large ARP 3" wheel studs, use my tool to get the lug pattern started on the axle flange and then drill them all out on the car. It was a HUGE PITA but pulling the axles to do the same thing would have been a lot worse. I verified my studs are pretty straight by using an OEM formula rim and testing out on a bunch of ford and GM bolt on adapters. I decided to do swap out the ARPs (too frigin long and wrong thread) for dormans that are slightly longer than stock as I'll prob be running a 1/2" slip on spacer. Pulled them all in with a lug nut and impact. Best part is it was 9* out and snowing so it sucked ***** to say the least. But it's done and that's great as I got my new OE wheels coming
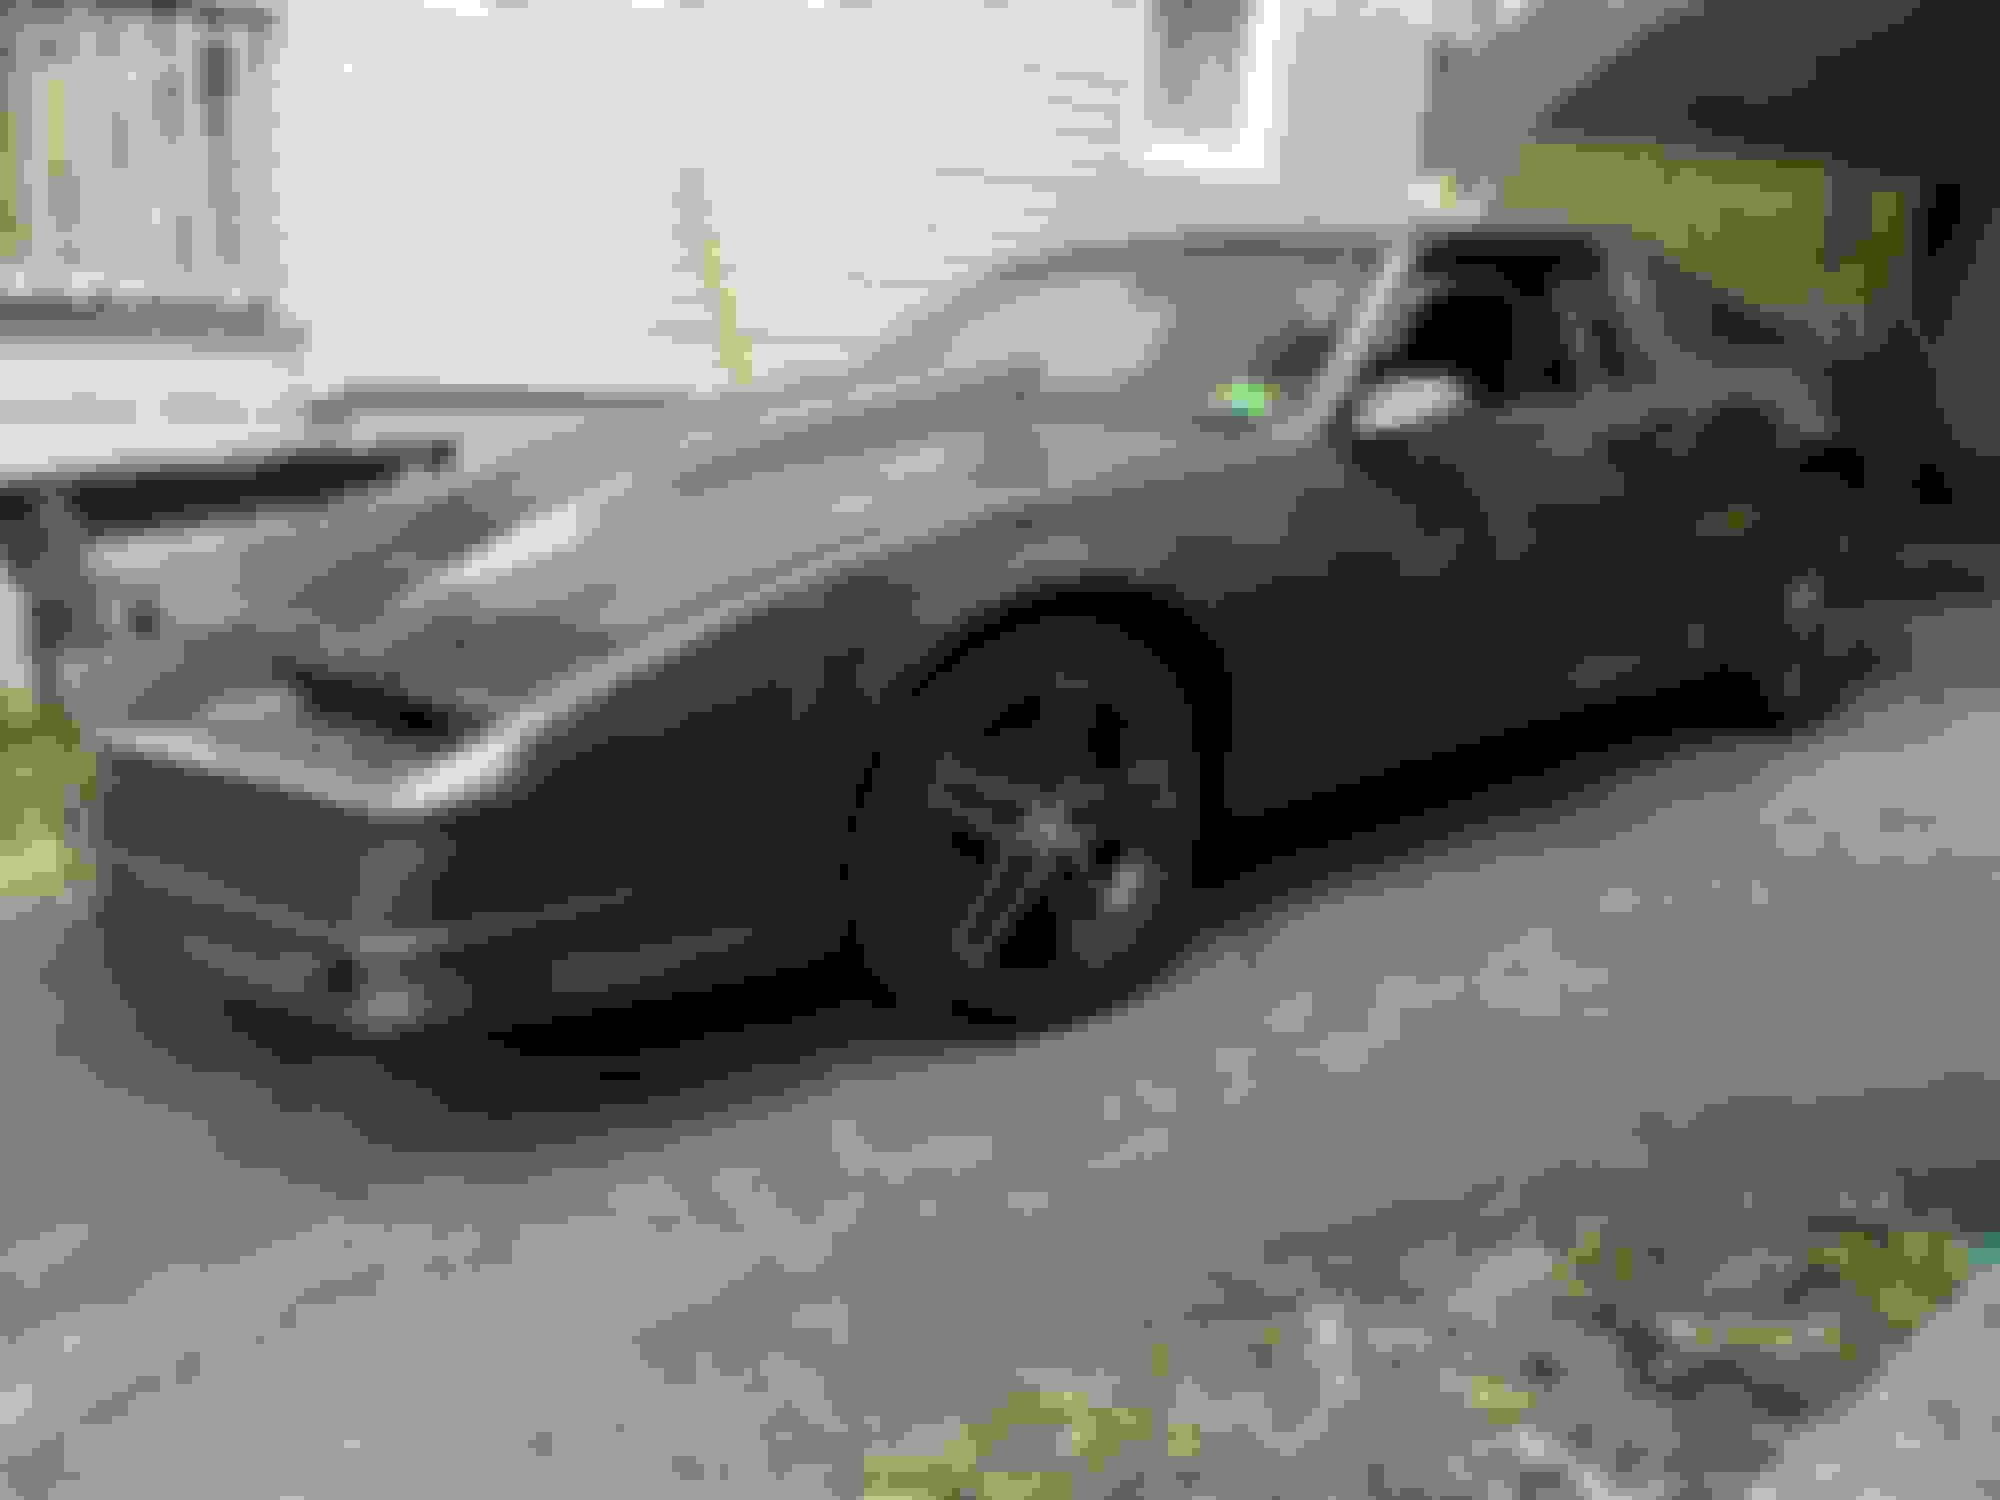
New wheels are 18x9.5 with 56 offset for front and back. They will be wrapped in 275/45 sumitomo HTRZ IIs. They are black C6 Z06 with a machined face. Super Siked to finally have all GM rims and bolt patterns in like 5 years.
1.) Tried to use the new Fbody oil dipstick but it contacted my coil covers and Supercharger inlet pretty bad. I ended up bending it to fit father back but then the dipstick itself was super hard to get in and out of the tube. Decided to try the stock truck dipstick and with very slight bending it fit much better and goes in/out much easier. So the oil dipstick is done. I had lined up the 2 and transfered all markings from the Fbody dipstick to the truck one. Seems that the truck dipstick is roughly only 1" deeper than the Fbody from the through hole block port, the main difference is the length from there to the handle. So I was able to keep the truck dipstick and didn't feel any contact inside the pan. I could always use the Fbody dipstick in the truck dipstick tube but didn't like that only 1.5" of the dipstick poked out the opening inside the pan. This means oil would have to go inside the tube to get an accurate reading.
2.) Ran the new 4 gauge charging wire from the new DB electrical 130amp alternator to the manual reseting circuit breaker so the alt charging is all done.
3.) test fitted all new 9mm taylor spark plug wires and coil covers push down on all the wires. Given the covers are aluminuma nd worried about wearing through and grounding I cut rubber vacuum hose and lined the coil wire openings with the rubber hose like a grommet so I dont have to worry.
4.) All new TR6 NGK plugs are tq's with .035 plug gap. They are 1 step colder than stock I believe and the go too plug for mild forced induction builds.
5.) Got the Meth pump and jug mounted. Waiting on some parts to hook tap into existing jug to stock wiper tank for double capacity. Still need to wire it up. Also adding a float fluid level switch to the existing tank as a warning indicator on the dash somewhere.
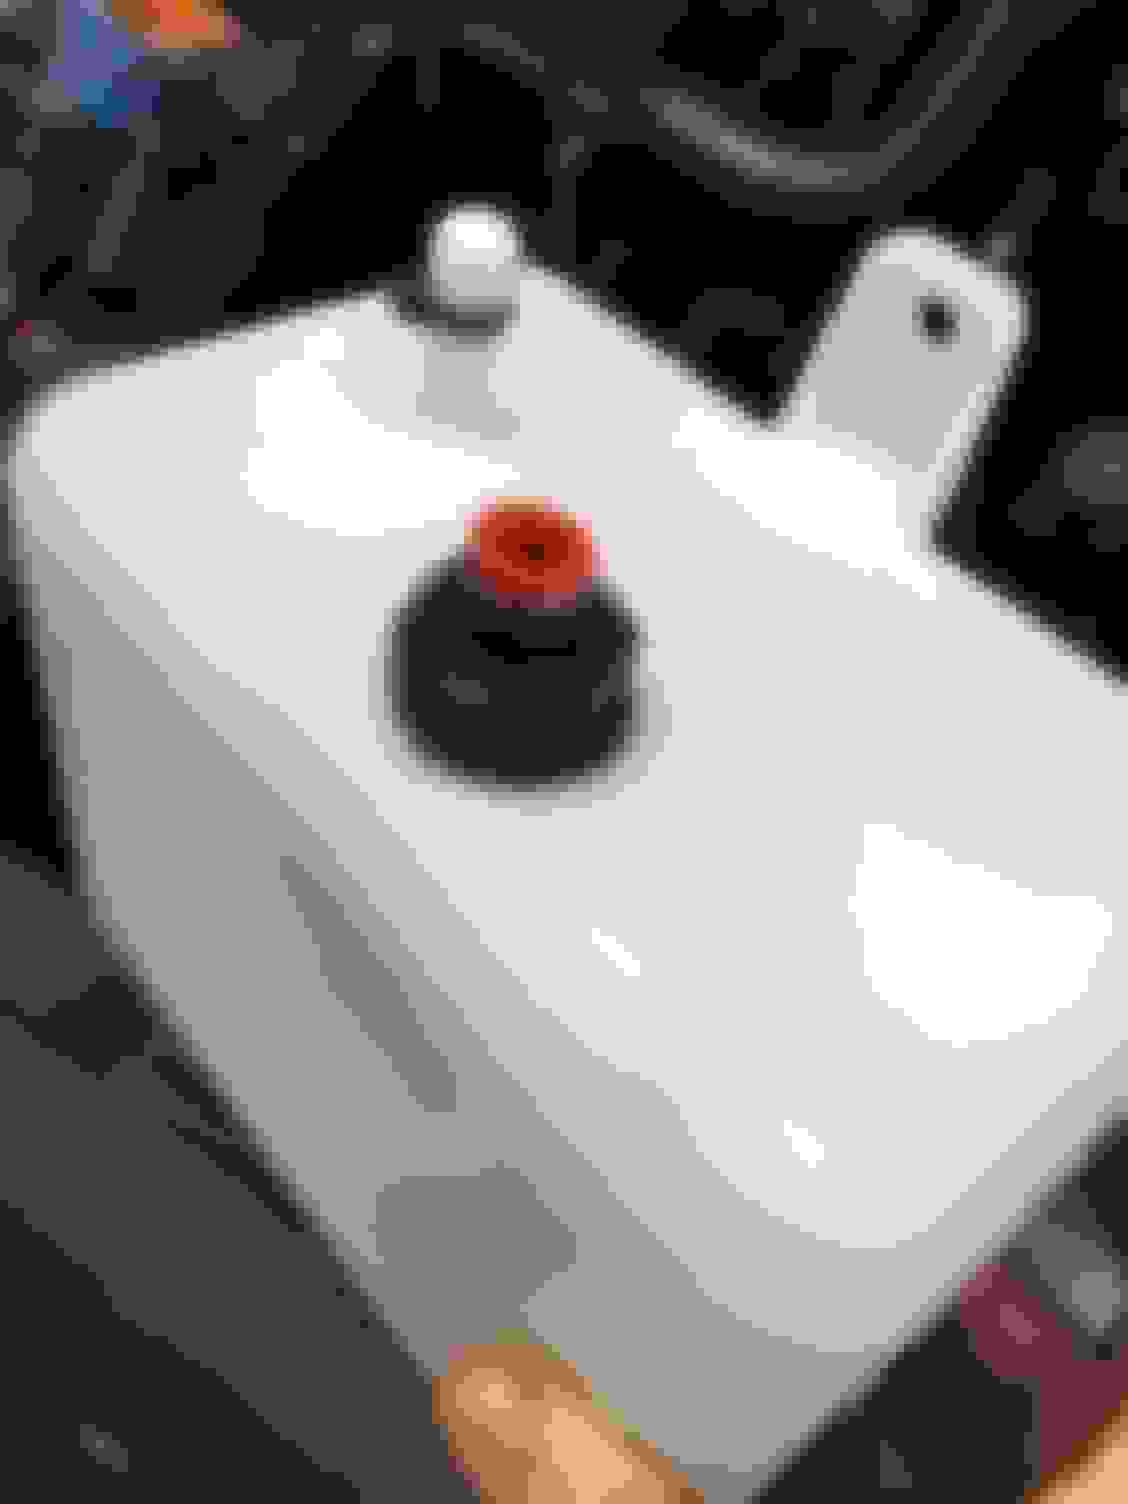
6.) coolant overflow mounted but will be changing this and the jug with dorman 603-001. Thinking I'm going to tuck it into the pass side fender well above the front fender supports.
7.) Steam lines are all run and done with 3/16" silicone hose.
8.) Lower radiator hose is all done and tightened. Technically could put coolant in it but want to get the overflow hooked up and done.
9.) Made new matching return hose for Hydroboost (had shitty swivel AN hose leaks) that used leftover braided line with blue/red fittings and didnt match. So replaced it with new pushlock hose/and new fittings. Hydroboost is all hooked up to the stock LS truck power steering and ready for fluid.
10.) Removed 5x13" 175lb rear springs and weight jacks and put in the 5x10.5" 175 rear springs with weight jacks. Lowered the rear 2" for a nice look. I got some 4th gen spring spacers if I need to jack the rear up alittle more without adjusting the weight jack. Right now there are no sppacers, it looks good with the weight on rear but won't know for sure till I get the car on the ground.
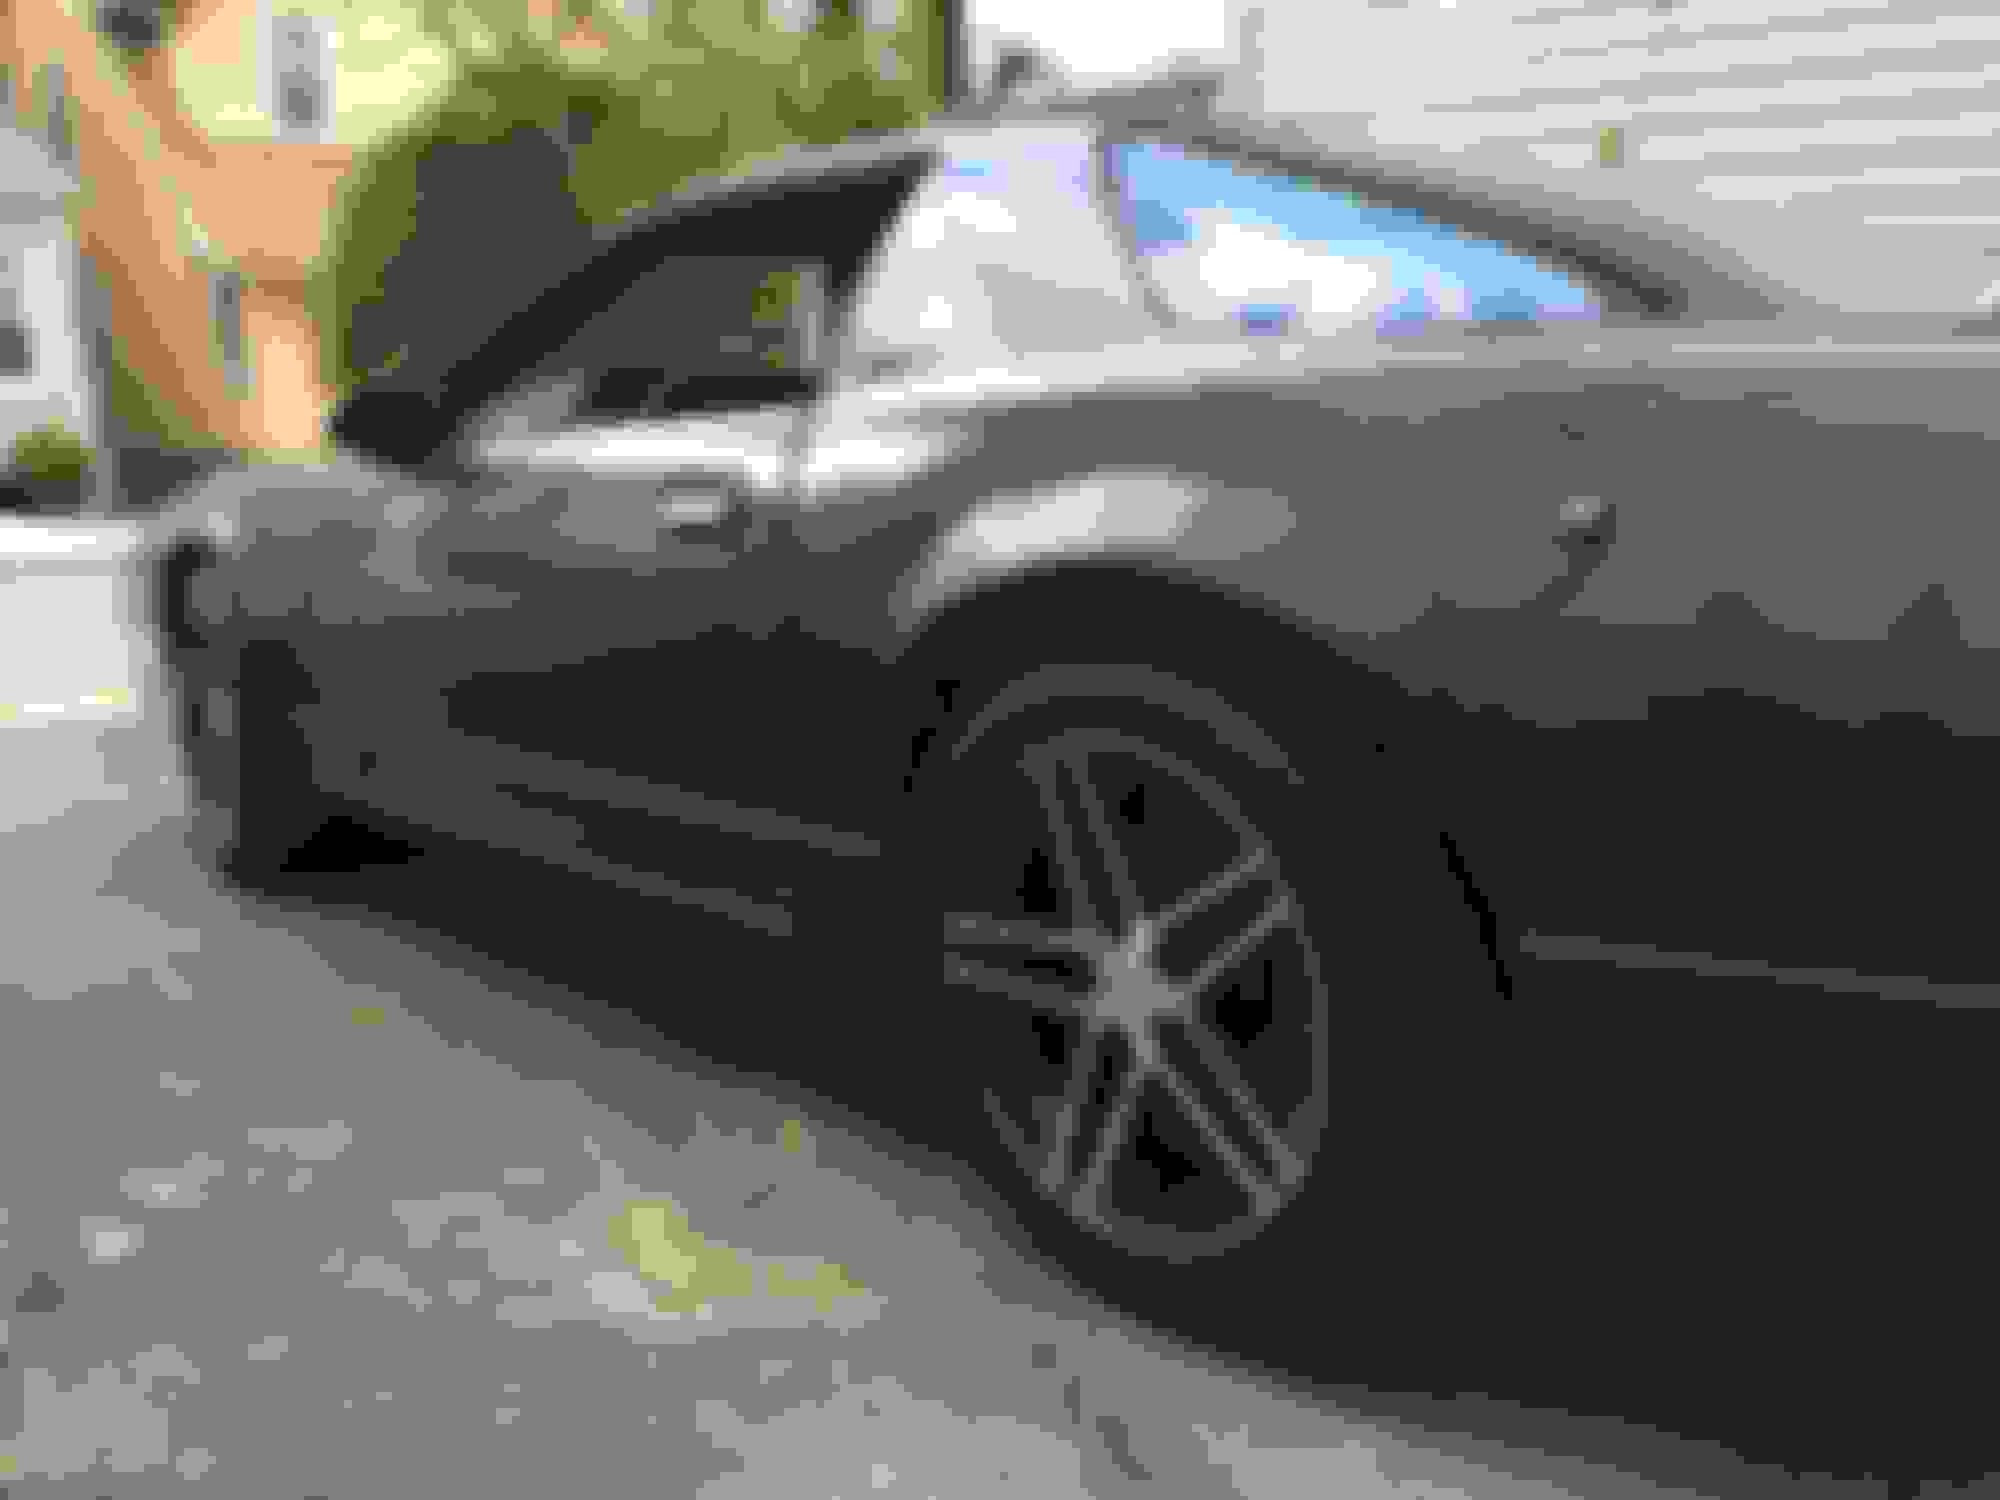
11.) removed and installed the new 5x4.75 front 1.25" Spacers. I didnt realize I used 1" adapters in the front so the new spacers are .25" thicker. I wanted the wheel tucked so i could eventually put air ride on it down the road and love the look of tucked wheels when parked. Hate it when driving lol. The new spacers actually just gave me 1/2" clearance between the wheel edge and strut. So I wouldnt go any closer or thinner on the spacer. New wheels mocked up and look great! Front clear the tierod, and so far clear basically all of the fenders etc. The front suspension is unloaded so its hard to tell. I should make some bump stops for the UMI front control arms but Just can't bring myself to welding on them and screwing up the powder coat. Rear rims went on without a hitch! using 1/2" billet spacers and everything clears! Have lots of room on inside of rim to wheel well. The outside of the rim/tire is right at the inner edge of the rear quarter lip. I could easily bring the rim/tire inward 1/2" by removing the spacers as I have enough room but Want to see it on the ground first and check ground clearances of exhaust and front Kemember/trans pan. Pretty happy with he wheel purchase, decided to not go 10.5 in the rear as I'm sick of clearance issues trying to fit the fattest tire/rim possible. I'd rather have a 275 tire with lots of room vs a 295 and 10.5" rim and have to worry a about rubbing or the wheel sticking out too far (been there and done that with 17x10.5s with 315 tires). Since I plan to Air ride it in a few years the new rims/tires will and should tuck nicely while still giving me lots of grip.
Still need to remove the wheels and tq everything down. Tq the driveshaft to rear, adjust the PHB since the car is lowered and has a PHB relocation kit. Besides the body panels most of whats left is electrical and getting the LS harness completed and installed. I also wanted to redo my header collector to 3" Sbend connections, I was using just a butt joint band clamp as the tubing isn't perfectly lined up. In fear of leaks so close to the O2 sensors/WB02 I decided to try to fit some slip fit connection joints from walker and slip joint clamps. Parts should arrive today and hope it will work! I don't have alot of room to work with so hopefully it will work well enough to not leak and skew the 02 readings.
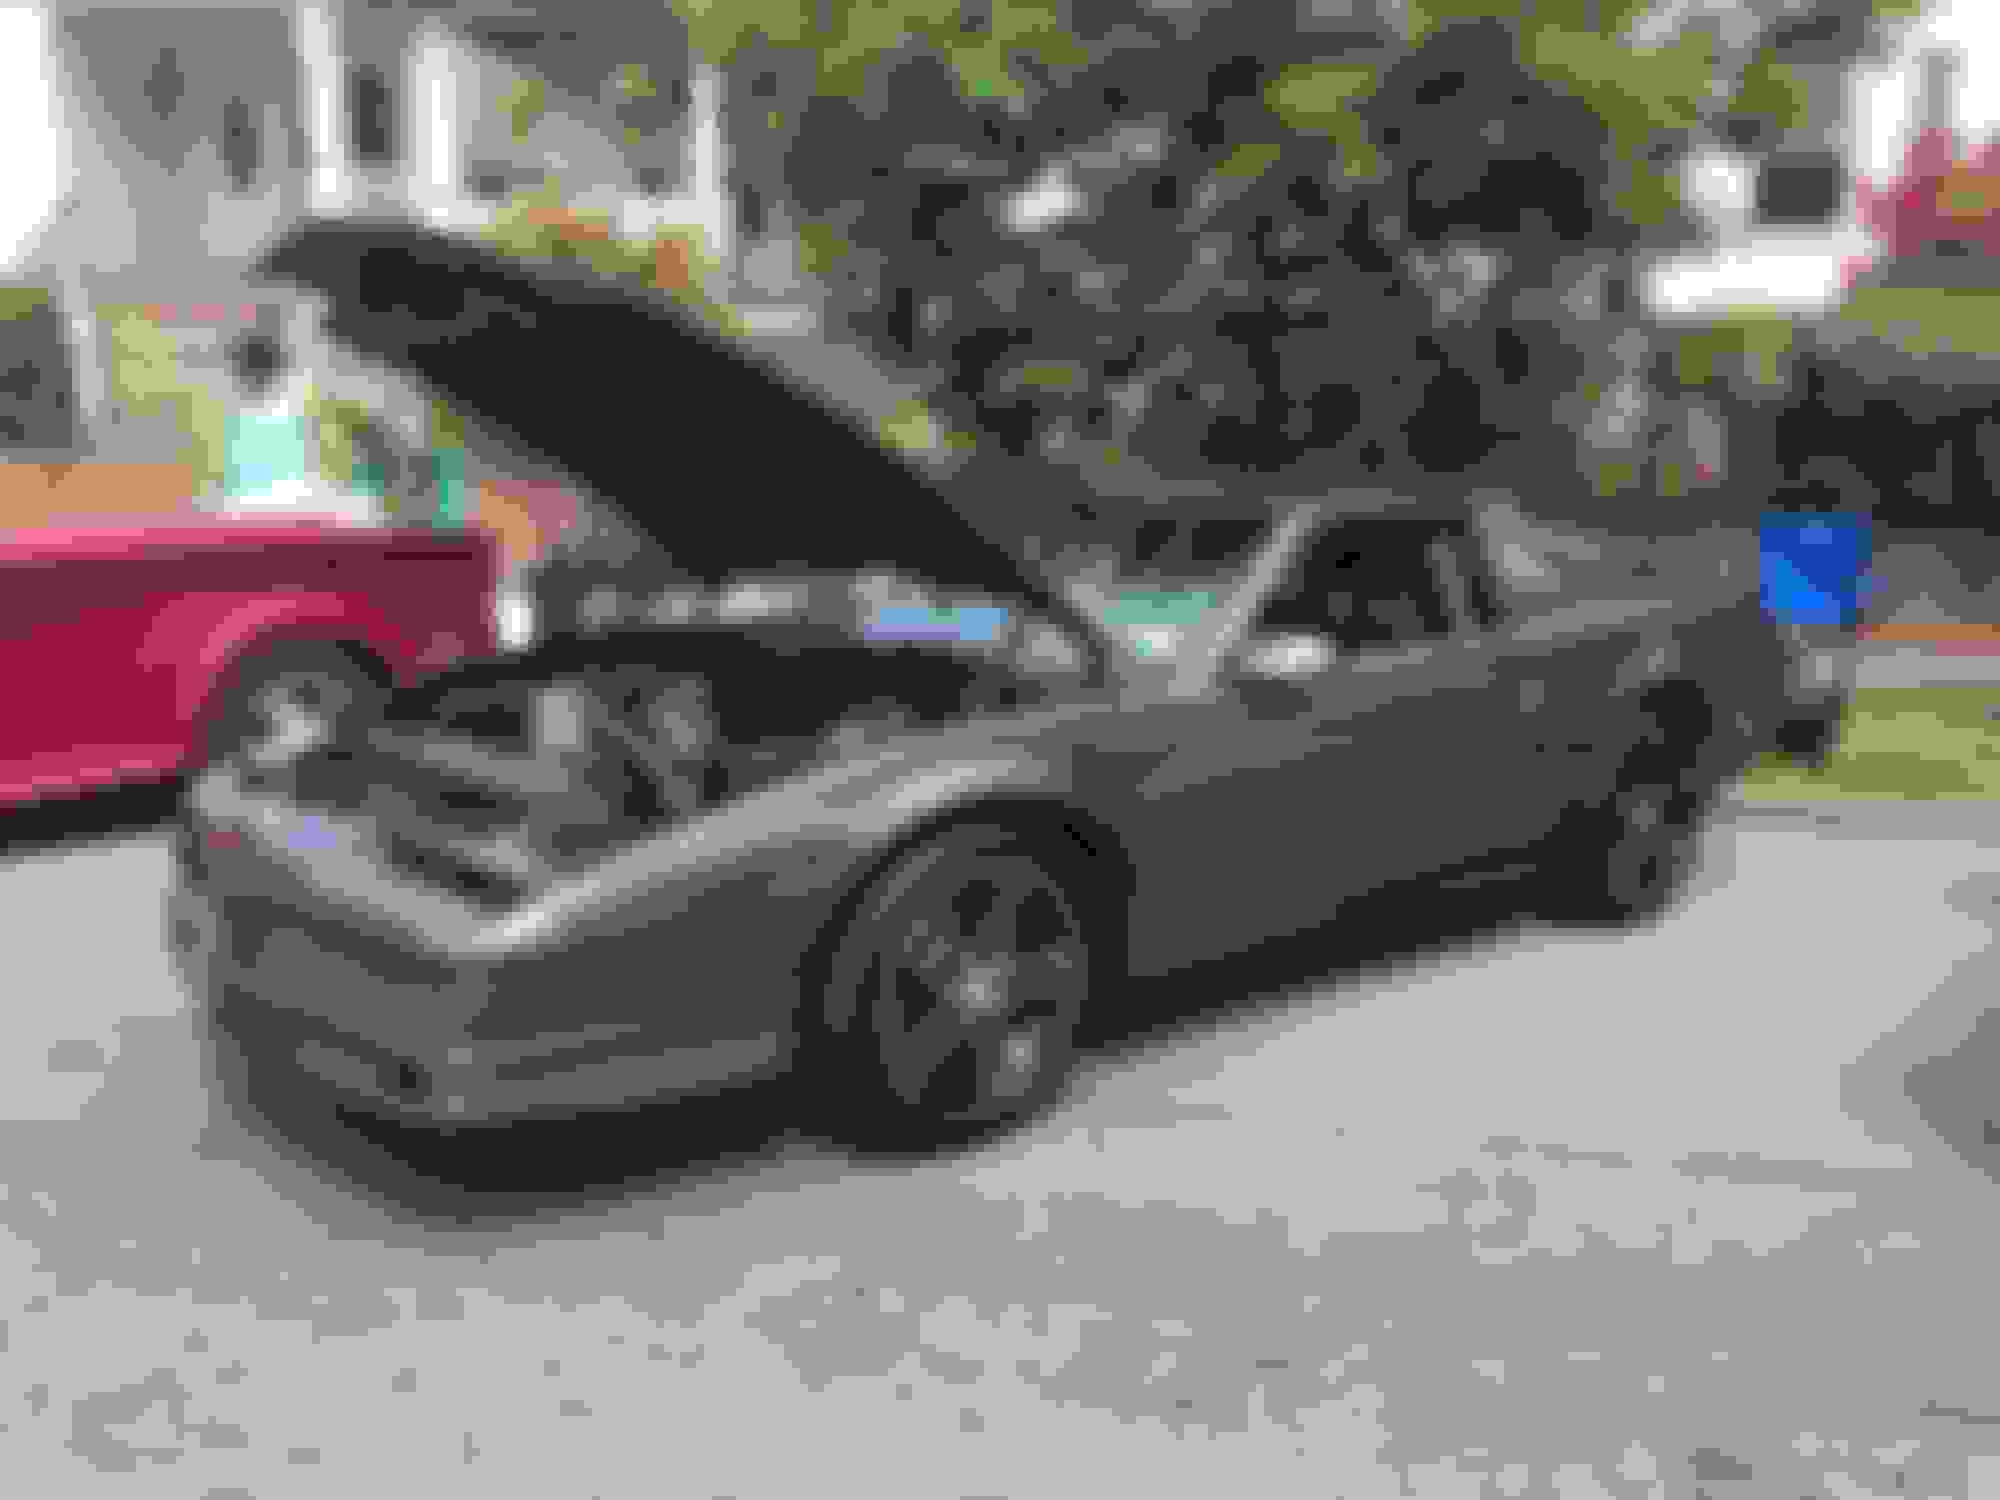
Some quick pics of the new rims/tires. In the first couple of pics you can see the old 20x10 black 5 spoke rim and tires.
Last edited by customblackbird; Feb 19, 2016 at 12:06 PM.
Got some other small things completed over the weekend when I made some time for it.
1.) Pulled 80% of the exhaust down to change the connector connections. I had 3" butt joint SS clamps connecting the SS header collectors to the Ypipe extensions. The issue was that the Ypipe header extensions didn't line up perfectly to the collector so the butt joint clamp didn't seal perfectly, it was close but not perfect. Being that the WB02 and both 02 sensors are within 6" of the end of the collector its not somewhere I would like a leak. I pulled the exhaust down to fit walker 3" ID slip connections and then clamped them with summit SS torque tite slip joint clamps. This was PITA to do as everything didn't line up originally and everything is tight fitting, also the slip joint connectors are 6" long and the original clamps were only like 4" so it pushed the exhaust back slightly so getting everything lined up was a PITA to go back together. Might have lost a smidge of ground clearance at the back of the car and def lost some clearance over the axle but that was due to the lowered rear height. Its all back together and tightened down and lets hope for no leaks.
2.) Checked clearances with the shorter 5x10.5 springs and basically had the rear resting on the 4" over axle exhaust. Decided to use the stock 4th gen rear coil spacers at the top (3/4" thick roughly) and speedway rubber spring spacers (fit between the coils. Got some much needed clearance between the rear axle tube and exhaust.
3.) unbolted and lowered the PHB at the axle side to the lowest setting. Should have be prettyl close to level at rideheight... well see when car is on the ground and I can center the rear.
4.) Removed all the old fan wiring/relays and started mounting the new relay/fan harness for the mark VIII 2 speed fan. About 80% done with that. Moved some other wiring around to make room.
5.) removed speedhut oil temp sender from the BBF oil pan and put it in the LS pan, had to extend the wiring a bit to fit.
6.) new starter is installed and wired. 0gauge wire and big @ss solder connections didn't fit the LS1 starter well, but got it to work.
7.) Installed the new snow performance injector holder after swapping the injector from the old holder. The new nozzle longer so I had to refit the charge pipe by rotating it slightly so the nozzle cleared the supercharger bracket. I should be receiving the rest of the parts to complete the meth injection on Tuesday (bulkhead fitting and float level switch)
cooling fan controller/relays and fuse block mounted and most of the wires are connected/soldered and heat shrunk including the new fan motor pigtail. Just need to connect to ECM fan control wires and battery +
Most of the new Meth/water lines are run and cut. Basically from the pump to the motor is done, need to do drill install bulkhead fitting in one tank and fluid level switch in another.
Coolant overflow tank mounted. Couldnt fit where I wanted it to so I went on the pass side battery tray.
Made some changes. Decided to use the Dorman overflow as my 2nd meth jug. Removed the OEM washer tank as I prefer not to modify it and like the look of the engine bay with nothing on the wheel wells/towers.
Picked up a cheap overflow from advance auto for a whopping $9 and it allowed mounting in 2 directions. I was able to mount it behind the front impact bar inside the driver fender below the headlight. Reason for this is I can still have access by putting the headlight up (I don't use a stock type headlight lol but retrofitted 4 bixenon projectors) so I can add or remove fluid if needed. I don't think I'll be touching it very often tho . This also meant the least amount of hose run even tho it's lower than the rad cap it shouldn't matter as I doubt I'll get any past the rad cap.
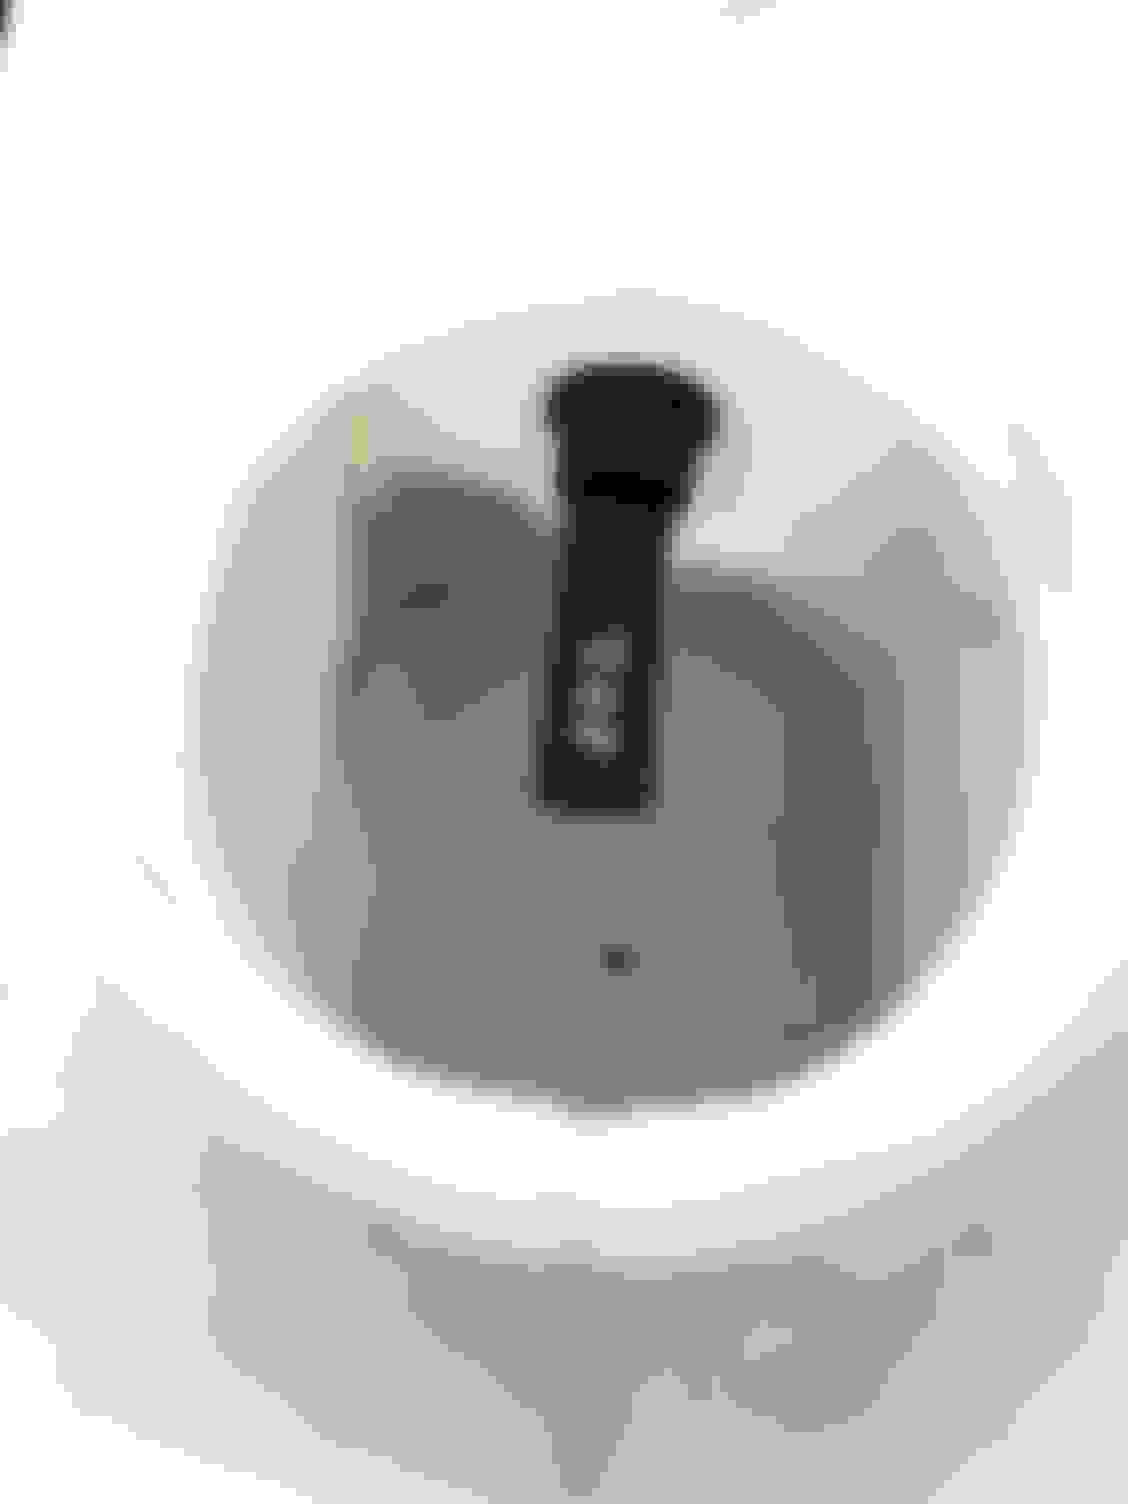
The meth hose running is all finished. I drilled the bottom of the Dorman tank for the bulkhead fitting and drilled the snow performance tank for the fluid level sensor. I tested the switch after drilling the hole and figuring the switch would need room from the bottom for the float to move to trigger the LED. Man I was wrong lol and now the sensor is mounted a bit higher than I would have wanted (like 1/3 from the bottom of the tank) but I guess it's good so I have early warning of low fluid and can be careful
Not to beat on it too bad. I then connected both tanks with 1/4 AEM meth hose and used a T fitting. Then ran the single line to the pump, out of the pump the line goes to a 16psi Devils own check valve which then had a short bit of hose that goes to the snow performance nozzle holder with internal check valve. I currently have the #3 nozzle installed.
So cooling system is fully done. Meth system is done minus electrical. Cooling fan wiring is done minus batt hookup and 2 wires activated by ECM.
Got alittle more done today. Had to rip the dash and gauges out to install some LEDs for low water/meth fluid level and operation of the meth system firing.
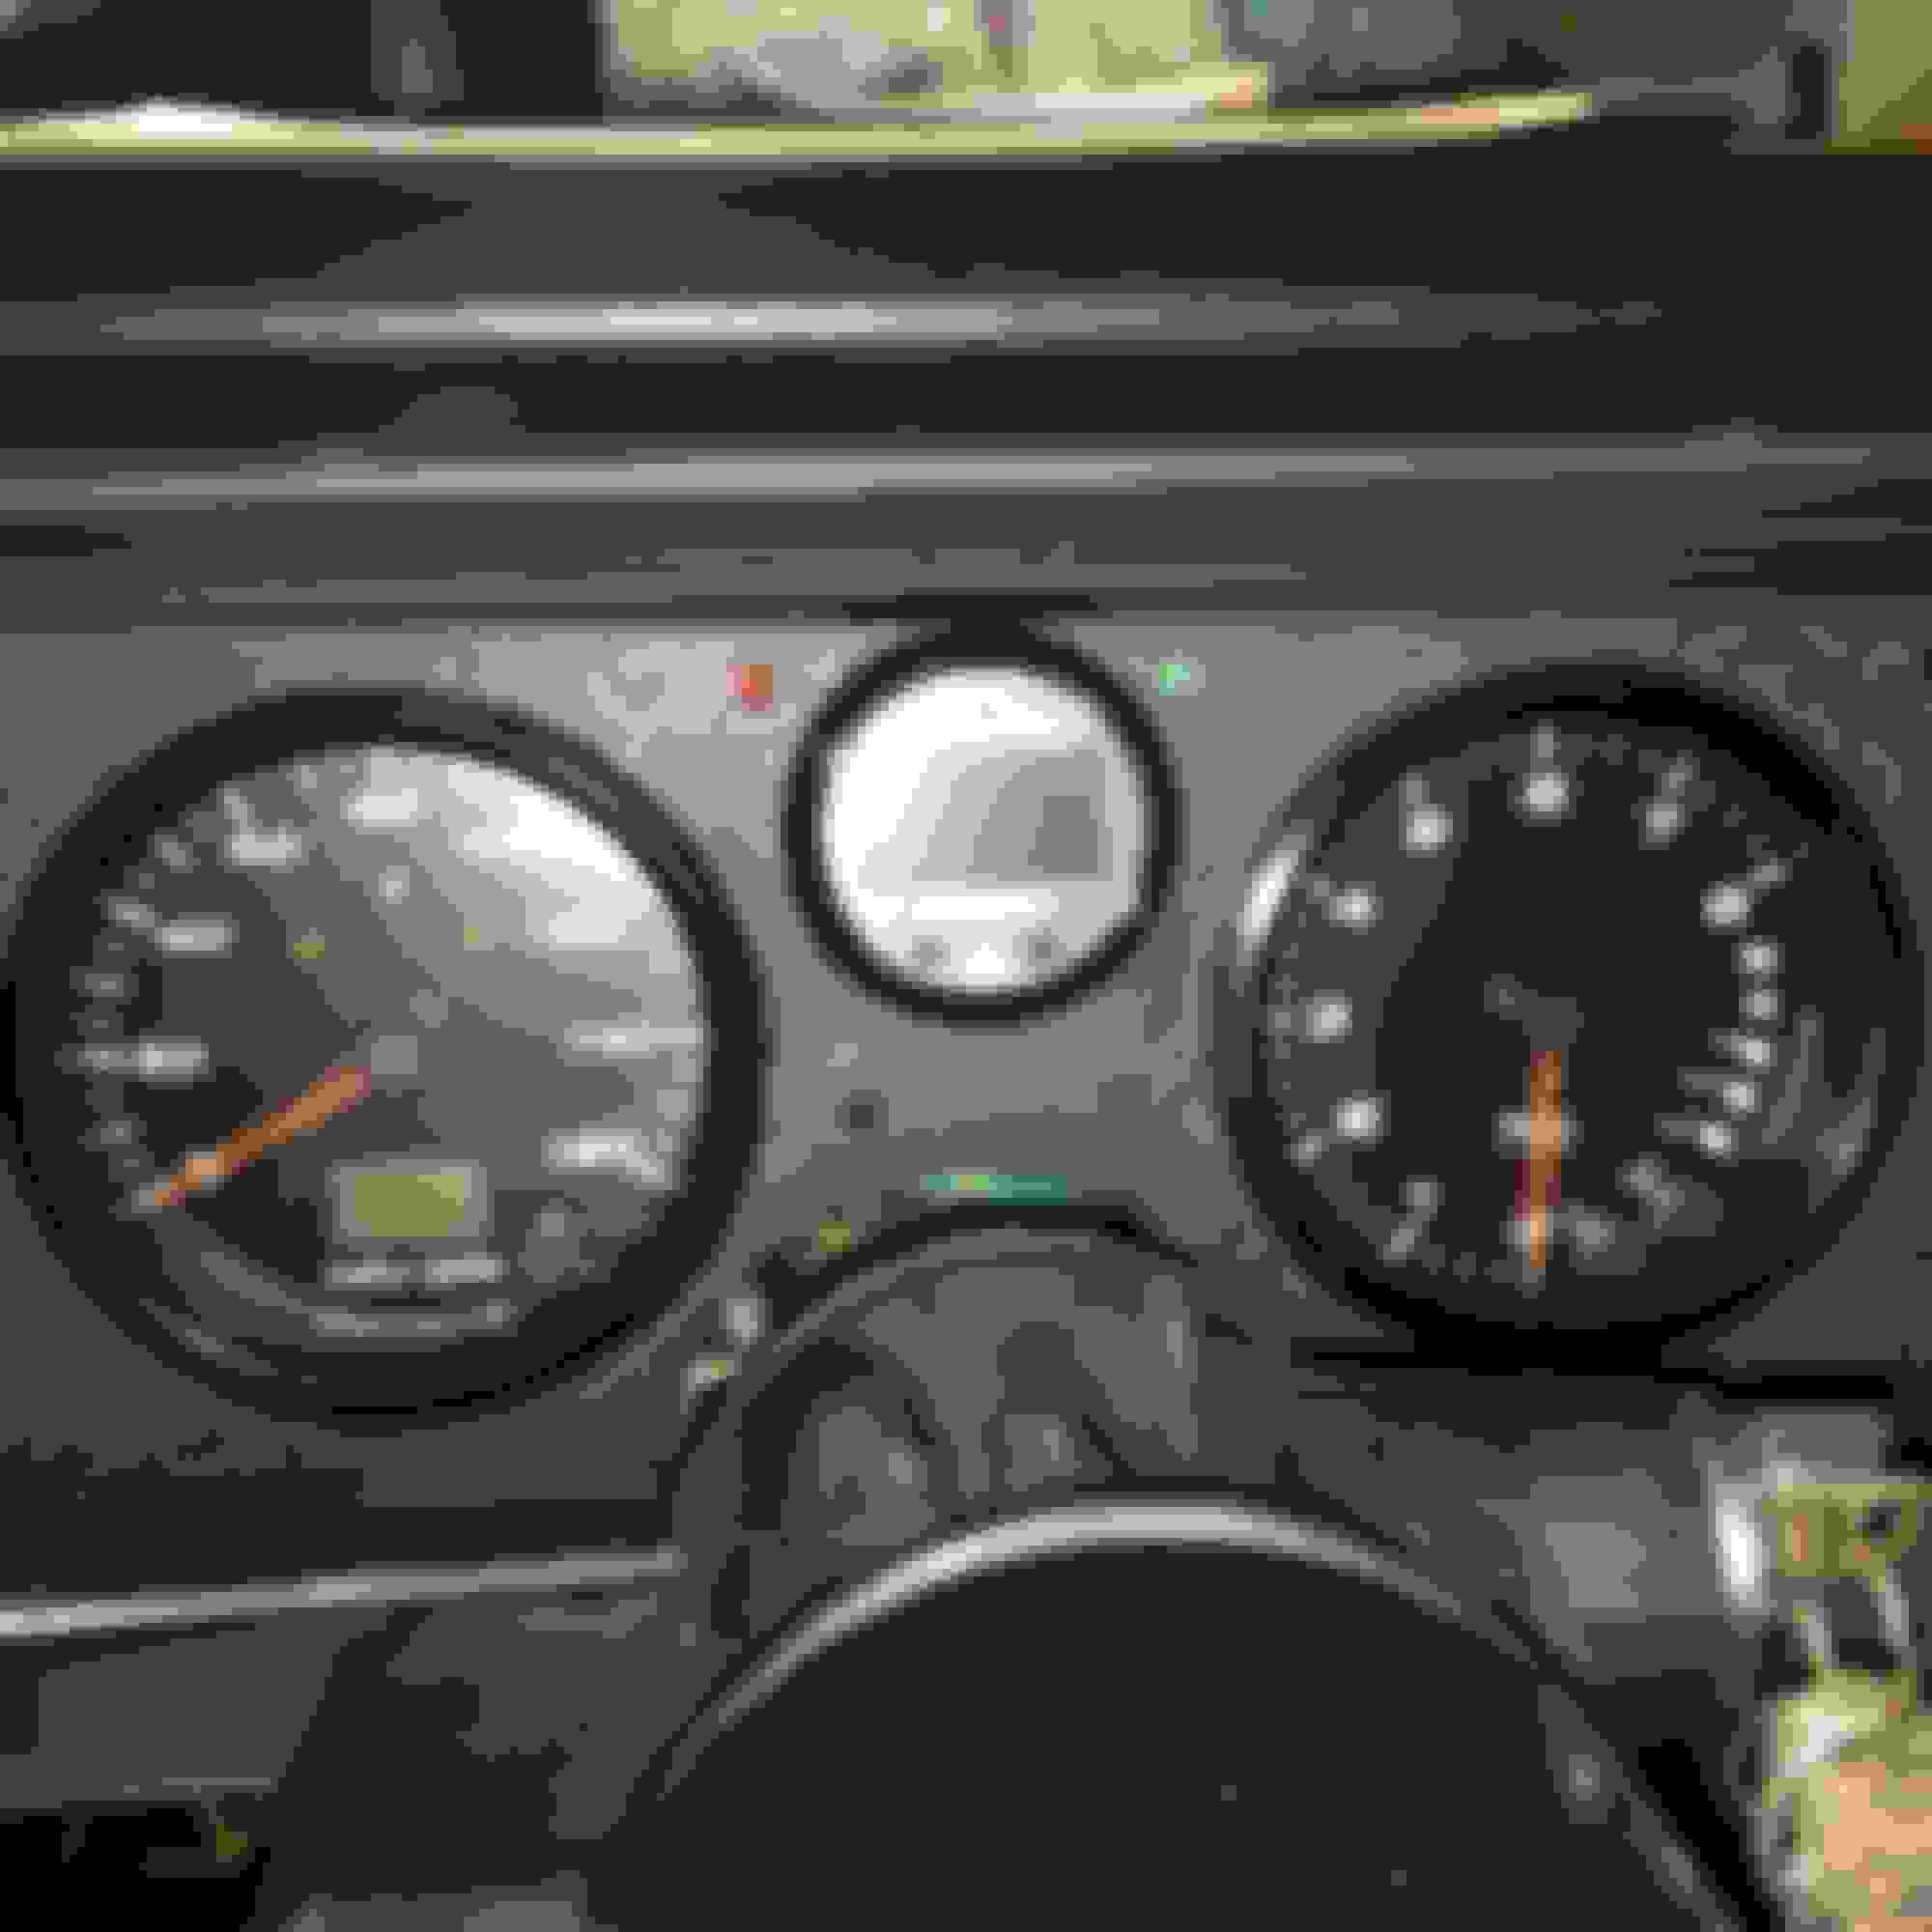
Decided to use a red LED on the left of the boost/WB02 gauge as my low fluid indicator. It's not in your face bright but it's right in my field of view at all times so I will see it if it lights up and I'll know I'm low. On the right of the Gauge is a green LED which will turn on if the meth system fires. Both LEDs are fed with switched 12v from the dash and wires run for grounding by the fluid level sensor and prob the meth relay.
The boost/WB02 gauge is mostly wired up with a molex connector so it's 1 connection with the Warning LEDs and all the gauge power/ground and taps for data logging.
Also looking at how to install my Holley fuel pressure switch which will be my new boost pressure switch for the meth pump relay. I tested it and it's good for 5.5psi before it switches so that's when my meth will activate.
Decided to remove all the battery positive and negative cables including the remote starter solenoid and all wiring to the starter. I had made some 0 gauge pos and neg battery cables which I removed. Mainly due to the battery wire hookup to the starter which the cable terminal didn't fit the mini starter terminal and caused it to be cocked and put a lot of pressure on the plastic separator between the starter terminals. Also my connections at the battery had multiple positive with battery post extenders which I wasn't a fan of doing. Decided to use the stock truck battery cables and the OEM battery terminal block from the Silverado. I know it's a step backward in gauge thickness but the wires look heavy. I would guess the truck wires are 2 gauge and they have the correct terminal ends for the starter and such and give me a better point to jump off at the battery. Running the wires on the OEM driver side would have required me to move all my battery stuff and battery to the driver side, also meant moving all my meth stuff and containers. Decided it was easier to keep battery on the pass side and route the wires to fit. Although a pain and they aren't the prettiest they will have to do.
Finally finished the Standalone harness. Phew. I had to figure out how to wire up the fuse panel/block but then kill half the coils with the relay that the boost controller controls. So now if boost exceeds my limit or A/F is not in my depicted zone the relay will open and cut half the injectors causing the motor to run on the same 4 cylinders that they use for cylinder deactivation. Thus killing half the motor and boost safely. Sweet idea I know right lol.
After finishing I went to mount the harness to the car. This sucked as pulling the harness through everything that's already run and under the fuel rails sucked lol but got it! Finally got the FIC injector adapters to convert the LS style to the truck and they worked nicely. I could or should have removed more of the injector harness but whatever at this point lol.
I was looking for placement on the pass side firewall but lucky me the supercharger filter was there taking up all the d@mn room. Couldn't really fit it anywhere as the PCM is so darn bulky. I quickly wire brushed the PCM and hit it with some graphite wheel paint. I then realized I could mount it to the firewall but would have to move all my fan relays/controller/fuse block as well as most of my fuse blocks. Ugh so I moved everything and pushed around the fuel lines. Now it all clears and looks much better. Had to shrink the SC tubing length to clear the stuff and it's very tight. But it's all there and hopefully will clear the hood and the STB.
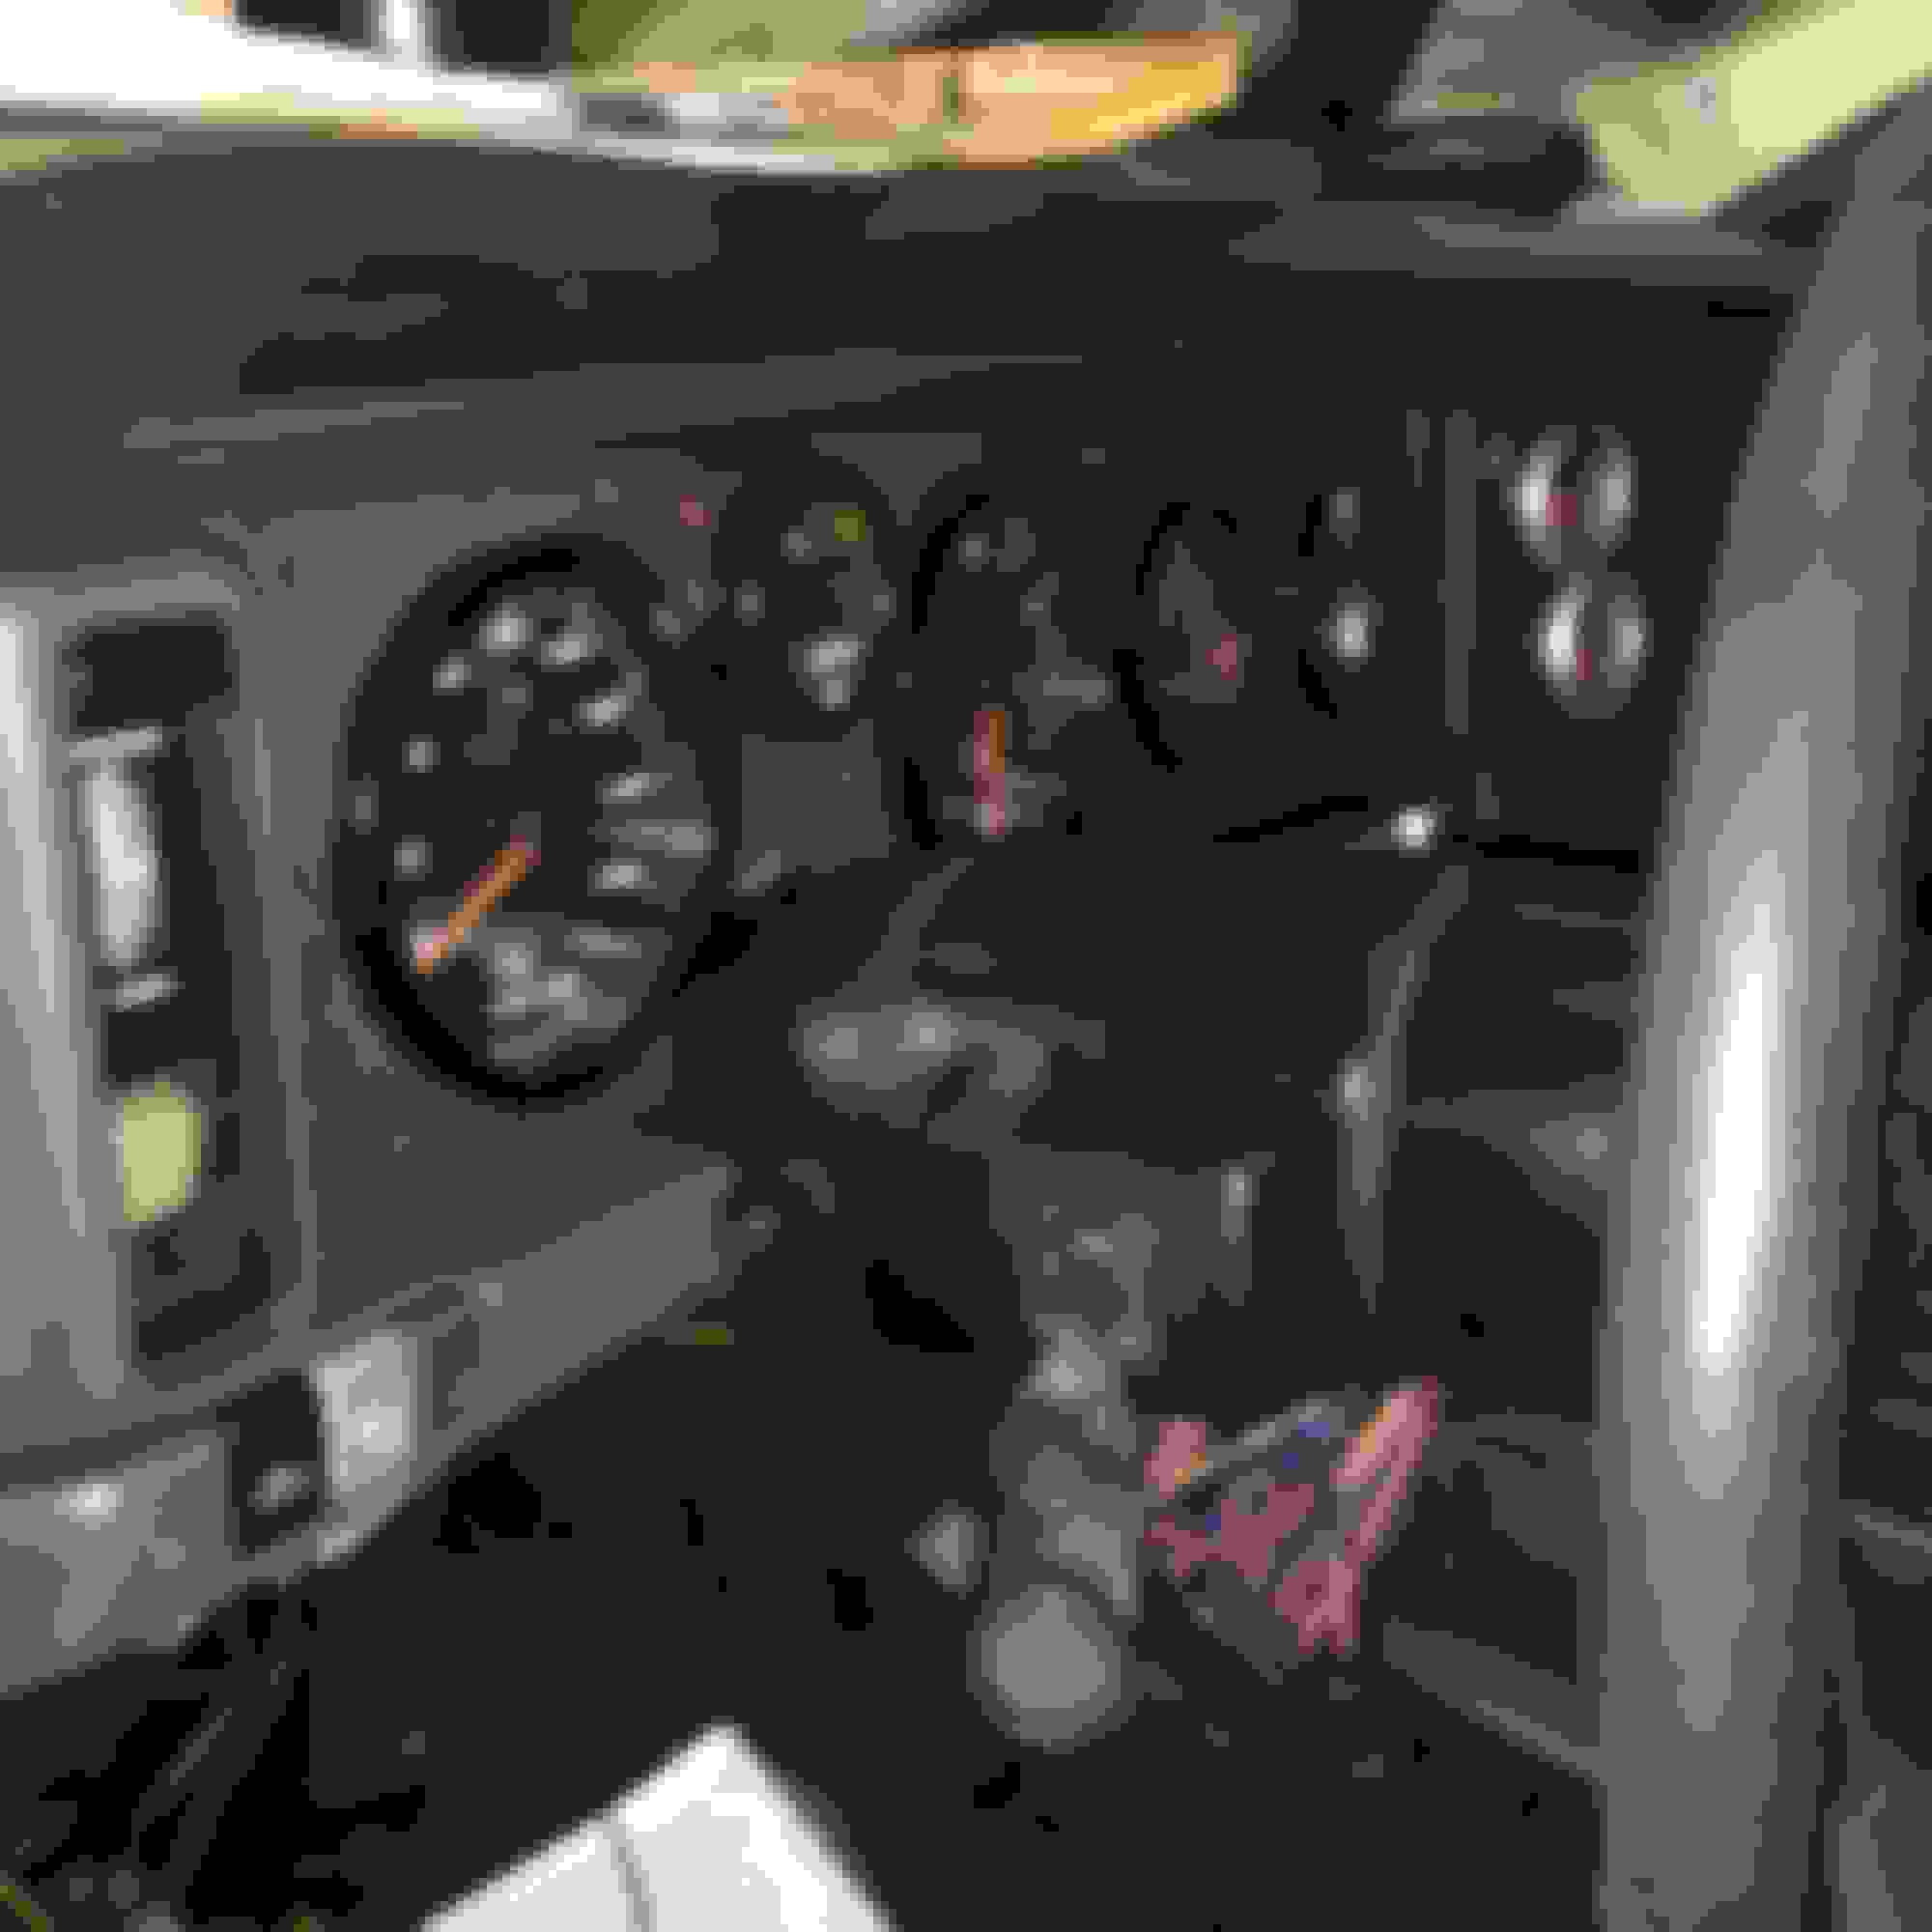
I've also finished the tach wiring and putting the OB2 port in the radio pod. Also finished up the wiring for the innovate PSB-1 gauge. Just need to hook it all to the HPT pro interface. Also popped on the new dash pad/glove box I got off eBay into the OEM place.
Now it's mostly just putting stuff back together, tubing and then hoping the darn thing starts and turns over.
Just some small updates. Basically finished up the ignition with the new Taylor 9mm Firepower wires. They have 25ohm/ft resistance and I'm very impressed with their fitment and quality. Nice solid clicks on the plugs and coils. I used a good bit of dialectic grease on the plugs and coils to keep moisture out. Installed the coil covers and oil catch can permanently. Prob going to have to pick up some wire cover to finish up the engine bay and I feel like I want to move the filter over a hair so i might need to get or find a 15* silicone hose coupler in 3.5" but no luck yet. I would like to tuck it over more to fit into the pocket of the ECM.
Not too much left.
Finish up small stuff in engine bay
Install battery
Put interior panels back in under dash.
Drop car down and push it out and back in to straighten it out.
Tighten driveshaft flange bolts
Tq front wheel adapters and wheels
Put pass fender, front bumper and GFX all back on.
Setup HPT pro and get base SD tune and stuff installed on stock PCM.
Then fire it up and hope for the best.
Plan on putting in 10w30 conventional valvoline and purolator filter for initial startup and running. Then swap to mobil 1 full synthetic in 5w30 or valvoline full synthetic 20w50 which I have laying around with a Mobil 1 filter. I just want the conventional in for alittle as the motor had a ton of miles and unsure of how it actually ran.
The 135* wires clear the header primaries without any issues. Had to return my summit wires and a lot of sets won't clear.
Rubber sealing lip inside coil wire cutouts to keep rubbing and arcing to a minimum. They push down on the coil wires significantly.
Last edited by customblackbird; Mar 16, 2016 at 11:20 PM.
Figured out what I wanted to do with the fresh air intake for the supercharger. And didn't have to buy anything! Modified the tube and ran another coupler that I got with the super charger kit. Moved the fan relay block and fuse link so now the filter fits into the corner and the empty space in the ECM. Also installed the strut tower brace so I could verify clearance. Have to spot tie the throttle/tv cable so it doesn't get wedged under the back of the STB and intake.
Also decided to use the OEM washer tank for meth as that side of the strut tower looked "bare" compared to the pass side with the supercharger and battery cable etc.
Hopefully this is the last of the changes. Going to start putting body panels back on at this point.
Got the inside all buttoned up. Finished connecting everything and bundling. All interior body panels are in. Need to figure out what I want to do with the new OB2 port. I still have the stock one around the OEM location but moved out of the way. The new one could be mounted in the same spot but I didn't like the OEM ones location due to my knee getting I the way and since I plan to datalog with this setup it's going to have to be hooked up while driving. Right now it's in my radio pod and is super easy to remove the cover since nothing is there and will allow me to tune and datalog with no fear of my knee getting in the way.
Also hit the driveshaft flange with the impact to tighten it all down. Installed pass fender, both front GFX and front bumper. And decided to raise the rear ride height up 5/8" at the spring (weight jacks) hopefully this will Even out the front and back. My 4" tuning was pretty close to axle tube at the low ride height. Filled the cooling system with 30/70 mix prestone yellow bottle with a cooling agent and actually need to get some more. Still Need to put oil in it and replace the filter.
All in all very close to flashing the PCM and starting off with a new 2bar SD OP and start tuning. Just need to clean a lot of crap off and in the car before I crank it.
Suspension needs to settle still but I think judging by last summer and these weight jacks that it should settle another 1/2-1" after a quick drive.
I notice the air filter is sitting right where the old HVAC fan used to be. I realize this is easier said than done, but... What if you used the original HVAC fan inlet as a cowl induction air source for your air filter?
I notice the air filter is sitting right where the old HVAC fan used to be. I realize this is easier said than done, but... What if you used the original HVAC fan inlet as a cowl induction air source for your air filter?
Thought about that. But I have the LS PCM mounted right there covering the whole thing. I also tack welded a filler plate on it. Inside that hole is actually not a huge amount of room for any decent filter. So to run it there would be counter productive due to lack of space inside. I will be making a block off plate/section to isolate the filter from the engine heat and seal it against the hood. Since the in that corner there is a large hole between the fender, firewall and strut tower it should receive a healthy dose of fresh air from the wheel well. I do no let run wheel well liners and my fenders are the TA vented versions.
Looking good man cant wait to hear her run! Also where did you get those spacers for the strut mounts because I was thinking of making some.
Me too!
They were custom made from billet stock. They re like 1.5" DIA x .5" thick and drilled/tapped for 5/16-18 bolt. They were pretty cheap but they sit on Spohn strut coil
Over reinforcement plates which I've turned into a very large strut tower brace mount. So the load is spread over the whole top
Of the strut tower. Also the plate is 1/4" thick so it equals like .75" in spacer thickness plus the extra 1" with the J&M strut mounts for a total of like 1.75" of strut clearance to keep the strut in the sweet spot.
Had to replace my mother in-laws entire front suspension this weekend. Struts, lower control arms, inner and outer tie rods sway bar end links... That sucked!
But ended up making some time to work on the car alittle. Removed the rear springs 5x10.5" @ 150lbin and the. Cut my 5x13" @ 175lbin to the same height. Couldn't adjust the rear 150s anymore by hand to increase ride height. The 175s with me maxed out gave me enough clearance for the 4" exhaust to the axle tube which it was resting on with the 150lb springs. I'll prob have to pick up some 200lb 5x11" and run those at some point if I feel that the 175 is too soft.
Buttoned everything else up on the ground and got her down on the ground for the final time! woohoo! I had tq'd the wheels to 100ftlbs before putting her down. Got the car mostly cleaned off. Gotta clean all the crap out of the inside and then it's just hooking up the battery. I need to go over HPT and see what the process is for tuning but they just came out with a new update I have to down load. Then it's saving the OEM tune and plugging in the new 2bar SD OP.
Unfortunately my first born is due on the 12th so I might not have time to do anything for a while. Might use the time to set up the tune if I can. Does anyone know if I need to have the tuner plugged into the OB2 port while I'm working on it? Or can I set up the tune inside and then connect to the ECM at another time after saving before writing to the ECM?
You don't need to be connected to work on the tune. If your PCM has a tune you want to work OFF of, then you need to pull it. Otherwise, you can save a tune and work on it, then flash it later.
While my car has been down for bodywork/paint, I grabbed a stock LS1 tune to play with and learn on. Once I get my car running, I'll pull mine off my ECM and start datalogging. But, I can change everything while not connected to the ECM.
Congrats on your first born. My first born is due in August and I'm afraid to tackle my swap, not knowing how it's gonna be and my dang new garage is taking away all my money!!
Thanks R13 and thank u. Yea I'm worried about even starting the darn thing up like 15Ft from the kids room lol. But I want to drive the darn thing lol. I guess I'll have to hook the battery up and try to download the tune even tho I've pulled some tuned files off HP website. I def want the stock one to look at and compare. But as I expect I'm going to have a lot less time to fuss with the car which is why I rushed to get it done to this point at least.
Lol windshield works just as good. It's actually all off now, kinda just piles up. Also I'm in a cheap tent out in the cold doing it all sloppy style. No garage for me, if I were to make a plywood table it would then be the fanciest thing out there lol
Updates. Battery is hooked up, PCM has been read, switched to custom 2 bar OS and I've uploaded a base tune. I have verified fuel pressure and adjusted to 58psi with no vacuum. Pulled the cheap eBay 2 bar MAP sensor and ordered a GM performance 2 bar MAP sensor. In the scan the cheap MAP looked correct reading 0.0psi with engine off but then I tested it with a mitivac and got voltage readings that didn't match up with what it should be around. Decided to just but the $68 sensor ugh.
Car is on the ground, meth is filled. Waiting on my new AEM meth flow gauge with fail safe and how I want to wire it in.
Then I Just need to start her up. But my first child/son was born on the 31st and have been at the hospital a lot but he's coming home today! So starting up my boosted 5.3 with a 4" is not going to be fun with the newborn lol.
Holy $hit!!! She's alive! Had some issues figuring out tach output but found out my innovate WB02 was back feeding tach signal to the speedo causing issues.
Took like 6 cranks but she started up and idled smooth! 900rpms cold and dropped to 600ish warm. A/F was alittle rich in the 13:1 on cold start which is perfect and then leaned out to 14:1-15:1 on warm idle. Got a little bit of a lean tip in giving it gas in park but I think I saw a quick boost reading at 1500-1700rpms BOV sounds sweet!!!!
Didn't do any logs or anything as this was just to see if it would start and verified no leaks and no real issues. Fan came on at commanded 170*F and took temps right back down and never needed the 2nd speed. Car is quieter than I expected at idle. You can hear the motor noises and supercharger very clearly over the exhaust. Didn't get on it higher than 1500 but it's gona get louder I can tell when I step on it lol.
Very smooth and wish I did this years ago. Can't wait to get it out and running to feel the boost kick in!
Hears a quick video of the first startup for your viewing pleasure.
Just updating. Did good but of work recently. Added a second meth nozzle and FMIC. Tune is still safe but car is very fun to drive. Been up to 8psi at 4400. At this point I'm tuning Heavy throttle and watching my IATS. Which are in the 140 range after being warmed up and hit 160 at 8psi on a short pull. Meth wasn't being activated till 7psi ish so I swapped it for a 2psi switch and meth should be more useful.
She cleans up nice! I really like those wheels, goes with the color and stance very well. Don't think they'd go with red as well though. Any more info on the headlights, or did I just miss it?
She cleans up nice! I really like those wheels, goes with the color and stance very well. Don't think they'd go with red as well though. Any more info on the headlights, or did I just miss it?
Thank u. I don't think they look bad on a red car. I originally wanted the machines face black C5 rims but they were out of stock. I still might go that route eventually as the wheel/tire packages are so cheap now a days.
Nothing on this thread about the headlights as they were done before the engine sway. I have a seperate build thread on them located here https://www.thirdgen.org/forums/fabrication/713943-my-firebird-quad-projector.html
They are 4 bixenon H1 mini projectors, 4 50w HIDs and 6k bulbs. Fogs are 35w 6k as well. Headlights are lazy eye setup so they only pop up 1/2 the way. Light output is pretty amazing and thinking of upgrading to dual mini 7.0s for max light output.
Thank you! would love to see pics of your car/build. Esp If your running an IC. I pulled mine as it increased engine temps by 20*F or so but I might be going back to it. Gotta figure out how to get airflow through it without blocking flow to the rad.