When you click on links to various merchants on this site and make a purchase, this can result in this site earning a commission. Affiliate programs and affiliations include, but are not limited to, the eBay Partner Network.
Did you use the landau black over the texture? Just ordered my bezel need to order paint. Warmer weather is coming so gathering my stuff up to do this.
Did you use the landau black over the texture? Just ordered my bezel need to order paint. Warmer weather is coming so gathering my stuff up to do this.
After the SEM texture paint I just sprayed it with a standard black car interior paint but don�t remember brand. I can look later and post then.
Did the same thing when I got my Alpine last year, took the guy who was printing a few tries to get it to print properly but it turned out great! Only cost me about 30$ w/ Shipping (within Canada)
Was gonna fill in the print grooves with puddy and paint it but I actually like the look of it.
Hey guys who did you use for your 3d printing the guy 3dhub link me to told me the print will be weak with scarring and will break easily
The guy or 'hub' that printed mine is located in Quebec because it he was the closest guy who had a printer big enough to print the radio bezel (The Lulzbot Taz 4) Here's his hub link.
The first print he made didn't turn out very well, but the second one was perfect. There was a postage issue when he mailed me the part and so I asked him to make a third one, then the lost parcel arrived at my door so he told me he'd keep the third one in case mine broke. Mine is perfectly fine so if you contact him about the Camaro Radio Bezel he may still have it in storage. If you're located in Canada he's the one I'd order from, shipping was very cheap, even across 3 provinces.
thanks for the info was yours the reversed style with the hvac at the bottom? That's what I'm looking for
thanks for the info was yours the reversed style with the hvac at the bottom? That's what I'm looking for
I actually didn�t end up going through a printing service and I purchased a printer just to help me make some more parts for my camaro. The reversed file worked perfect for me and so far I printed three(one for my car, my fathers iroc, and a friend) and all were definitely not brittle. Maybe you should get a quote from another source if they were giving a hard time.
I had Matt at 3dhubs print mine. Used abs and seems as solid as the stock one. I didn't get the HVAC on bottom but think I'll try and invert the standard double din since my pyle is too long to fit on lower. The duct work keeps it from going deep enough. Have not got past a few mock ups but will get it figured out without rigging it.
thanks for the info was yours the reversed style with the hvac at the bottom? That's what I'm looking for
I wanted to keep everything stock so I didn't bother moving the HVAC. But there is a 3d file of the radio bezel with them reversed and it should print basically the same.
So far if you go to thingiverse.com and choose the correct file for either camaro or Firebird you can order the file printed. That would be the only option unless you have a 3d printer currently.
I don't know how much goes into printing something like this but I guess I'm surprised nobody on here is selling these. I would rather buy from someone on our community than someone I've never had any contact with.
I may be running some camaro ones off as well as the cup holders designed for the camaro ashtray soon I just need some time and I may eventually be willing to sell some for people just trying to figure out the cost of product.
Hello Everyone,
Within the next week I’m going to run a few different double din bezels off such as reverse, camaro, Firebird. After I see how they turn out I’m going to see pricing for the material and I’ll post some pics up and for anyone interested in buying one just message me and let me know. More progress will be up soon.
Has anyone that did the reverse bezel actually got their radio to fit? Besides the parrot smart radio. I am having trouble getting it to fit because of the upper brace not allowing it to sit at the correct angle. If anyone has got it to work please let me know what you did. Thx
Has anyone that did the reverse bezel actually got their radio to fit? Besides the parrot smart radio. I am having trouble getting it to fit because of the upper brace not allowing it to sit at the correct angle. If anyone has got it to work please let me know what you did. Thx
So I worked on my car today since we got a streak of nice weather I brought the car home for some work!! The metal support for the dash was also a problem for me that I didn�t realize was there until you mentioned. I cut the support out of my car and trimmed the opening and I shook my whole dash and everything and nothing major moved so I reattached my console to the sides of the dash. After some trimming everything fit great but I forgot the darn pictures so I will update tomorrow with some pics.
Not sure I am willing to cut that out or not. I will have to do some research and what the whole thing looks like. Let me know if anything shifts or rattles when you drive it next.
Not sure I am willing to cut that out or not. I will have to do some research and what the whole thing looks like. Let me know if anything shifts or rattles when you drive it next.
Ok so I did end up driving it back over to my storage garage and nothing rattled. The way I cut the support out though I left the two sections on either end that mount the console to the dash so everything is secure. The only thing is I still have to take things back apart as I have a new antenna coming in the mail and a USB port I�m gonna install. I�m very happy with everything so far only a little bit more to do once the new parts come and most of my interior job will be complete!!
I actually have a design for it there will be a USB port right in the front area of where the parking brake is. I have to install that eventually but I haven’t gotten a couple parts to need in the mail yet.
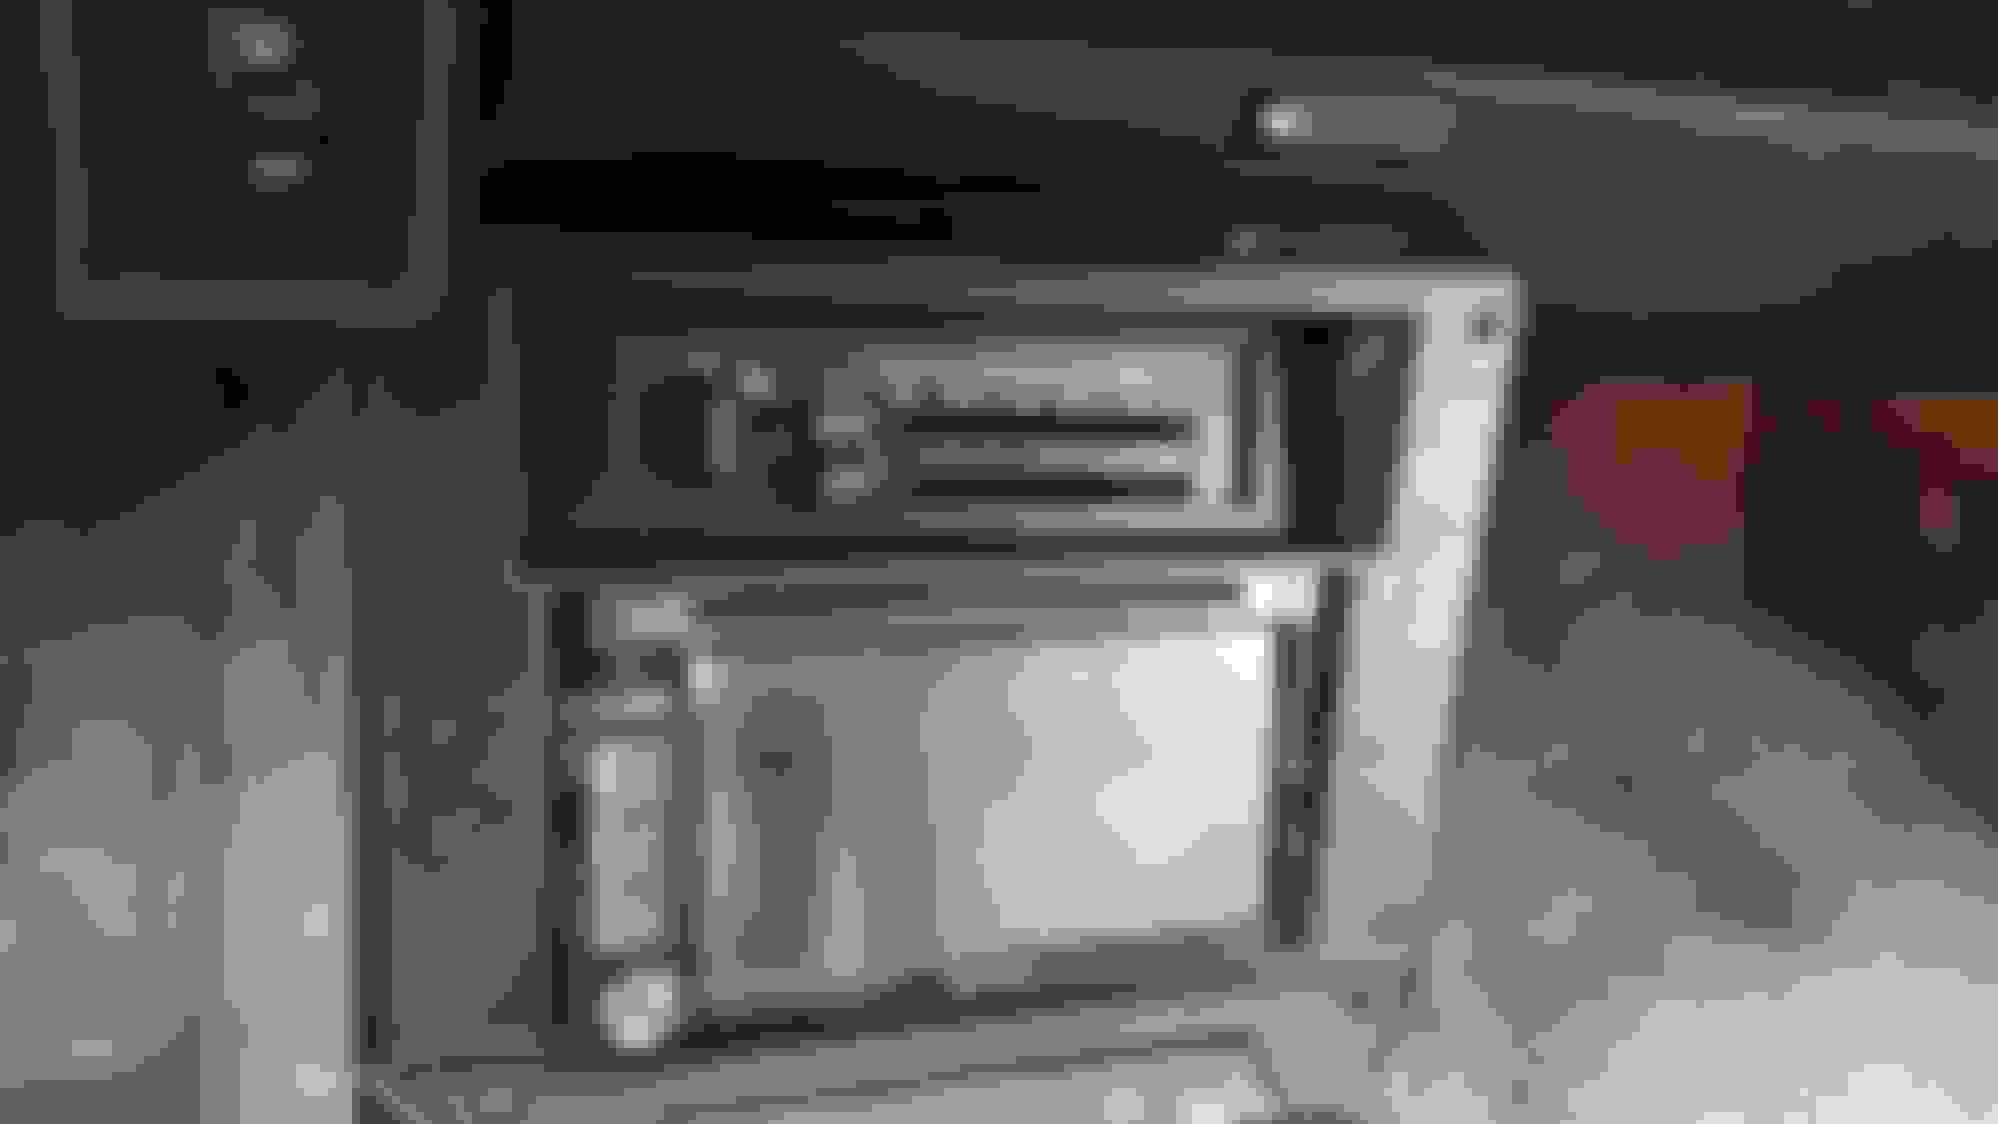
I had mine printed a little while back, but finally got a day off to install it. I wanted to prime it before painting to make the surface uniform, but everything looks great. I moved the hvac controls up about 1/4". Now that I know it fits Ill do a sand, one more prime, then texture paint and final paint.
The alpine ilx 107 is nice, but probably not worth the money compared to other Car Play receivers.
Sorry I never got back to you I’ve been away for a little bit but I was still trying to manipulate that file as I can’t get it to position right to print with my machine. May decide to mess with it again eventually just working on camaro stuff first. I’ll let you know if I change my mind and actually can figure out the issue I was having!
@G92, Are you making these to sell here on the forum? I am also very interested and would rather support someone on here then a random person with a printer.
Side note, did you make the cup holders or is that something that can be ordered? I'm new to the third gen.
Hallo DynoDave43 deine radio blende ist echt gut gelungen 👌 h�ttest du zuf�llig die richtigen druck Dateien f�r mich? Ich habe einen der mir das mit einem 3d Drucker drucken kann.
Ich baue mir gerade meinen pontiac firebird zum KITT um und m�chte unbedingt so eine blende haben, da ich mir ein 2din Radio von xtrons gekauft hatte.*
Liebe Gr��e Simon*
*
"Hello DynoDave43 your radio aperture is really good �� would you have the right print files for me? I have one that can print that to me with a 3d printer.
I am currently converting my pontiac firebird to the KITT and I really want to have such a blind, as I had bought a 2din radio from xtrons. *
Greetings Simon *"
Welcome aboard Simon!
That is not my part. It belongs to member Cehbra. Hopefully he will chime in with your answer.
Hallo DynoDave43 deine radio blende ist echt gut gelungen 👌 h�ttest du zuf�llig die richtigen druck Dateien f�r mich? Ich habe einen der mir das mit einem 3d Drucker drucken kann.
Ich baue mir gerade meinen pontiac firebird zum KITT um und m�chte unbedingt so eine blende haben, da ich mir ein 2din Radio von xtrons gekauft hatte.*
Liebe Gr��e Simon*
*
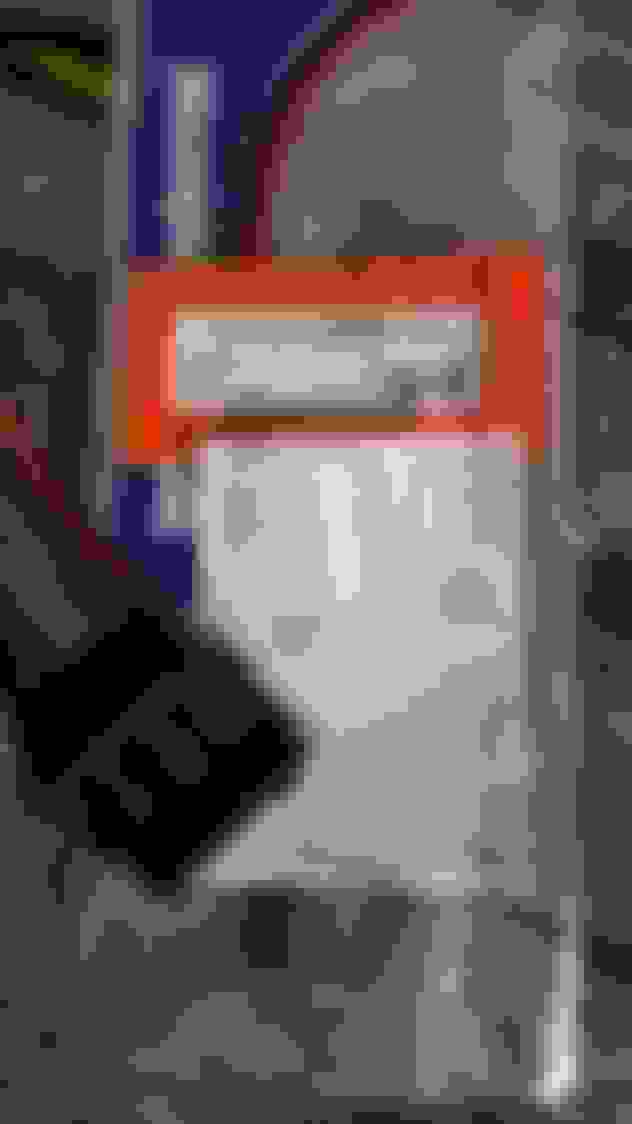
Needs some sanding and spray paint to finish it. Very happy with this; i did not want to molest the original frame and i will keep the original wiring intact so i can go back to full stock in the future.
Some pictures of the install. I purchased a 2DIN android head unit and put it in the car. I want to be able to get all back to stock, so I ordered the correct wiring harnass for my car:
Soldered that to the ISO connector that came with the radio. Good thing all the wire colour coding matched.
Made the job a lot easier.
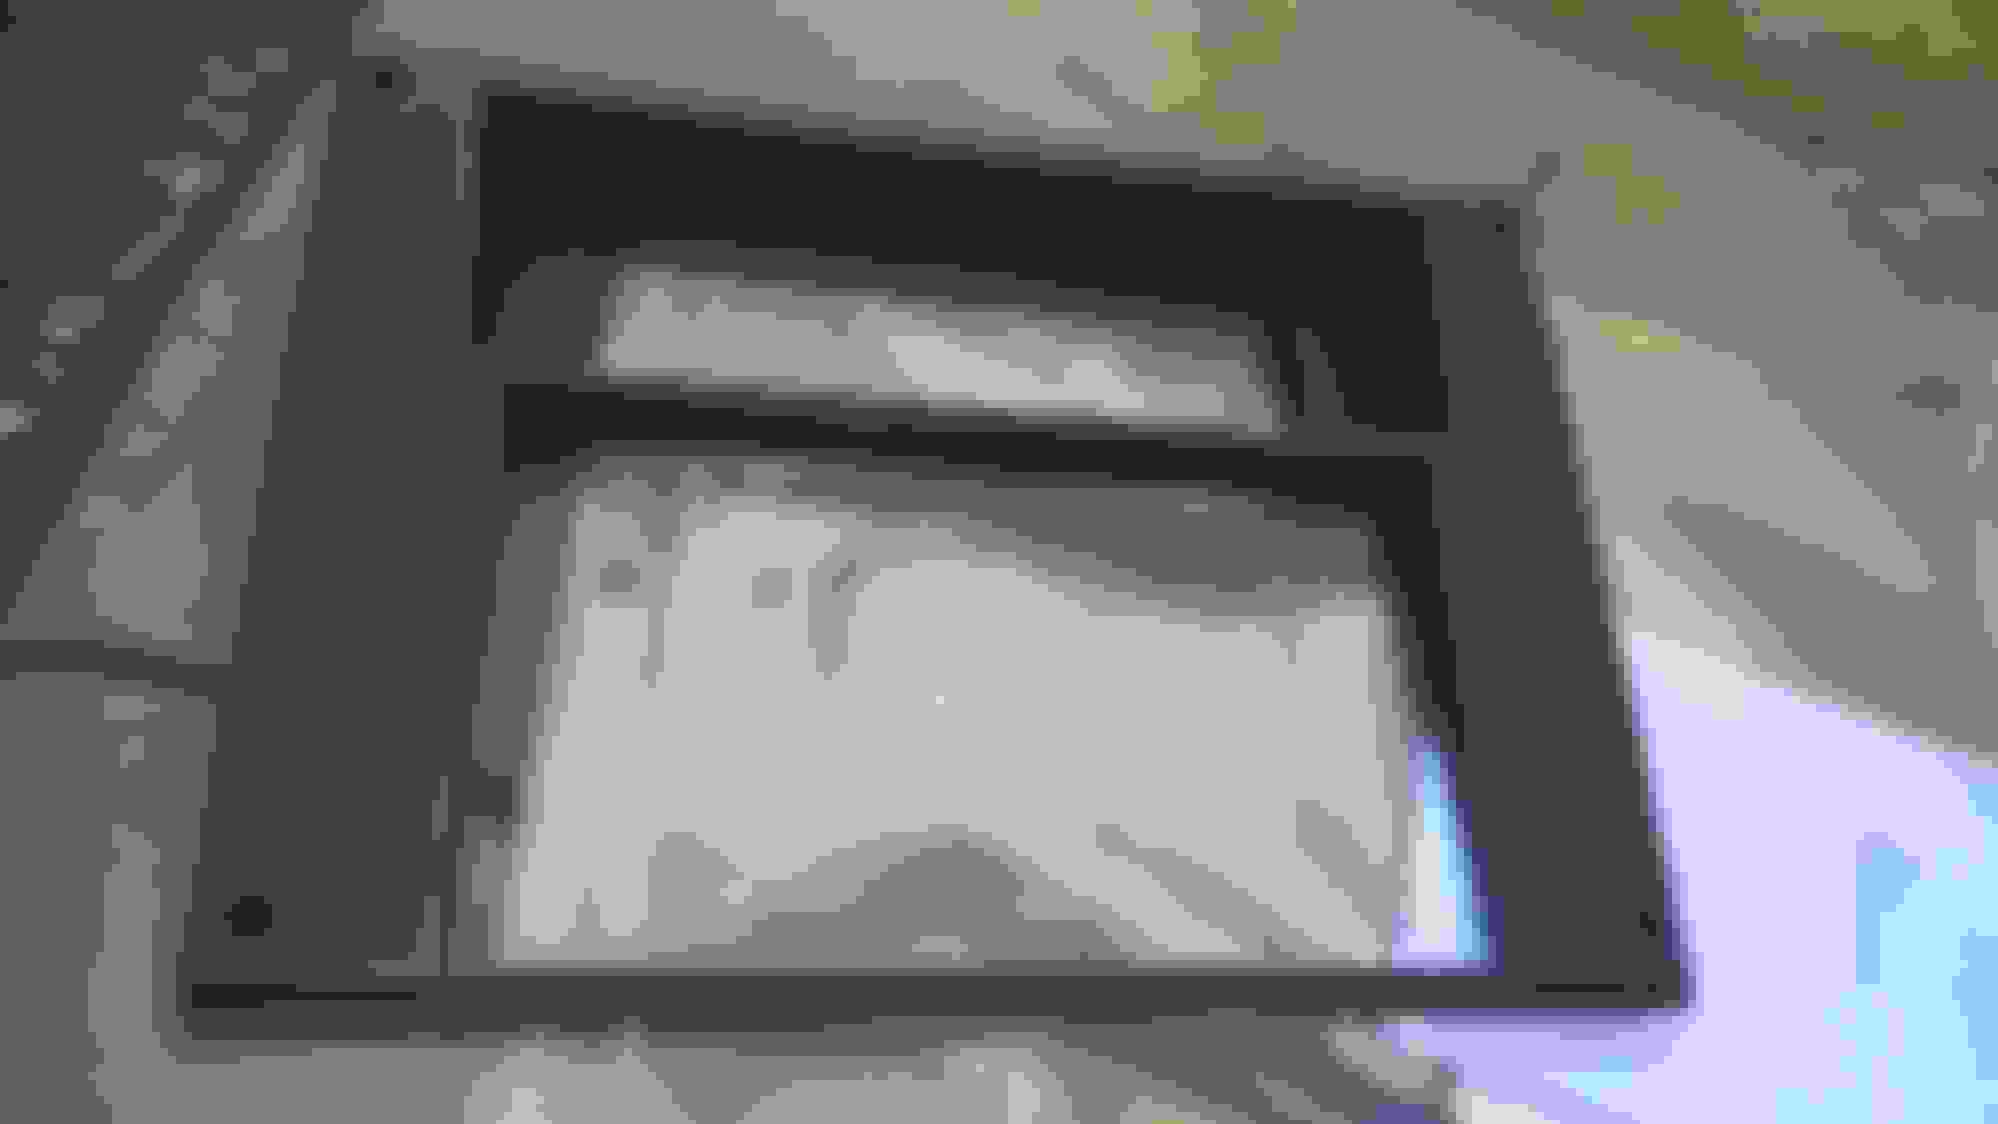
Next up remove the stock radio. First the face plate then the four screws holding the radio.
Back of the radio with the wire harness of the car (constant positive already plugged out):
After test fitting the new 2DIN unit it would not fit. I needed to move the heater controls up in the console.
Drilled some new holes on the bracket for the controls:
Getting this back in was horror, because the two upper bolts are behind the console plastic. Solution could be to remove the complete upper console but i decided against that.
So after ten minutes of fiddling i finally had the bolts back in. The controls work fine in the new position (cleaned and oiled the cabled mechanism right away).
Then the new head unit proved to be a bit big :-). In the bottom of the console is a metal bracket between the sides of the console holding the original radio.
I turned that one around 180 degrees to get some more clearance. That worked a bit, but the unit now touches the plastic inside the console so it will not fit any deeper than this:
Getting the brackets mounted in for the radio with correct alignment was also a pain, but eventually it worked. Radio works great; good sound and amp punch and i like the Android device using spotify and navigation apps!
Because of the size of the headunit the printed new bezel will not fit the radio at all. I need to cut the bottom out and make the sides bigger to fit around the radio.
The heater controls line up pretty good. They are a bit high for the position I got them in but I will fix that trimming that hole of the bezel as well.
I did not realize the sheer size of this monster head unit. Doing it again i would probably buy a head unit with less depth. That will fit the console better.
But hey, happy how it turned out now. And i can always go back stock as if nothing happened.
Last edited by IROCK1987; Jul 13, 2018 at 02:04 AM.
The weird tab that is in the upper left-hand corner behind the screw is now in the upper right hand corner I can remove it though thanks
Originally Posted by 7thdarkangel
Thanks for the review. I'll get that tab fixed this weekend.
Enjoy
Was the file ever updated on thingiverse?
The stock bezel is on the left. On the files on thingiverse, the reversed double din bezel has it on the left, but the standard bezel and double din bezel have it on the right.
*edit*
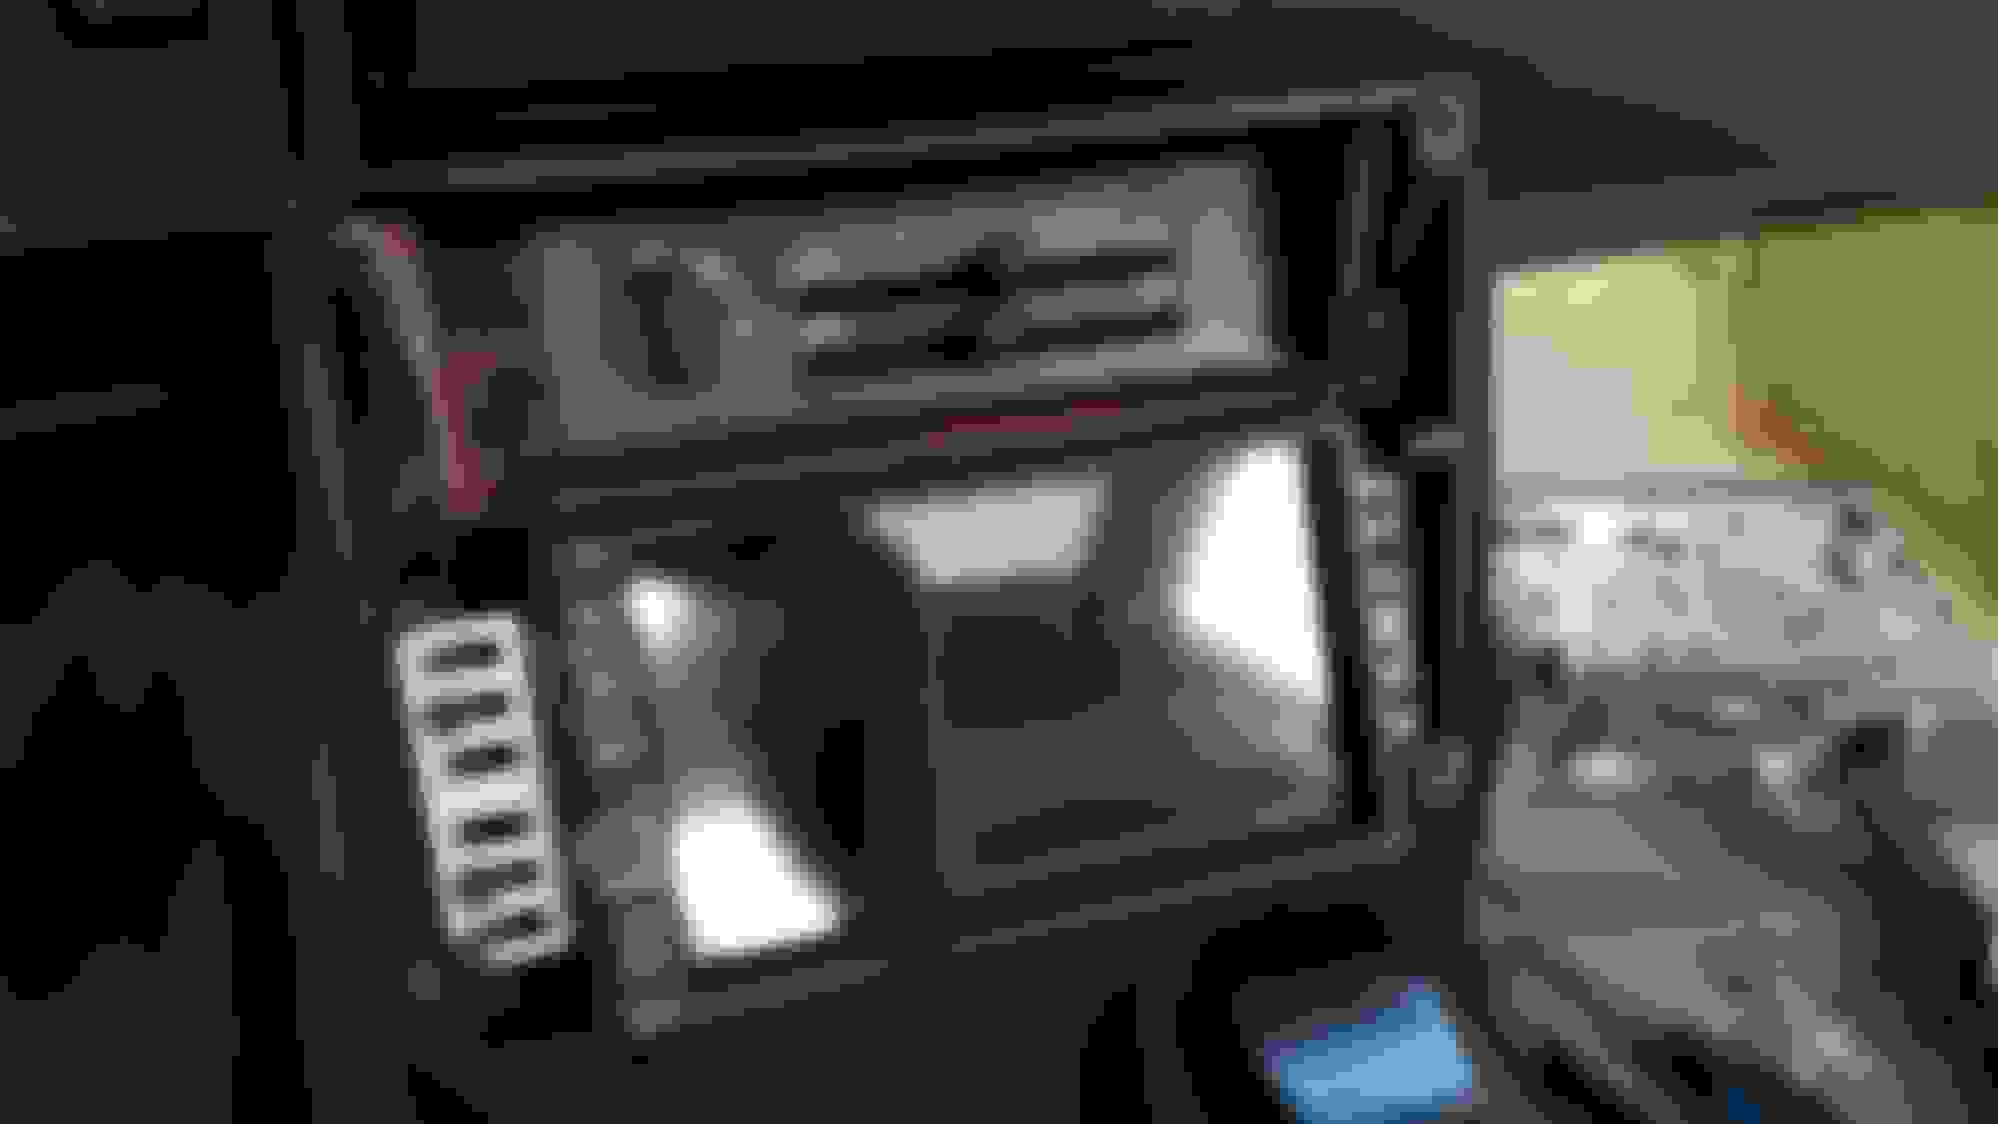
I just got mine and noticed the tab on the incorrect side, so thought I'd ask. Also, on the one I got, the 'face' of the HVAC also appears to be delaminated for lack of a better word, which I think is fault of the printer. Before I contact the guy that printed it, can anyone confirm that this is not correct? It's odd in that the where the HVAC is is rough, but the other thin part doesn't fit in it very well, like it's a touch bigger so it bows up. Anyone with a knowledge of how these are printed have any insight?
Last edited by GMan 3MT; Nov 25, 2018 at 10:10 PM.
The stock bezel is on the left. On the files on thingiverse, the reversed double din bezel has it on the left, but the standard bezel and double din bezel have it on the right.
*edit*
I just got mine and noticed the tab on the incorrect side, so thought I'd ask. Also, on the one I got, the 'face' of the HVAC also appears to be delaminated for lack of a better word, which I think is fault of the printer. Before I contact the guy that printed it, can anyone confirm that this is not correct? It's odd in that the where the HVAC is is rough, but the other thin part doesn't fit in it very well, like it's a touch bigger so it bows up. Anyone with a knowledge of how these are printed have any insight?
The face coming off is definitely a printing issue. Looking back at the files, it looks like I dropped the ball on updating the standard double din files. As right now they should be correct. Just got done updating them.
I really can't say it enough, thank you for doing the tough part.
A few years ago I bought the one from DD Mods. It was ok, and at the time really the only thing out there. Even with the issues, the one I had printed is stout! I won't feel like it's going to break on me. I've contacted the printer and we're working it out.
Thanks again!
*edit* The little tab hooks into the center console where there isn't room to fit a screw, hence the half length fake screw that goes there. That tab is what broke on my DD Mods one after R&R'ing it a few times. That bezel held in place ok without it, but did have a tiny gap at the top.
I actually didn�t end up going through a printing service and I purchased a printer just to help me make some more parts for my camaro. The reversed file worked perfect for me and so far I printed three(one for my car, my fathers iroc, and a friend) and all were definitely not brittle. Maybe you should get a quote from another source if they were giving a hard time.
Just curious, what printer did you end up going with?
Would you recommend it?