When you click on links to various merchants on this site and make a purchase, this can result in this site earning a commission. Affiliate programs and affiliations include, but are not limited to, the eBay Partner Network.
So, I decided to try and put in a double radio. However, I don't feel like paying $99 for a bezel that's plain. Thought about modding my own, but then I remembered that a member here veaceonee, designed one for 3d printing.
Found that guy, under $20 for him to print and ship to me, and made in ABS plastic.
Great service, and it was completed next day, sent pics right away, but I haven't received it yet. If it turns out well, I'll have a double din bezel for under $20. It does appear that the gap between the thermostat controls and the radio is a little thin, but if it doesn't work I can revise it and do it again.
So far, I like the look of the texture, not stock but also not looking like someone just took a plain sheet of plastic and threw it on there. Once I receive it, I'll let everyone know fitment. So far, this guy Matt has been pretty good to deal with, updated me constantly.
Last edited by brettr81; May 18, 2017 at 03:14 PM.
Reason: New information, and good work by other members of forum
No problem, I figured for $20(compared to $99 or hacking up my current piece and having to replace it later) it would be worth trying. Within 36 hours the guy had it printed and shipped. I know a lot of people here have been wanting a more affordable bezel too.
Awesome hope it works out. Looking to possibly put one in mine. Oh guess it's firebird only heh. Maybe I'll get lucky and someone with do one for a camaro.
Last edited by Citation X; Jan 20, 2017 at 06:16 PM.
So I received it today and installed, and it is a quality made piece. The bezel is 5/8" too long. Otherwise it is a good piece. I ended up just trimming that off. I placed the order on the 18th and received it on the 21st, so I can't complain about that. I'll post pictures later. The printer did his job and did it pretty quickly and impressed with the service I received.
If anyone has 3d editing software, you just need to move the lip 5/8" higher up and then it should be a perfect fit. You can sort of tell by looking at the pictures in the first post.
I would be in for one at that price..maybe even 2 to play with a few tablets I got around. I know alot of guys have a gripe about the oem texture/grid is hard to replicate but I would prefer a blank canvas to work with. I have an idea to semi get look of oem but it would require time..and even worse more patience and having an original bezel to measure out the oem grid.
I hate the tron grid pattern. I have a 91 bird with a double din. I had my shift plate, double din bezel, and switch pod sanded, texturized, and painted black. It looks stock and IMO better than original. On the switch pod, leave the left and right sides the factory grey color. The paint flakes off minimally. It was a worthwhile upgrade.
Did you have the 3D printer make mounting brackets for the head unit as well?
Did a test fit and completely forgot they are tapered. Also need more of a chamfer on the bottom where it meets the shift plate. I'm changing the 3d file today and will print another test piece later tonight hopefully. once this fits, I'll print the rest of it out and fit the hvac controls in as well. I might try a plate with the radio and hvac controls flipped too. Mainly because of my own wants.
I'm certainly interested in the one for the Camaro you are currently working on. The plan for mine is to have the climate and radio flipped so the radio is on top and the climate controls on bottom.
Did a test fit and completely forgot they are tapered. Also need more of a chamfer on the bottom where it meets the shift plate. I'm changing the 3d file today and will print another test piece later tonight hopefully. once this fits, I'll print the rest of it out and fit the hvac controls in as well. I might try a plate with the radio and hvac controls flipped too. Mainly because of my own wants.
I wouldn't expect it to be perfect on the first rev. I'd like the radio on top too!
Did a test fit and completely forgot they are tapered. Also need more of a chamfer on the bottom where it meets the shift plate. I'm changing the 3d file today and will print another test piece later tonight hopefully. once this fits, I'll print the rest of it out and fit the hvac controls in as well. I might try a plate with the radio and hvac controls flipped too. Mainly because of my own wants.
Well, it fits exactly like the oe plate I have. Just need to adjust the upper radius a bit. I may try to adjust it a little more to fit better than oe, not sure yet. Should be able to print the second part out tonight and fit it with the hvac controls in place. Unfortunately I don't have a double din unit at this time but ill work around that for now. Once this one is good to go, ill post the files and start on the reversed plate.
Looking good. Do you need a height and width measurement for the double din or are you just referring to test fitting? Mine is pretty much loose in the car and I could measure it at lunch time.
Last edited by J. Chris Davis; Mar 20, 2017 at 10:43 AM.
That does look great. I found pictures of other double din radio bezels and it looks like the openings on these are not as wide as your plate design. The heights on these and yours look the same, but the opening looks wider than what a double din would require. What was the test radio you used for the opening size. I have a Pioneer AVH-4100NEX and it looks more like the radio in third picture.
still looking for a test radio. I can easily add another file variant for a plate with a true double din hole. I left the hole width the same as factory for aesthetics. ill add a second file to the link later today.
It's my understanding that they do not need to be mass produced. The plans (on Thingverse) can be sent to any 3D printing service or done at home with the correct printer. A service would provide better quality such as smoothing, different materials and color options.
What I'm waiting for is a plan flipped - with the stereo on top and HVAC controls on bottom. My guess is that it's significantly more difficult due to how the radio itself is mounted.
It's my understanding that they do not need to be mass produced. The plans (on Thingverse) can be sent to any 3D printing service or done at home with the correct printer. A service would provide better quality such as smoothing, different materials and color options.
What I'm waiting for is a plan flipped - with the stereo on top and HVAC controls on bottom. My guess is that it's significantly more difficult due to how the radio itself is mounted.
Thats what I want HVAC controls on the bottom makes it look more modern
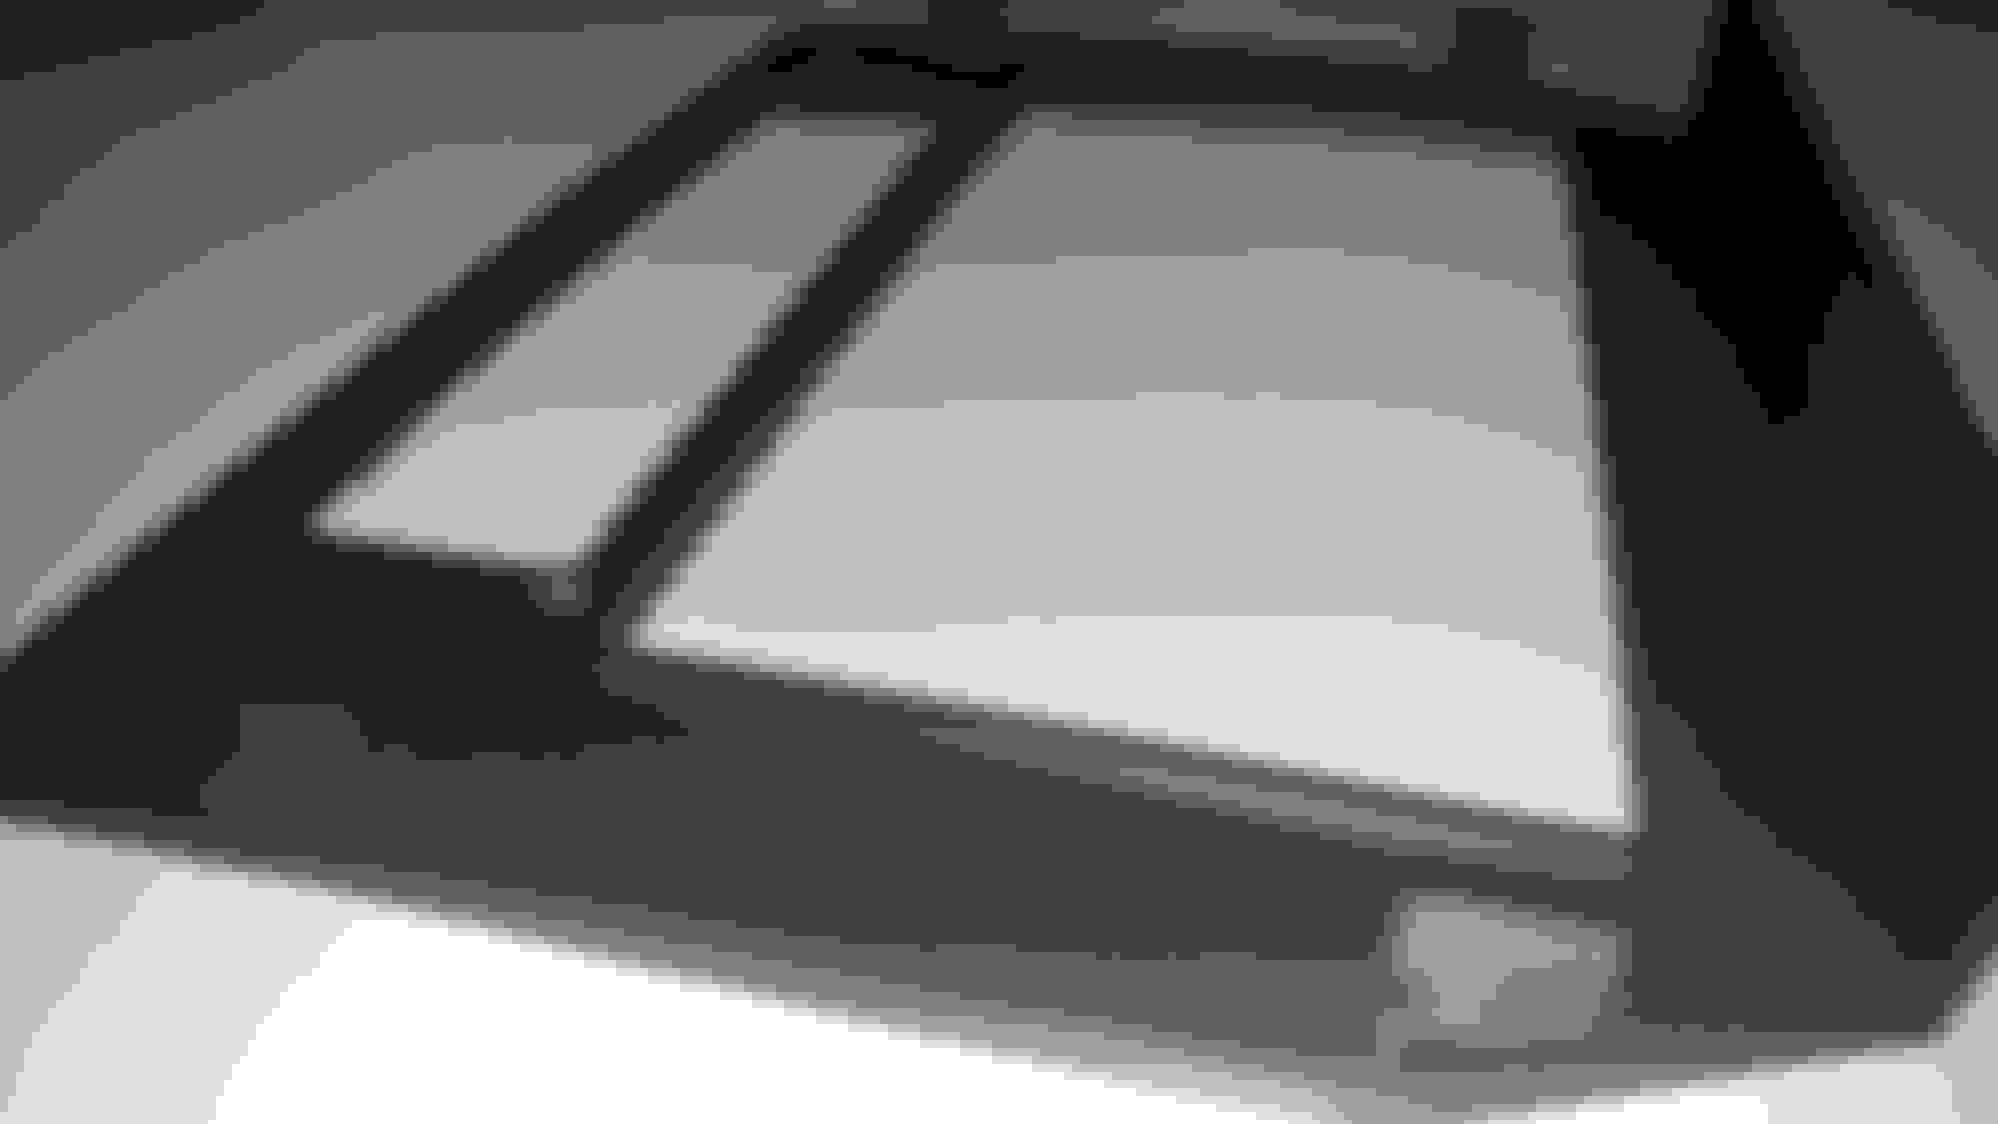
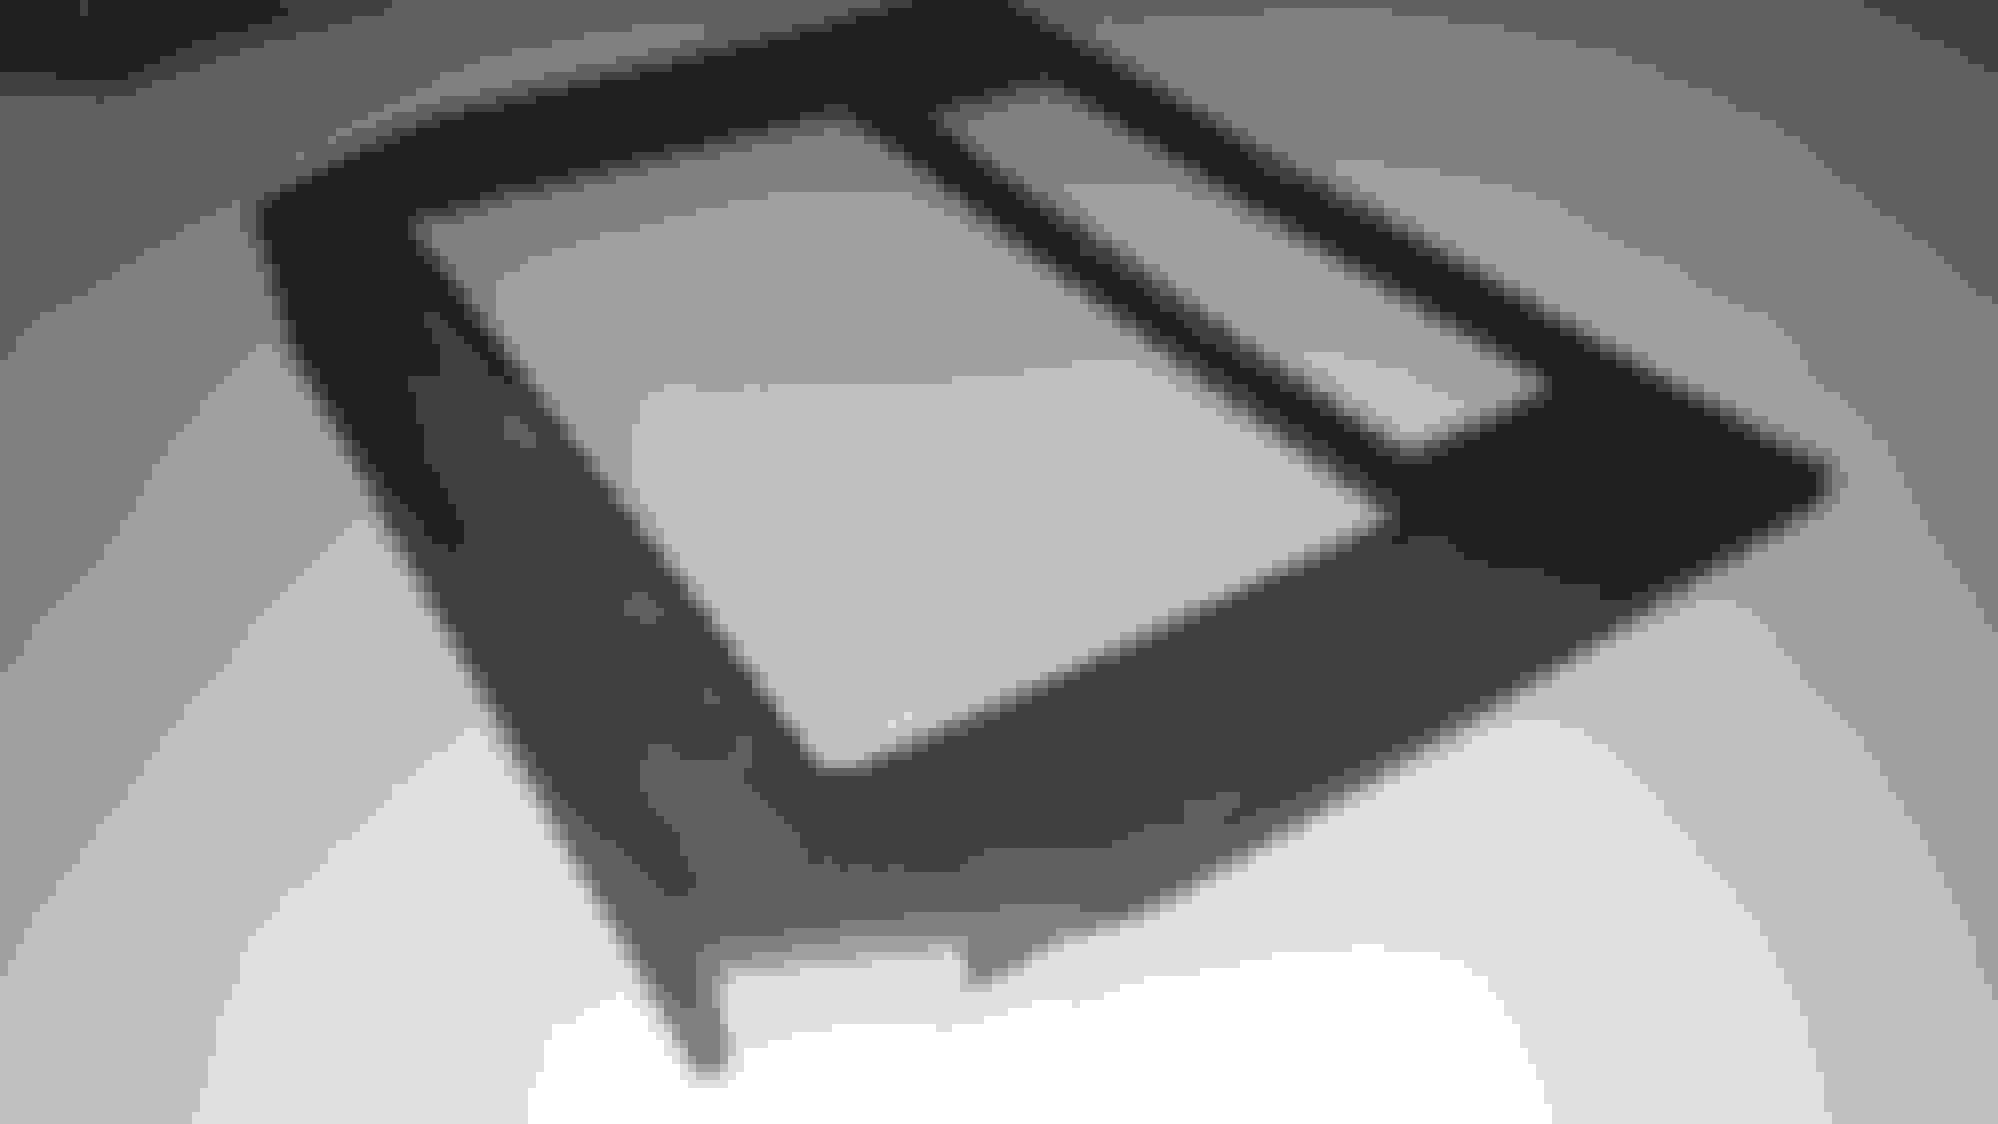
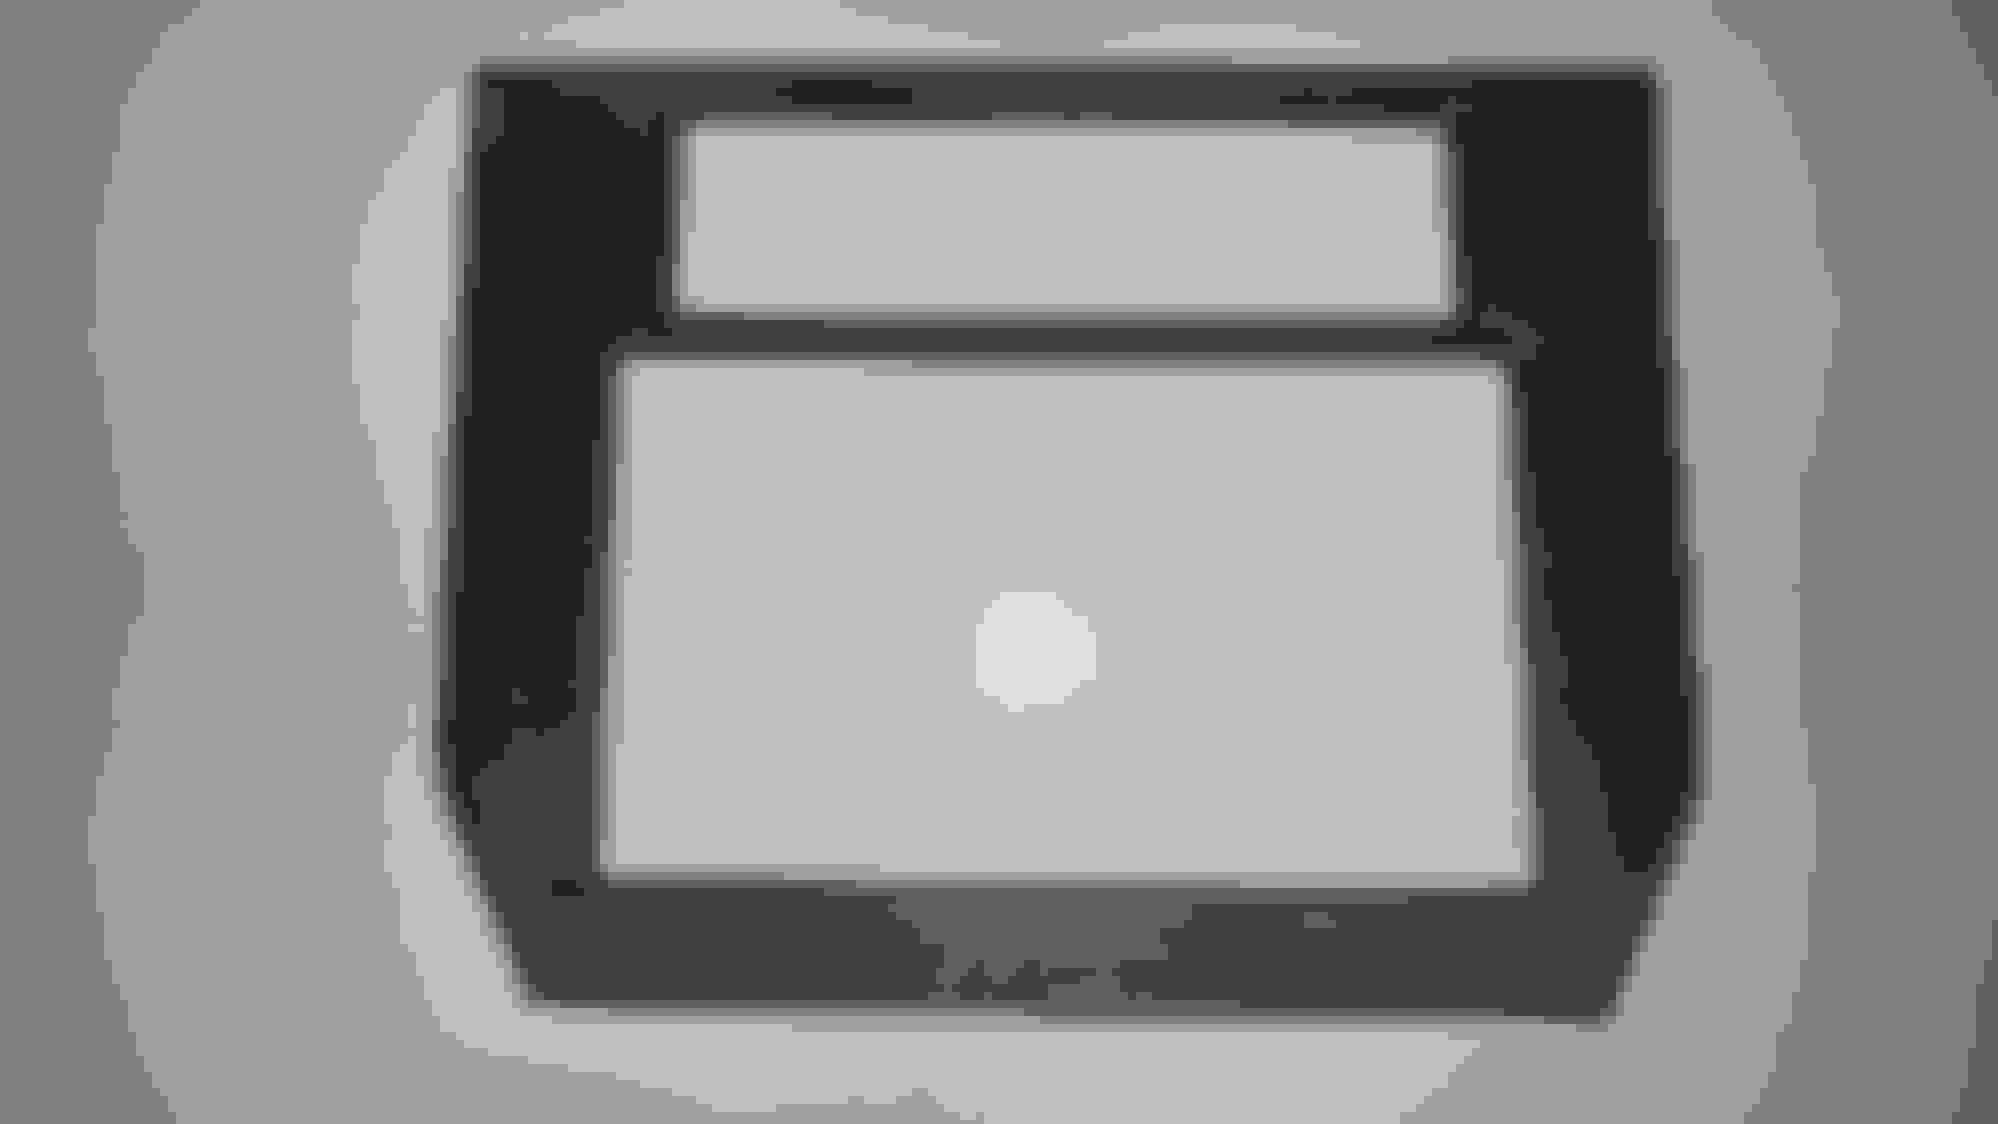
Here's what i have so far. I have everything flipped around. The hvac controls will have the same angle as the factory location. Spacers will be included in the print files to achieve this. So far it looks like slight modification to the hvac bracket (holes that mount the bracket to the center council will need to be elongated). I should be starting to print and test fit everything this weekend (hopefully).




.jpg)


