When you click on links to various merchants on this site and make a purchase, this can result in this site earning a commission. Affiliate programs and affiliations include, but are not limited to, the eBay Partner Network.
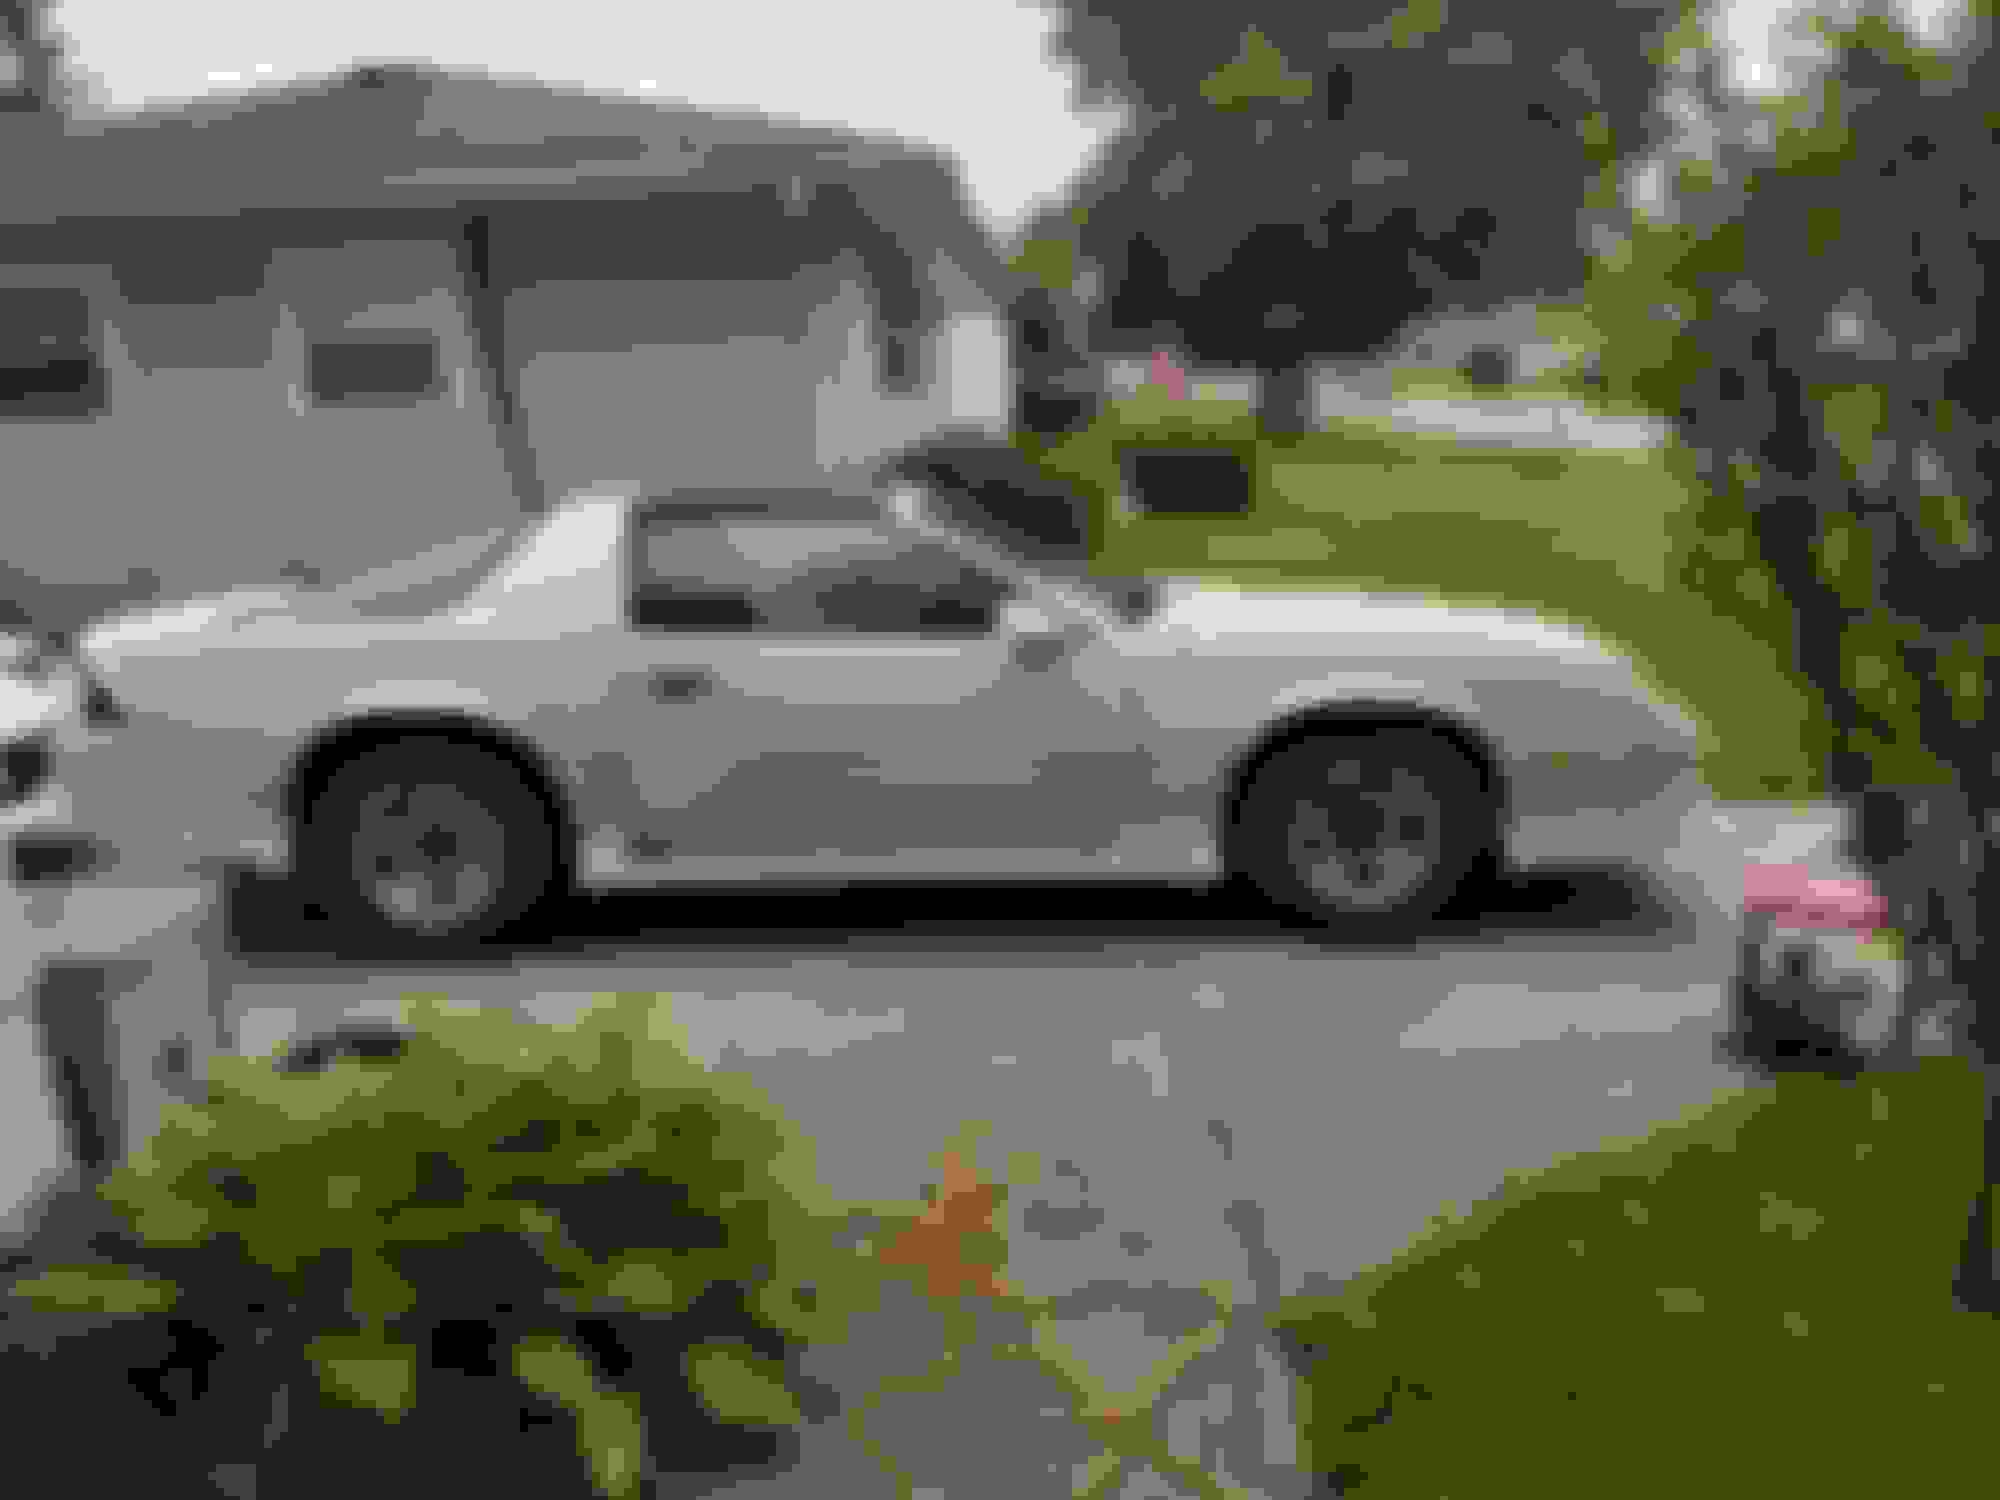
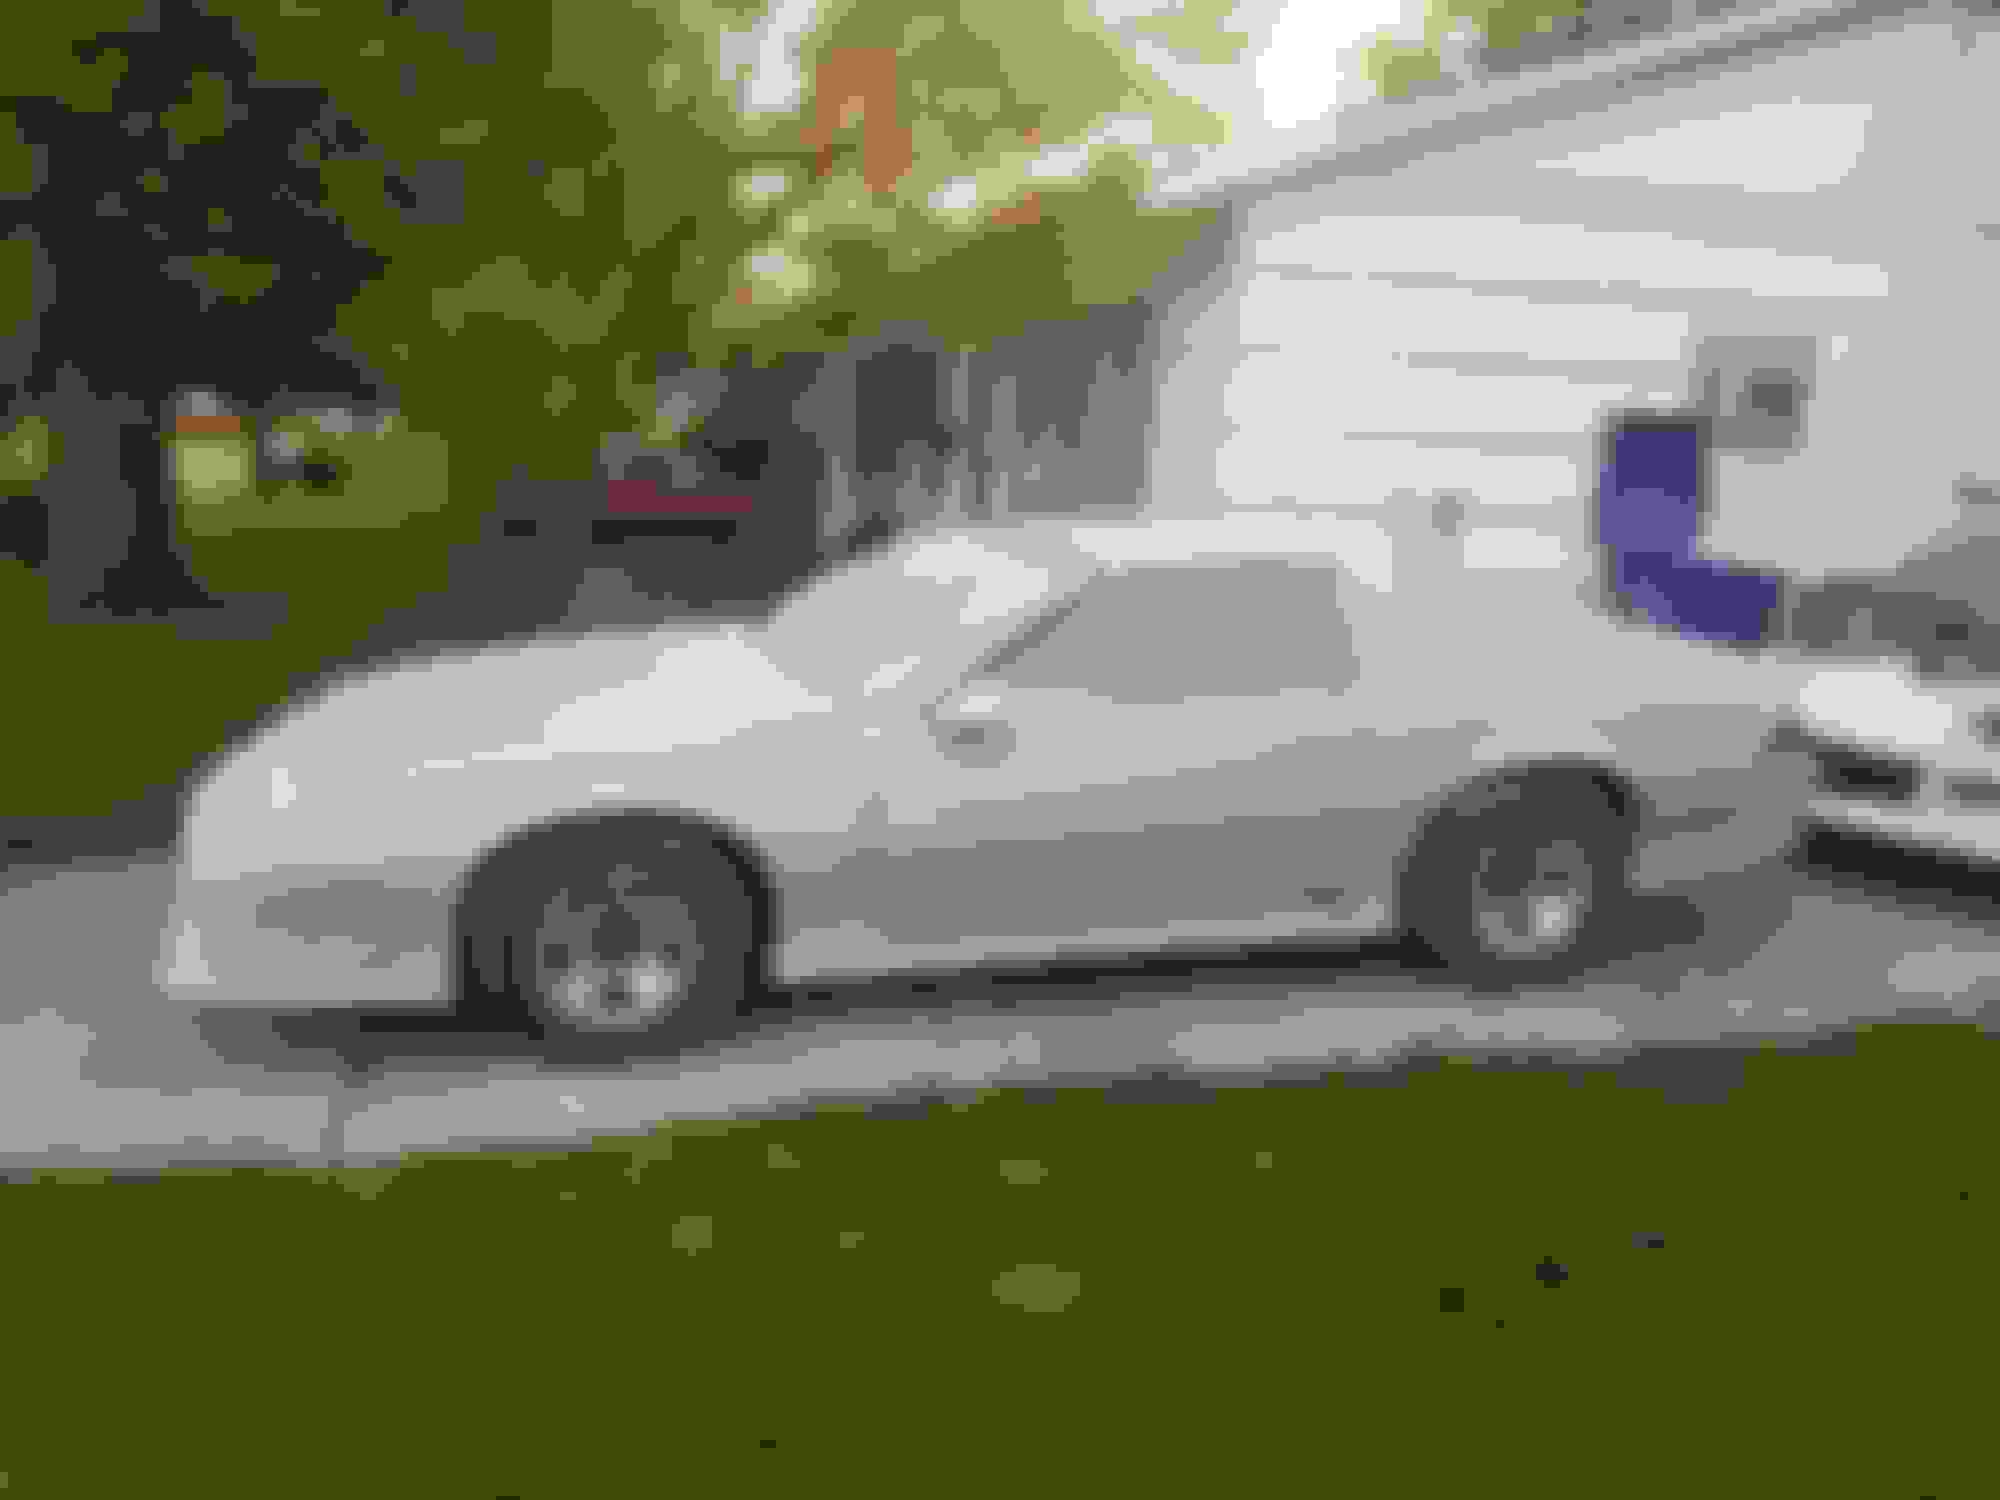
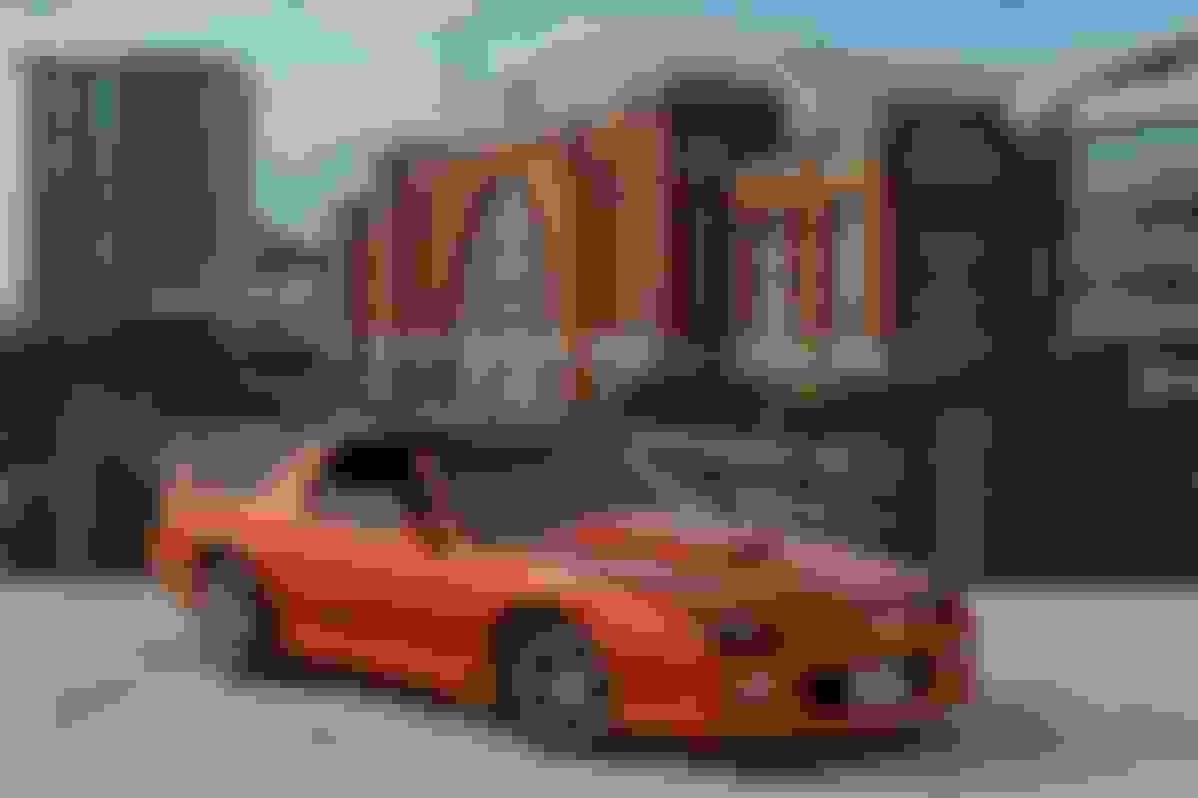
The short & sweet is I can't afford to pay as much as or more than I paid for the car for a paint job, doesn't seem logical so here we go. *IF* you have value to add to this thread by all means speak up, share links, etc. I am a true NOOB so *IF* you intend on roasting, being condescending, or anything less than encouraging PLEASE move on. As stated, the car's a $800 beater and the only way to keep the cost of a half decent paint job well below the cost of the car is DIY. This thread starts my plan, hopefully I can execute!
It appears there's only a single layer of paint sprayed over the original(exterior only), How far down do I sand? Grits of sanding discs required? Please be as specific as possible, and if you have a preferred method, share it.
Question # 2
The paint on the front bumper has cracked, like beyond the sprayed layer, original paint and the black primer? that covered the fiberglass. How do I approach sanding this?
Question # 3
Anyone had success painting their car COMPLETELY assembled, but well taped off really well?
Question # 4
Anyone had success painting their car on parked on tarps in their drive way on a nice sunny day w/ no wind?
Sorry, I couldn't resist. But seriously, the only way possible to do what you are asking for cheap is to all the prep work yourself, and then have "Earl Scheib" or Maaco (see if there is one near you) do the painting.
Earl Scheib Paint & Body
3858 Pearl Rd, Cleveland, OH 44109
I get it. I'm more interested in driving my car, than what it looks like. Mechanically, I want it perfect.
That's why I'm going to have the body work done and then have the car sprayed with epoxy primer.
Unlike regular primer, epoxy does not absorb moisture, So it will be ready for final paint, it's just never gonna happen.
If I had a beautiful and expen$ive paint job, then I would be too worried about it to enjoy driving the car.
Last edited by NoEmissions84TA; Jun 10, 2019 at 01:26 AM.
Sorry, I couldn't resist. But seriously, the only way possible to do what you are asking for cheap is to all the prep work yourself, and then have "Earl Scheib" or Maaco (see if there is one near you) do the painting.
Earl Scheib Paint & Body
3858 Pearl Rd, Cleveland, OH 44109
You may have missed this...
Originally Posted by 92RS-HeritageEd
I heard Macco was running a $500 special. Includes machine sanding & paint. Seemed like a better idea so I called them. Told them I'd pay up to $750 just to get it visually appealing, no show quality. Guy sends me pics of a 4th gen he just finished for $700 so I replied w/ pics of this car and the guy started acting as if they didn't want the business. After putting emphasis on the rough paint condition, I had to ask him, isn't that the reason a customer would want it machine sanded, and repainted? It's like they're misrepresenting the actual paint job being offered as the special only applies to cars in good condition. Anyone ever had a quick Maaco job? Is it worth ME fighting to give them MY business?
Should you so choose to reply, how about providing some insight on the prep side of things. Such as the 4 questions I presented, or the suggestions I asked for related to a cheap orbital sander so I could get started. It's like you kicked me while I'm already down and searching for last ditch options better than a rattle can.
If the car is, as you say, an $800 beater, and that's all you ever intend it to be, the only logical path is to either paint it yourself with inexpensive equipment and paint supplies or else let Maaco paint it and be satisfied with what you get.
Anyone who does body/paint work will tell you that other than having good equipment and using good-quality supplies, it's all in the prep work, something that most people just don't have the patience for. No paint job, at any level, will cover flaws in the body work.
ETA:
Attempting to paint a car out in the open is a really bad idea on several levels. Aside for dirt and insects trapped in the paint, you could get in serious trouble when the overspray drifts onto neighbors' yards, gardens, houses, vehicles, and/or pets. There's a reason why there are a boatload of regulations covering paint/body shops.
Last edited by ironwill; Jun 10, 2019 at 09:06 AM.
I would just just buy the cheapest single stage paint you can get. Summitracing, paintforcars, tcpglobal are places to check. Whatever you do you need to use a paint that has to be mixed. It�s the only way it will last. Everything I�m about to say is keeping in mind you�re just trying to make it look better and not show quality
Originally Posted by 92RS-HeritageEd
Question # 1
It appears there's only a single layer of paint sprayed over the original(exterior only), How far down do I sand? Grits of sanding discs required? Please be as specific as possible, and if you have a preferred method, share it.
Question # 2
The paint on the front bumper has cracked, like beyond the sprayed layer, original paint and the black primer? that covered the fiberglass. How do I approach sanding this?
Question # 3
Anyone had success painting their car COMPLETELY assembled, but well taped off really well?
Question # 4
Anyone had success painting their car on parked on tarps in their drive way on a nice sunny day w/ no wind?
1: it depends. There�s plenty of info on this online. But if you�re just scuffing and respraying 400-600 grit. If you�re taking it down to metal you can start with 40 grit.
2: from what I understand the cracking is usually in the bumper it�s self. You have to sand til it�s gone.
3: id at least take everything loose and separate the panels, maybe use washer so there�s a gap. If you don�t then your paint til crack where the two pieces meet and it will peel.
4: you�d get dirt and bugs. You could probably make temp booth with tarps or plastic sheeting.
As I always say, I�m not a paint/body guy, I�m just currently in the paint stage on my project and I�ve sprayed a few panels previously.
1 sand it to the primer, try not to go through the primer
2 sand the bumper by hand, the paint on MY bumper was really thin, like they only did 1 or 2 coats so it was really easy to get through with 180 grit.
and if I may make a suggestion, if this is your daily driver I understand that you cant take the whole thing apart to paint, BUT with a smaller compressor, and using a solid color it may make sense to pull SOME of the parts off and paint the whole car in parts a little at a time, i.e pull off the front bumper and hood (not hard or time consuming) paint them and put them back on. then move on to the next area the next weekend. the hard part ill be getting around the door handles and such.
And look into getting epoxy primer, something like this
Use single stage enamel, a bit of hardner, cut and clean up with laquer thinner.
Couple of spray cans of regular sanding primer (for bare spots or burn thru).
Still gonna cost $250 for the materials to do a whole car IMO.
MATERIALS: This was my materials. Paint match was excellent. Pint of paint $50 online Primer spray bombs $5 Laq. Thinner $19. Both from wallyworld Hardner free from a body tech bud.
I sprayed my Camaro myself and I have over $1000 in paint product alone. That doesn't include the sandpaper, long boards, polishing compounds, tape, cleaning and prep liquids, a decent gun, etc,. You could save money on the paint by using the paint you see at AutoZone and Orielly's like Shop Line but even doing it yourself, buying all the equipment and supplies and paint for $800 in conjunction with painting it outside..... I don't see this going well.
Your best be is to do all the body work yourself. I would buy the aerosol cans of 2K primer from Eastwood and a can of Evercoat body filler. Any Evercoat filler will work but my favorite has been Evercoat Rage Ultra. The 2K aerosol cans can seem pricey but it gets you out of buying a decent spray gun and compressor and all the cleanup. Perfect for your situation. I don't want to go in depth about all the prep work and sanding and how to because it's covered so many times on this website alone. I've posted about the topic multiple times and even covered large chunks of it in my build thread. So you really need to do some searching instead of wanting members to hand deliver all the information to you.
So research, do all the body work yourself and then take it to a discount spray service like Maaco.
If you have a MAACO near by I would seriously consider doing all the sanding and prep work yourself and paying them $299 to paint it with a singl stage Acrylic Enamel. You can call them up and find out what brand paint they use (I bet it's NASON) and you can then use a compatible primer for the top coat.
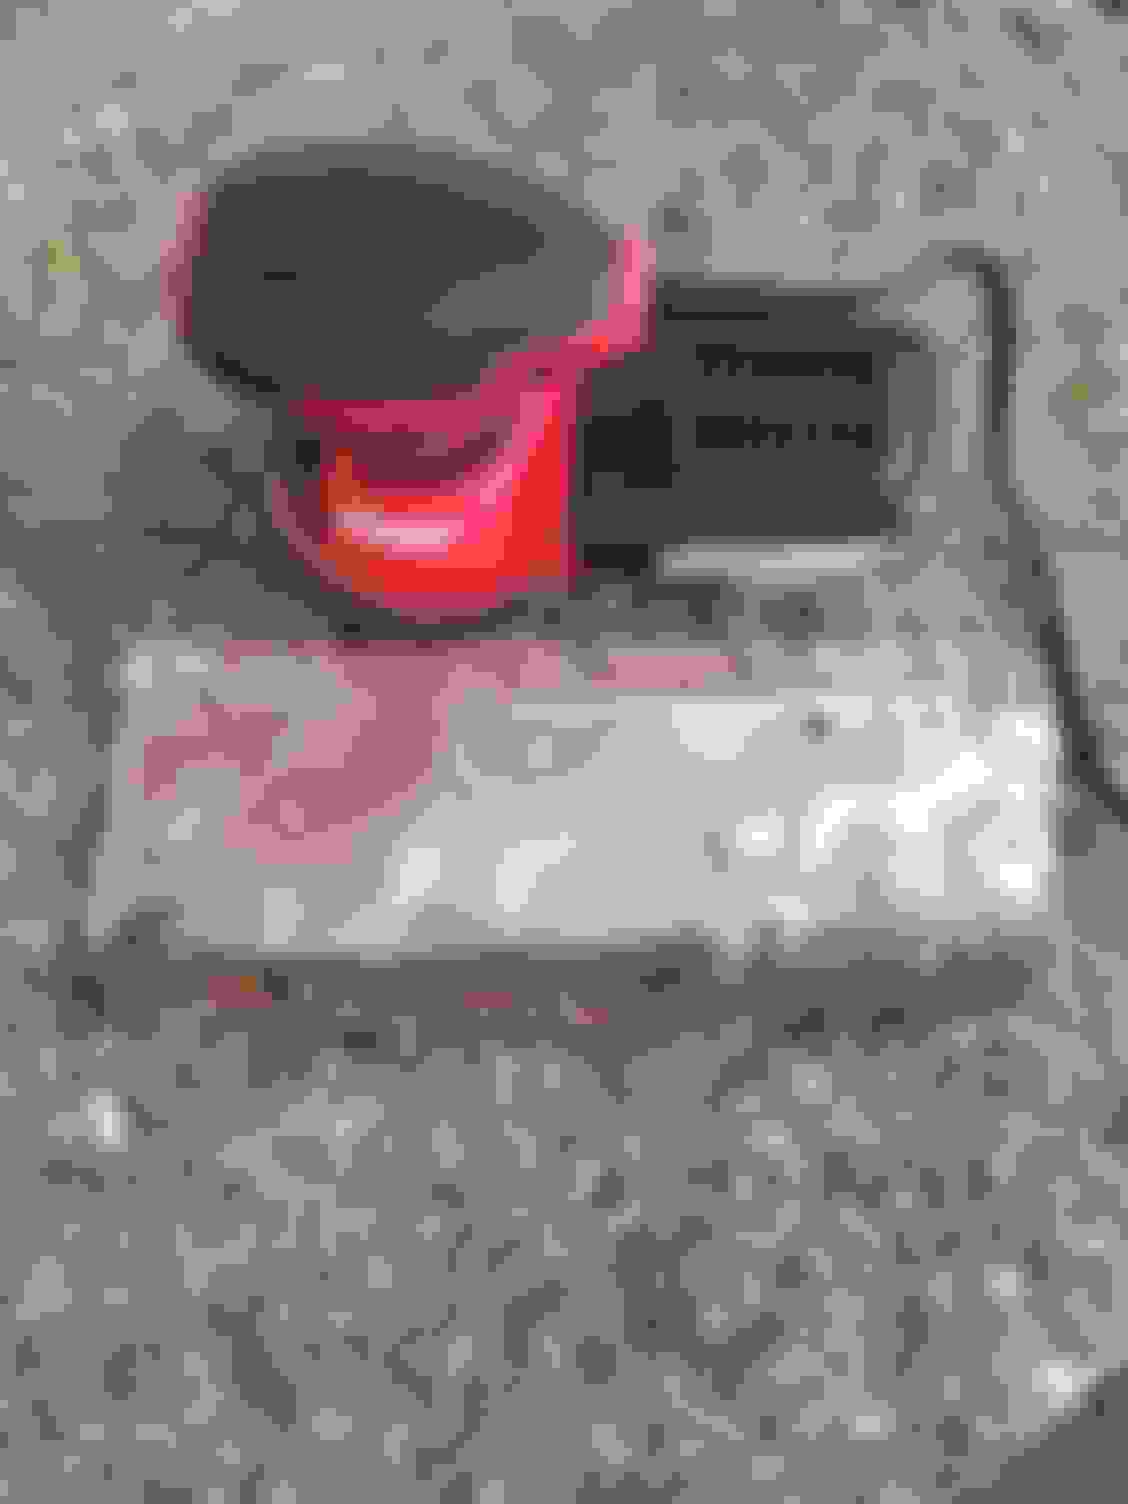
Just a few supplies to get started and test the water... I will PRACTICE on a old floorpan cutout I have out back first and if it turns out ok venture forward.
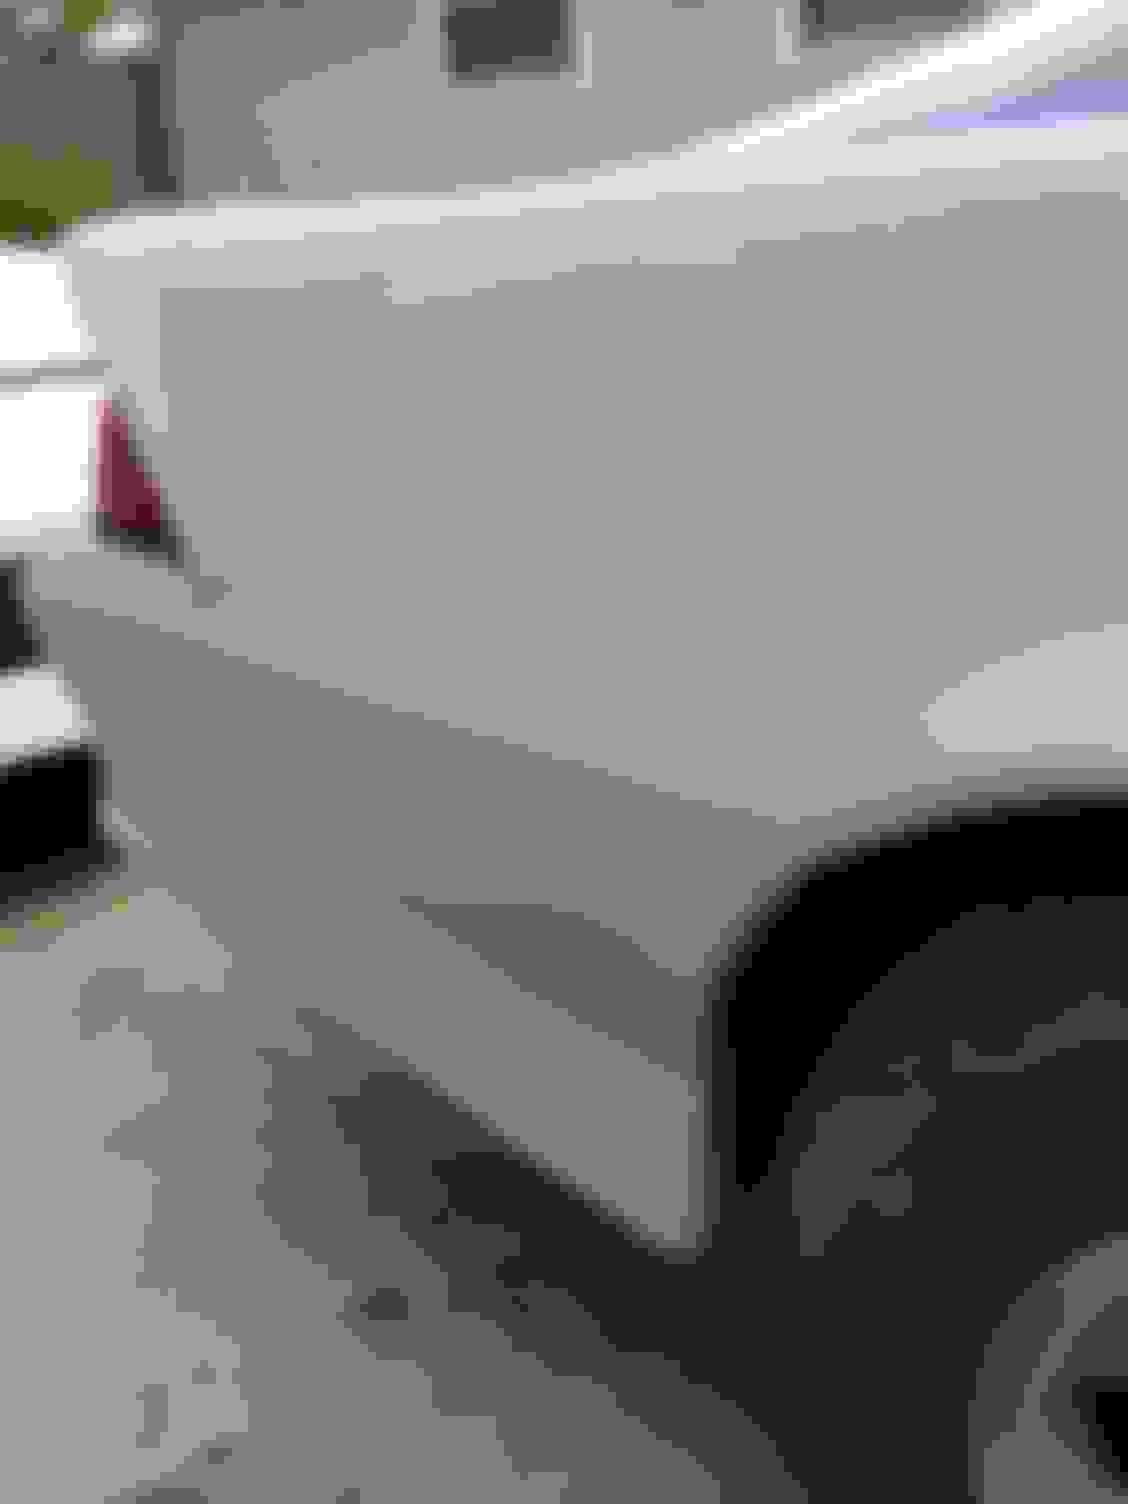
The 80 grit sheet that came w/ the sander seems to be taking paint off as it should BUT did I go to far? Is the primer layer the faint grey tint I thought was bare metal where as the shiny parts are bare metal?
*IF* so, then in theory if there was a coat on top of the red I would sand down to a dusty red? Or all the way through both layers to primer?
Edit: After looking at the pic & the piece I can see the 3 separate layers. It's going to be a delicate and timing consuming process getting the ENTIRE car to that grey surface and smooth. Maybe 2-3 hrs straight sanding, more than likely a full day for me lol.
Last edited by 92RS-HeritageEd; Jun 10, 2019 at 08:27 PM.
Should you so choose to reply, how about providing some insight on the prep side of things. Such as the 4 questions I presented, or the suggestions I asked for related to a cheap orbital sander so I could get started. It's like you kicked me while I'm already down and searching for last ditch options better than a rattle can.
Sorry, I didn't mean to kick you. 90% of a decent paint job is underneath in the prep work.
I am NO professional painter, but I did my own paint & body work to an 80 Monza.
I planned to use spray cans and do one panel at a time. Touch-ups would be SO easy - I thought.
Well, my uncle informed me that spray can paint will not hold up. I ended up doing lacquer. With a clear coat.
Good thing my cousin helped me in the end. The whole job ended up taking many months and it wasn't cheap either.
In the end, when you add up what all the materials cost, let alone how many hours you put in, it's probably not worth DIY (for the paint job).
Last edited by NoEmissions84TA; Jun 10, 2019 at 11:35 PM.
- Is this normally a one solid day, or multi-day project in your experience?
I'd like to answer some of your other questions, but we have to get this one out of the way first. This is not a 1 day project. I had 200+ hours into mine and I had the benefit of working in a shop with all the best tools and booths an several years of experience. Some people have a lot more time into theirs than mine. I understand your standards aren't as high, but even if you just want to do a quick so-so job expect this to be a 50+ hour project. Are you up for that?
I painted mine for around $500 in materials, but I have alot of the tools already however. I should do a write up on it.
All the bodywork/prep was done in my driveway, with a Craftsman 30 gallon single stage compressor.
Harbor Freight 6" DA (did most of the work with this one)
Harbor Freight 2"DA (made quick work of the bumpers and tight areas)
Sandpaper from local paint shop.
1 6 inch sanding block (should have used it more on the doors than I did)
Good HF spray gun ($70)
Eastwood Gallon of Sunset Malibu Orange Basecoat ($169)
1.5 gallons of SPI universal (less than $200) good bang for the buck IMHO
1/2 gallon 2k primer ($50)
1 pint of epoxy ($50)
I sanded a lot of it with 36 grit to take down the layers of paint to start out, then moved to 80, 180 then hit it with the 2k. Some parts down to metal that got coated with the epoxy primer then 2k.
Then block sanded the primered car using guide coat to 600. Then base/clear.
I also rented a paint booth for $200 to spray it.
Came out pretty good for 3 weekends 120+ hours worth of work.
I have used the Rustoleum as a base before on other projects and as long as you don't mind the color you can save a few bucks. Wait a long time before you apply the clear though.
Last edited by irocman7; Jun 11, 2019 at 04:05 PM.
WARNING: THIS WAS A TEST - Used 80 grit by hand, to course? Put 120G pad on and...
I'll remove the tail lights so I can get up there but how do I get that strip where the bumper emblem goes? A smaller sander? By hand?
That was the worst part on the whole car, that damn indentation. I used sandpaper by hand, it took for ever and I had horrible blisters after. I think I used a putty knife at some point wrapped in sandpaper to get the corners.
Just a few supplies to get started and test the water... I will PRACTICE on a old floorpan cutout I have out back first and if it turns out ok venture forward.
I have had success with this DA sander from Harbor Freight if your stuck on electric.
Ok, I got a bit carried away. Went beyond the test and started sanding my way around all rear trim pieces first. Tomorrow I'll finish up back there and move onto the gfx and and front trim pieces *IF* I have the energy, this little bit was draining.
I saw a brand new camaro in matte camouflage finish. it looked pretty dang good. i'm guessing he spent a lot of money to get it. but that would be a cheap option. cant really screw it up either. just start painting
Job looks good so far. I painted mine (black) in the garage for the first time with single stage acrylic enamel. A couple of things I should have done. One was to buy those long sanding blocks that others above have mentioned. I went over the whole car with an air DA sander and thought it looked pretty good until the paint dried and then I saw all the nicks, dents and low spots I would have got if I'd known enough to block sand. The other thing is to take as many parts off the car as you can stand. I took off the front spoiler, rear spoiler, GFX and mirrors to paint separately. If/when I do it again, the hood, fenders and doors are coming off. Those cars are long and trying to go back and forth at the right speed, right pressure and right distance is a lot easier on individual panels. And, especially after you've spent all that time and money.
Job looks good so far. I painted mine (black) in the garage for the first time with single stage acrylic enamel. A couple of things I should have done. One was to buy those long sanding blocks that others above have mentioned. I went over the whole car with an air DA sander and thought it looked pretty good until the paint dried and then I saw all the nicks, dents and low spots I would have got if I'd known enough to block sand. The other thing is to take as many parts off the car as you can stand. I took off the front spoiler, rear spoiler, GFX and mirrors to paint separately. If/when I do it again, the hood, fenders and doors are coming off. Those cars are long and trying to go back and forth at the right speed, right pressure and right distance is a lot easier on individual panels. And, especially after you've spent all that time and money.
Thanks, I considered gloss black myself, but the easiest thing for me was gloss white, as it was originally white. Whomever sprayed on the coat I removing didn't disassemble at all, and I mean under the hood, and behind the plate holder along with door areas are all the original white. I will be block sanding also after a few coats of the filler / primer, I've read how important that is. I don't count the cost of reusable tools so I'm only maybe $60 in supplies wise.The only thing this project has really cost me is time.
Yer going crazy sanding too much! Your burning thru primer too! A good "scuff" job on most areas will do the truck!
Using that $pendy Eastwood primer spray bombs add up! U can get a pint of primer for $30 buxs on line and shoot it
yourself for a lot less $$$.
I painted mine for around $500 in materials, but I have alot of the tools already however. I should do a write up on it.
All the bodywork/prep was done in my driveway, with a Craftsman 30 gallon single stage compressor.
Harbor Freight 6" DA (did most of the work with this one)
Harbor Freight 2"DA (made quick work of the bumpers and tight areas)
Sandpaper from local paint shop.
1 6 inch sanding block (should have used it more on the doors than I did)
Good HF spray gun ($70)
Eastwood Gallon of Sunset Malibu Orange Basecoat ($169)
1.5 gallons of SPI universal (less than $200) good bang for the buck IMHO
1/2 gallon 2k primer ($50)
1 pint of epoxy ($50)
I sanded a lot of it with 36 grit to take down the layers of paint to start out, then moved to 80, 180 then hit it with the 2k. Some parts down to metal that got coated with the epoxy primer then 2k.
Then block sanded the primered car using guide coat to 600. Then base/clear.
I also rented a paint booth for $200 to spray it.
Came out pretty good for 3 weekends 120+ hours worth of work.
I have used the Rustoleum as a base before on other projects and as long as you don't mind the color you can save a few bucks. Wait a long time before you apply the clear though.
I am just getting started on mine. Taking it down to metal and bare plastic. I bought my whole system from Eastwood, even the paint gun. Got me a blow up 23' x 16' paint booth too. I have a new spoiler from Hawks and the bumper is off. I am going to use a DA on my bumpers with 320 grit for starters. I started hand sanding but that will take days. I put up a new post for the restore, 1989 formula 350. this is gonna be fun!
Still making sanding progress, switched to a 60 grit sanding sponge on the gfx. Every hour that I spend breaking my back yet strengthening my biceps is making me understand the skepticism. Found the white is also prob not original, you can see runs on the front of the chin spoiler, and chipped paint on the side yet someone just sprayed right tf over it. If all the work is in the prep, someone missed the memo and left it all to me.
Last edited by 92RS-HeritageEd; Jun 13, 2019 at 07:09 PM.
Despite you ignoring me when I asked if you were ready for 50+ hours of work I'm going to try to help you out. If I was in your shoes I'd be doing the same thing as you and I'd hate to see you put in all the work and have it turn out like crap. So heres a few thoughts:
Put down the 60 grit, its waaaay too coarse and you're going to make even more work for yourself. 10 years in a body shop and I've never seen anyone use that. I'm not sure if you're planning to prime the whole car and sand it down before painting it, or just to seal and paint it. If you're priming and sanding you can get away with 180 - 240 grit and if you're sealing right over it 400 - 600 grit (check the tech sheets on the primer and sealer to see what they recommend). Bare metal can get away with coarser grit than plastic can. It'll be very hard to get the 60 grit scratches out. Step up the grit from like 60 to 120 to 180 to 240. You could even just scuff the whole and and shoot over all the damage. You'd see everything underneath but it would take the least time and at least all be white.
Is primer only required when going to bare metal / fiberglass? - You can just scuff it and seal it if you're ok with the imperfections. But priming and blocking will help level out the bodywork if you do it to the whole car.
How many hours, of continuous sanding did it take you to get a decent surface?
-Again I don't know how far you want to go with this. If I wasn't going to fix ANYTHING and just buzzed it down and scuffed for a quickie paint job I could have it sanded in an afternoon. The sky is the limit on how long you want to spend making the bodywork and cracked paint right.
how do I get that strip where the bumper emblem goes? A smaller sander? By hand? -By hand. Have fun.
If you need a little etch prime for the bare metal, rattle can is ok. But I've never had any luck with rattle can filler primer. A gallon of primer is actually pretty cheap, if you want to go the route of priming the car look into that.
I once sprayed a buddies car with $30 gloss farm enamel. It looked pretty good for about 6 months, then it started to fade. Now, 3 years later it has no gloss at all. Maybe you're cool with that, but I wouldn't be.
Have you considered plasti-dip? Ive never used it, but it might be the fastest and cheapest option for you. No scuffing, no primer, no sealer
60 grit way too course for that plastic. The only time you�d need something like that is if you�re stripping paint to bare metal. Notice I said metal.
youre also never gonna fill any of those scratches with that that rattle can primer. You definitely jumped in without doing any research, and info is definitely out there.
To keep it it simple since you have no experience and you�re being cheap(which I understand) I think you should have just bought a pack of red scotchbrites and scuffed everything up and then just sprayed your paint.
im not trying to be a bummer I just want to to see it look decent when done
Last edited by Billgluckman; Jun 14, 2019 at 06:36 AM.
I once sprayed a buddies car with $30 gloss farm enamel. It looked pretty good for about 6 months, then it started to fade. Now, 3 years later it has no gloss at all. Maybe you're cool with that, but I wouldn't be.
Ive used the alkyd enamels and know a guy who used it to paint his classic car over ten years ago. It definitely loses its shine. You have to constantly buff/polish it to keep it glossy.
Question # 1
It appears there's only a single layer of paint sprayed over the original(exterior only), How far down do I sand? Grits of sanding discs required? Please be as specific as possible, and if you have a preferred method, share it.
Question # 2
The paint on the front bumper has cracked, like beyond the sprayed layer, original paint and the black primer? that covered the fiberglass. How do I approach sanding this?
Question # 3
Anyone had success painting their car COMPLETELY assembled, but well taped off really well?
Question # 4
Anyone had success painting their car on parked on tarps in their drive way on a nice sunny day w/ no wind?
1)Sand to factory primer. I would hit it with 320 to start. Grit requirements are usually listed on the can/bottle of what your going to be applying on top of it. The epoxy primer i used needed 320 wet, The evercoat filler needed 400 wet , and the base clear needed 400 wet for recoat also. Body filler and spot putty was 320 also.
2) Cracks you might need to fill with bumper repair, and sometimes they go very deep.
3)Taking it apart ensures good coverage over everywhere and is the most advisable method.
4)I did mine in a garage, that had been vacuum cleaned multipule times, with filters on fresh air inlets, and a wet floors and still got dust nibs in the paint. Cleanliness is key.
Originally Posted by 92RS-HeritageEd
A few other questions btw...
- How many of those sanding discs are used on average? Of each grit?
- Is primer only required when going to bare metal / fiberglass?
- How many hours, of continuous sanding did it take you to get a decent surface?
- Is this normally a one solid day, or multi-day project in your experience?
1) Cant speak for average, but the paint job i just did i have about 400-425 hrs into it. Dents in both doors, rust on windshield frame, dent in LR, both quarters needed slight work and fenders needed work. Shotty body work will be exposed REALLY easily even with a half assed paint job.
2)I would epoxy prime the bare spots to ensure its sealed, then go over the entire car with a filler type primer. I used evercoat 4:1.
3)rear bumper took me about 4-5 hrs by hand. every panel is different
4) mine took me every weekend for 8 months and im still not satisfied with it.
If it were me, i would just matte black(or white) it with a rattle can especially if you on a budget, want something thats gonna look decent, and have minimal down time.
Last edited by 86CamaroDan; Jun 14, 2019 at 08:29 AM.
Despite you ignoring me when I asked if you were ready for 50+ hours of work I'm going to try to help you out. If I was in your shoes I'd be doing the same thing as you and I'd hate to see you put in all the work and have it turn out like crap. So heres a few thoughts:
Put down the 60 grit, its waaaay too coarse and you're going to make even more work for yourself. 10 years in a body shop and I've never seen anyone use that. I'm not sure if you're planning to prime the whole car and sand it down before painting it, or just to seal and paint it. If you're priming and sanding you can get away with 180 - 240 grit and if you're sealing right over it 400 - 600 grit (check the tech sheets on the primer and sealer to see what they recommend). Bare metal can get away with coarser grit than plastic can. It'll be very hard to get the 60 grit scratches out. Step up the grit from like 60 to 120 to 180 to 240. You could even just scuff the whole and and shoot over all the damage. You'd see everything underneath but it would take the least time and at least all be white.
Is primer only required when going to bare metal / fiberglass? - You can just scuff it and seal it if you're ok with the imperfections. But priming and blocking will help level out the bodywork if you do it to the whole car.
How many hours, of continuous sanding did it take you to get a decent surface?
-Again I don't know how far you want to go with this. If I wasn't going to fix ANYTHING and just buzzed it down and scuffed for a quickie paint job I could have it sanded in an afternoon. The sky is the limit on how long you want to spend making the bodywork and cracked paint right.
how do I get that strip where the bumper emblem goes? A smaller sander? By hand? -By hand. Have fun.
If you need a little etch prime for the bare metal, rattle can is ok. But I've never had any luck with rattle can filler primer. A gallon of primer is actually pretty cheap, if you want to go the route of priming the car look into that.
I once sprayed a buddies car with $30 gloss farm enamel. It looked pretty good for about 6 months, then it started to fade. Now, 3 years later it has no gloss at all. Maybe you're cool with that, but I wouldn't be.
Have you considered plasti-dip? Ive never used it, but it might be the fastest and cheapest option for you. No scuffing, no primer, no sealer
Please understand, in no way have I ignored you. I remained silent as I was prepared for the long hours at the start of the thread. More importantly I thank you for the information shared, those answers to the questions helped! I also PUT DOWN the 60G and went back to the 120 on the orbital. I do intend on priming the entire car and block sanding before a drop of paint hits it.
Last edited by 92RS-HeritageEd; Jun 14, 2019 at 01:34 PM.
I just painted my hood with PPG single stage I took it down to metal as it kept pealing in the same spot down to the factory primer, FWIW the paint Maaco uses reacts with everything so if you ever do paint it with them you have to strip it off for a good paint job later. With that being said My car was painted by them in 2000 time frame and still has a shine, but has a couple of spots where the paint is starting to crack etc.
When you get ready to paint it get a good moisture filter trap, and a dissident water trap (Harbor freight has these), make sure your air hose has never been used with oiled air tools etc. And the last piece of advice many coats especially on the edges and ridges so you have plenty of material to wet sand and buff. If you don't have clean air you will end up with fish eyes.
On your car I would get a quality high build primer and but 3-4 coats on, then block sand the entire car with guide coat until you are happy with it and then spray it. If you go to metal coat with epoxy primer first.
Another thing you can look at is many tech schools have an auto body program, they need cars to paint on but many of them have a back log since this is a known trick.
Look around your area and see if you can find a paint booth to rent after hours and paint it over night.
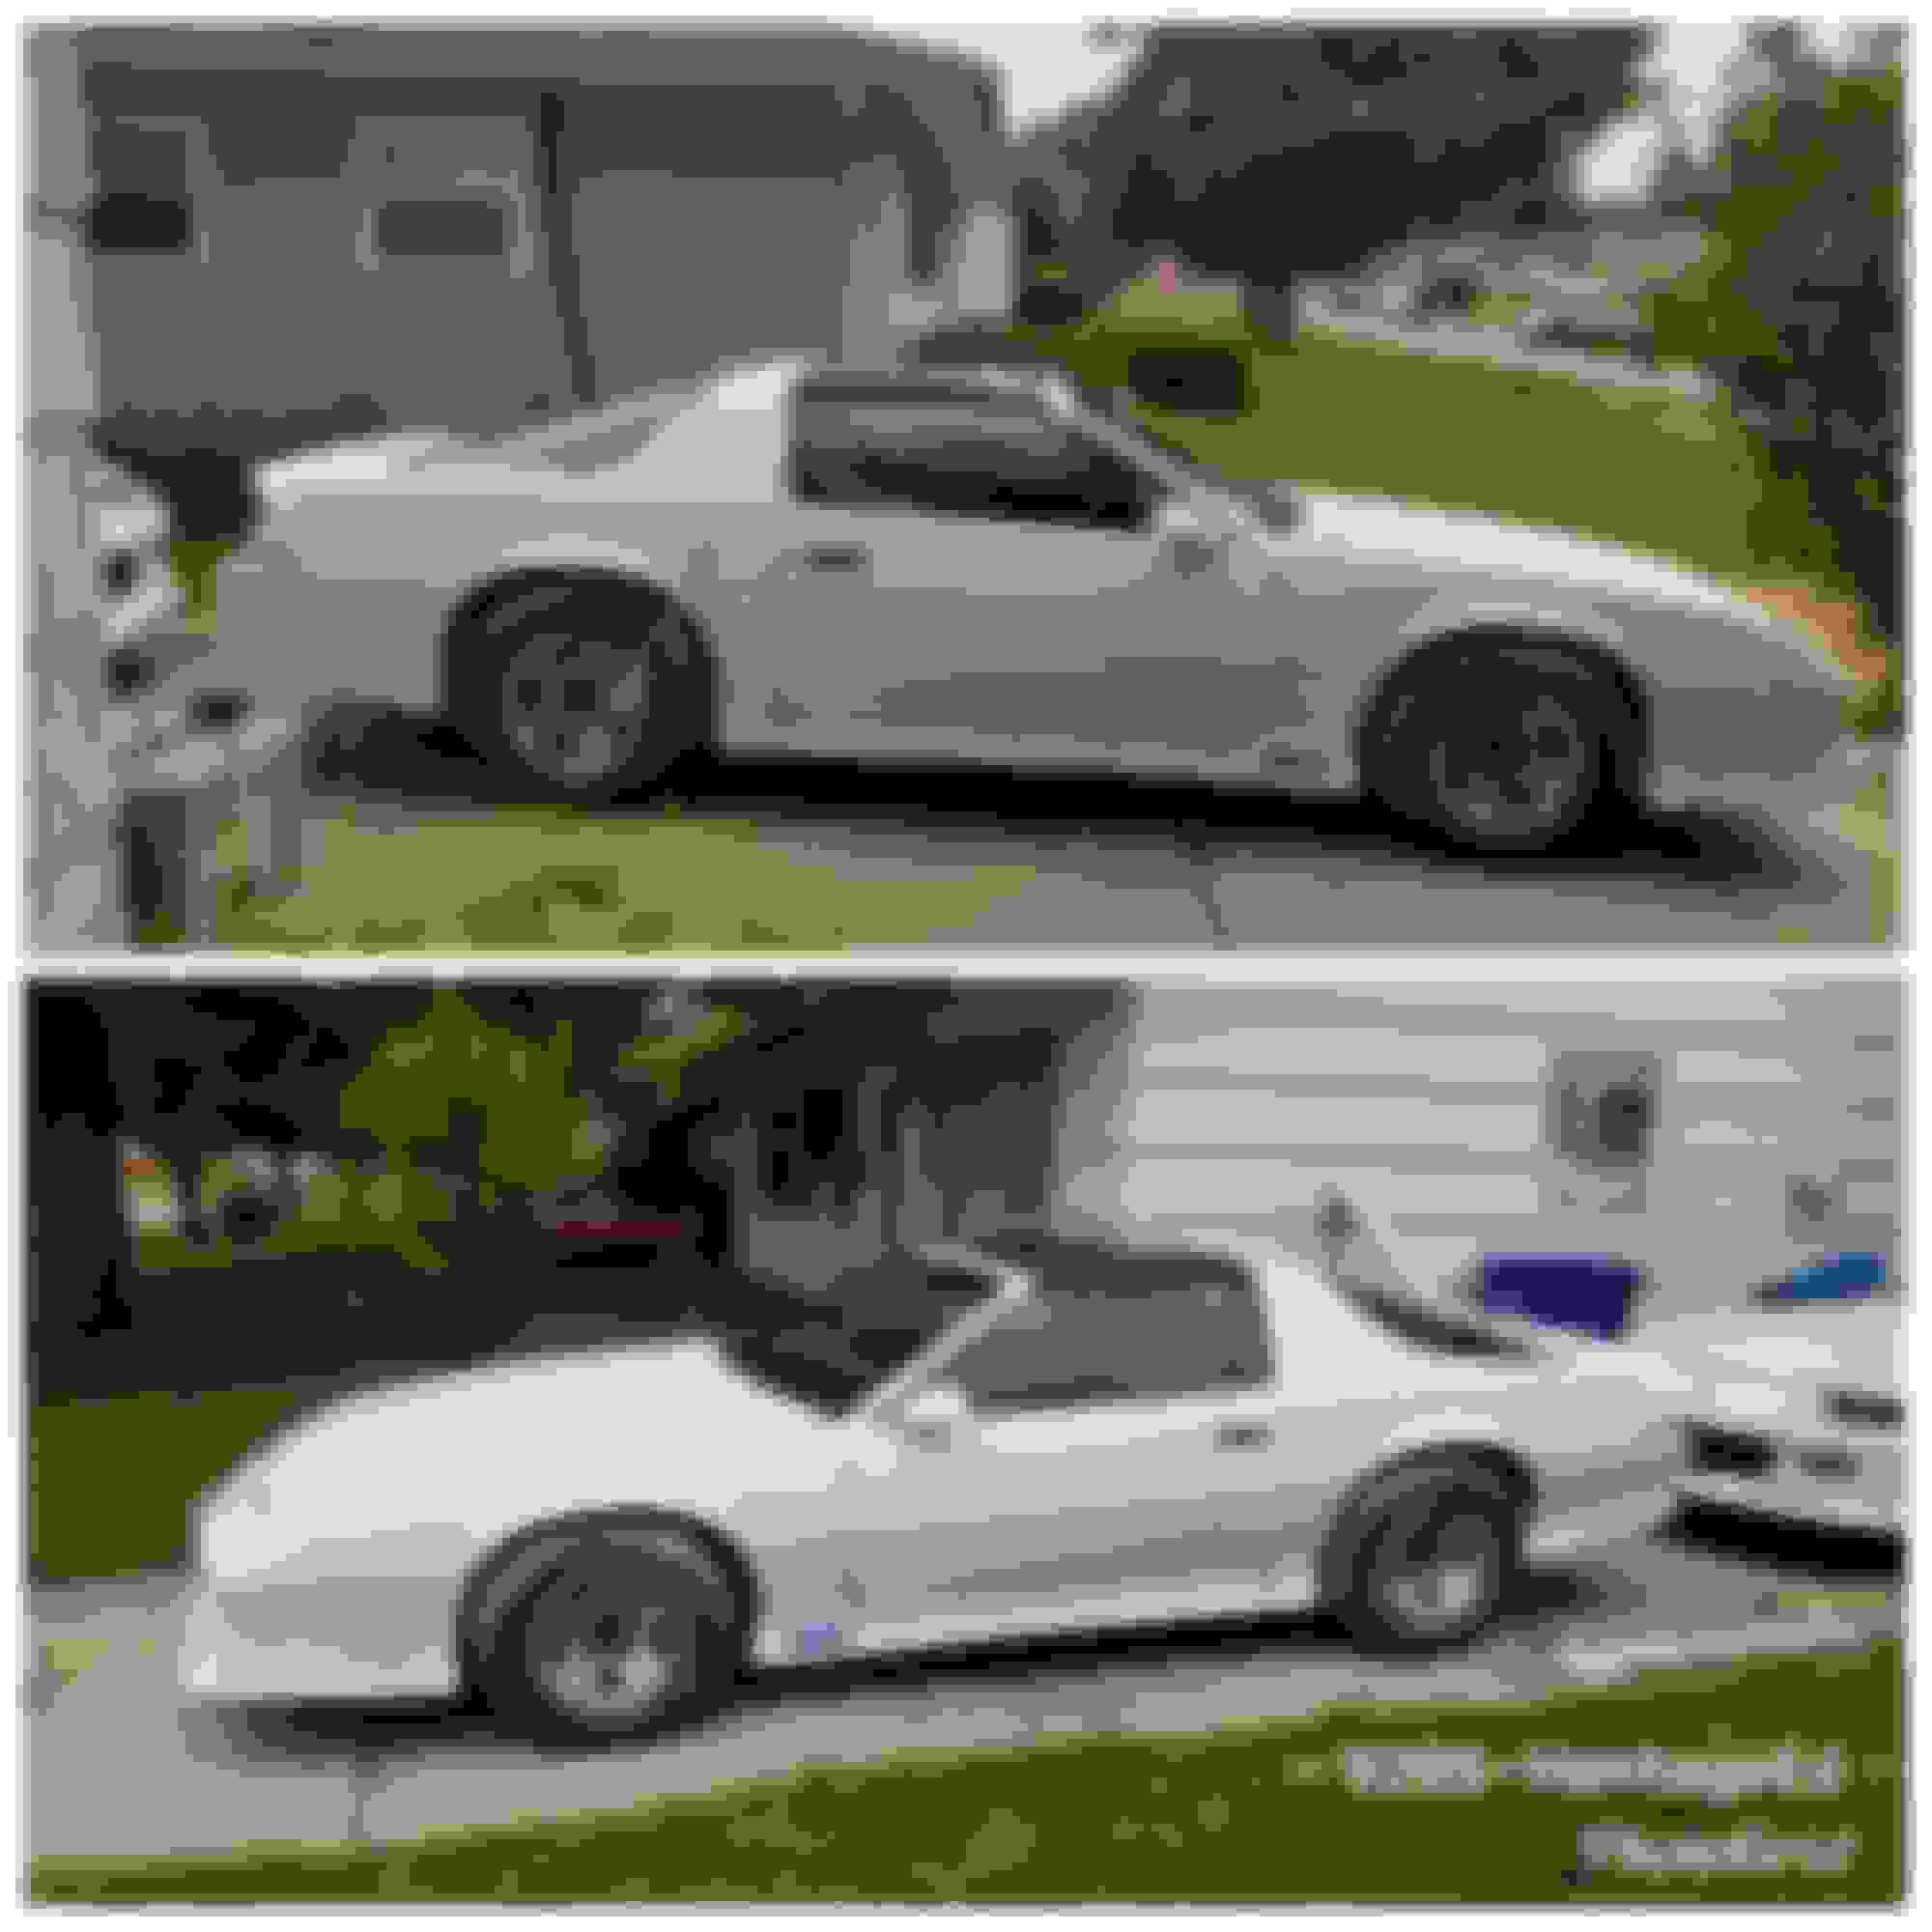
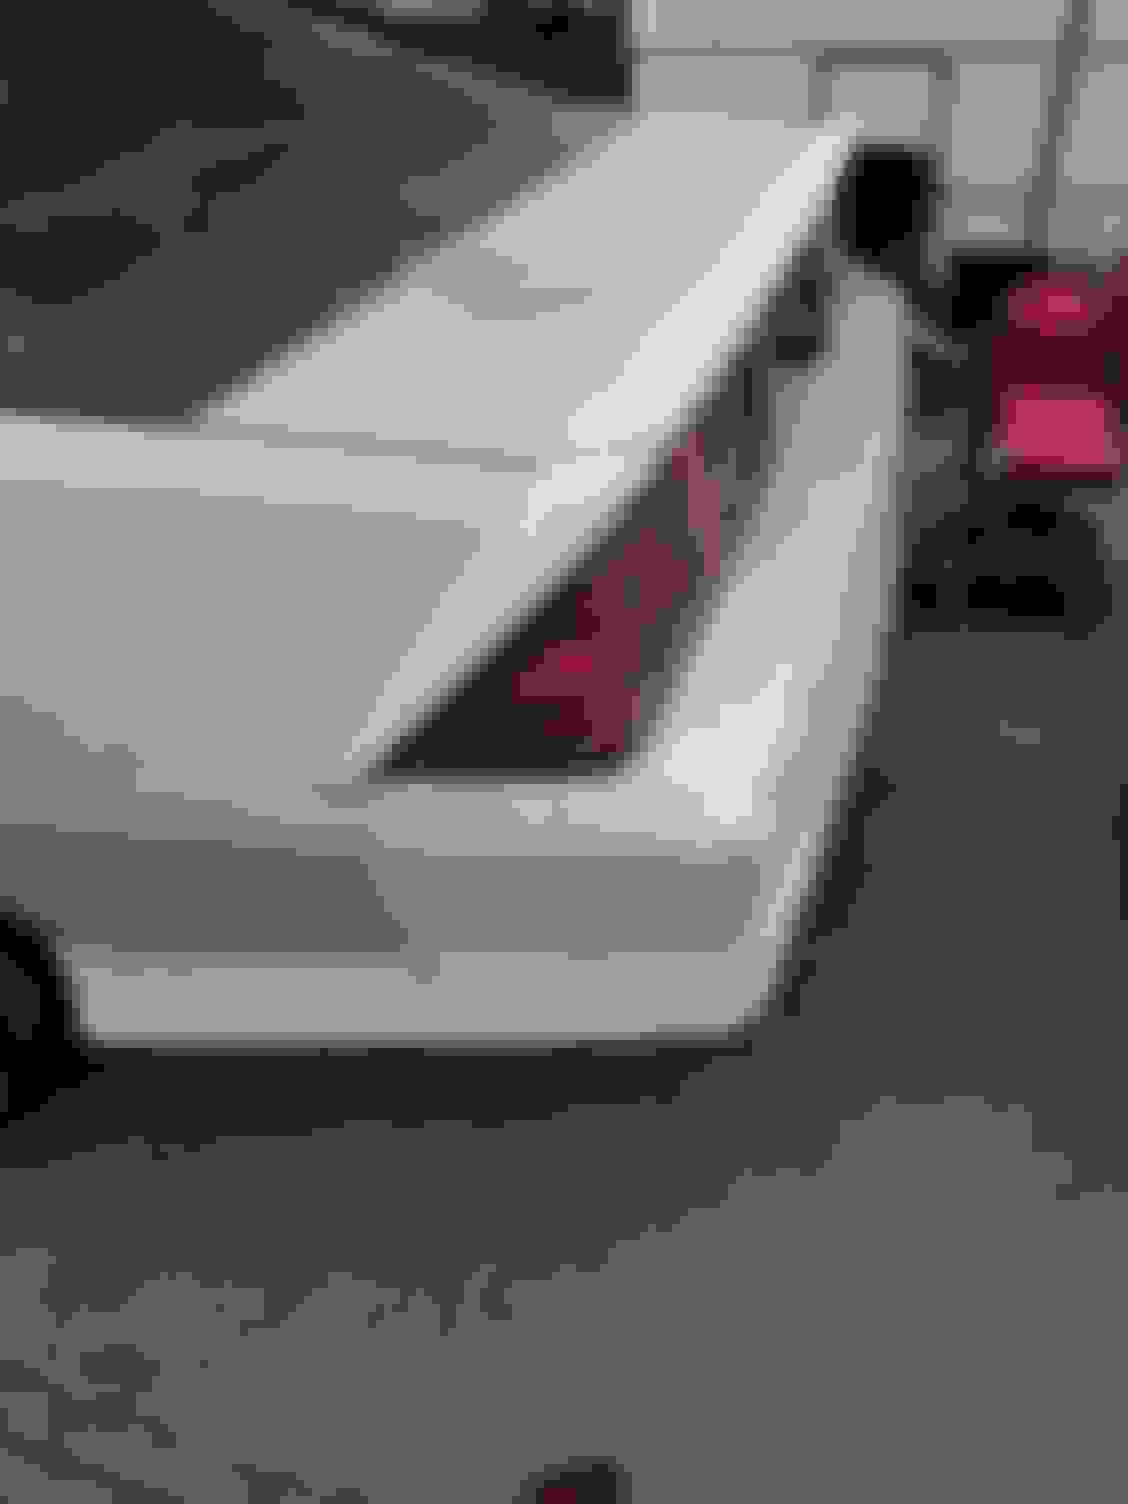
Didn't tape off as good as I thought, mineral spirits wipe off in order for the tail lights. Edit: Wiped off the tail lights w/ mineral spirits. Doesn't look all that bad now. Updated pic...
Last edited by 92RS-HeritageEd; Jun 16, 2019 at 05:41 PM.
The tail lights literally take 5 minutes to remove. I have never understood the point of doing a DIY paint job and not taking proper disassembly.
If you are going to skimp on a professional and save some money, save yourself some time and at least attempt to do it right in the first place. You end up making more work for yourself after.
I have taken my car down twice in order to respray it. It only takes a 10mm and a little time to disassemble one of these cars.
Is this a Rustoleum/Roller thread? Because this seems like a Rustoleum/Roller thread.
Some people, take a total toilet, and spray it with whatever rattle can or use Rustoleum and foam rollers, get a car all one color and are ecstatic with the result even though it looks terrible to anyone with a critical eye. If you're one of those people, nothing anyone tells you to the contrary is going to do you any or them any good. If you're the kind of person that wants your repainted car to last, without cracks and defects in the old paint coming through the new paint, or you want it to stay shiny for more than a year, etc, you're kind of screwed.
It's a ton of work to repaint a car the right way. That's why body shops don't want to paint most enthusiast cars. Insurance pays better, and the standards are lower, why even take the job from someone who's going to be looking for flaws in the work? That's also why paint and body costs a lot of money. It takes time, and LABOR, to have a good result. That's not to say a person can't do it at home, but if you're the kind of person that goes to Harbor Freight for an electric sander and store brand sand paper, you're in for a HUGE learning curve.
Check out a few of the restoration threads other people have made. Look at the extent of the work shown, and consider a lot more generally is not shared. Also take note of the threads that have been going for years and never are finished. Take a look at all the abandoned projects on Facebook or Craigslist, etc. A lot of people run out of steam somewhere in the middle.
One thing fore sure, it isn't a "Rustoleum/Roller thread" or I'd have already been done . While I agree "Some people, take a total toilet, and spray it with whatever rattle can or use Rustoleum and foam rollers, get a car all one color and are ecstatic with the result even though it looks terrible to anyone with a critical eye." I am not one of them, I bought HVLP Spray Guns and all the supplies needed, watched hours of YouTube videos and reviewed tons of threads on here. You as well as the other members here have mentioned that it's a "ton of work to repaint a car the right way" and that "HUGE learning curve" is right but more like REALLY HUGE. I don't think anyone started as a noob and got it perfect on try number 1, and not everyone has the budget for the most expensive selection of tools BUT believe me I'm taking in all the constructive criticism as well as the experiences members like yourself have shared, words of encouragement from others and making the best of of my situation.
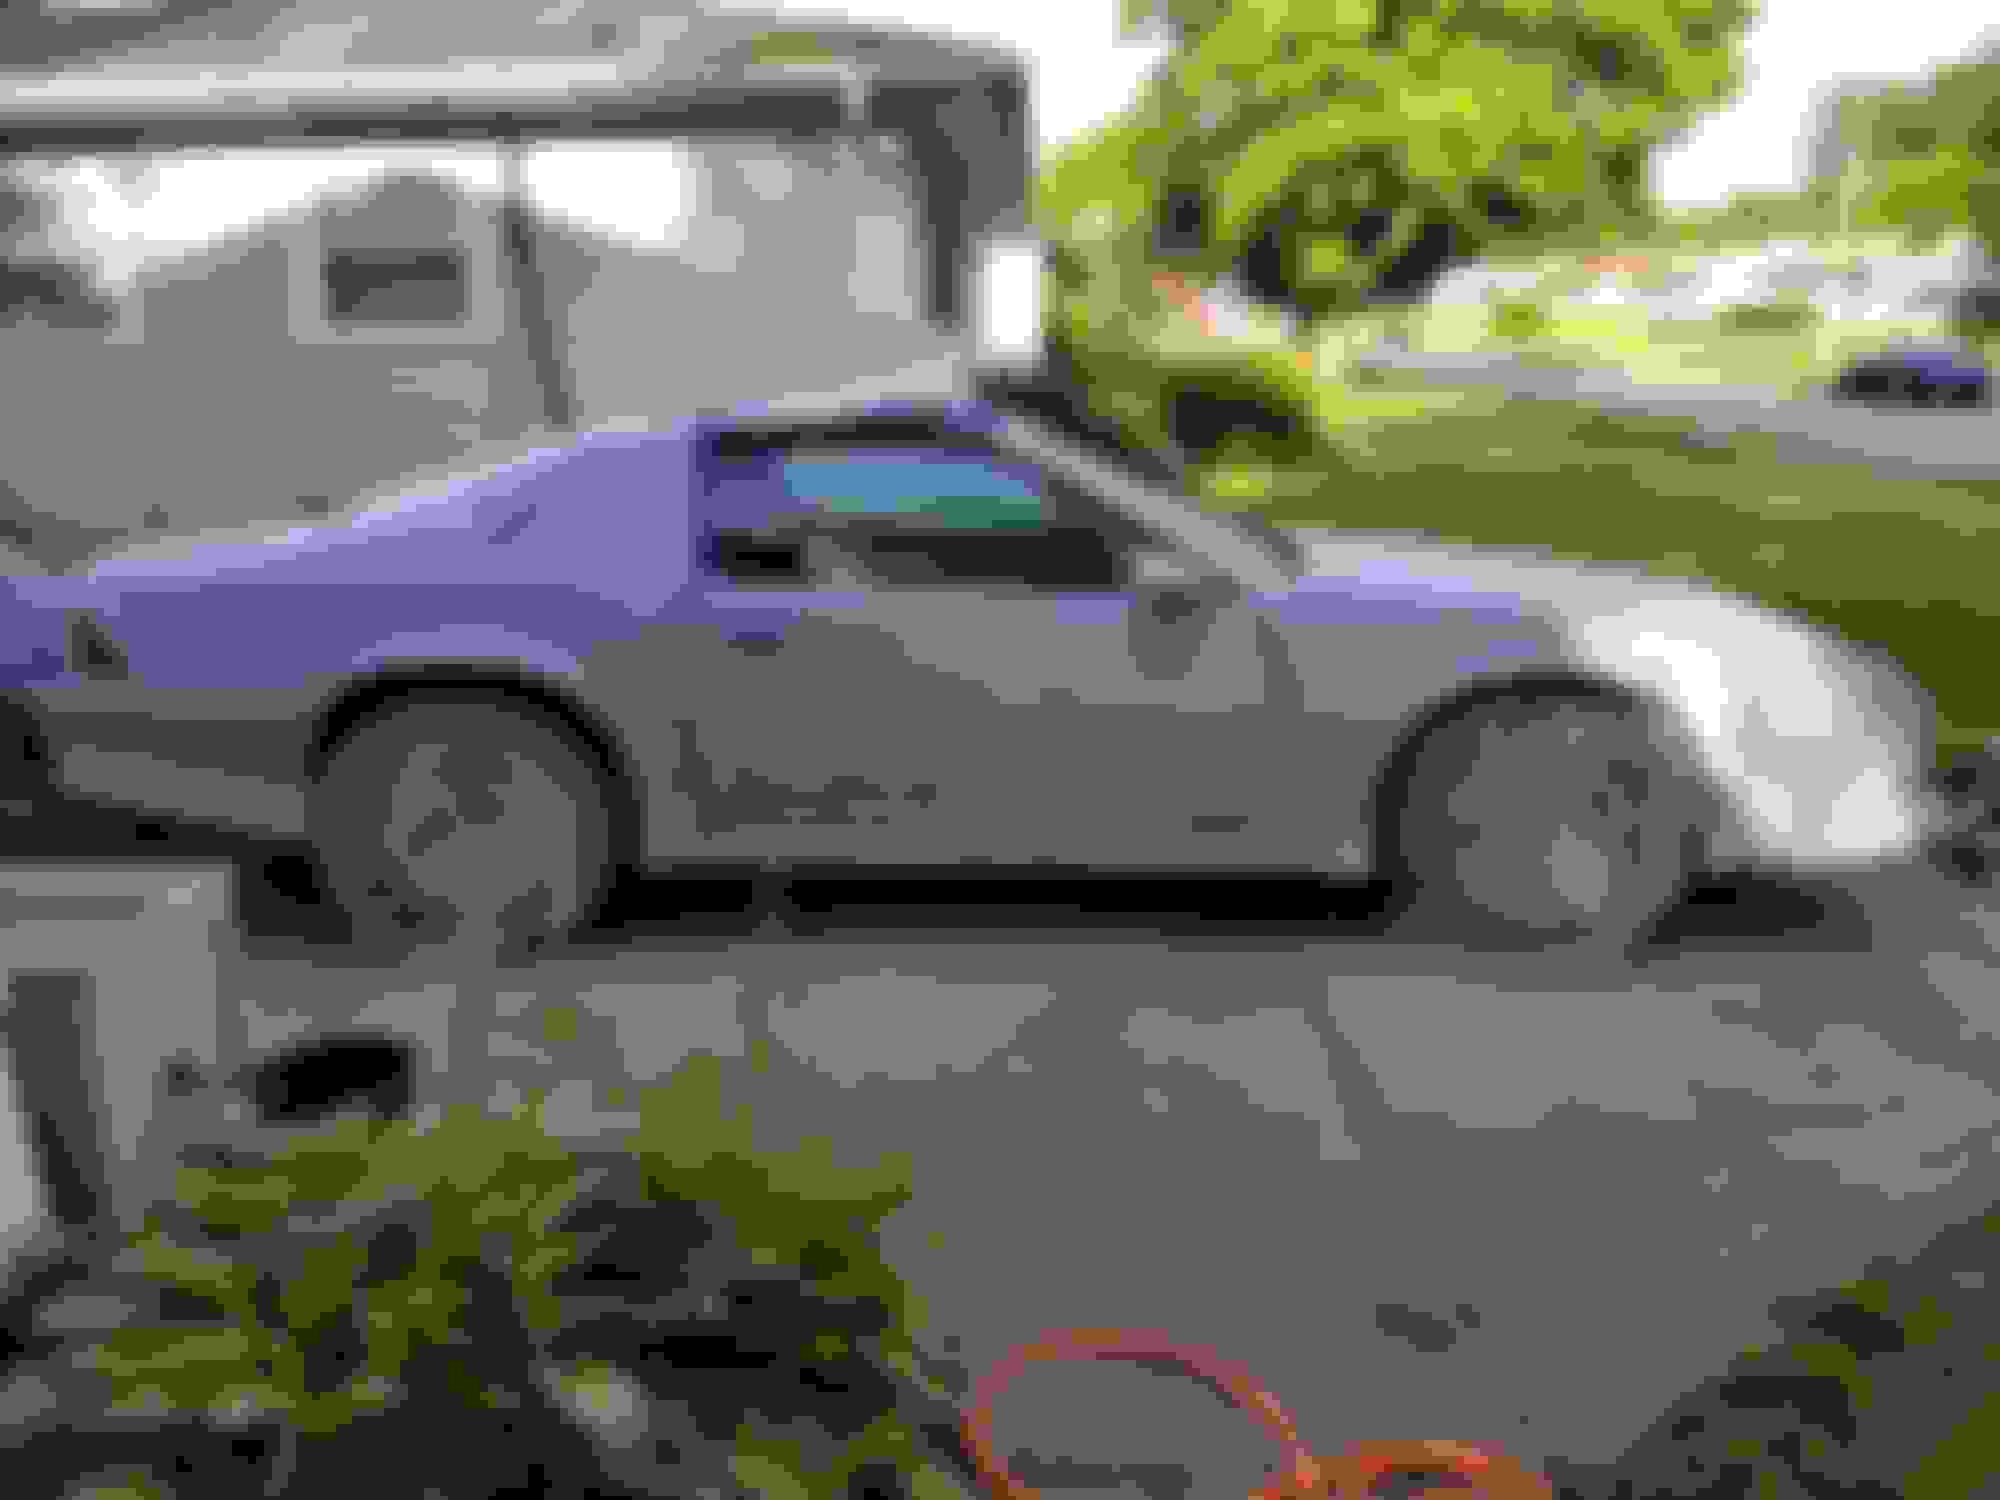
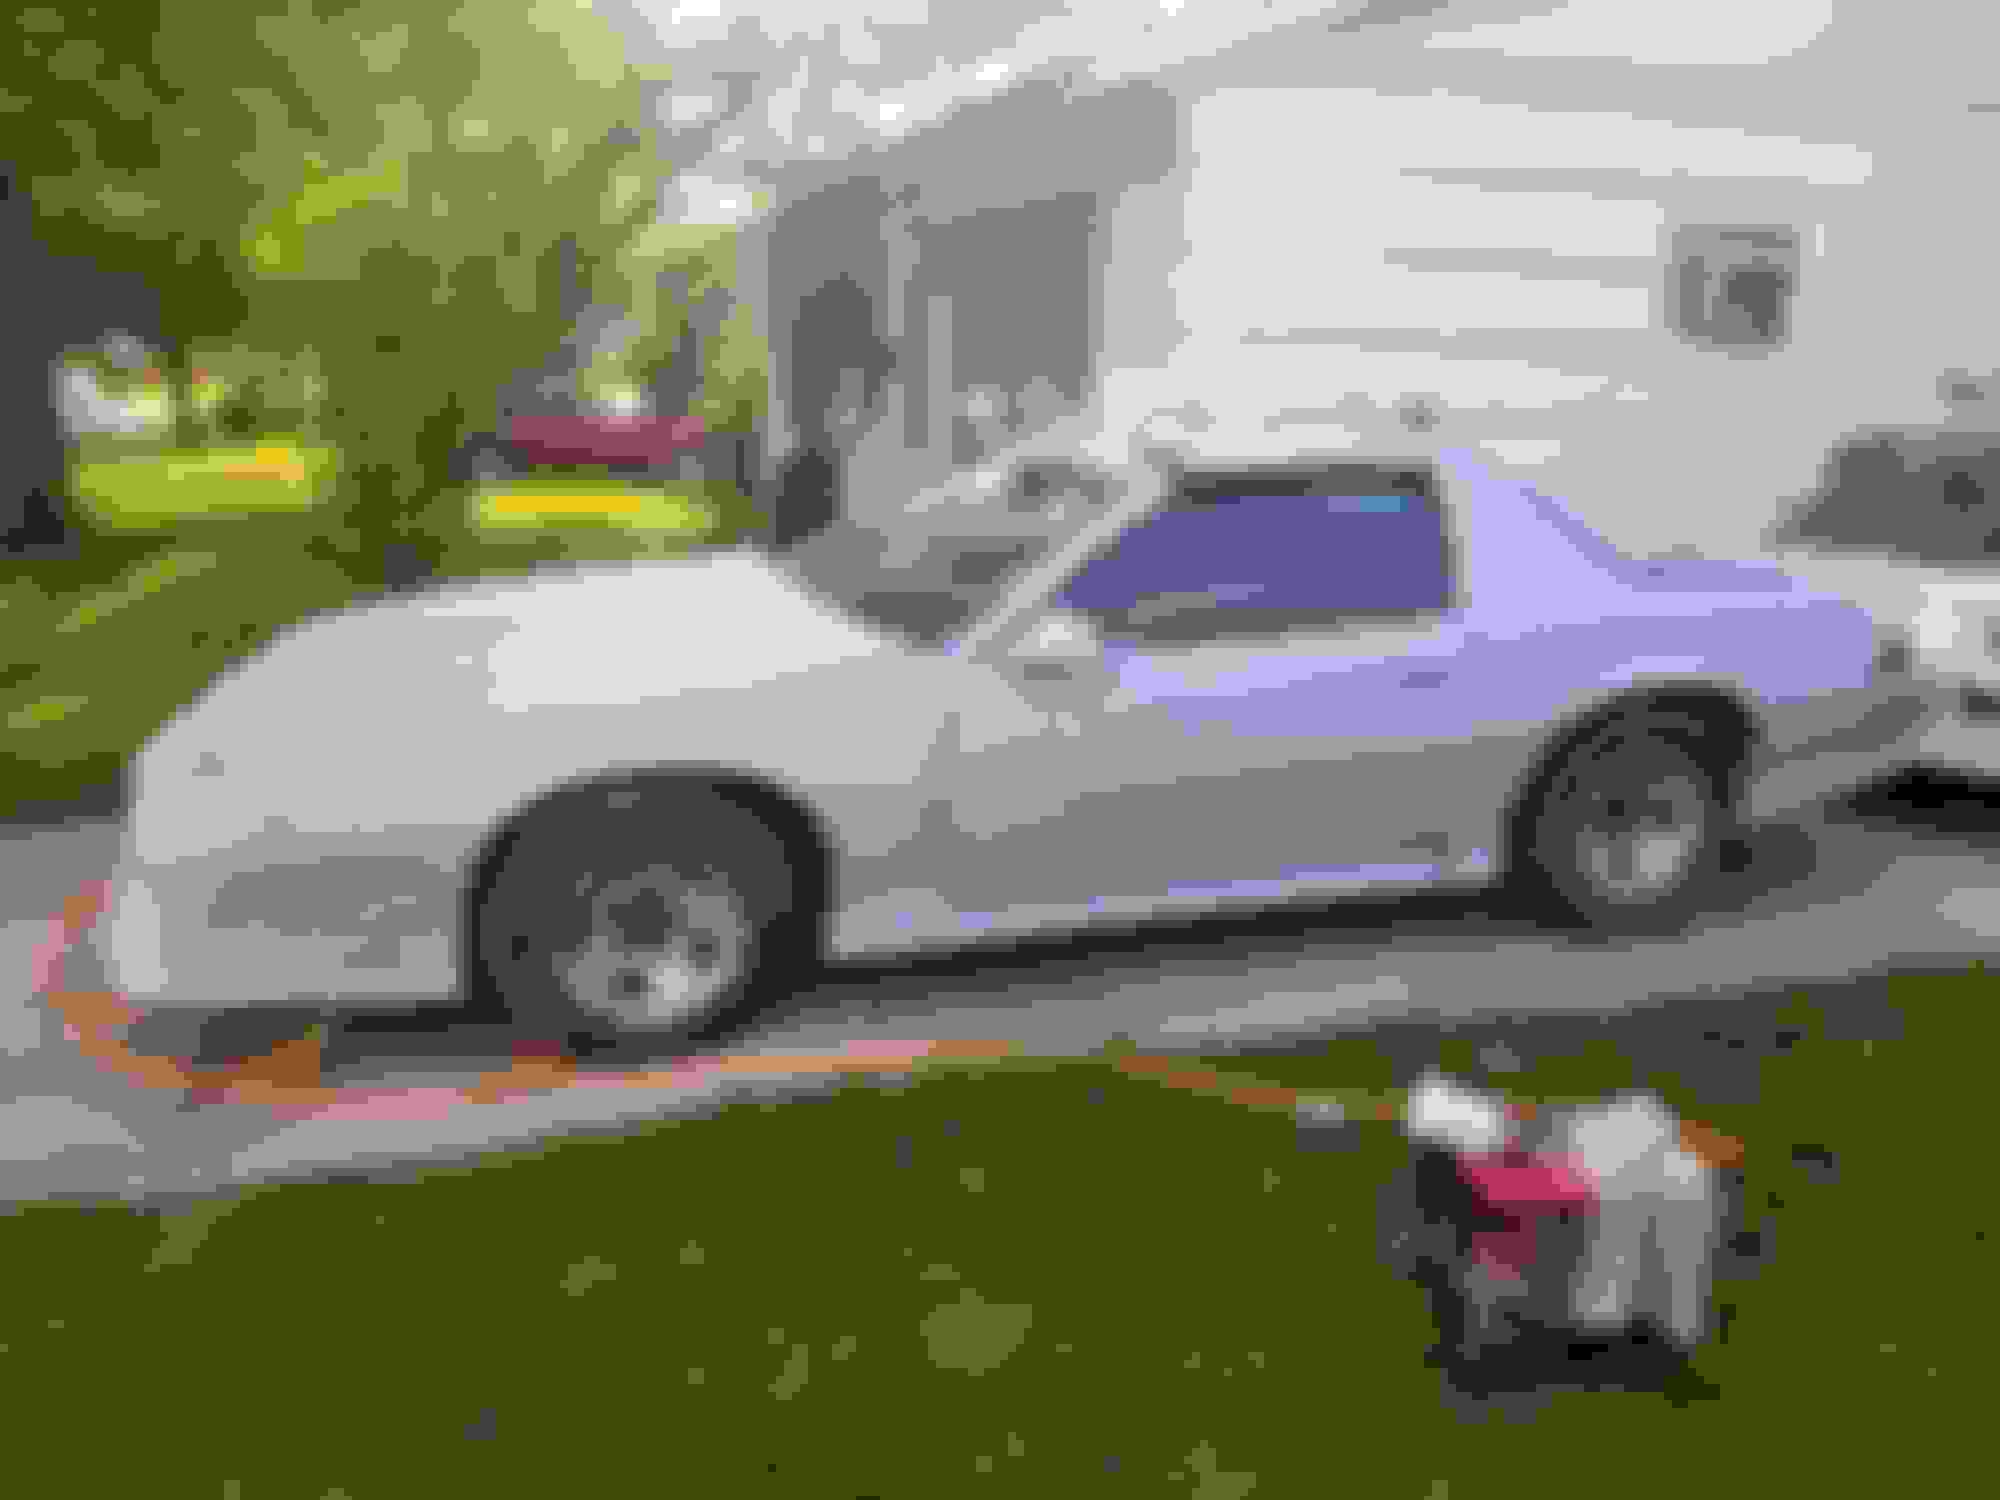
Didn't bail, had some rain over the past week and got side tracked w/ a starter replacement... Broke out a quart of rust-o-primer, the compressor and HVLP Spray Gun and was able to cover some ground. Ran through the 3 rattle cans of primer I bought @ $4ea, glad I picked up the qt for $15, it's enough to finish this light coat and apply 2 or 3 more to the whole car.
And...
Last edited by 92RS-HeritageEd; Jun 27, 2019 at 06:41 PM.
Thank you in advance for withholding the flaming, you've probably got the fact I'm in to far to bail and by now recognize I'm doing the best I can. Made more progress today, sprayed the car until I ran out of primer, didn't know how much was to much...
2 neighbors in 2 days mentioned the positive difference in the look now vs in post #12 so I'm feeling a little good. If I find that 1qt and 3 rattle cans of primer is enough or overkill, then I'll start hand sanding at daybreak. Started off wanting final color gloss white, depending on the answer to the question below might switch it up to high gloss black.
Anyone ever added a smidge of metal flake on a DIY job or is that pushing it?
Started off wanting final color gloss white, depending on the answer to the question below might switch it up to high gloss black.
Anyone ever added a smidge of metal flake on a DIY job or is that pushing it?
Without laser straight body work and top quality materials, GLOSS black is out of the question. So is gloss anything. No metal flake either.
You should be thinking FLAT because it will tend to hide all the sins underneath.
NoEmissions is right, gloss black will show every imperfection in the bodywork, even tiny ones you don't realize are there. White will Hide the most out of every color. Adding a tiny amount of metallic (actually usually pearl) in black will make it look gloss black in the shade and slightly metallic in the sun. All modern honda black are like this, less than 1/1000 of the formula is pearl. It won't do anything to white though, white drowns out the pearl unless you make it a tricoat by putting a few coats of pearl over top of solid white and thats not for beginners.
Agreed, white is the best for hiding imperfections. Besides, changing color would be a whole lot more work to do right. But white will also show rust spots sooner down the road. It reflects heat and moisture in all the nooks and crannies takes longer to dry out.
Are you going to fix the hood, dents or any other body damage? Honesty, if your not, I wouldnt bother wet sanding it. Just painting over dents, bent body parts and damaged rear quarters is just gonna make it stick out with a gloss paint job on it.


 A TEST - Used 80 grit by hand, to course? Put 120G pad on and...
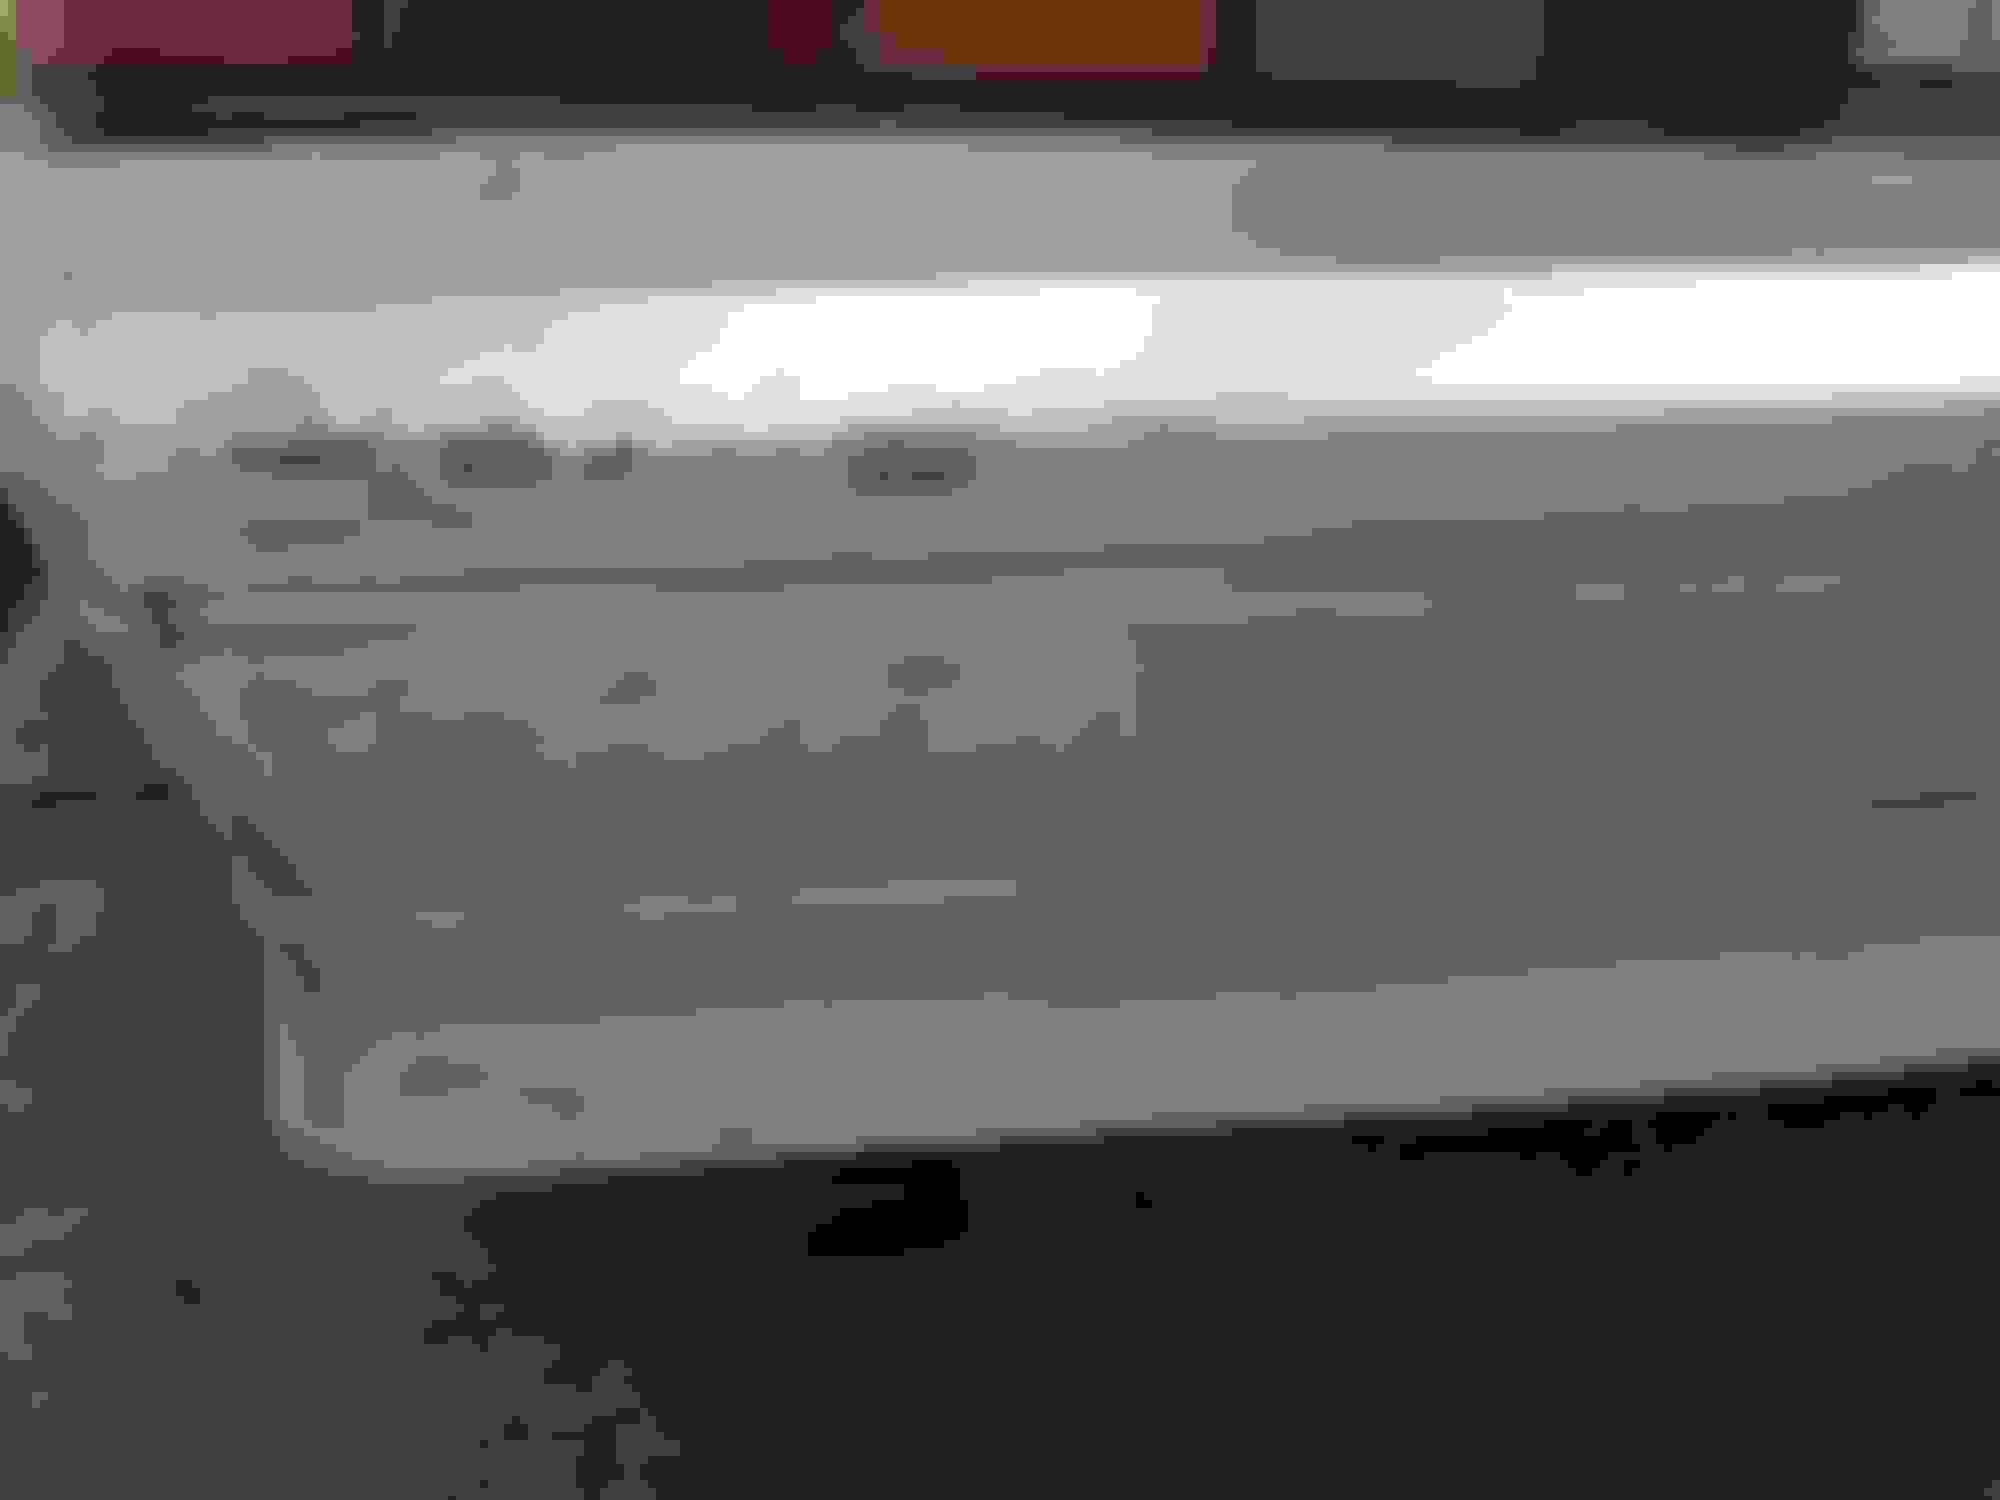


 and left it all to me.