When you click on links to various merchants on this site and make a purchase, this can result in this site earning a commission. Affiliate programs and affiliations include, but are not limited to, the eBay Partner Network.
Looking for anyone with knowledge on how to replace the little black piece that sits behind the turn signal stalk and pivots to push the dimmer switch rod. Not sure if I have the correct name for the part or not. I removed it a while back when replacing the pin and like a fool didn�t take note of how it came apart. Spent a half hour the other night trying to figure out how this went back in and short of looking like it rides in a grove on the plastic cover, I can�t figure out how that would actually go together. Anybody help with a link or video or instructions on how to do this? Saw a picture somewhere on here but can�t find it now. All my searches seem to come with mentions of adjusting the switch further down the column, or they mention this part and it dead ends there with no info to reinstall
From your description, it sounds like you're talking about the high beam switch? The little plastic piece that sits loosely inside the column cover and contacts the metal rod that runs down the steering column to push on and activate the high beam switch at the base of the column? That piece? Dumb af design. Created and approved by two people who actually thought that was intelligent. 3rdgen "technology" at its finest. Spare no expense!
Yes, it can be difficult making that little piece stay in place while reassembling the steering column. It's been many years since I did it, but the parts only fit together one way, so you should be able to figure out when you've gotten it right. Then to hold that little plastic piece in place while I reassembled the column, I put a smear of white grease on it to make it stick to the column. Then once everything is assembled, the pieces hold themselves together.
Yes this is the exact piece I speak of. Dumb AF would be an understatement lol.
I feel as though I can see/understand how it goes back in there but trying to peek around the column and door with no clear view I�m almost doing it blindly. I can see the groove at the end is where the rod sits/rides. I can almost get it all in there and attempting to work but this is without the cover installed. It appears it goes 1)this black plastic piece, 2) cover, 3) turn signal. But I�ve found no way to get the cover in there with the two hooked together. Just hits on the back of the signal switch that moves this lever. Clearly I�m overlooking something
Is this a part that is supposed to be installed with wheel off and underneath the turn signal switch? I feel like this part came out when I removed the cover, so I would think it would go back in that way.
Well some good news to report on this. And hopefully be able to help others since I could not find any write up on it. I will start by saying the only way to perform this is probably laying on your back in the driver floor pan with the seat out. Sounds extreme but I�m a big guy and I already had interior out so maybe that was a bonus. On a side note, now that I have it fixed I could possibly say that I could do it from the side like I had been attempting, but looking straight up at it was definitely a major help.
First step, make sure the rod is correctly seated into the switch. This should make the end near steering wheel up tight against the column. When I started I did not have this and it was out of position giving me headaches. Check this first.
Rod should be up tight against the column, high/low portion pulled toward driver slightly
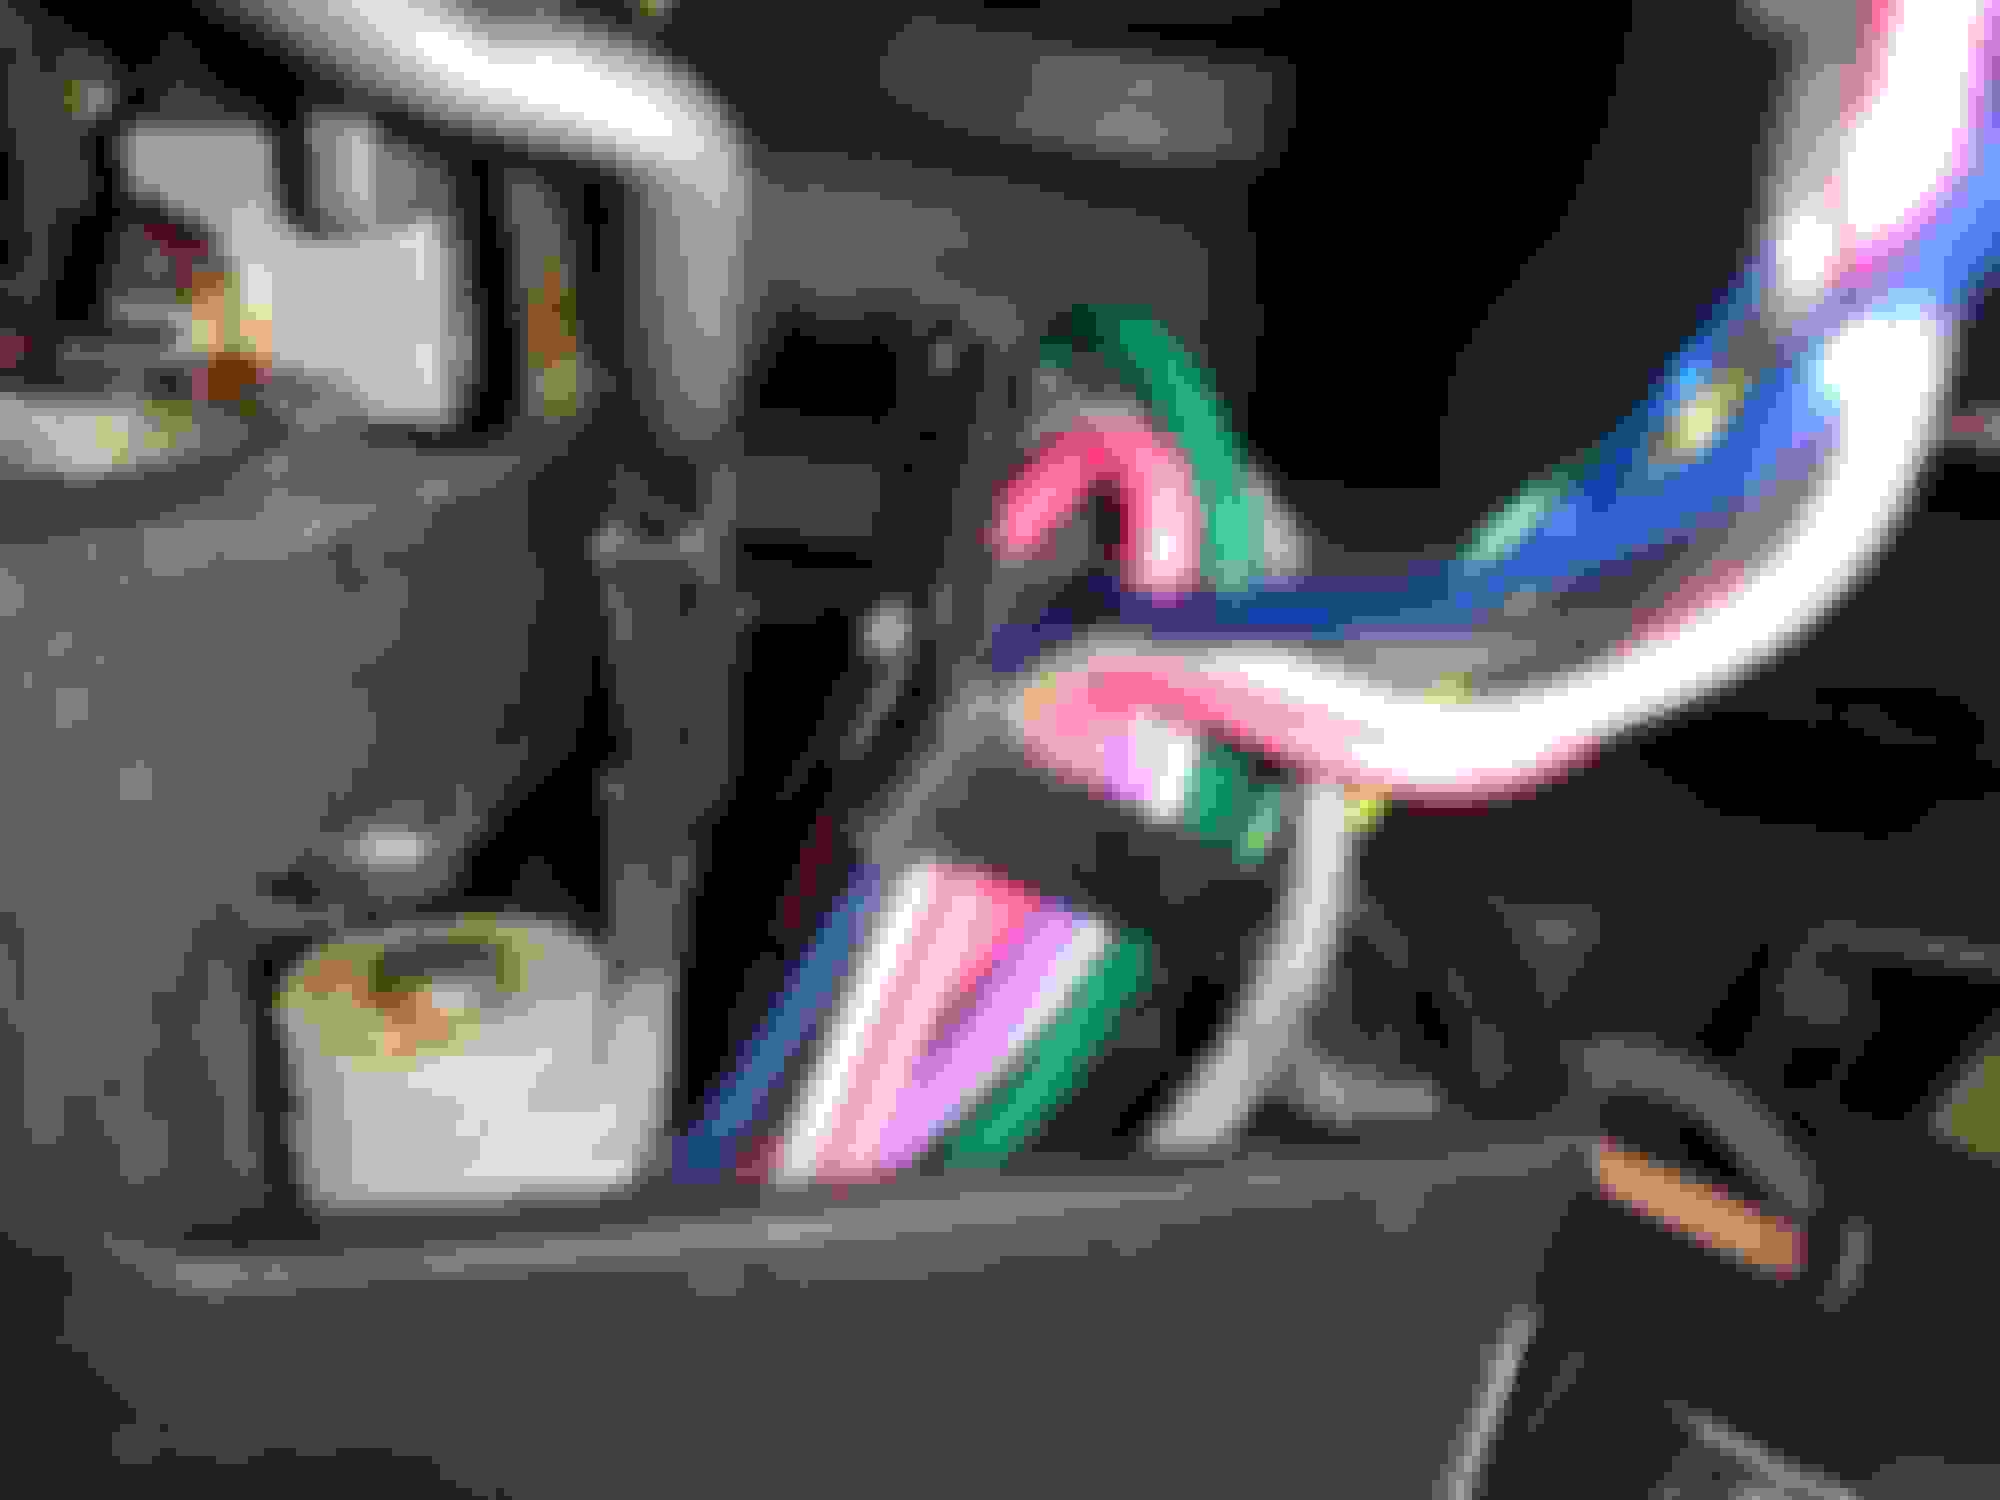
Right above the light gray piece with the button is where this piece will slip or �key� into.
This is the orientation of the part into the steering column.
Once it�s slipped into place make sure the rod is seated into its grove on the end
This is where it gets slightly tricky. Make sure actuator stays tight against column while easing stalk back to make room for cover to slip in. If you try to work the switch without the cover it will fall apart. The cover is what holds it in place.
Slide cover in between the actuator and stalk while gently easing it into the groove on actuator and then slip into top and bottom of column. I found it easiest to reach above the top side and hold actuator/rod assembly against column with my right hand while guiding cover in with my left. The extra piece that covers wiring also needs to be in place to keep the main cover in place. Moving it without may cause it to separate again and it�s back to your back you go. I didn�t get a pic of that but pretty sure you can figure it out from there 😬
Haha! To be honest once I got under there it was so easy a caveman can do it. I was just shocked I couldn�t find any info on doing it. Sure it�s out there just not coming up with my selection of keywords I guess 😂
And yeah I�m trying to refresh this car and fix all the nuances while keeping it original so an auxiliary dimmer was not in the cards lol
Didn�t see any instructions related to what I was looking for but definitely some good info there! I had looked at this place before actually. I got a fair amount of slop out of the tilt but it�s still not perfect. Plan is now that it�s functional enough for me tend to other things. Once the car is operable and down the road a bit I plan on investing in sending it off to be rebuilt professionally and hopefully have a solid product in the end. Just glad everything is working in there for now