When you click on links to various merchants on this site and make a purchase, this can result in this site earning a commission. Affiliate programs and affiliations include, but are not limited to, the eBay Partner Network.
Final, Final Final: Success. It probably would have worked. The idle set screw needs to be set so that the IAC counts are around 5. This keeps the throttle plates more open on the idle set screw. If the plates are allowed to close to far, the vacuum can cause the throttle to hold slightly open. Weird, I know. See this thread:
Final FINAL Update: Failure. The TB still sticks near idle. The only thing I can think of is that the steel shaft is actually worn enough so that even the new bushings don't make it right. I did notice one thing that near fully closed, and closing the butterflies at a good speed, there was a kind of "buzz" in the shaft. Well I suppose that's all it might take. I put a BBK 52mm on there and it runs flawlessly.
FINAL UPDATE: So I continue to be plagued by a curious case of the throttle not returning to full closed ONLY while the engine is running. The problem was solved for a while when I tightened the return spring up but after several weeks of bliss, the engine got hot (but not overheated) and the problem returned and stayed. The symptoms are repeatable each time. I will experience the higher idle from the TB from cold start to warm- not fully closing and then shut off the engine. As the manifold vacuum goes away, the TB closes immediately. I seem to have exhausted all the options that I care to for now and am going to leave this thread with this note. The TB has no play and works perfectly smoothly each time I check it by hand. It's kind of a mystery and the only thing I can think of is that the return spring has gotten weak but for now, I am done messing with it. Very frustrated.
So the other day I rebuilt my stock TB. It worked out well so I wrote up what I did. Hopefully this will help you with your TB.
What you need:
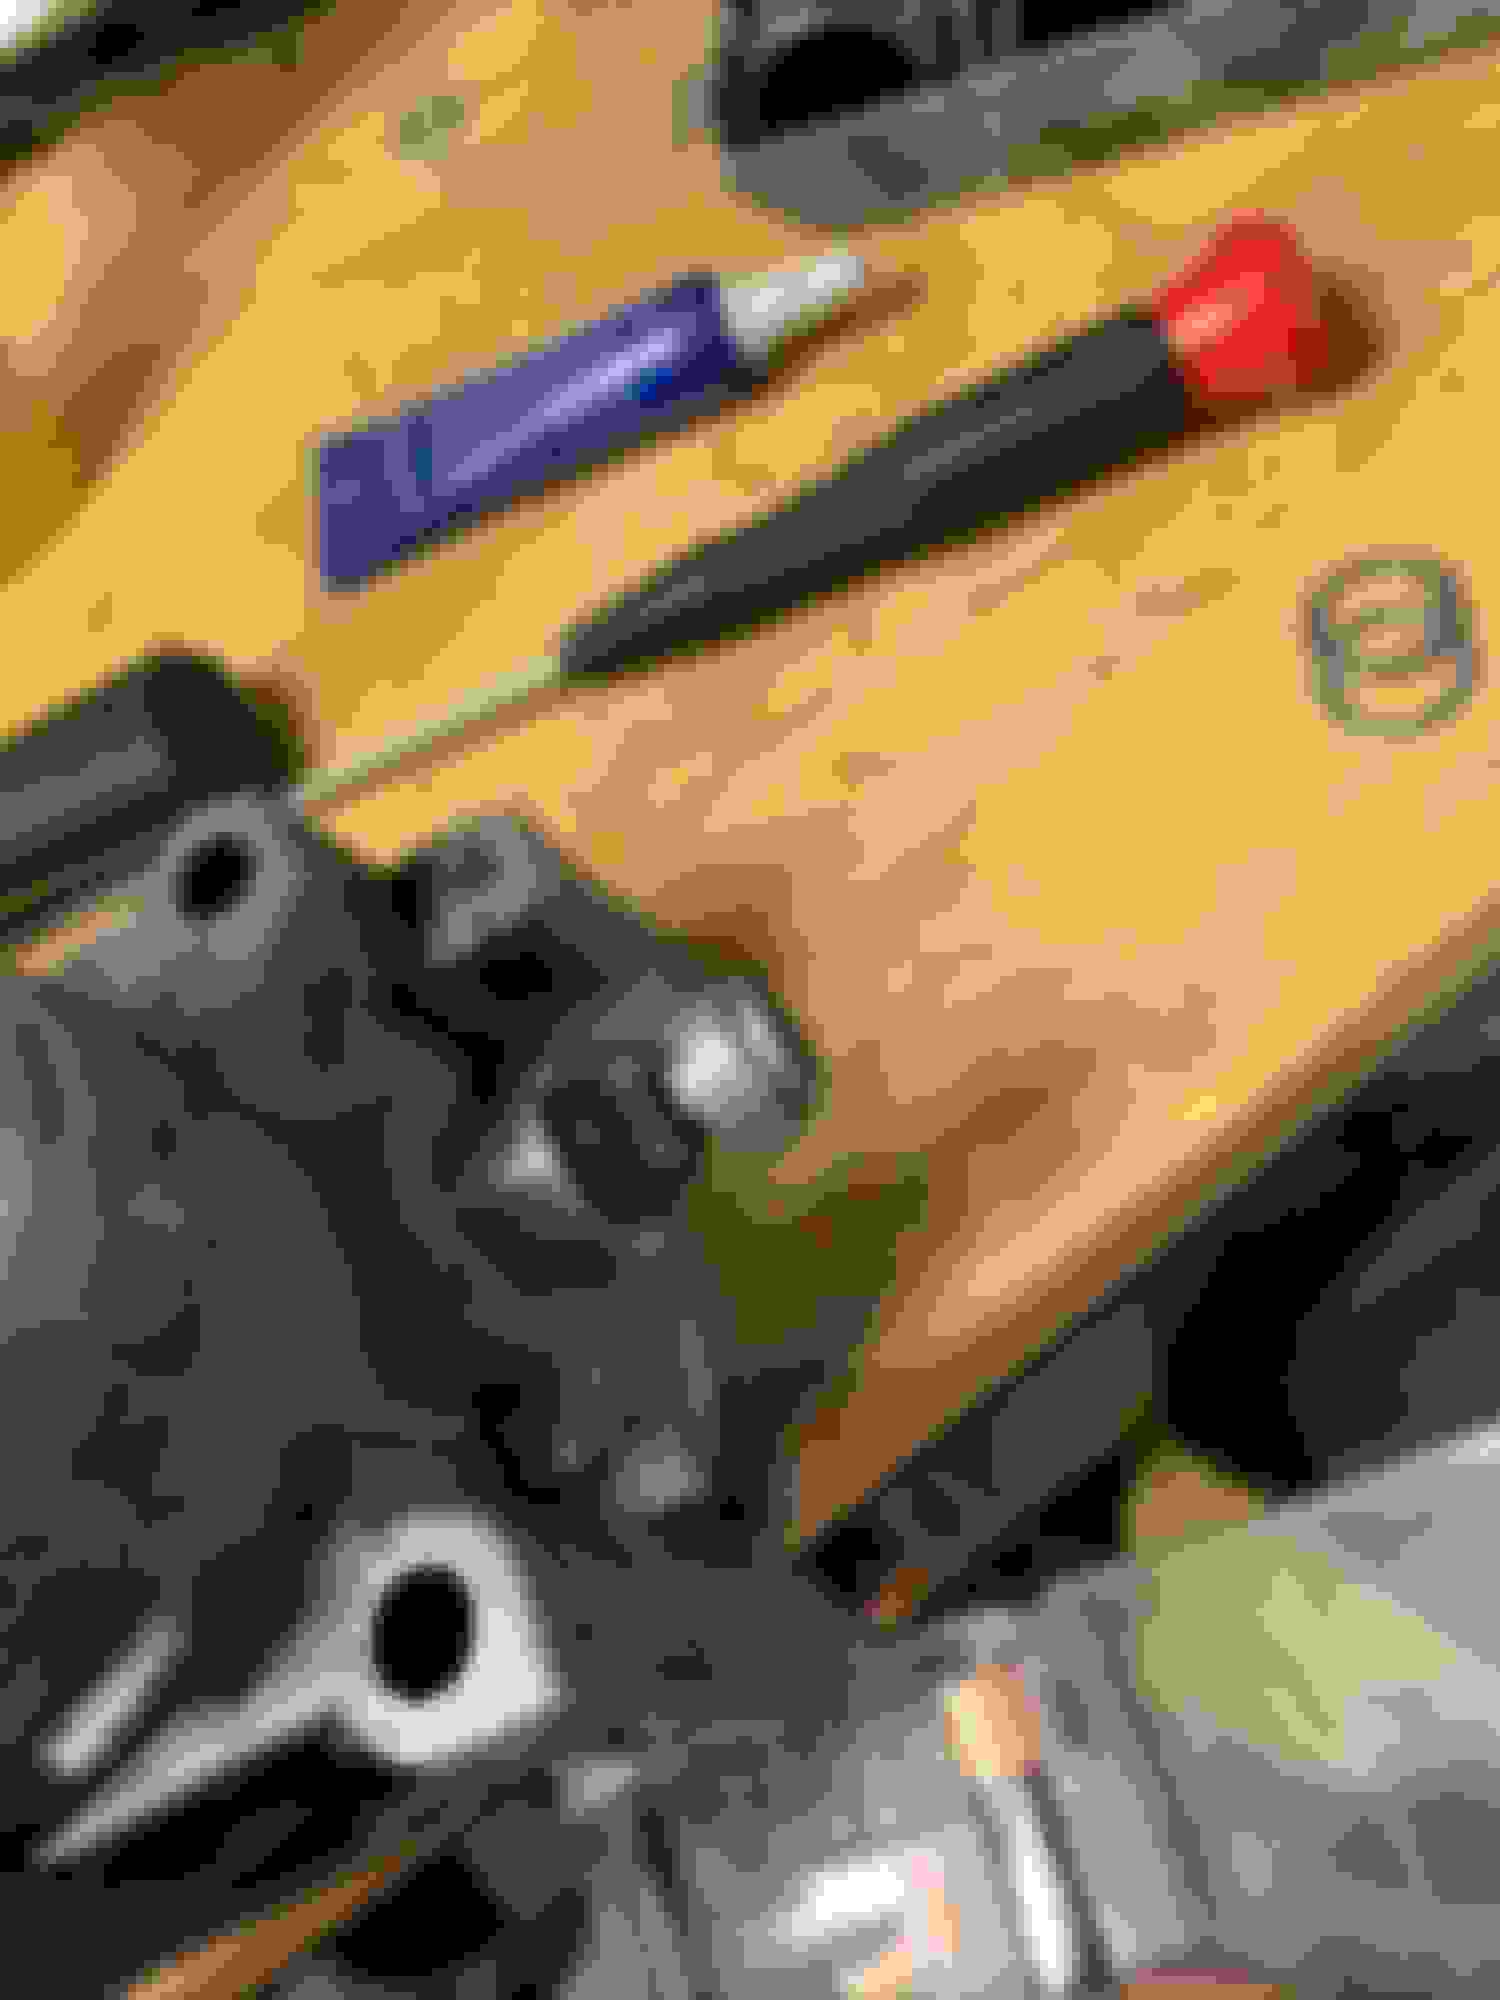
1. Bushing and piloted reamer kit for 3/8 throttle shafts. I got mine from CarbJunkys.com in Georgia. $37. https://www.carbjunkys.com/Throttle-...reamer-kit.htm
2. A small screw, about 3/8"-1/2" long. Say a 4-40 or metric equivalent. and the tap. Some washers to go with it about 3/8" diameter, and lock washer. Star kind is preferred.
3. Drill motor, vise, small hammer, some sockets, Torx 9 driver, flat screw driver, grinder- dremel preferred.
What to do
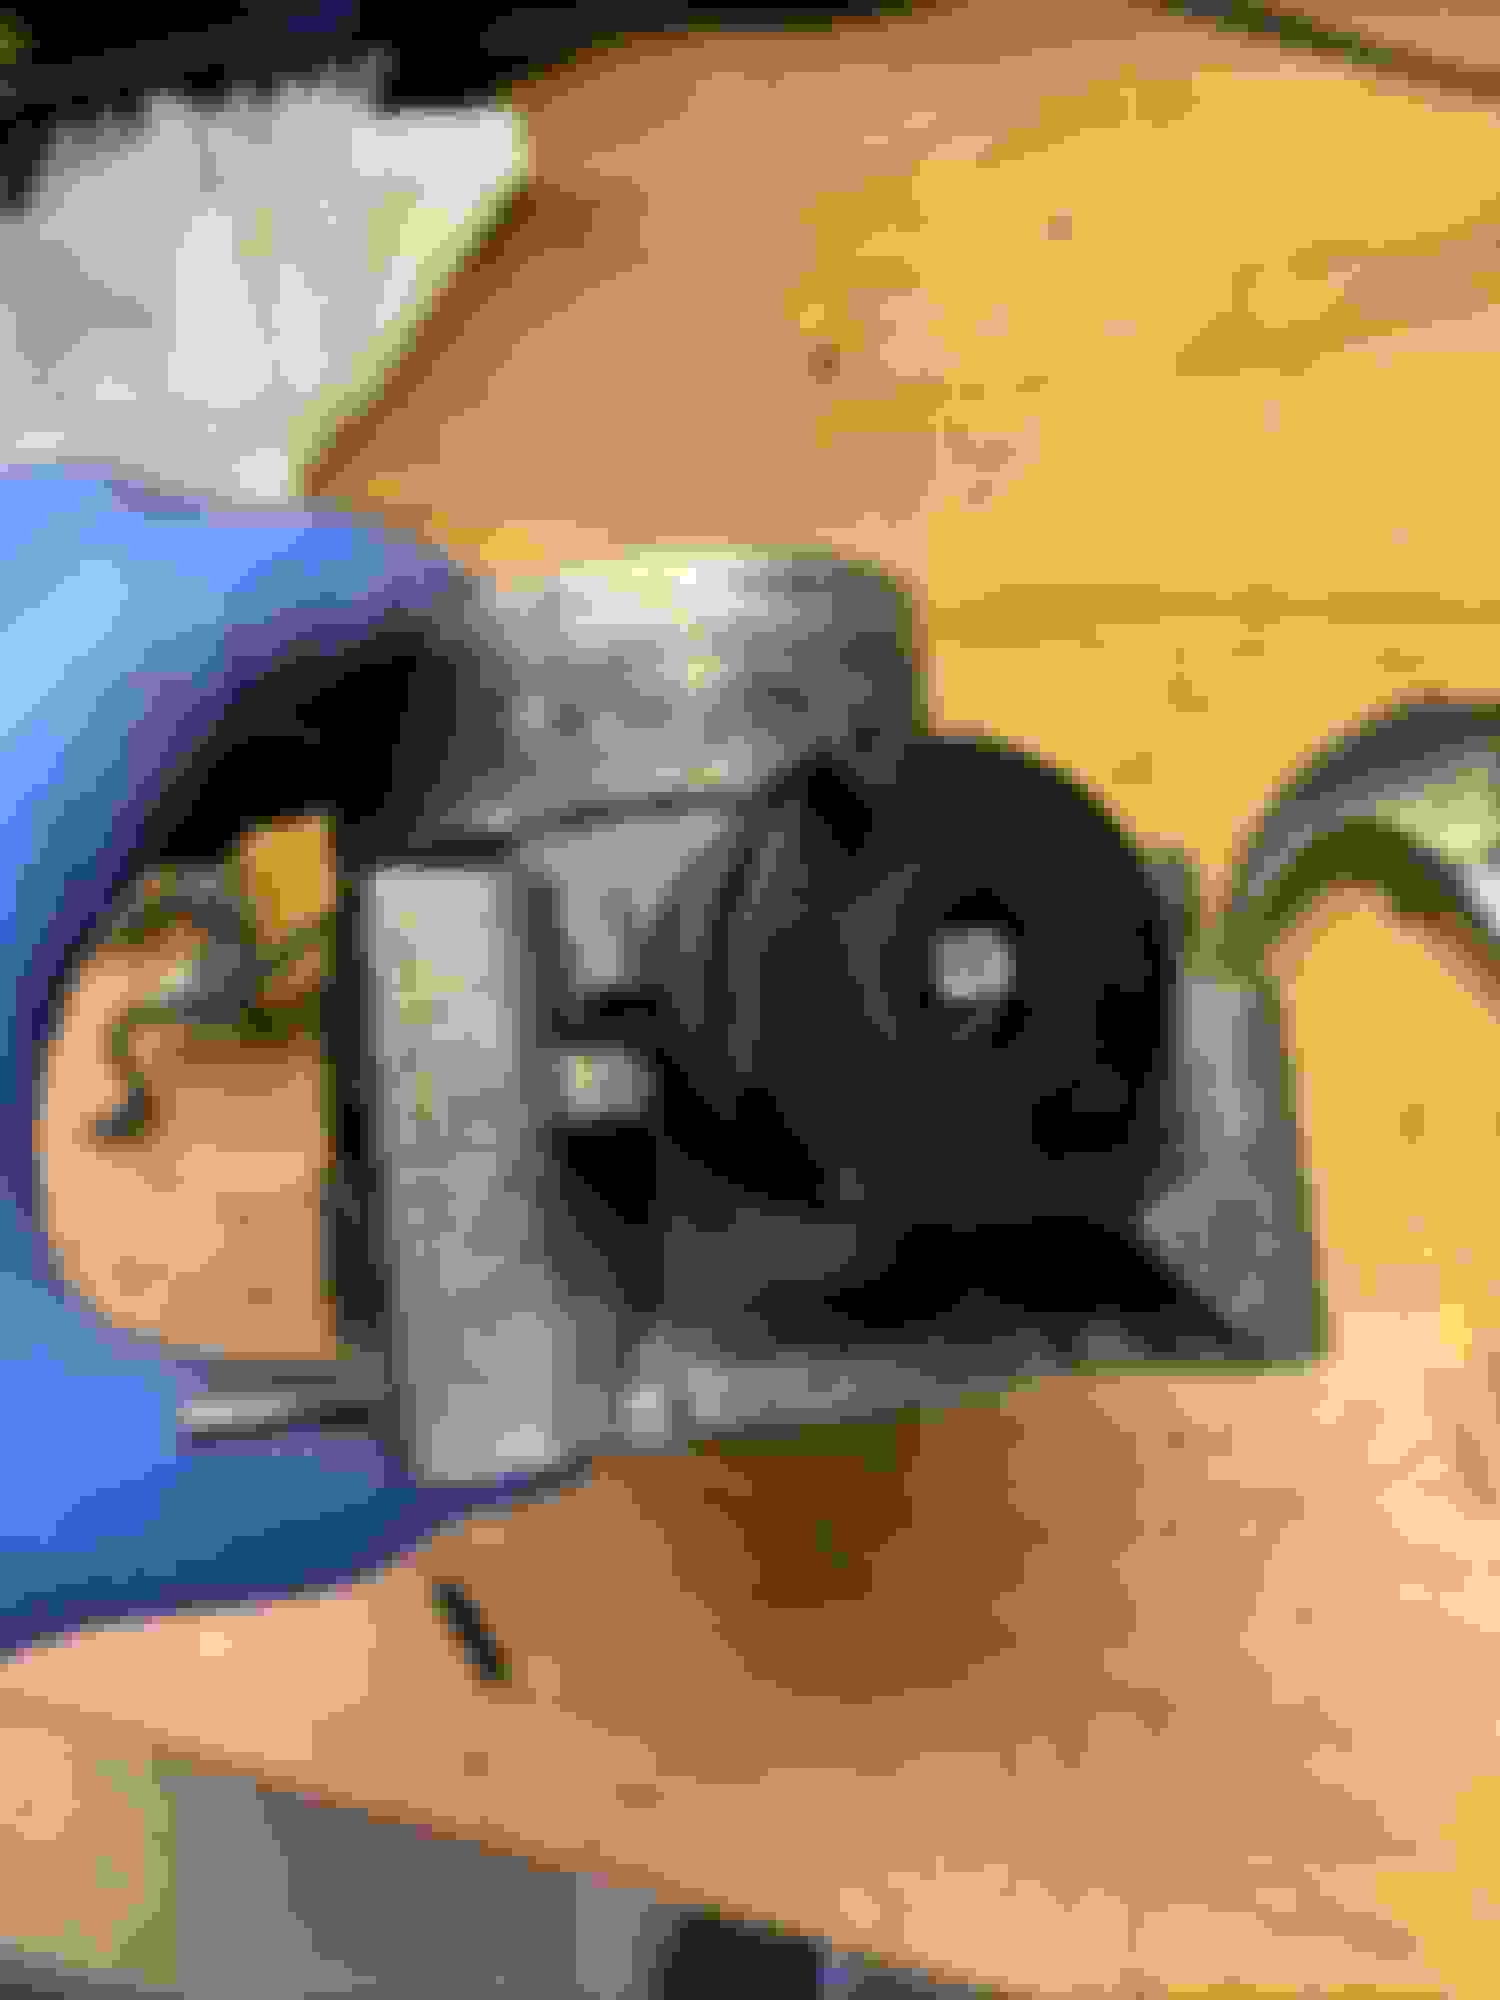
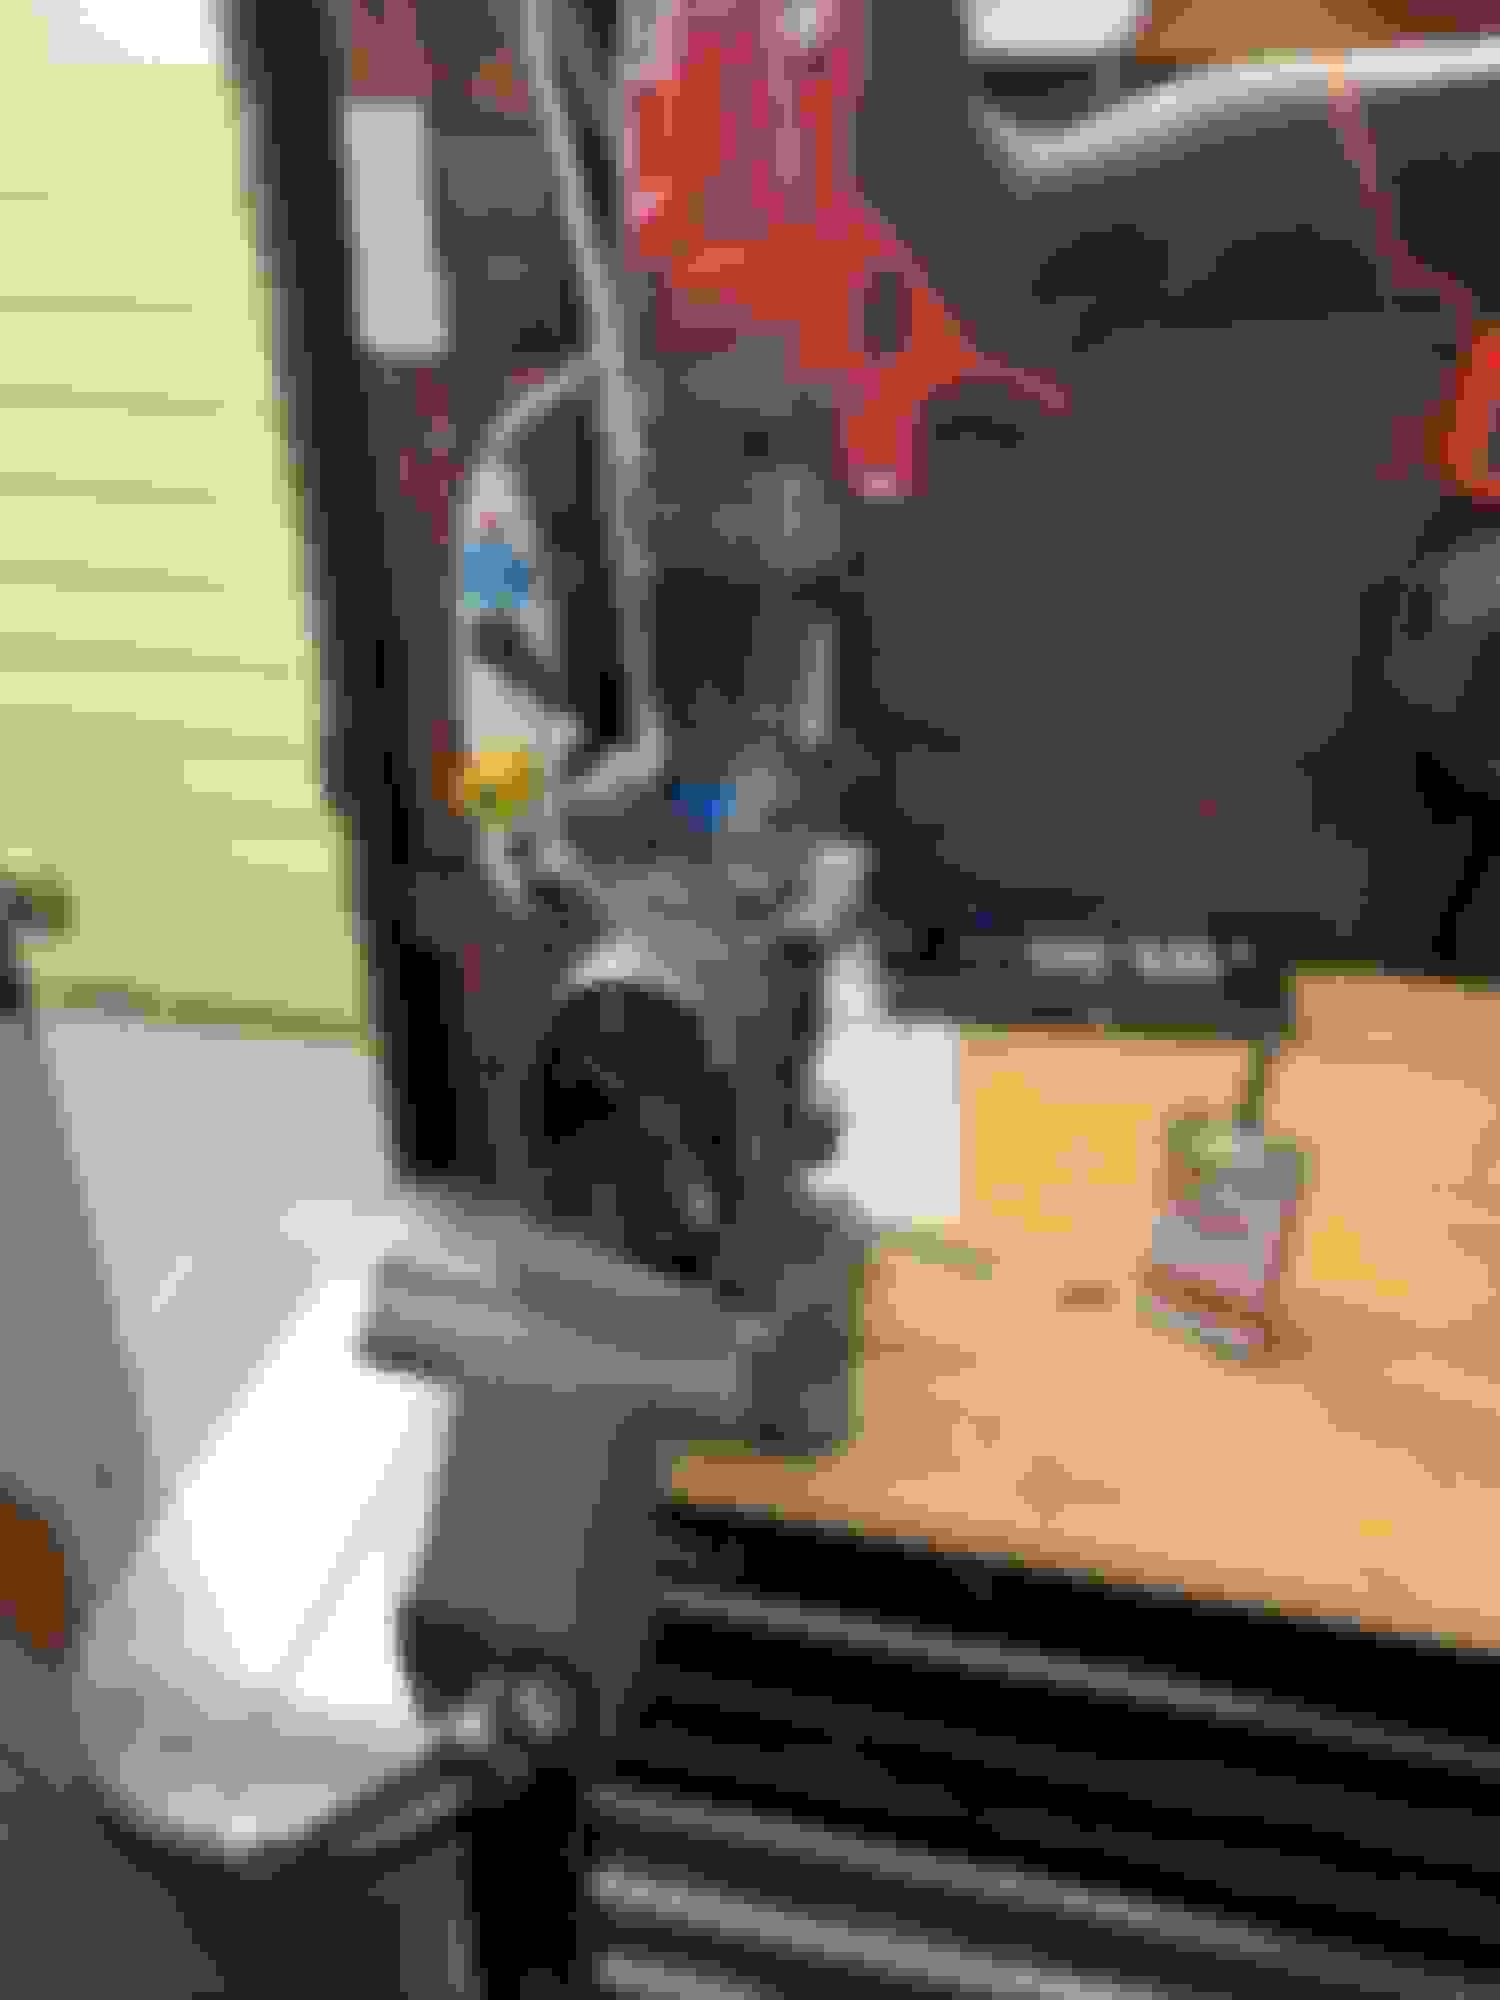
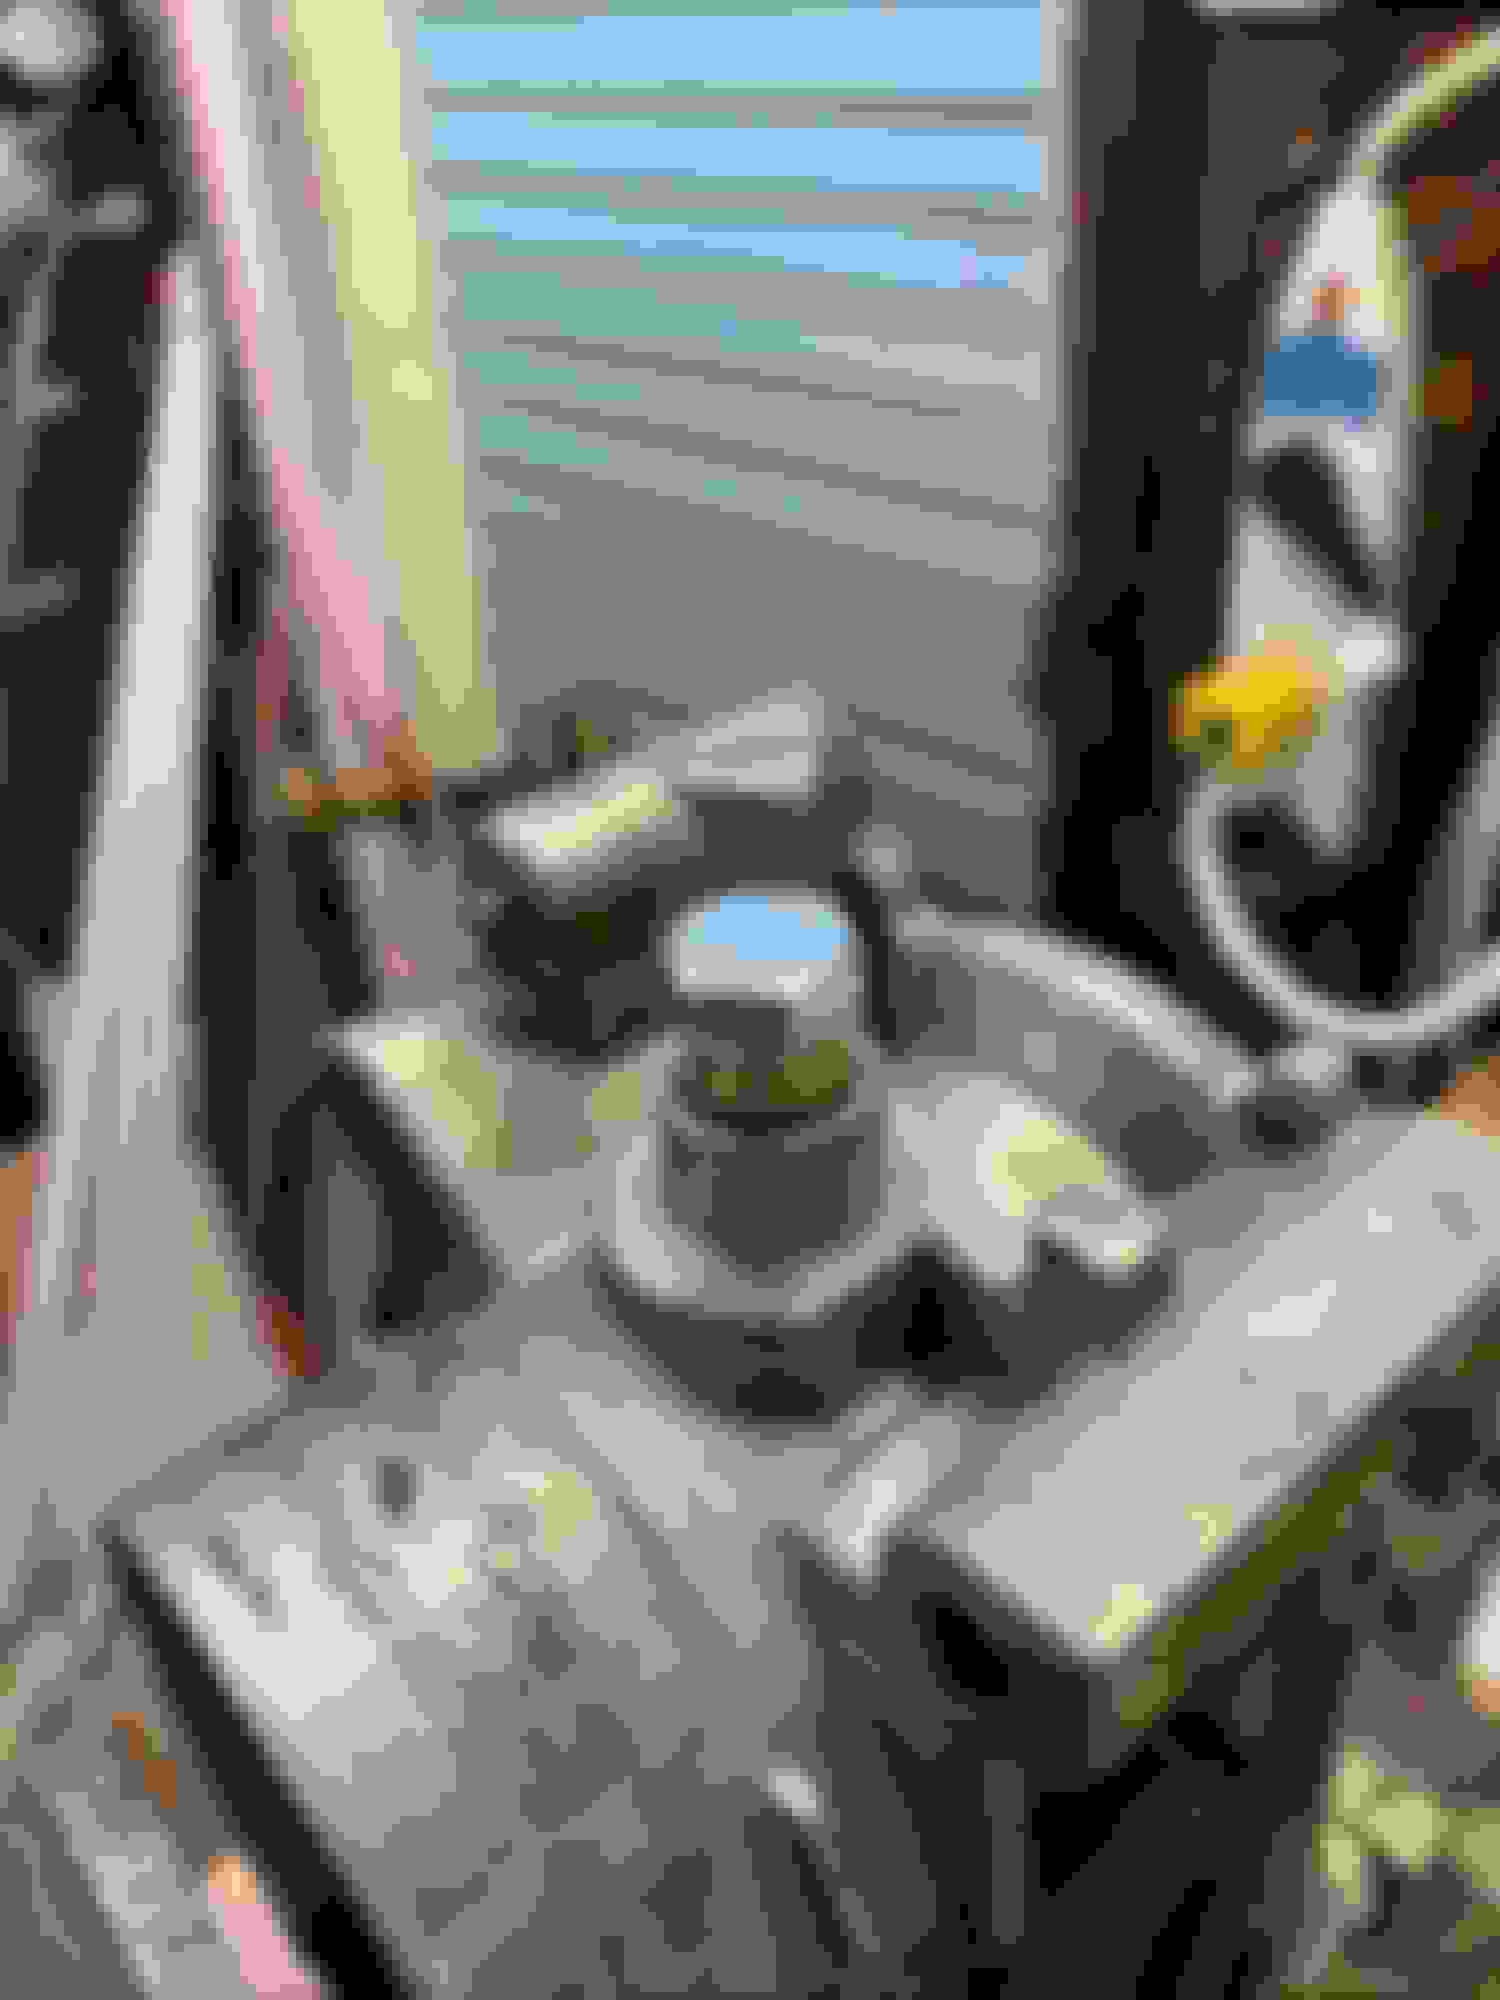
You will need to disassemble the throttle body shaft section. Remove the throttle body and remove the TPS.
1. Grind off the hammered end of shaft with the throttle levers. To remove the throttle levers, you will have to turn the return spring back a little and then remove the throttle levers, then slide the return spring assembly off. Pay attention to where the spring touches the levers and its relation to the other end that touches the TB housing. If the spring falls apart, it’s OK, you will just need to reassemble it properly (procedure at the end)
2. Grind off the welded backs of the four screws holding the two throttle plates on. Be careful not to remove more shaft material than necessary. The screw heads are a Torx 9 (T9) size and are fragile so it’s a touch-and-go for grinding and trying the screw. I ended up stripping one during removal and had to drill and retap it for a 5-40 screw. Then remove the plates.
3. The last part of the throttle shaft is the lock cover and nut, which were under the return spring. Tapping gently between the aluminum lock cap and the black throttle shaft nut, create a little space and keep working the locking cap off. Then loosen the black nut on the throttle shaft.
4. Remove the throttle shaft and clean it up. Be careful not to bend it.
Boring and bushings
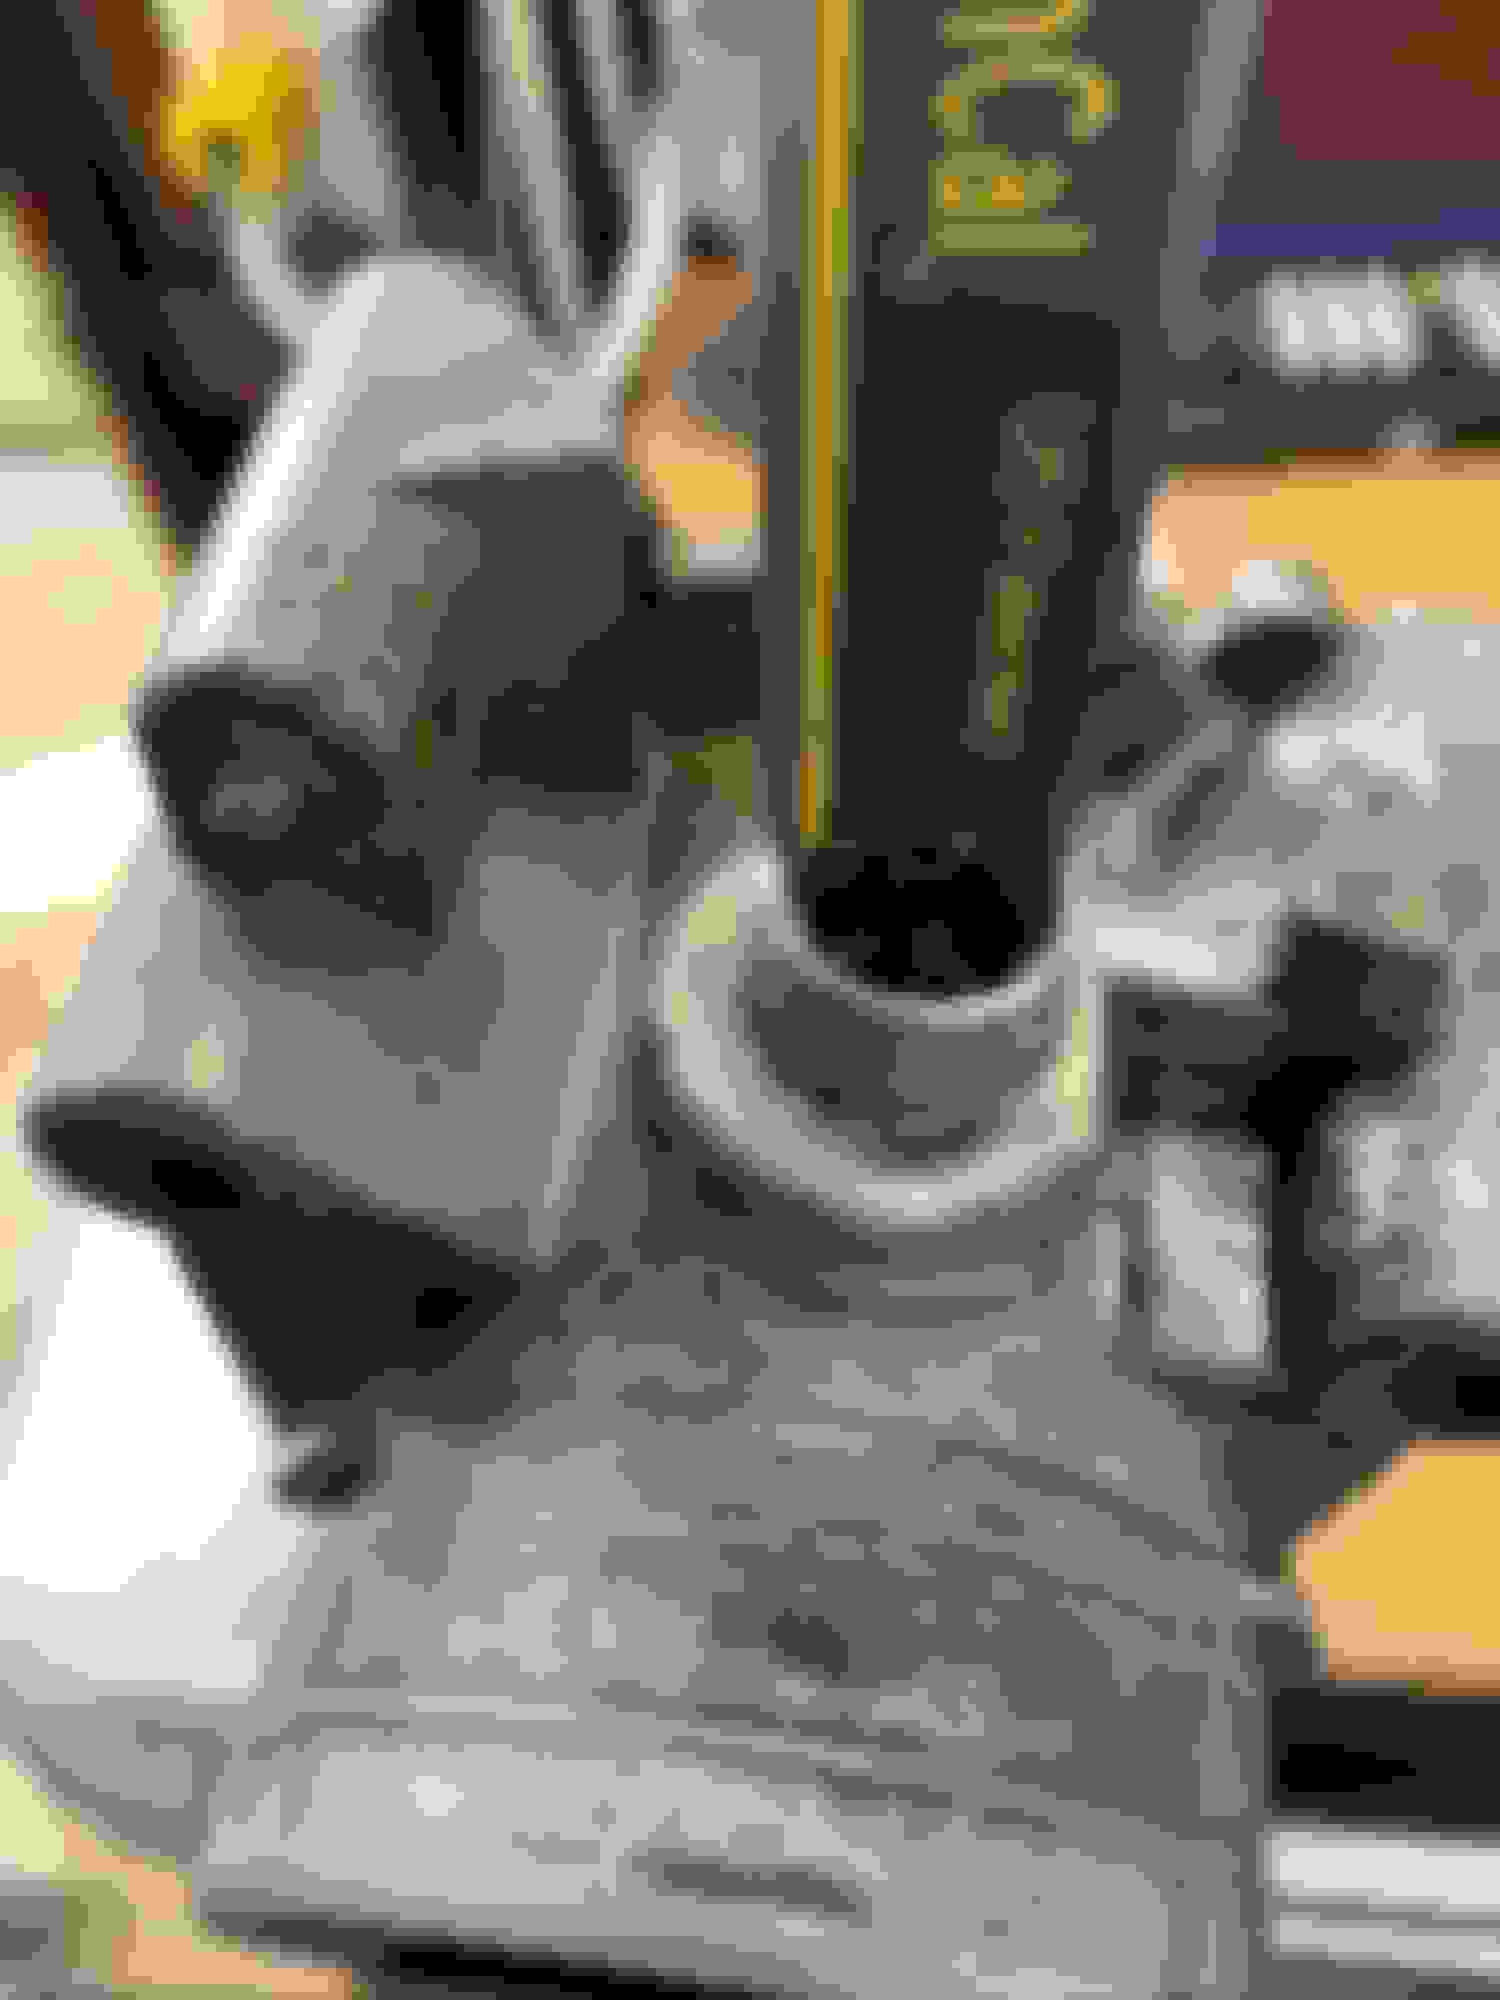
1. Wrap the CUTTING end of the reamer with some painters tape (or something else) so that you can CHUCK it into the drill motor.
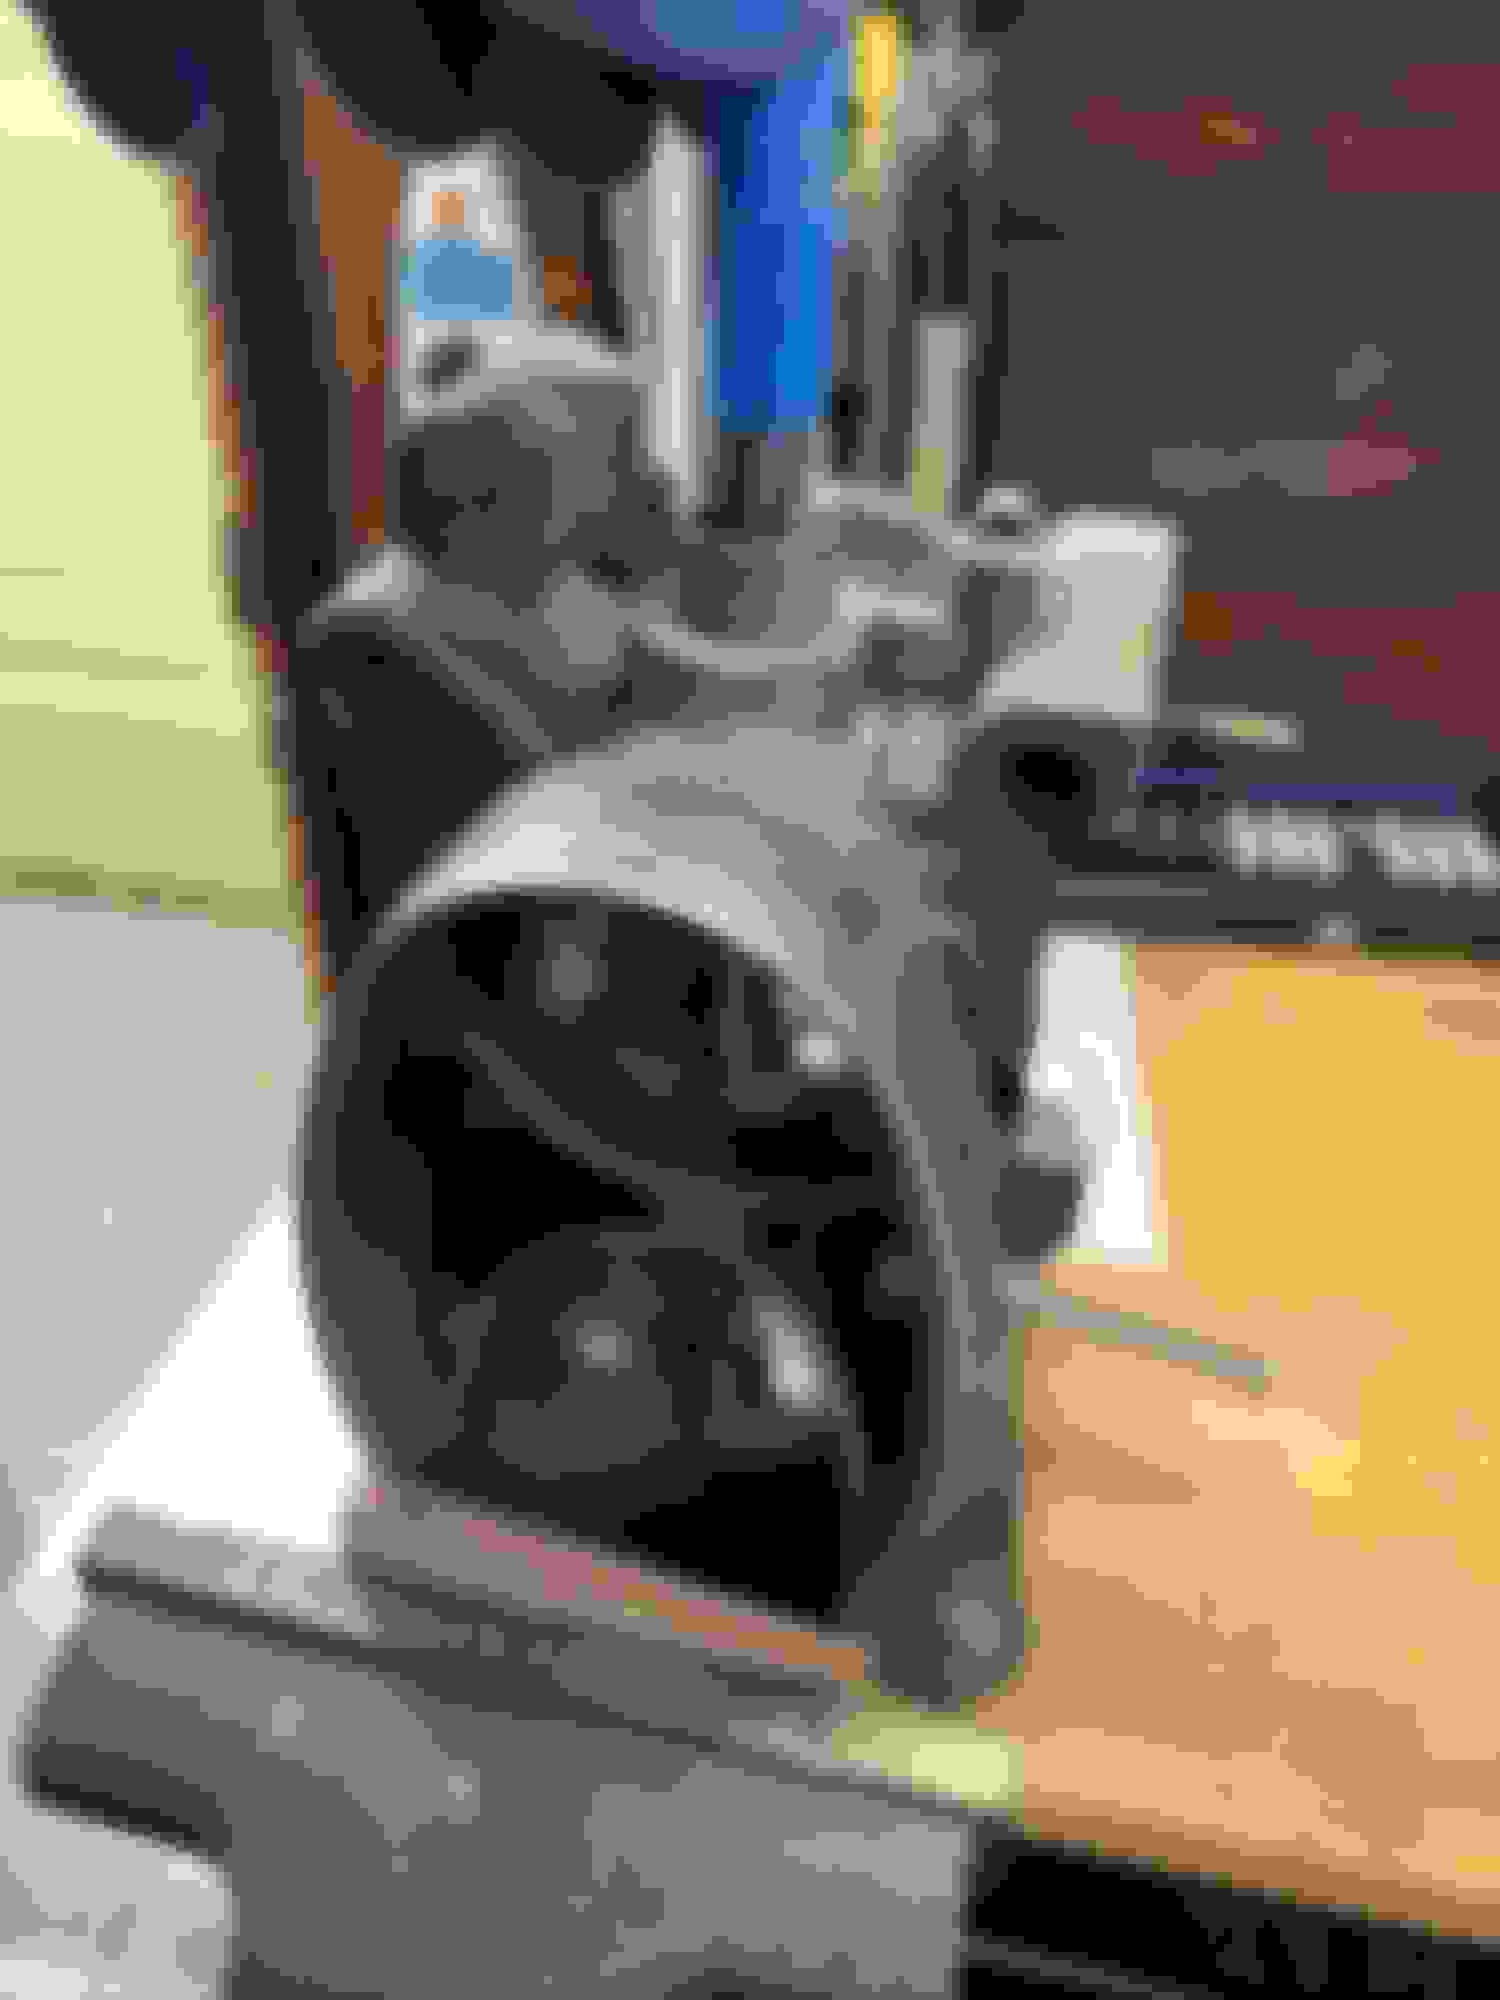
2. Secure the TB in a vise and insert the piloted end of the reamer in to the first shaft hole, through the second hole, etc and bore it down exactly 1/2" below the inner rim, not the outer one. It’s OK if you go a little farther. Don’t go less.
1/2" FROM THE INNER RIM, not the outer.
3. After the first hole is done, take a bushing with the smooth end going into the TB and tap it down. I used a bolt in through the bushing and tapped on that with the hammer. You will want to make sure that the bushing on the throttle arm end is tapped another 1/16” below the raised circular outer rim on the TB. The TPS sensor end busing should just be flush with the TB housing.
Continued...
Last edited by Tootie Pang; Nov 13, 2020 at 04:38 PM.
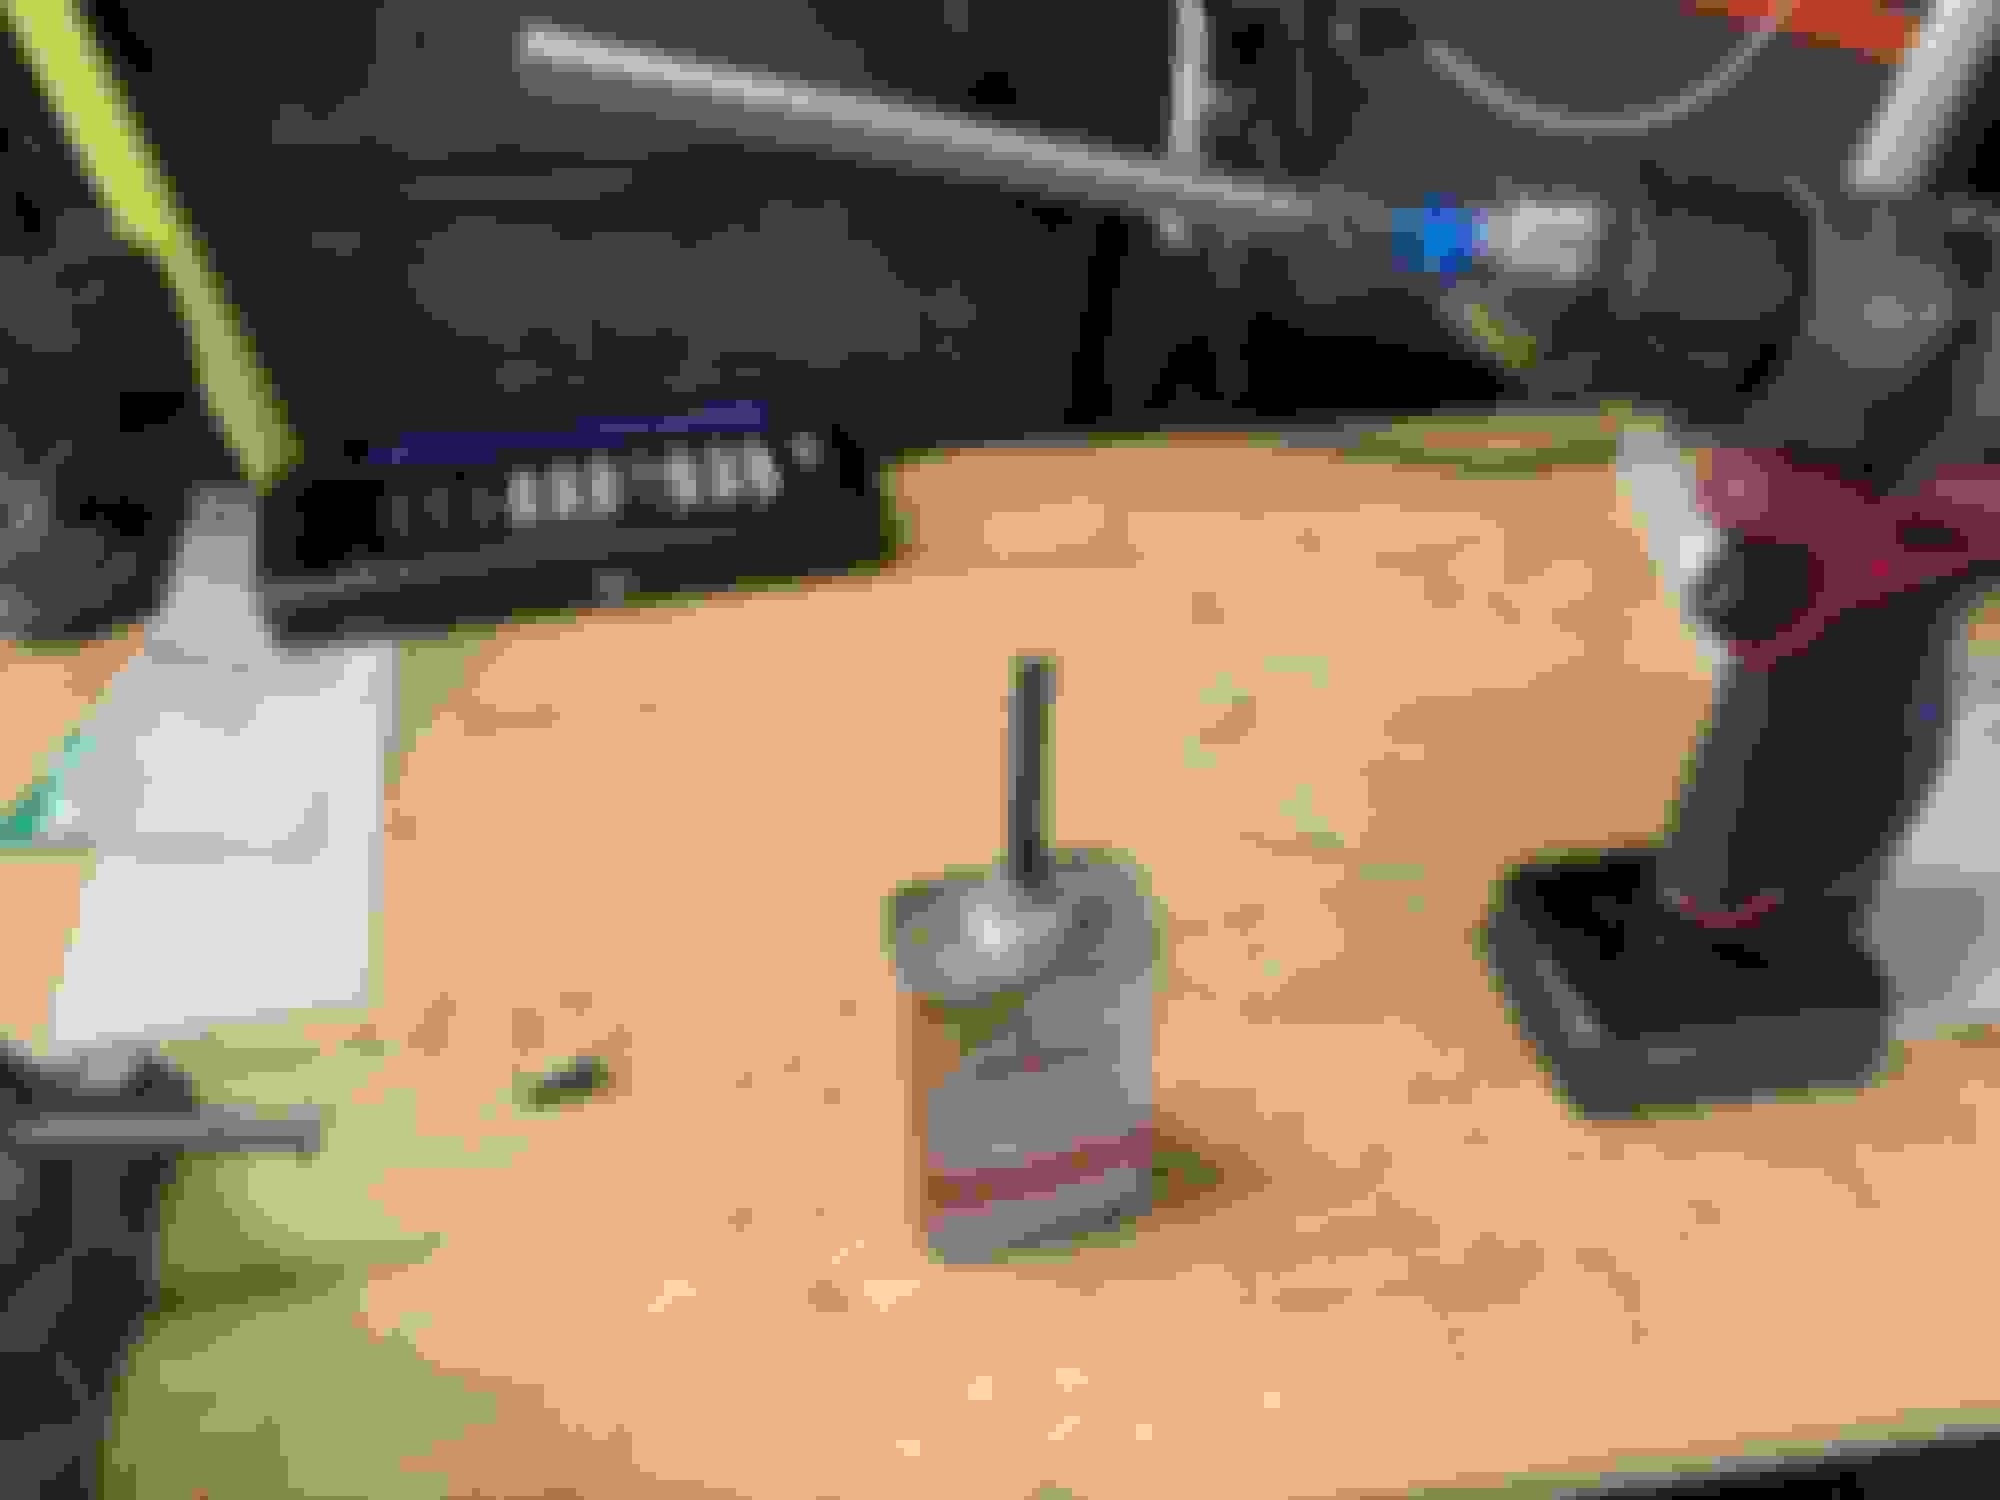
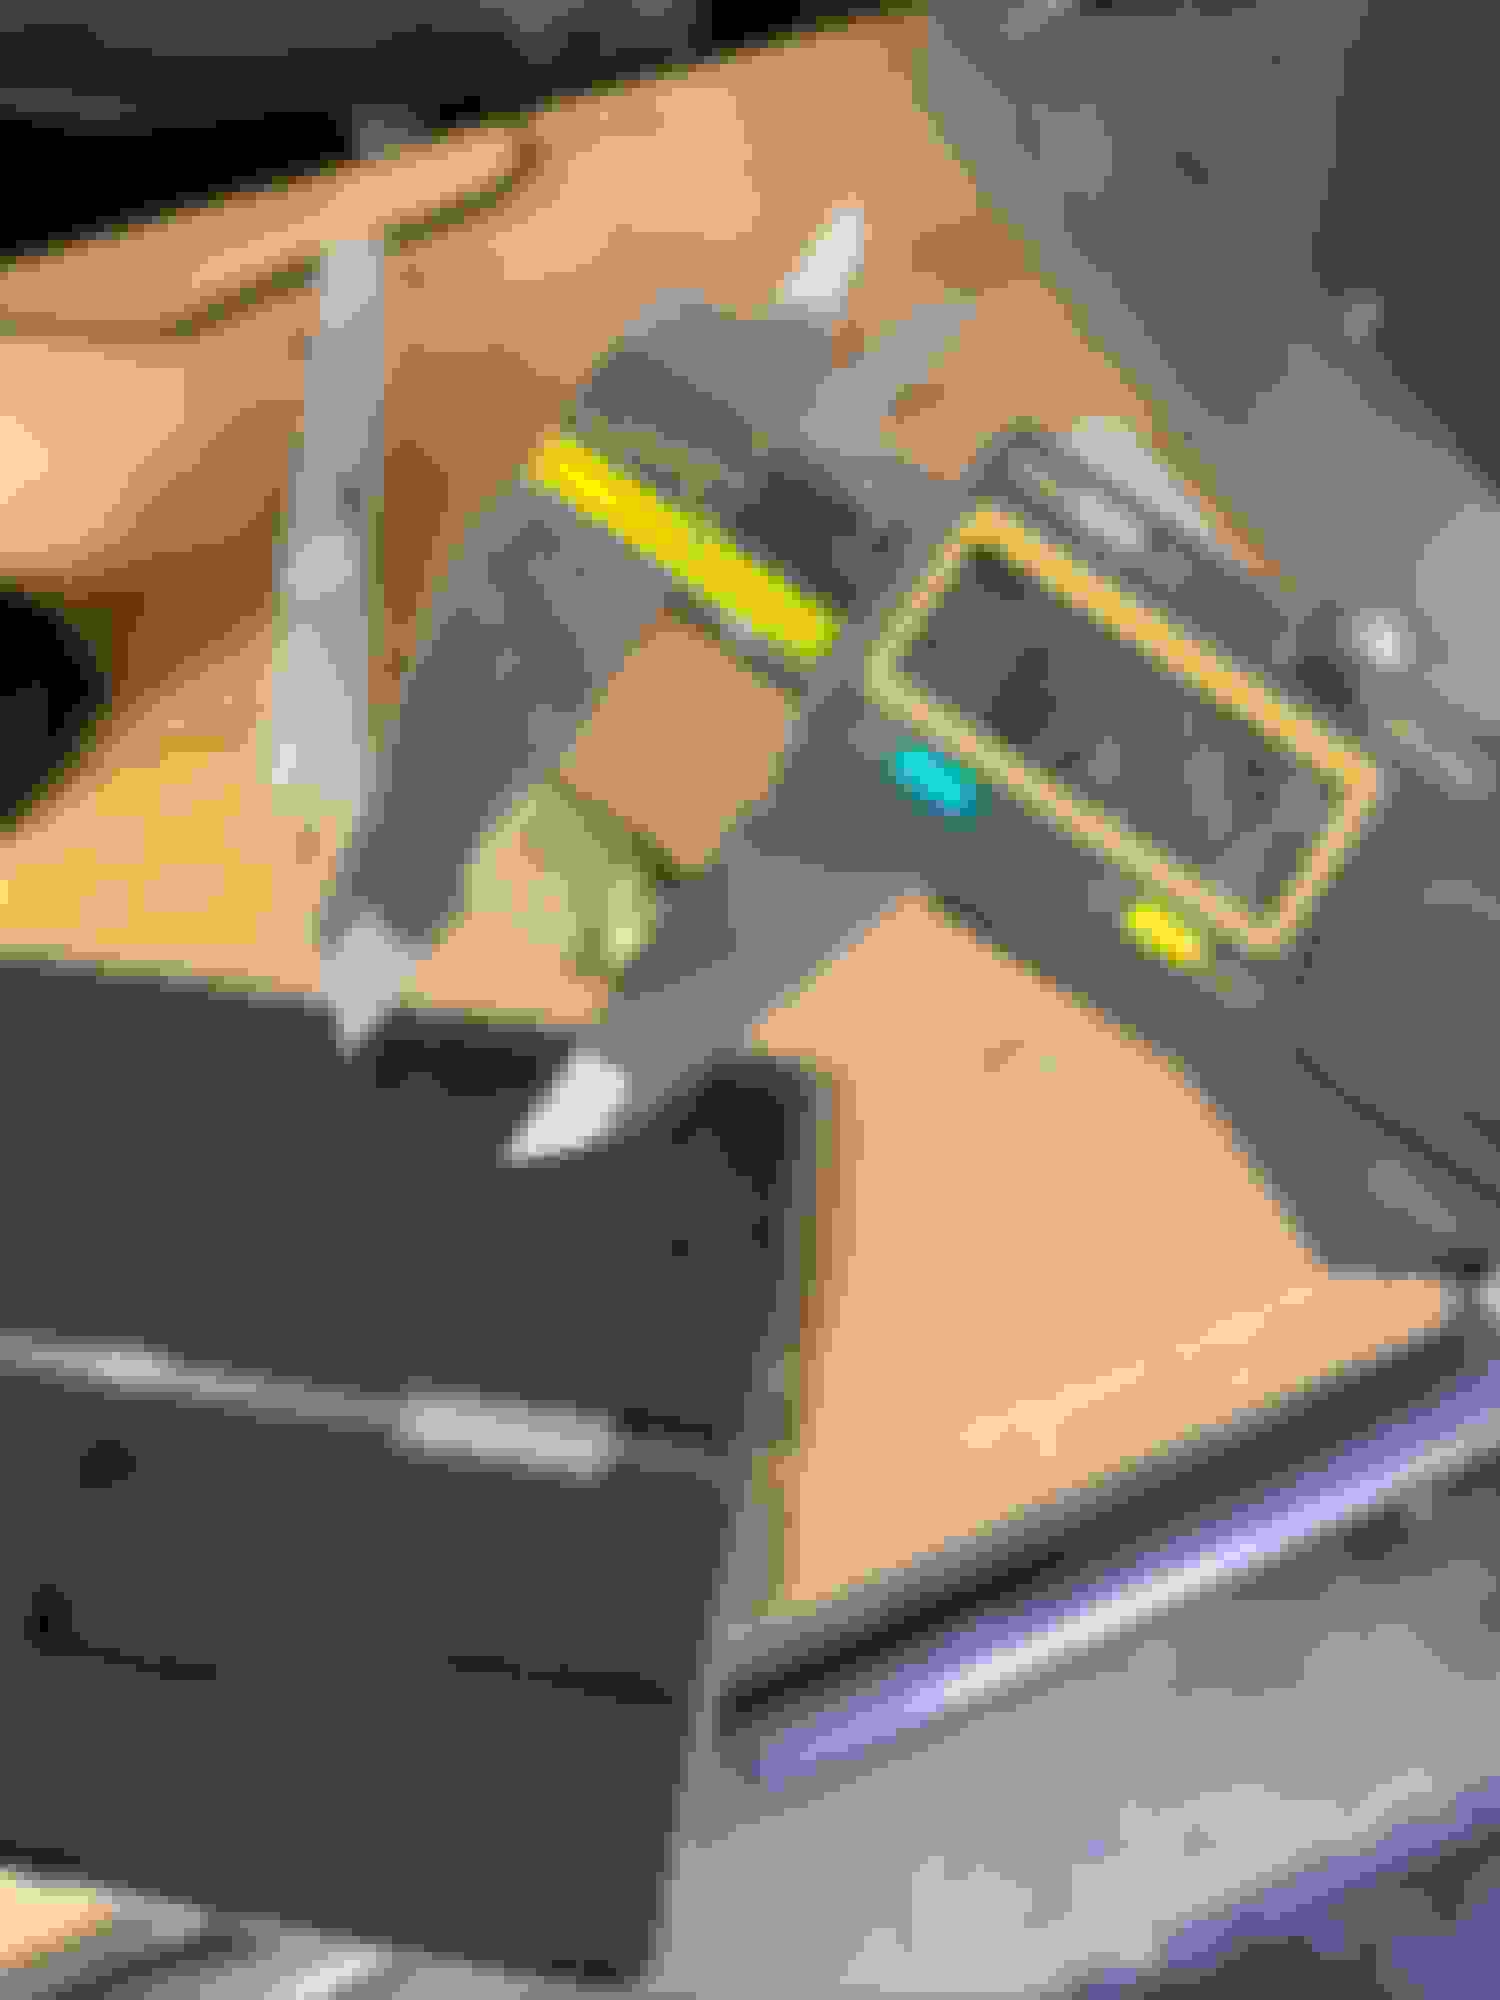
1. Drill and tap the end of the throttle shaft that was ground off to get the throttle arms off. I used a 4-40 screw about �” long. They are small drills and taps and the shaft is steel so go slowly and use cutting oil.
Reassembly
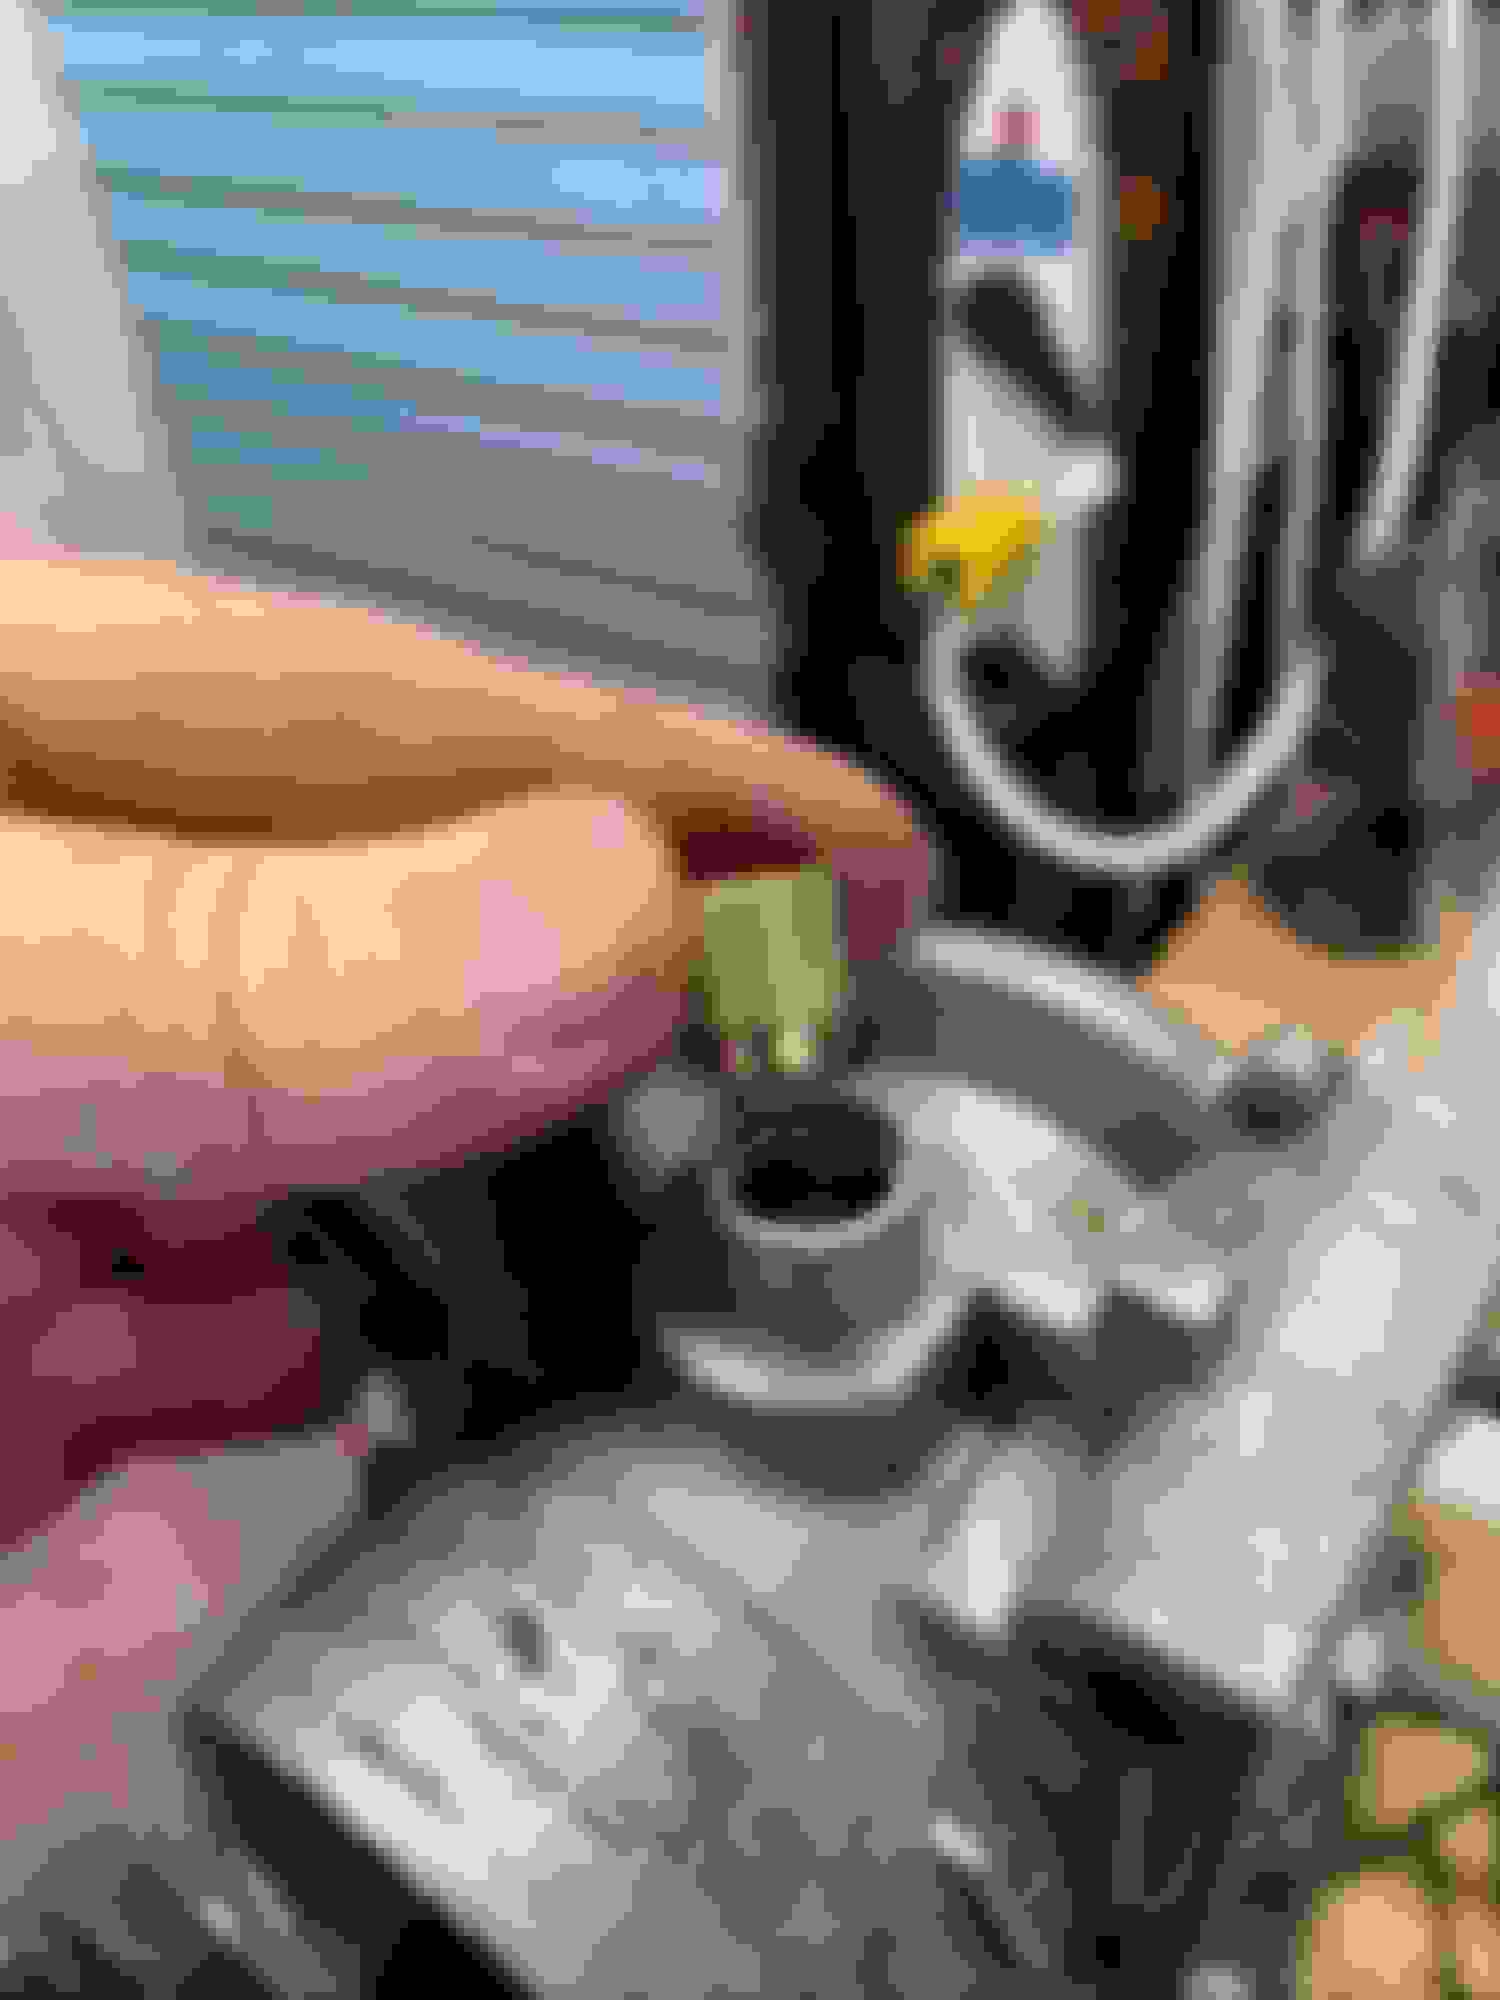
1. Slide the throttle shaft back in. I used some dry lube like graphite for locks but I’ve been told you do not need any lube. Don’t use any wet lubes like silicon or oil or WD-40. Make sure you orient the TPS sensor arm correctly. Note that, contrary to the instructions above, my bushing is NOT installed below the outer rim and only flush. Do as is posted in here, not as I did. Lol. You don't have to be all the way down, but the black nut with the captive washers needs to clear the brass bushing and only tighten up against the TB's outer rim.
2. Reinstall the black nut with the two captive washers. Since you tapped the new bushing below the surface of the outer rim, the nut/washers should tighten up against the TB housing, not the bushing. Snug it hand tight then back it off until the throttle shaft moves freely and only has a small amount of end to end play. While holding the nut in that position, reinstall the locking cap and tap down into place over the black nut. The throttle shaft is now back in and should rotate freely, no drag.
3. Install the return spring assembly properly by noting the inside end cap vs the outer end cap. The outer cap says "Lever Side" on it. Install the spring cartridge with the inside cap against the throttle body housing and set the spring stop arm in its resting spot and then turn the outside end counterclockwise to preload it. While holding it back, install the throttle levers. You can release the springs once the throttle levers are in. You do not need to try to put the screw in while holding the spring back. You can let the setup sit in tension closed while you install your 4-40 screw, washer and lock washer. It does not need to be very tight. Just snug. Make sure the screw/washers are seated to keep the throttle arms on the shaft nice and square. The throttle levers should be flush and square and your new screw and a washer(s) should secure them onto the shaft nicely.
4. Install the throttle plates with a little thread locker. Snug the screws down and work the throttle to ensure the plates are centered in their bores. You can hold it up to the light and should be able to see a little edge of light all the way around.
Reinstall the TB. Make sure the throttle snaps back without any dragging each and every time. You are done.
Throttle Return Spring cartridge
If it comes apart, it is easy to reassemble, but if you reassemble it wrong the TB may not work properly. There are two springs, an inner and an outer. There are also two plastic end caps. One is the inner, the other is outer, the inner being the one against the TB housing, the outer one says "Lever side" on it. Starting with the inner cap, secure both springs to that cap. Now the careful part, engage the center spring only to the outer cap and turn it a full turn counterclockwise, THEN engage the outer spring. You can now let the assembled cartridge sit until you are ready to install it above.
Last edited by Tootie Pang; Jun 21, 2020 at 11:42 AM.
1. Drill and tap the end of the throttle shaft that was ground off to get the throttle arms off. I used a 4-40 screw about �� long. They are small drills and taps and the shaft is steel so go slowly and use cutting oil.
Reassembly
1. Slide the throttle shaft back in. I used some dry lube like graphite for locks but I�ve been told you do not need any lube. Don�t use any wet lubes like silicon or oil or WD-40. Make sure you orient the TPS sensor arm correctly. Note that, contrary to the instructions above, my bushing is NOT installed below the outer rim and only flush. Do as is posted in here, not as I did. Lol. You don't have to be all the way down, but the black nut with the captive washers needs to clear the brass bushing and only tighten up against the TB's outer rim.
2. Reinstall the black nut with the two captive washers. Since you tapped the new bushing below the surface of the outer rim, the nut/washers should tighten up against the TB housing, not the bushing. Snug it hand tight then back it off until the throttle shaft moves freely and only has a small amount of end to end play. While holding the nut in that position, reinstall the locking cap and tap down into place over the black nut. The throttle shaft is now back in and should rotate freely, no drag.
3. Install the return spring assembly properly by noting the inside end cap vs the outer end cap. The outer cap says "Lever Side" on it. Install the spring cartridge with the inside cap against the throttle body housing and set the spring stop arm in its resting spot and then turn the outside end counterclockwise to preload it. While holding it back, install the throttle levers. You can release the springs once the throttle levers are in. You do not need to try to put the screw in while holding the spring back. You can let the setup sit in tension closed while you install your 4-40 screw, washer and lock washer. It does not need to be very tight. Just snug. Make sure the screw/washers are seated to keep the throttle arms on the shaft nice and square. The throttle levers should be flush and square and your new screw and a washer(s) should secure them onto the shaft nicely.
4. Install the throttle plates with a little thread locker. Snug the screws down and work the throttle to ensure the plates are centered in their bores. You can hold it up to the light and should be able to see a little edge of light all the way around.
Reinstall the TB. Make sure the throttle snaps back without any dragging each and every time. You are done.
Throttle Return Spring cartridge
If it comes apart, it is easy to reassemble, but if you reassemble it wrong the TB may not work properly. There are two springs, an inner and an outer. There are also two plastic end caps. One is the inner, the other is outer, the inner being the one against the TB housing, the outer one says "Lever side" on it. Starting with the inner cap, secure both springs to that cap. Now the careful part, engage the center spring only to the outer cap and turn it a full turn counterclockwise, THEN engage the outer spring. You can now let the assembled cartridge sit until you are ready to install it above.
Hey Tootie - Are you still active in the Forum? If so I'd like to post a question regarding your post describing re-bushing your TPI throttle body. Thanks. Paul
Hey Tootie - I�m a little intimidated about the return spring assembly. Upon removal, I have visions of springs and brackets flying all around the shop. Assuming I�ve successfully re-captured all the parts, how exactly do I go about re-assembling and re-installing the spring assembly? Your photos and descriptions are great at explaining the bushing procedure. I get that part. But your description more or less says to not worry about re-assembling the spring � it�s easy. I worry, as it turns out. Could you give us a little more detail about just how to go about it? Thanks. Paul
Can anyone tell me if grinding the end of the throttle shaft at the throttle spring (as is done in post) is better than grinding the other end... where the throttle shaft engages the TPS ? Looking at mine.. kinda looks like a better way to go.. but I've never done this before so was hoping someone had some insight...
thanks