Body General body information and techniques for restoration, repairs, and modifications.

Engine bay madness

Thread Tools
 
Search this Thread
 
Old 03-25-2019, 03:54 PM
  #1  
Member
Thread Starter
 
Destro Camaro's Avatar
 
Join Date: Oct 2015
Location: Tennessee
Posts: 181
Received 2 Likes on 2 Posts
Car: 88 Camaro
Engine: 2.8 V6 For Now
Engine bay madness

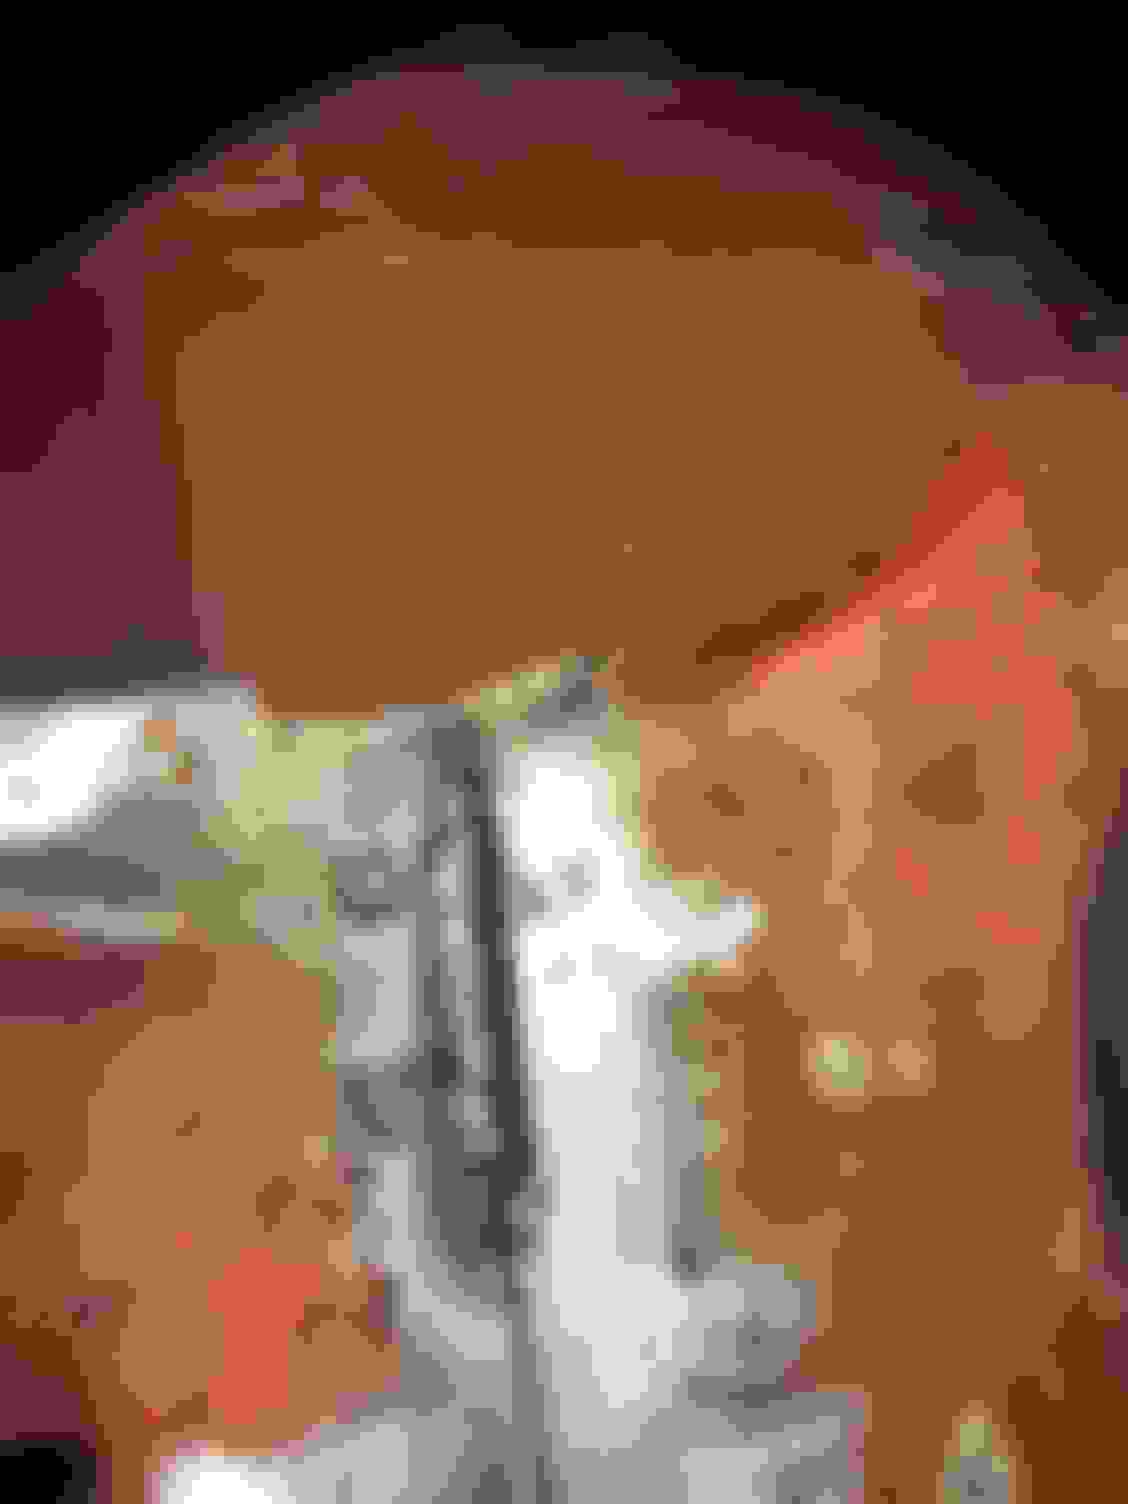
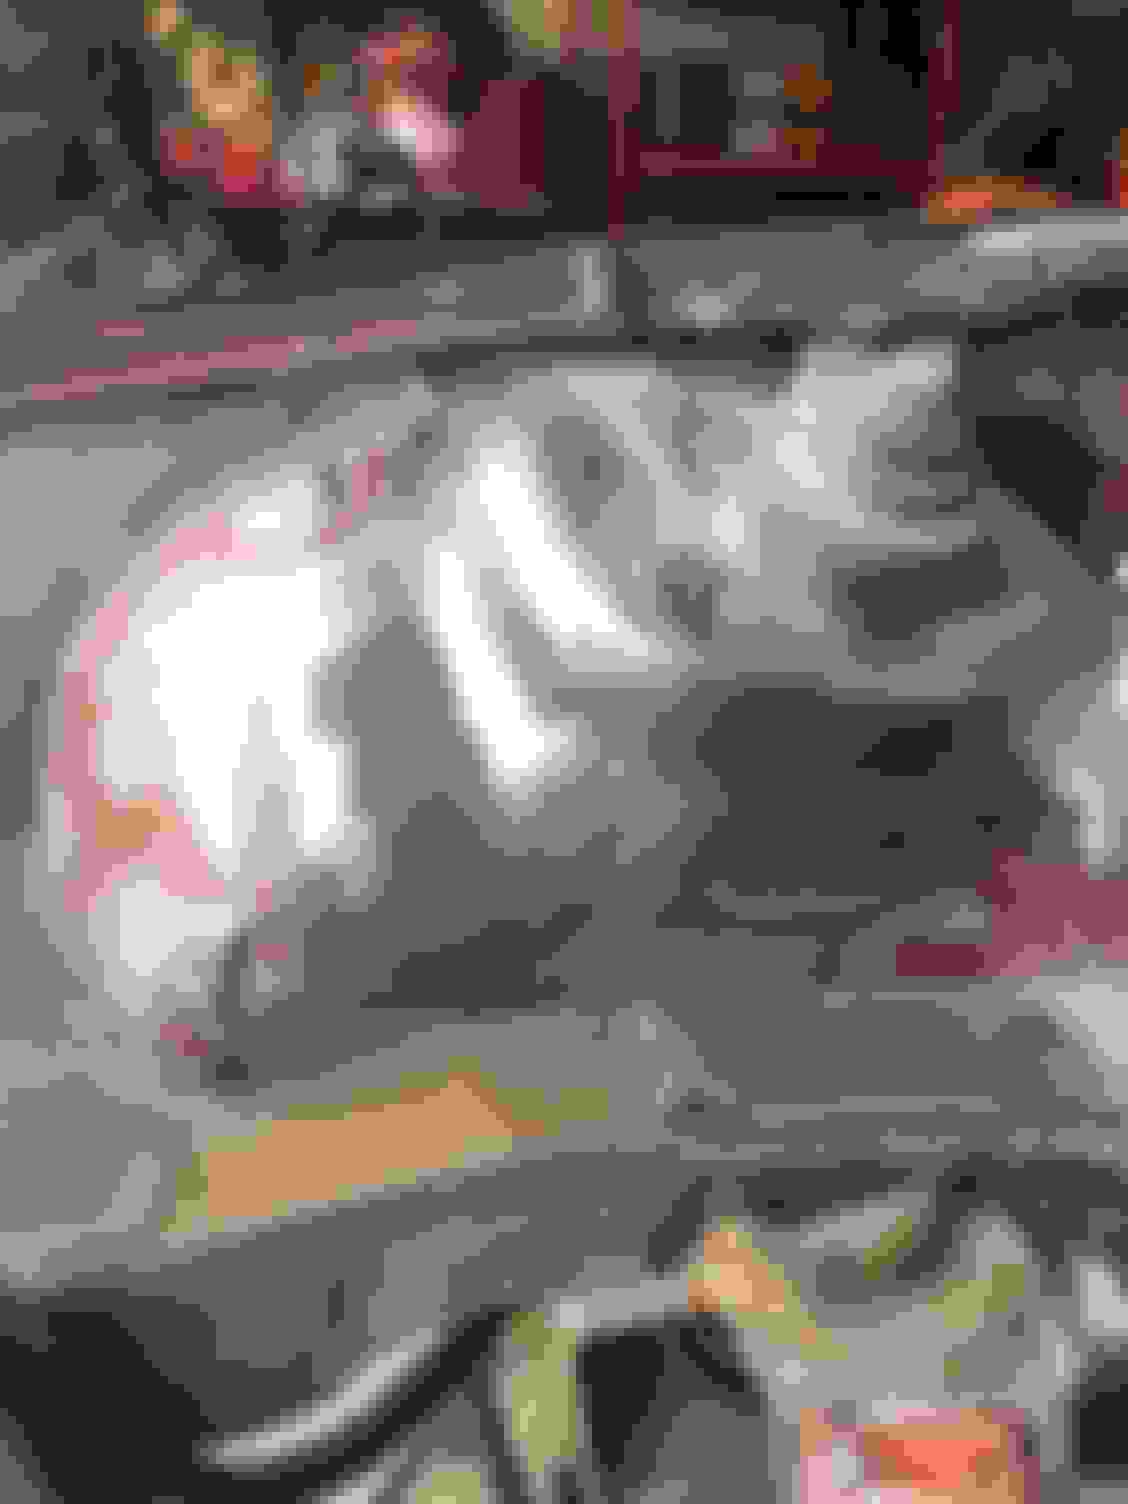
After drooling over shaved engine bays, I decided to give it a try. I started by welding up the strut tower. Don’t judge my welds this literally is my first time using a welder lol.


Old 03-25-2019, 03:58 PM
  #2  
Member
Thread Starter
 
Destro Camaro's Avatar
 
Join Date: Oct 2015
Location: Tennessee
Posts: 181
Received 2 Likes on 2 Posts
Car: 88 Camaro
Engine: 2.8 V6 For Now
Re: Engine bay madness


I filled the unnecessary holes and grinder the weld down.

Last edited by Destro Camaro; 03-25-2019 at 04:02 PM.
Old 03-25-2019, 04:06 PM
  #3  
Member
Thread Starter
 
Destro Camaro's Avatar
 
Join Date: Oct 2015
Location: Tennessee
Posts: 181
Received 2 Likes on 2 Posts
Car: 88 Camaro
Engine: 2.8 V6 For Now
Re: Engine bay madness


16 gauge for the battery tray and side piece.

Fit like a glove!
Old 03-25-2019, 04:09 PM
  #4  
Member
Thread Starter
 
Destro Camaro's Avatar
 
Join Date: Oct 2015
Location: Tennessee
Posts: 181
Received 2 Likes on 2 Posts
Car: 88 Camaro
Engine: 2.8 V6 For Now
Re: Engine bay madness

I have to say there is a lot of work shaving the engine bay! Welding, grinding countless “refitting” and that’s all before laying the body filler. I just know it will be all worth it when I finished.
Old 03-25-2019, 04:27 PM
  #5  
Member
Thread Starter
 
Destro Camaro's Avatar
 
Join Date: Oct 2015
Location: Tennessee
Posts: 181
Received 2 Likes on 2 Posts
Car: 88 Camaro
Engine: 2.8 V6 For Now
Re: Engine bay madness


Old 03-25-2019, 04:31 PM
  #6  
Member
Thread Starter
 
Destro Camaro's Avatar
 
Join Date: Oct 2015
Location: Tennessee
Posts: 181
Received 2 Likes on 2 Posts
Car: 88 Camaro
Engine: 2.8 V6 For Now
Re: Engine bay madness

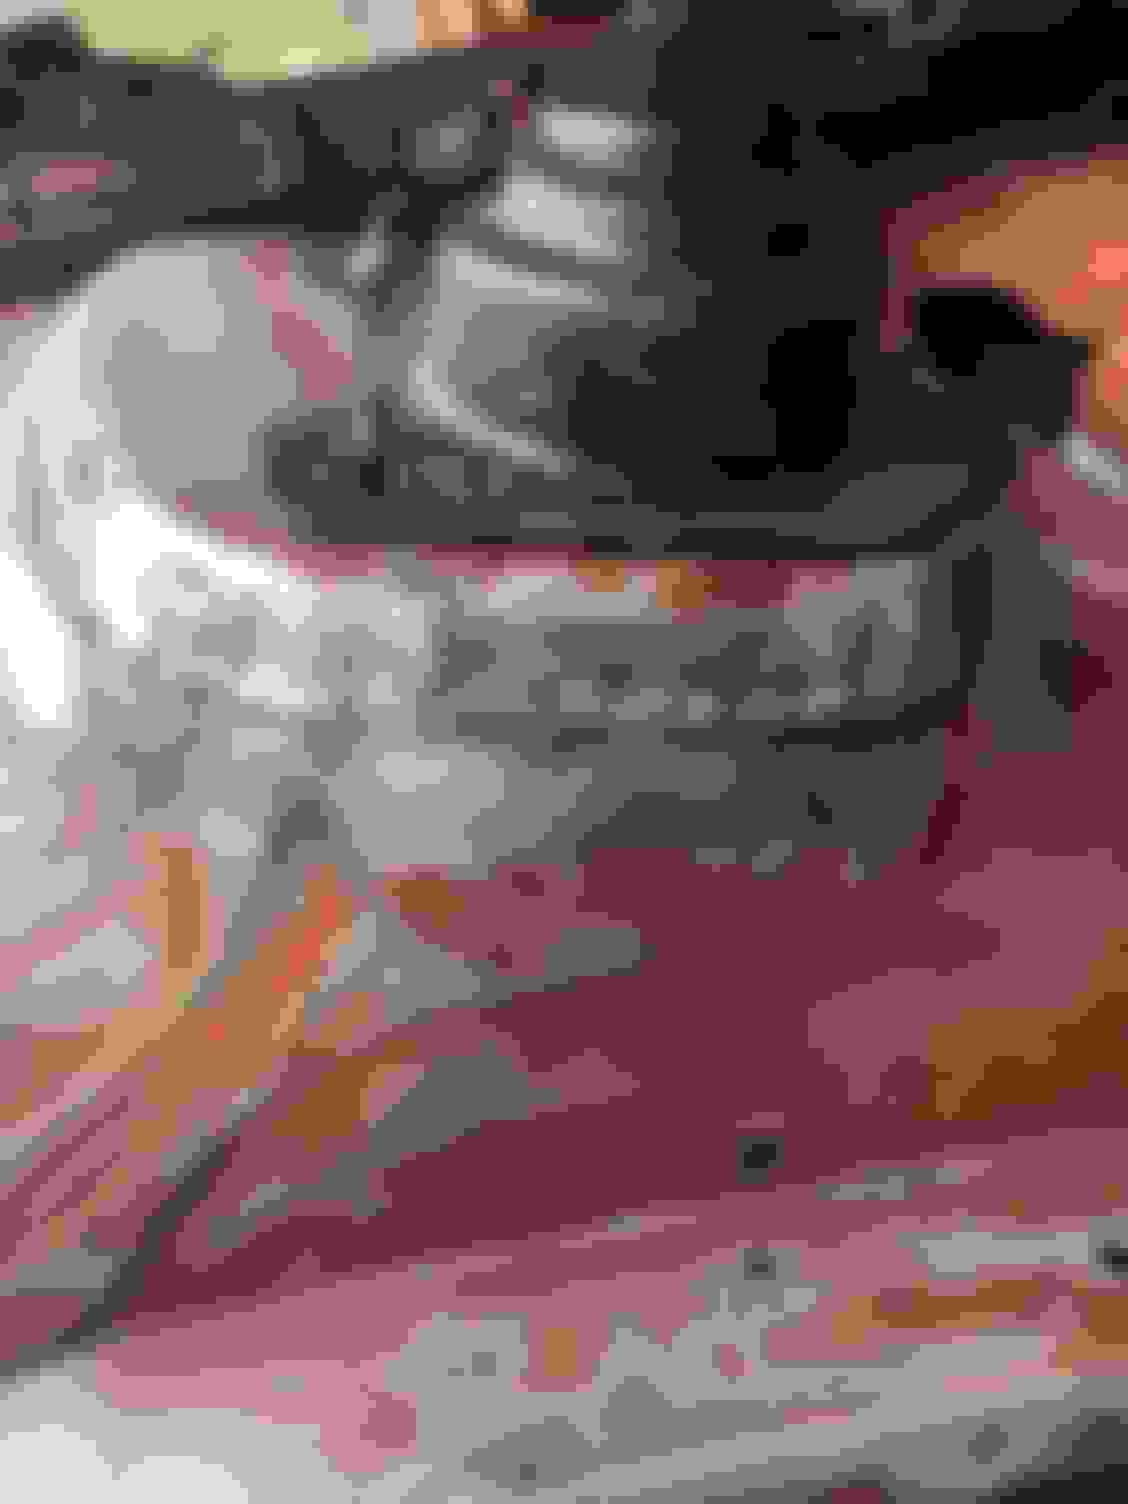
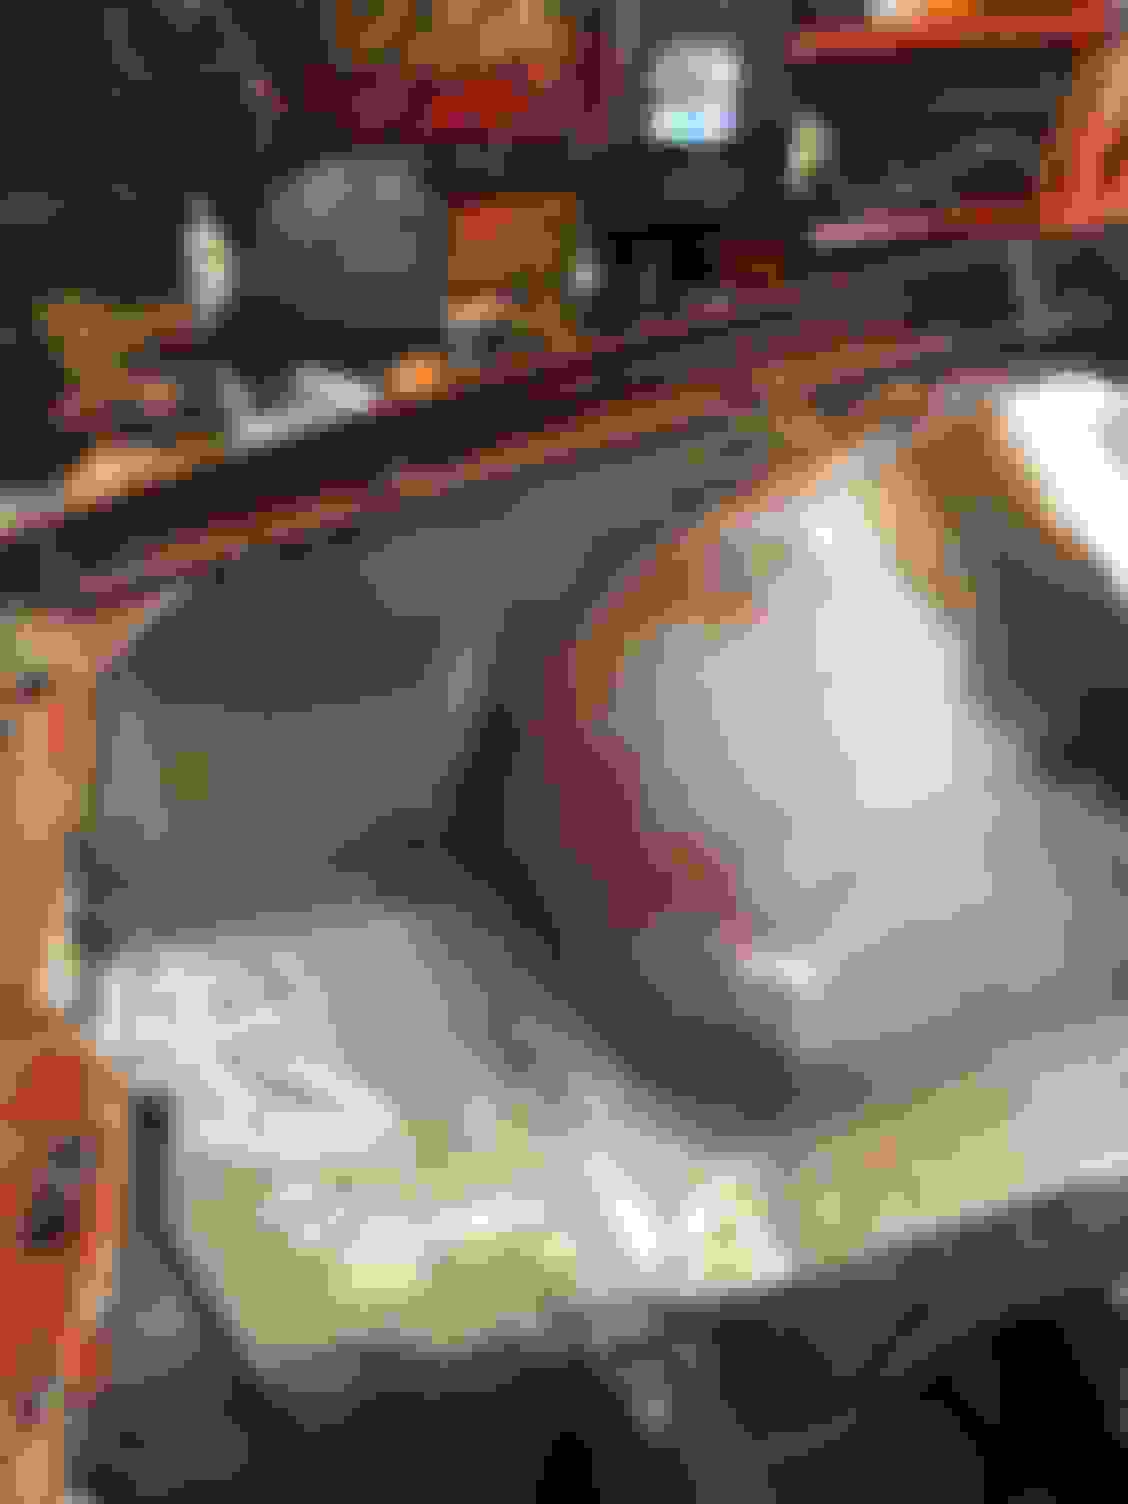
Beginners mistake I layed down waaaay to much filler. No big deal just took me longer then needed to knock it down. After hours of sanding and cursing I think I got to the point where I’m happy. I do plan on laying down a thin layer of light filler for final shaping and smoothing.


[/QUOTE]

Last edited by Destro Camaro; 03-25-2019 at 04:36 PM.
Old 03-25-2019, 04:34 PM
  #7  
Member
Thread Starter
 
Destro Camaro's Avatar
 
Join Date: Oct 2015
Location: Tennessee
Posts: 181
Received 2 Likes on 2 Posts
Car: 88 Camaro
Engine: 2.8 V6 For Now
Re: Engine bay madness


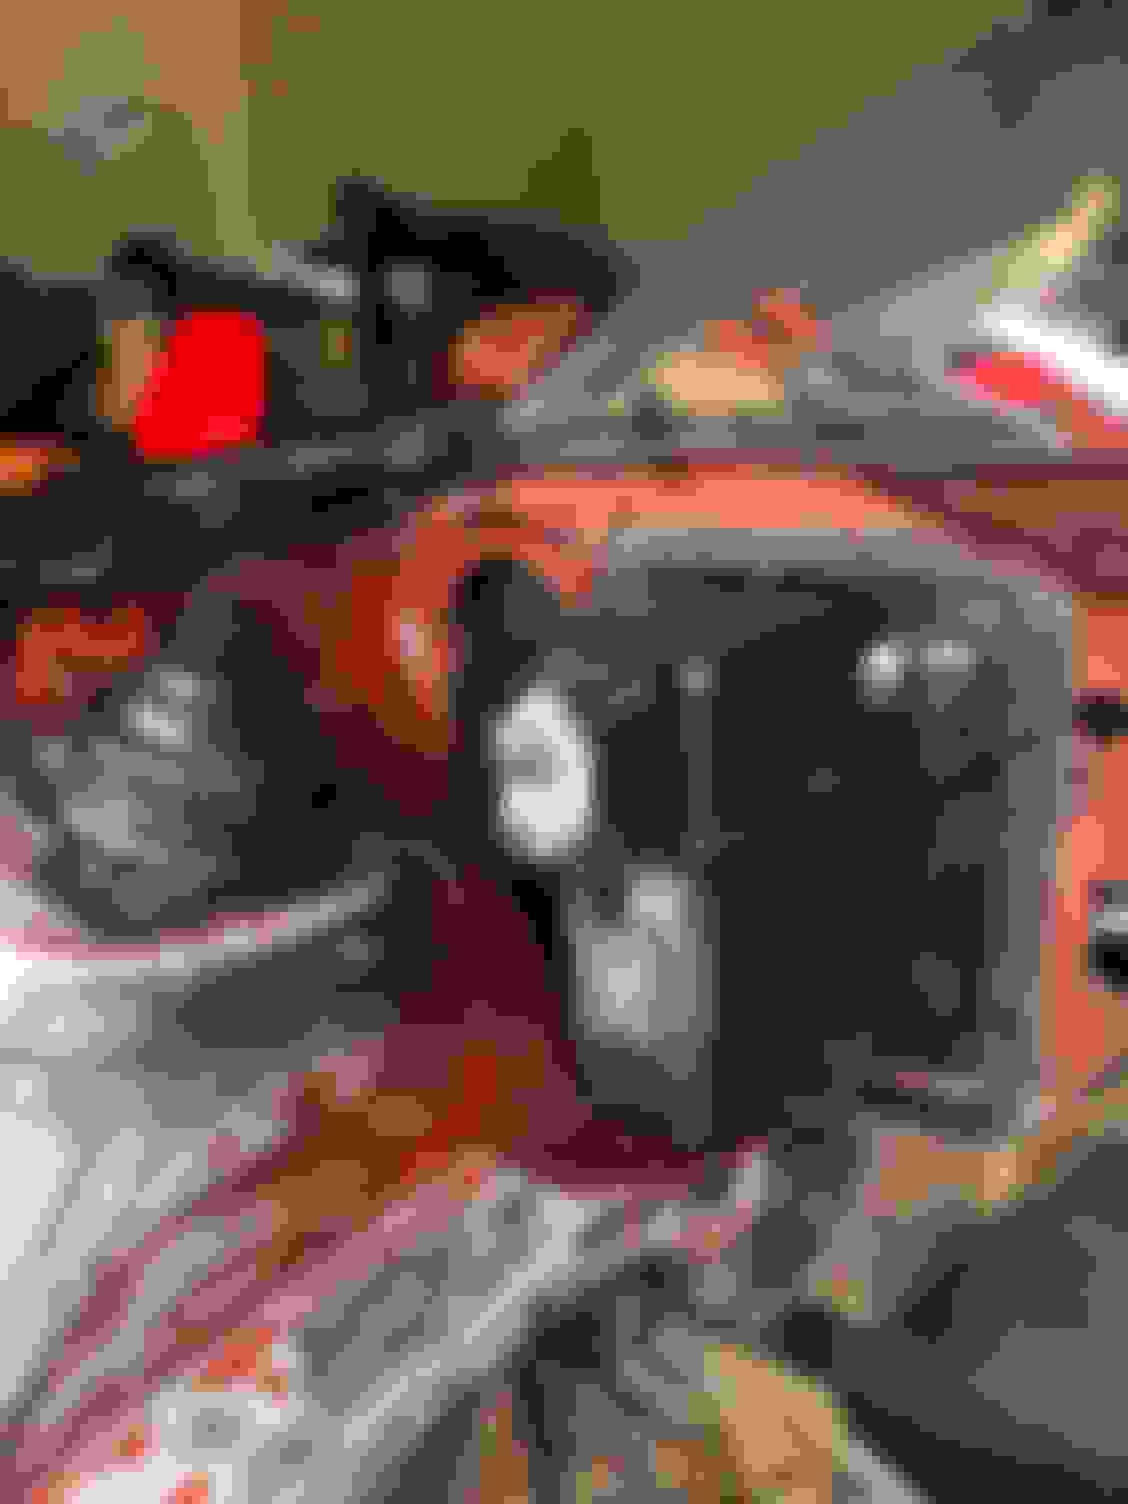
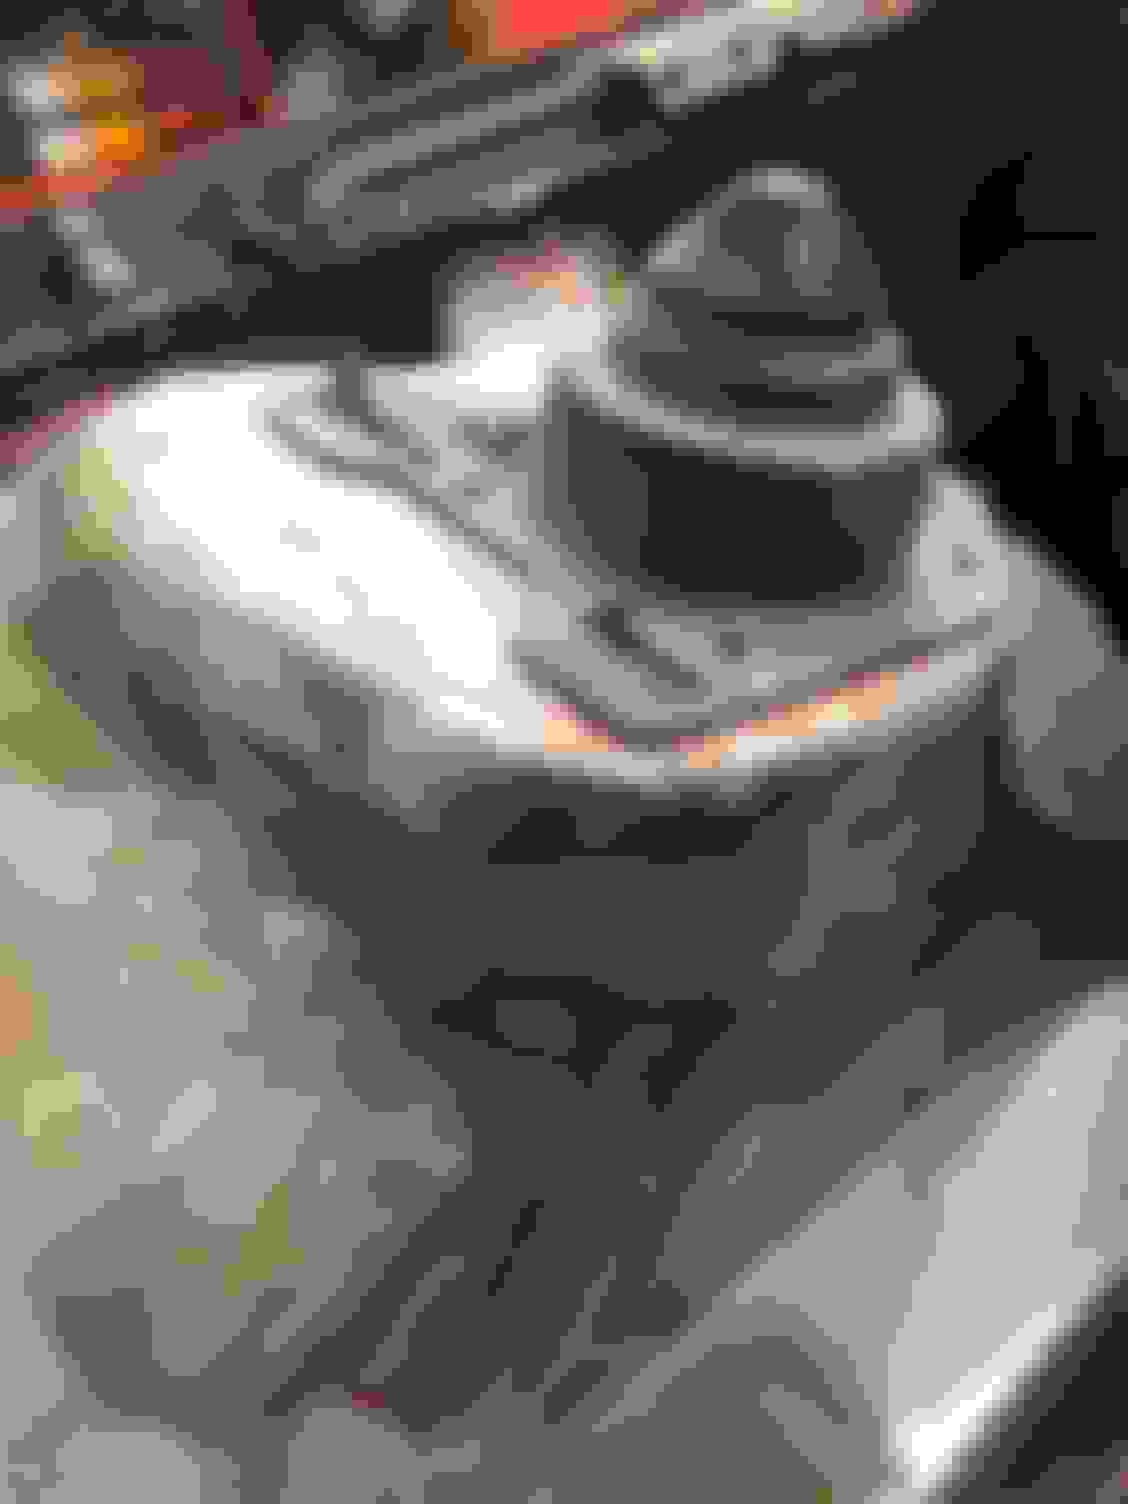
I think is a good stopping point for now. I still have to do the whole process on the drivers side. I figeured it’s best to do one side at a time. Hopefully I’ll learned from my mistakes and the other side will go a lot smoother.
Old 03-25-2019, 06:07 PM
  #8  
Senior Member
 
WildCard600's Avatar
 
Join Date: Feb 2019
Location: SW Missouri
Posts: 721
Received 167 Likes on 132 Posts
Car: 1989 Trans Am
Engine: sp357
Transmission: T-5
Re: Engine bay madness

No doubt it's a lot of work.

No way I would invest that much time personally, but I do agree they look good.
Old 03-26-2019, 05:53 AM
  #9  
Supreme Member

iTrader: (9)
 
battmann's Avatar
 
Join Date: Jul 2006
Location: Rochester NY
Posts: 1,098
Received 408 Likes on 259 Posts
Car: 1984 TA (1 stock / 1 custom)
Engine: LG4 / turbo LQ4
Transmission: 700R4 / 4L80E
Axle/Gears: Stock / 4:11 Moser 9"
Re: Engine bay madness

Coming along pretty nice. Good job.
Old 03-26-2019, 07:15 AM
  #10  
Supreme Member

iTrader: (25)
 
IROCZman15's Avatar
 
Join Date: Sep 2005
Location: NJ
Posts: 1,814
Received 280 Likes on 218 Posts
Car: 1987 IROC-Z
Engine: 406 on N20 w/ EFI
Transmission: P.B. 700R4
Axle/Gears: 12 bolt w/ 3.91
Re: Engine bay madness

lots of work. I agree, you used a LOT of filler. probably lots of sanding. you never want to go tooo thick with filler, or it will pop

I would consider pulling off the strut mounts before you spay any paint. if you mask them and then paint.. the next time you need to set alignment/adjsut them at all in any direction, you will expose unpainted surface under there.
Old 03-26-2019, 08:38 AM
  #11  
Member
Thread Starter
 
Destro Camaro's Avatar
 
Join Date: Oct 2015
Location: Tennessee
Posts: 181
Received 2 Likes on 2 Posts
Car: 88 Camaro
Engine: 2.8 V6 For Now
Re: Engine bay madness

Definitely going to take of the strut mounts before I paint. It would be pointless in my opinion to do all this work then mask them off. Still trying to figure out what color I’m going to paint the car. Stuck between “electric blue” and “sunset orange”
Old 03-26-2019, 11:53 AM
  #12  
Supreme Member

iTrader: (25)
 
IROCZman15's Avatar
 
Join Date: Sep 2005
Location: NJ
Posts: 1,814
Received 280 Likes on 218 Posts
Car: 1987 IROC-Z
Engine: 406 on N20 w/ EFI
Transmission: P.B. 700R4
Axle/Gears: 12 bolt w/ 3.91
Re: Engine bay madness

Originally Posted by Destro Camaro
Definitely going to take of the strut mounts before I paint. It would be pointless in my opinion to do all this work then mask them off. Still trying to figure out what color I’m going to paint the car. Stuck between “electric blue” and “sunset orange”

cool. glad to hear it. keep up the progress !
Old 03-26-2019, 08:23 PM
  #13  
TGO Supporter

 
deadbird's Avatar
 
Join Date: Sep 2000
Location: So.west IN
Posts: 6,775
Likes: 0
Received 26 Likes on 23 Posts
Car: 87 Formula/ 00 Xtreme
Engine: TPI 305/ v6
Transmission: struggling t-5/ 4l60E
Axle/Gears: 3.08/ 3.23
Re: Engine bay madness

That's alot of work. I would recommend for the effort you're putting in, if you're not going to remount the fluid tanks (since you filled the holes), flatten the mounting embosses out. they will stand out like a sore thumb if you smoothe everything out and leave them be. Persevere... engine bay sanding is a b---h.

If you make a couple cuts into the embosses shaped like this... >--< ... you can hand hammer/dollie them flat and weld up with no extra sheet metal and very little filler to finish smoothing.

JMO, tho, good luck with the project
Old 04-12-2019, 02:52 PM
  #14  
Member
Thread Starter
 
Destro Camaro's Avatar
 
Join Date: Oct 2015
Location: Tennessee
Posts: 181
Received 2 Likes on 2 Posts
Car: 88 Camaro
Engine: 2.8 V6 For Now
Re: Engine bay madness


Old 04-12-2019, 02:56 PM
  #15  
Member
Thread Starter
 
Destro Camaro's Avatar
 
Join Date: Oct 2015
Location: Tennessee
Posts: 181
Received 2 Likes on 2 Posts
Car: 88 Camaro
Engine: 2.8 V6 For Now
Re: Engine bay madness

I’m not a fabricator, body man or welder but I think I did good for a person that is self taught. ��


Last edited by Destro Camaro; 04-12-2019 at 03:01 PM.
Old 04-12-2019, 02:58 PM
  #16  
Member
Thread Starter
 
Destro Camaro's Avatar
 
Join Date: Oct 2015
Location: Tennessee
Posts: 181
Received 2 Likes on 2 Posts
Car: 88 Camaro
Engine: 2.8 V6 For Now
Re: Engine bay madness


Old 04-12-2019, 03:04 PM
  #17  
Member
Thread Starter
 
Destro Camaro's Avatar
 
Join Date: Oct 2015
Location: Tennessee
Posts: 181
Received 2 Likes on 2 Posts
Car: 88 Camaro
Engine: 2.8 V6 For Now
Re: Engine bay madness

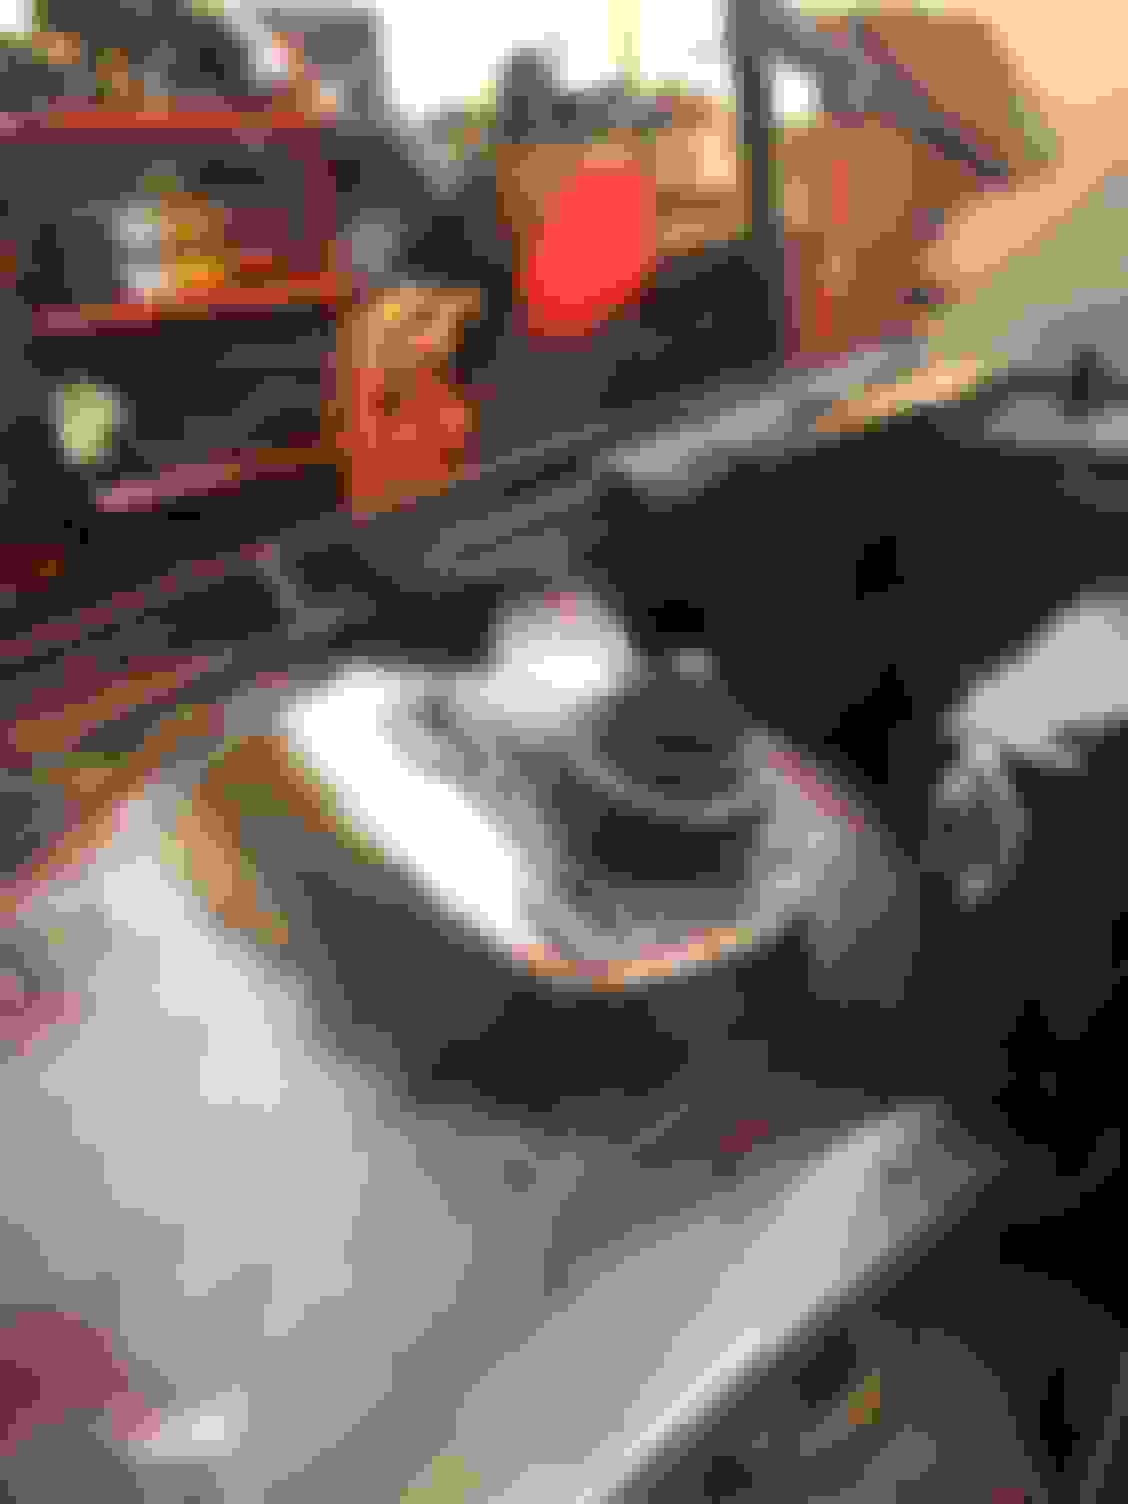
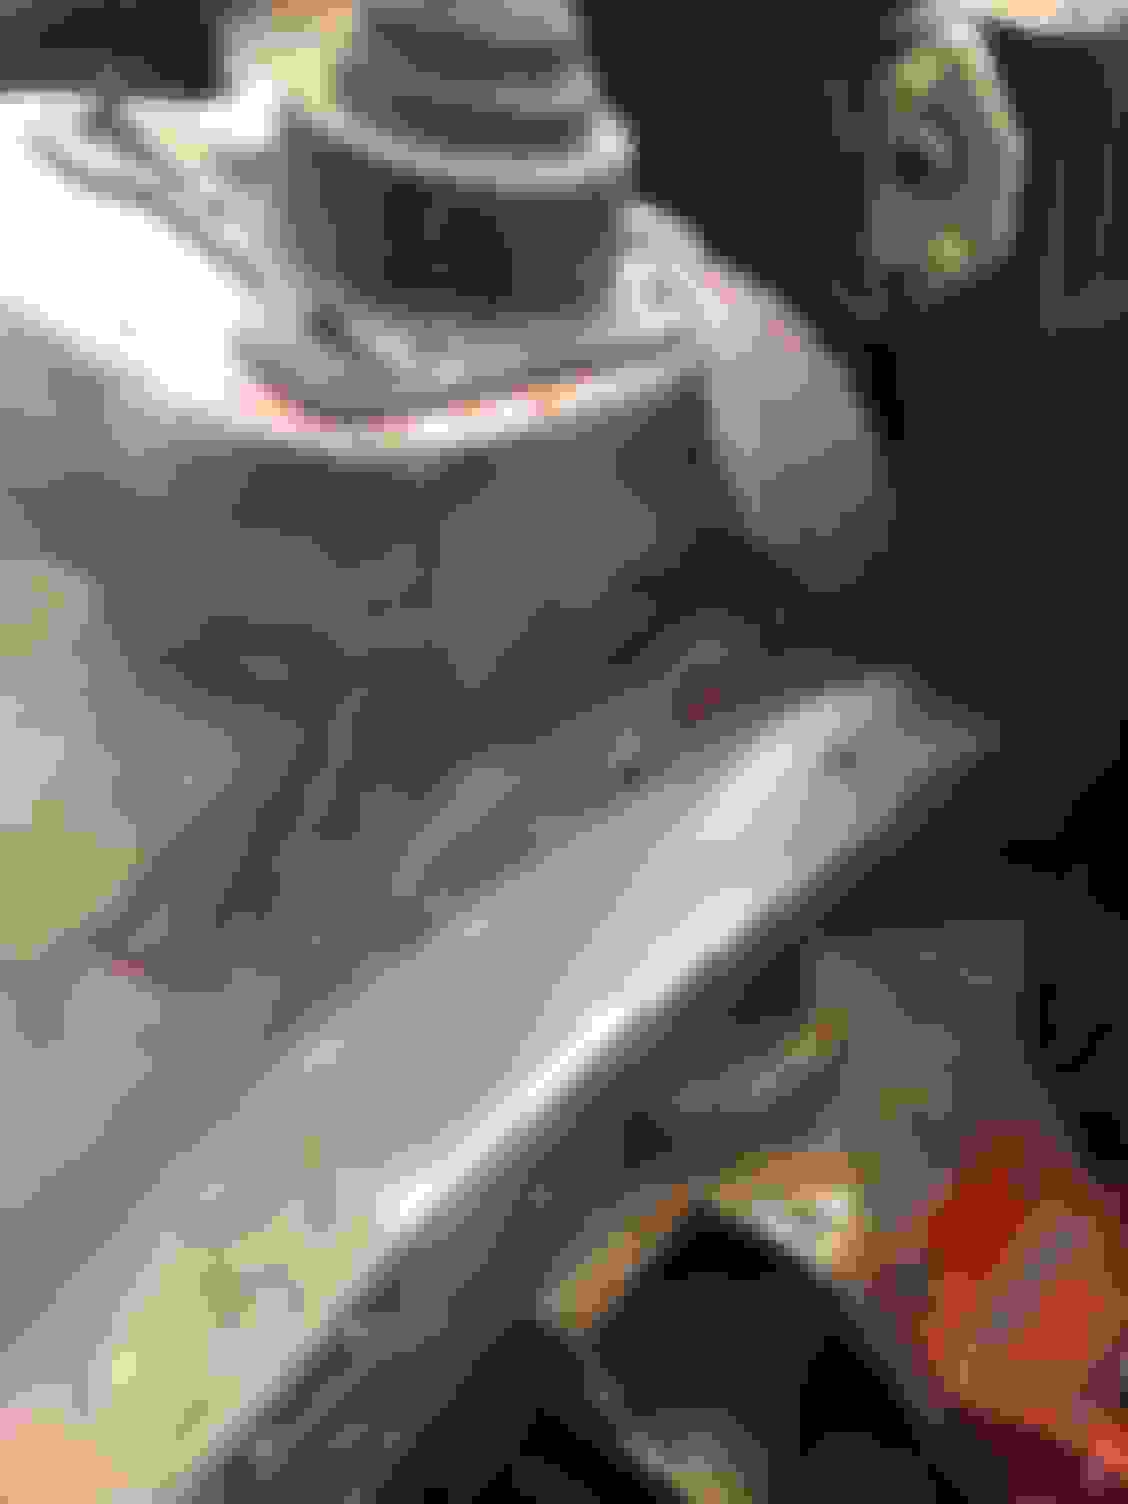
I still have a lot of block sanding to do on the firewall, hopefully I wrap the engine bay up this next week on my days off. I having fun laying down body filler and watching things take shape, but I ready to move on to other parts of the car.
Old 04-13-2019, 10:37 AM
  #18  
Supreme Member

iTrader: (15)
 
Tibo's Avatar
 
Join Date: Jun 2003
Location: Desert
Posts: 5,025
Received 76 Likes on 66 Posts
Car: 1991 Z28 Vert
Engine: 383 single plane efi
Transmission: T-56
Axle/Gears: 8.8 with 3.73s
Re: Engine bay madness

A word of caution you on using much filler on the wheel well/strut tower area and on the firewall. The firewall especially is extremely thin and flimsy, even more so since you enlarged the HVAC opening. The strut towers can flex during turning movements which could crack the filler-- one of the reasons that I'm using a strut tower brace. Some of the seams it looks like you may have just used the filler to blend them. You're better off blending the seams with the MIG gun and a grinder and then going over them with the filler instead of depending on the filler to do the entire job. As an example I dug up this picture and you can see that I was doing up to 6 passes in some areas on the strut caps. Depending on the gauge of metal composing the seams I usually did 2-3 passes with the MIG gun.


I also agree that you'll be kicking yourself later on if you don't remove the mounting tabs from the fluid reservoirs that were on the wheel arches.

Old 05-11-2019, 02:28 PM
  #19  
Member
Thread Starter
 
Destro Camaro's Avatar
 
Join Date: Oct 2015
Location: Tennessee
Posts: 181
Received 2 Likes on 2 Posts
Car: 88 Camaro
Engine: 2.8 V6 For Now
Re: Engine bay madness


Have a couple spots I have to smooth out but for the time being I taking a break on the engine bay until I ready for final paint.
Old 05-12-2019, 08:06 AM
  #20  
Supreme Member

iTrader: (25)
 
IROCZman15's Avatar
 
Join Date: Sep 2005
Location: NJ
Posts: 1,814
Received 280 Likes on 218 Posts
Car: 1987 IROC-Z
Engine: 406 on N20 w/ EFI
Transmission: P.B. 700R4
Axle/Gears: 12 bolt w/ 3.91
Re: Engine bay madness

anything done on the drivers side? all your photos are of the passenger side during this whole thread
Old 05-12-2019, 02:14 PM
  #21  
Member
Thread Starter
 
Destro Camaro's Avatar
 
Join Date: Oct 2015
Location: Tennessee
Posts: 181
Received 2 Likes on 2 Posts
Car: 88 Camaro
Engine: 2.8 V6 For Now
Re: Engine bay madness

I wanted to work on one side at a time, plus I had the firewall to deal with. I just started welding the strut tower over this weekend. Hopefully the other side goes smoother and faster.
Old 05-13-2019, 07:56 PM
  #22  
Member
Thread Starter
 
Destro Camaro's Avatar
 
Join Date: Oct 2015
Location: Tennessee
Posts: 181
Received 2 Likes on 2 Posts
Car: 88 Camaro
Engine: 2.8 V6 For Now
Re: Engine bay madness


Old 10-22-2019, 02:01 AM
  #23  
Supreme Member

iTrader: (25)
 
IROCZman15's Avatar
 
Join Date: Sep 2005
Location: NJ
Posts: 1,814
Received 280 Likes on 218 Posts
Car: 1987 IROC-Z
Engine: 406 on N20 w/ EFI
Transmission: P.B. 700R4
Axle/Gears: 12 bolt w/ 3.91
Re: Engine bay madness

how did it finish up?
Old 10-28-2019, 05:00 PM
  #24  
Member
Thread Starter
 
Destro Camaro's Avatar
 
Join Date: Oct 2015
Location: Tennessee
Posts: 181
Received 2 Likes on 2 Posts
Car: 88 Camaro
Engine: 2.8 V6 For Now
Re: Engine bay madness

Originally Posted by IROCZman15
how did it finish up?
It turned out ok for my first time welding and body work. I took a break on finishing it up once I primed the bay. My goal is to finish putting the car to together over the winter get it to where I can drive it and work out all the bugs. Then in the summer strip the car back down and send it off to be painted. I wanted to try to paint it myself but I think that is a little more then I can handle.
Old 10-29-2019, 08:34 AM
  #25  
Supreme Member

iTrader: (1)
 
OrangeBird's Avatar
 
Join Date: Feb 2012
Posts: 3,677
Received 661 Likes on 471 Posts
Car: 1989 Firebird
Re: Engine bay madness

So , , Destro Camaro , whatever happened with the bracket you offered to sell me , and then you disappeared ? I understand things happen , maybe you couldn't find it or whatever , but the decent thing to do would have been to return my messages asking you about it , rather than ignoring me like you did .

Remember , YOU offered it to ME in MY thread , If you couldn't be bothered to follow through with it why did you offer to sell it in the first place ????

I just figured I'd post this as a warning to my fellow TGO members , in case you offer to sell anyone else something , that you may not want to be bothered following through with .....

Originally Posted by Destro Camaro
I remember when mine cracked that same way, it was a real bitch to find another one. I have an extra one if you are looking for one.
Related Topics
Thread
Thread Starter
Forum
Replies
Last Post
Ca[maro]88
Auto Detailing and Appearance
150
02-20-2011 07:32 PM
rsrsrs
Auto Detailing and Appearance
8
09-12-2007 08:03 PM
5SIZ
South West Region
45
09-14-2002 06:20 PM
Recluse
Transmissions and Drivetrain
3
07-24-2002 04:42 AM
Andy89RS
Tech / General Engine
3
08-20-2001 06:47 AM


Quick Reply: Engine bay madness


All times are GMT -5. The time now is 02:00 PM.