When you click on links to various merchants on this site and make a purchase, this can result in this site earning a commission. Affiliate programs and affiliations include, but are not limited to, the eBay Partner Network.
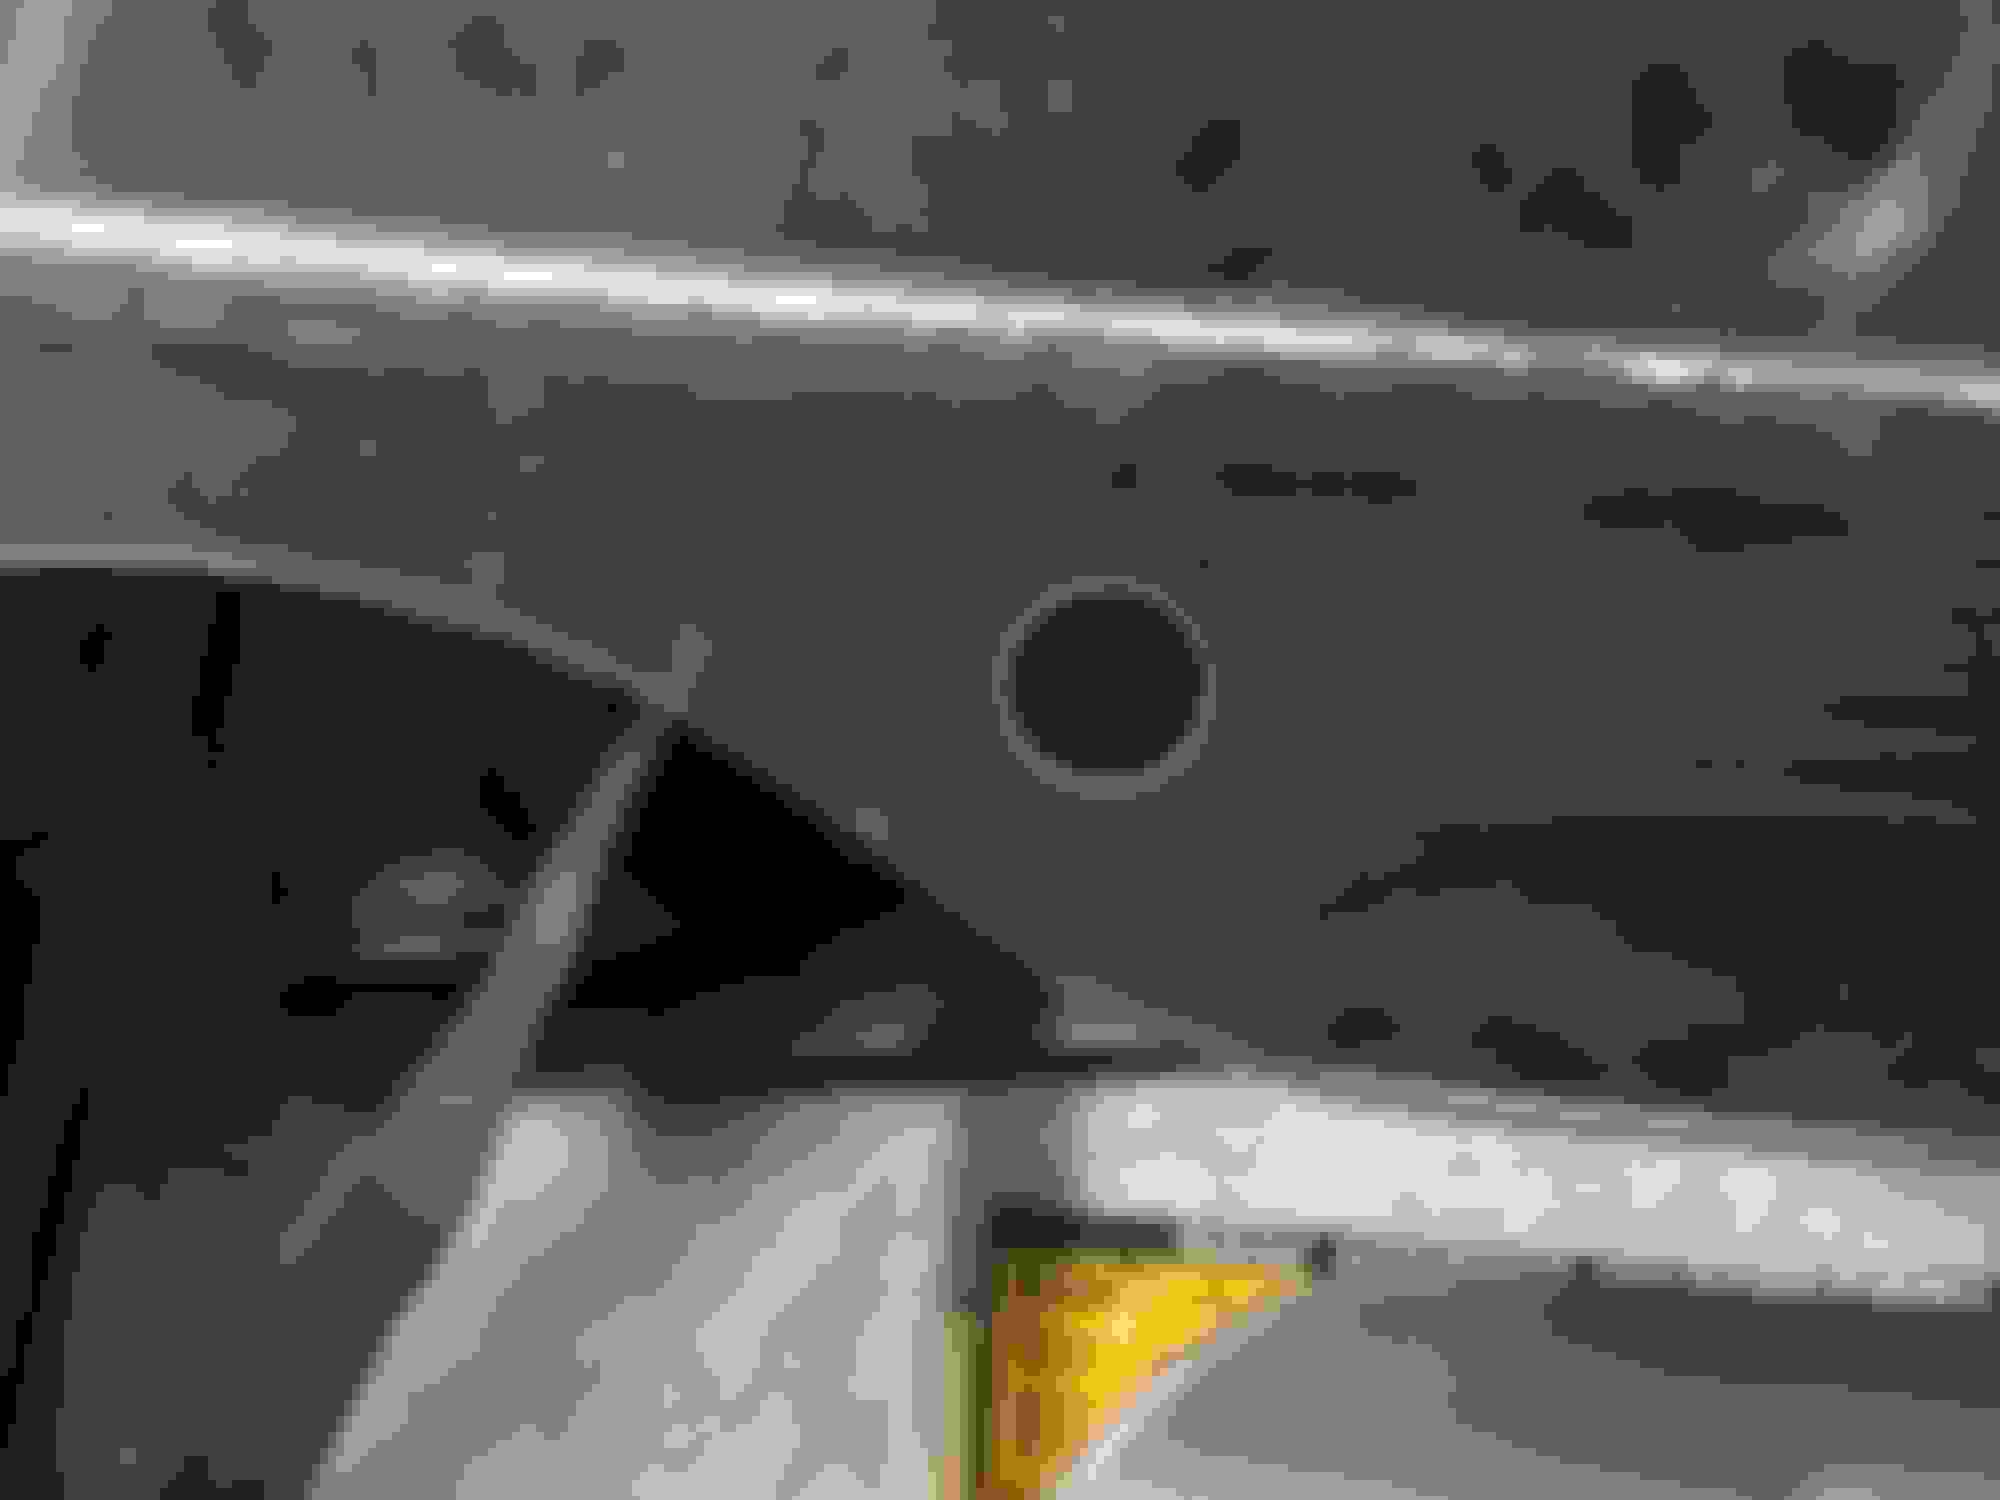
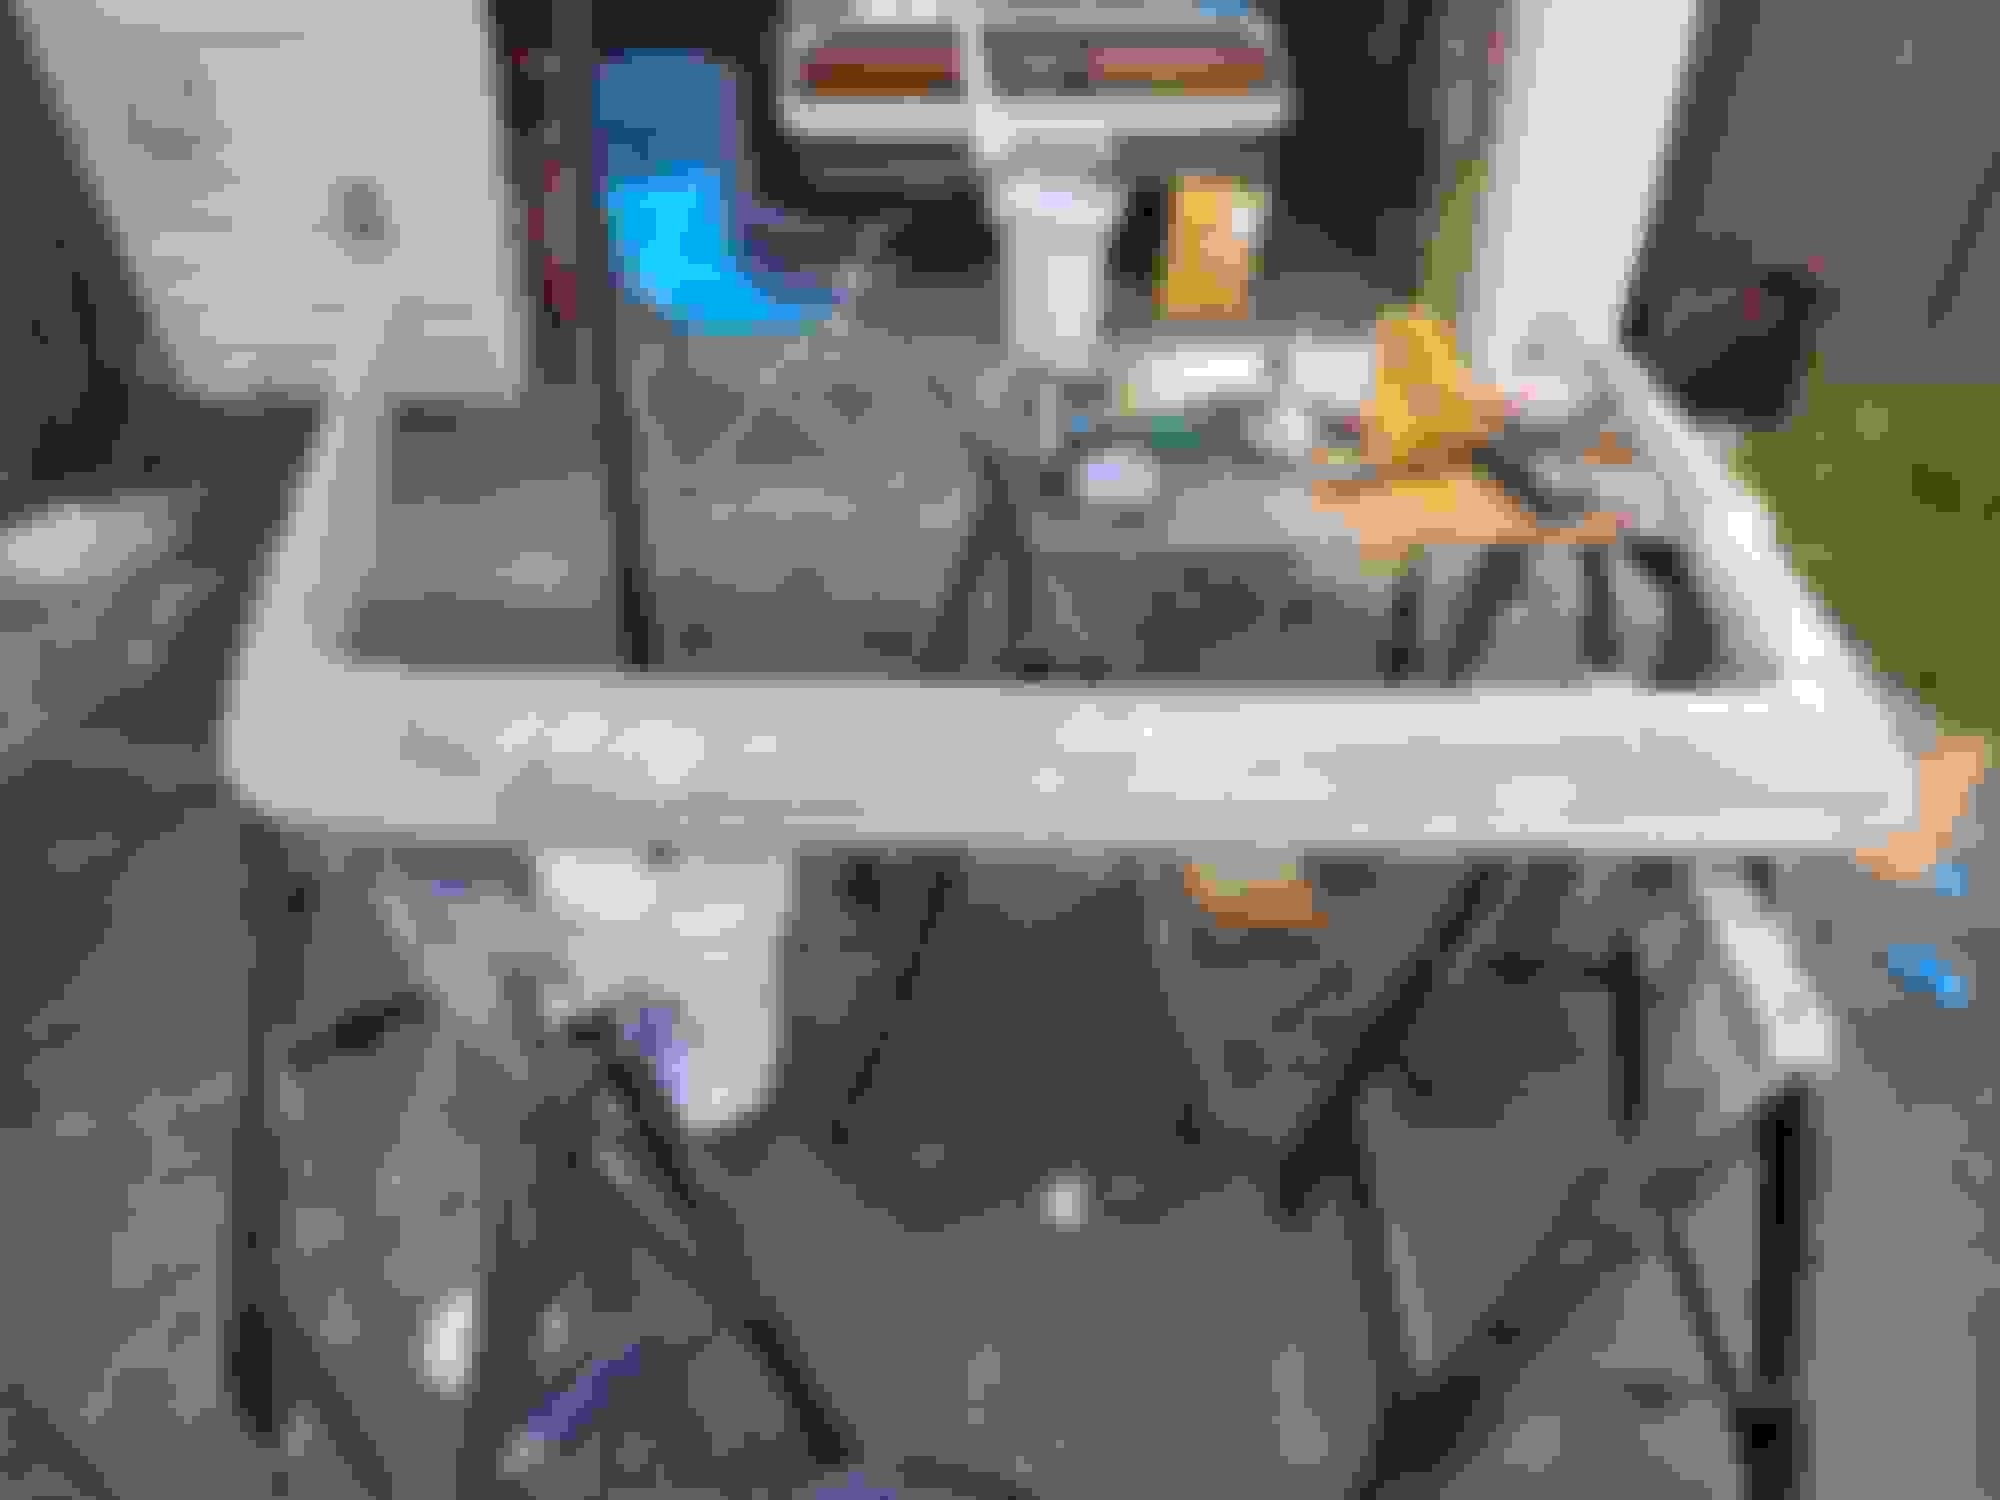
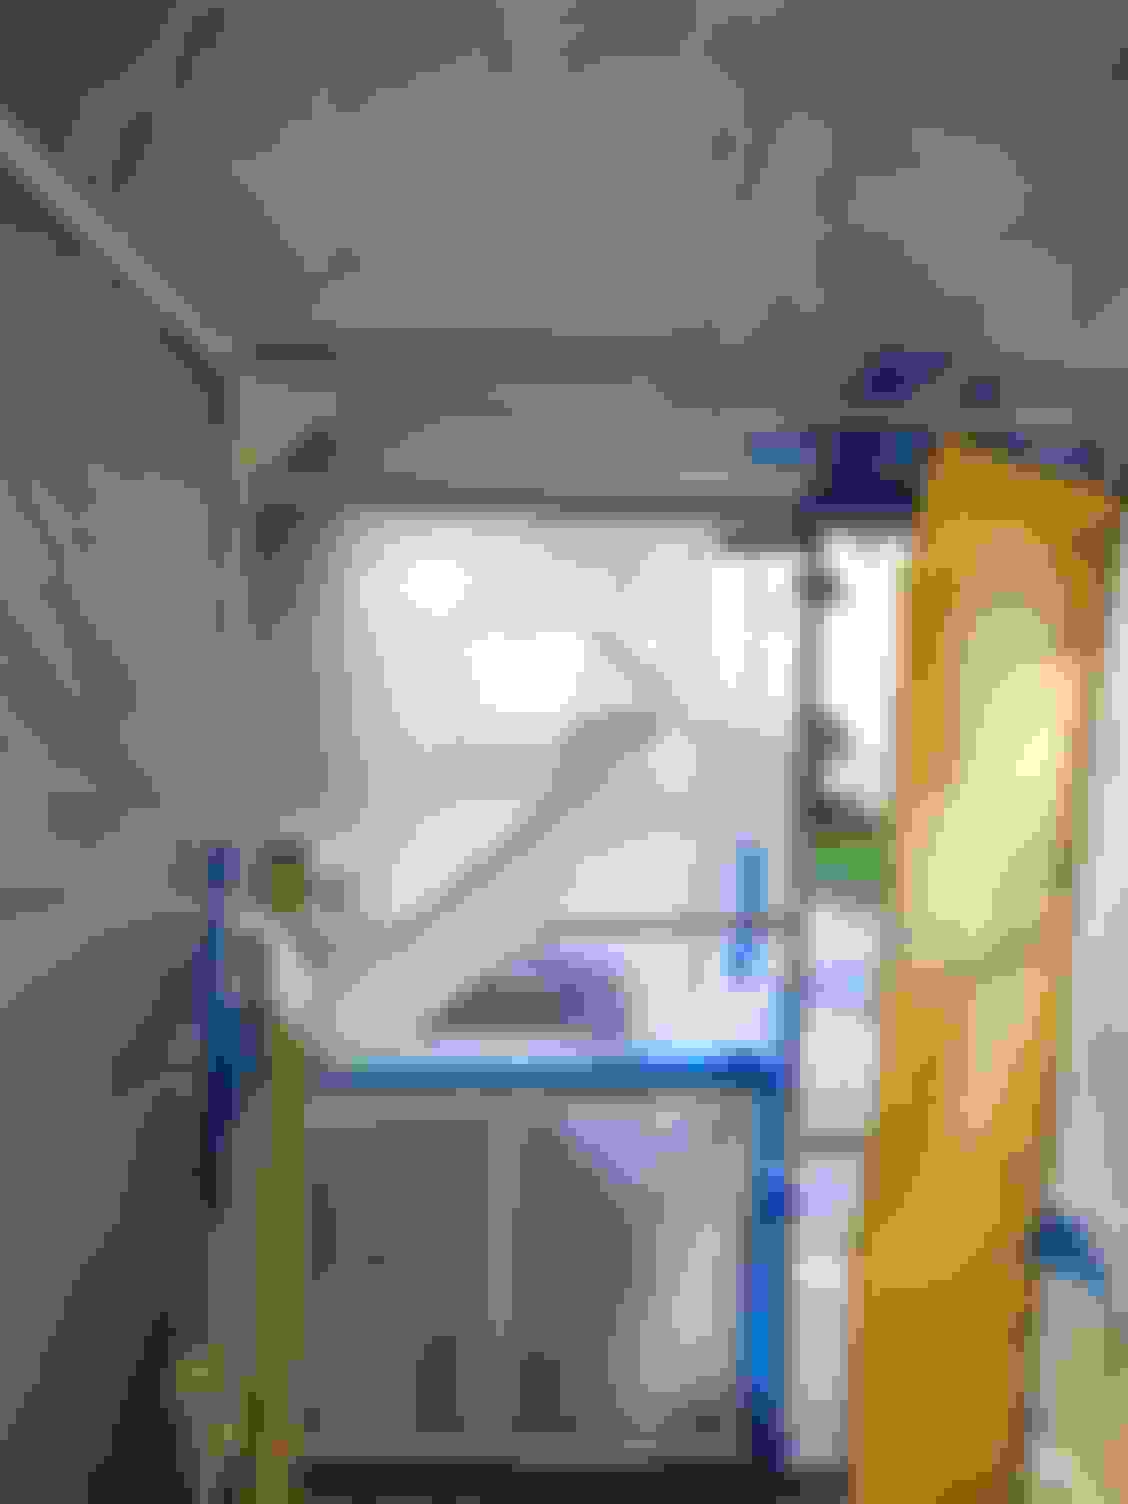
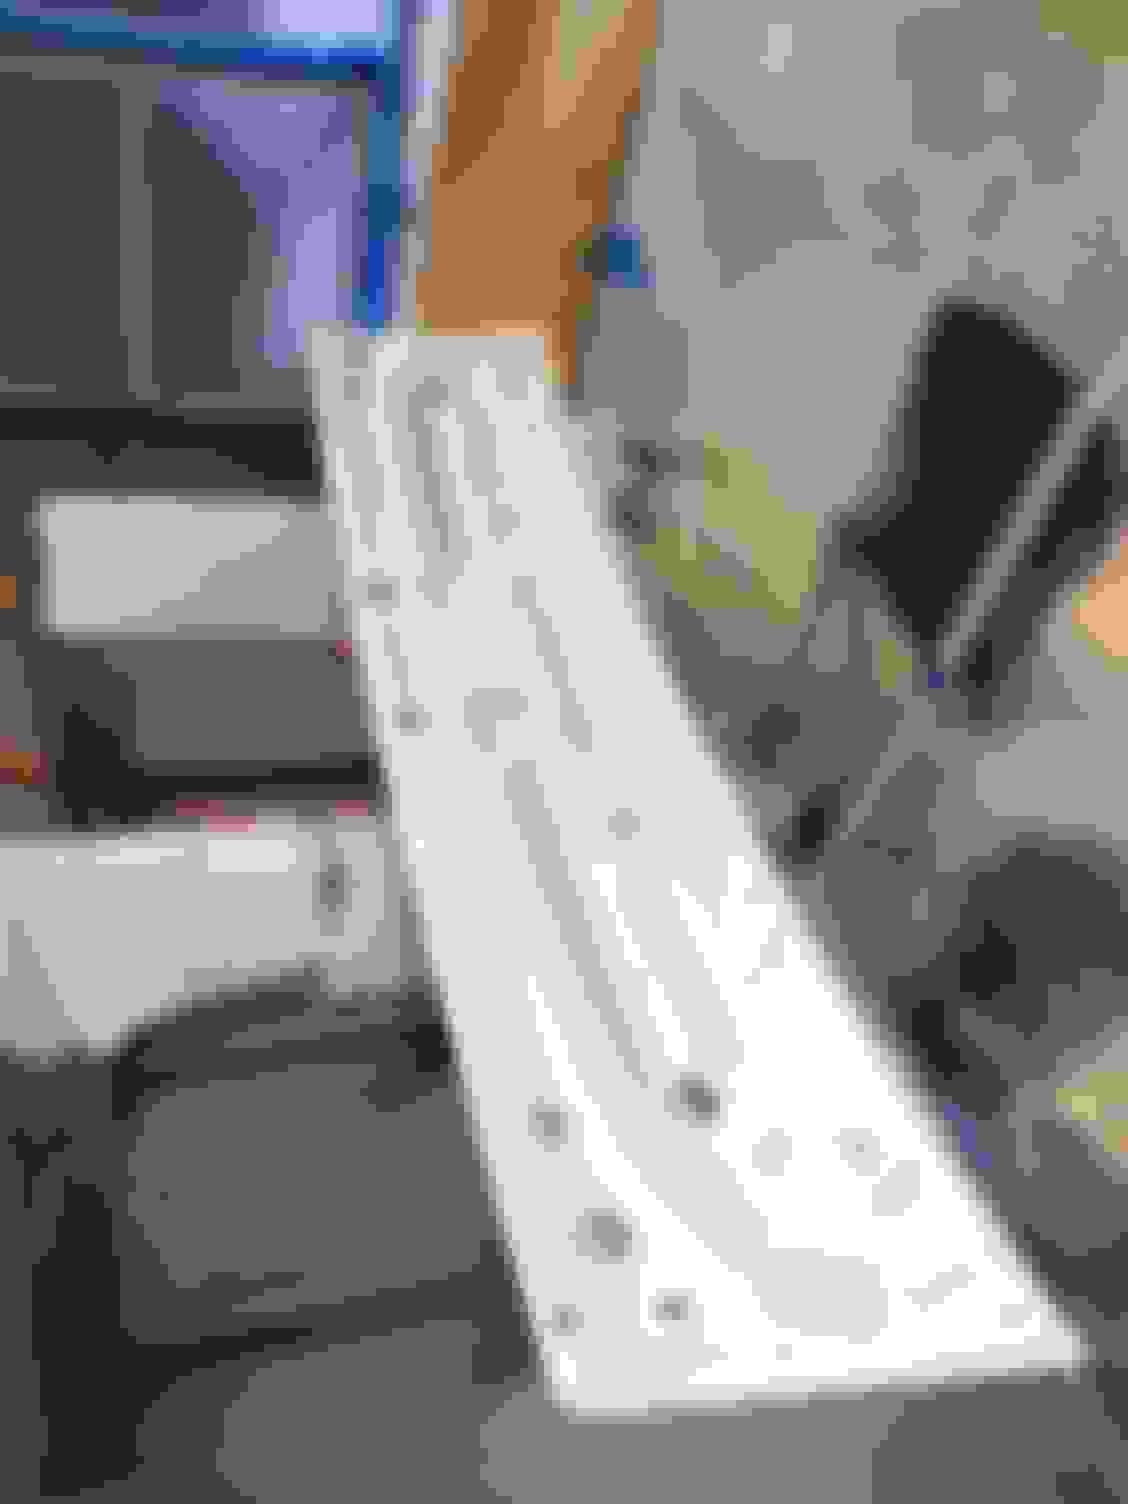
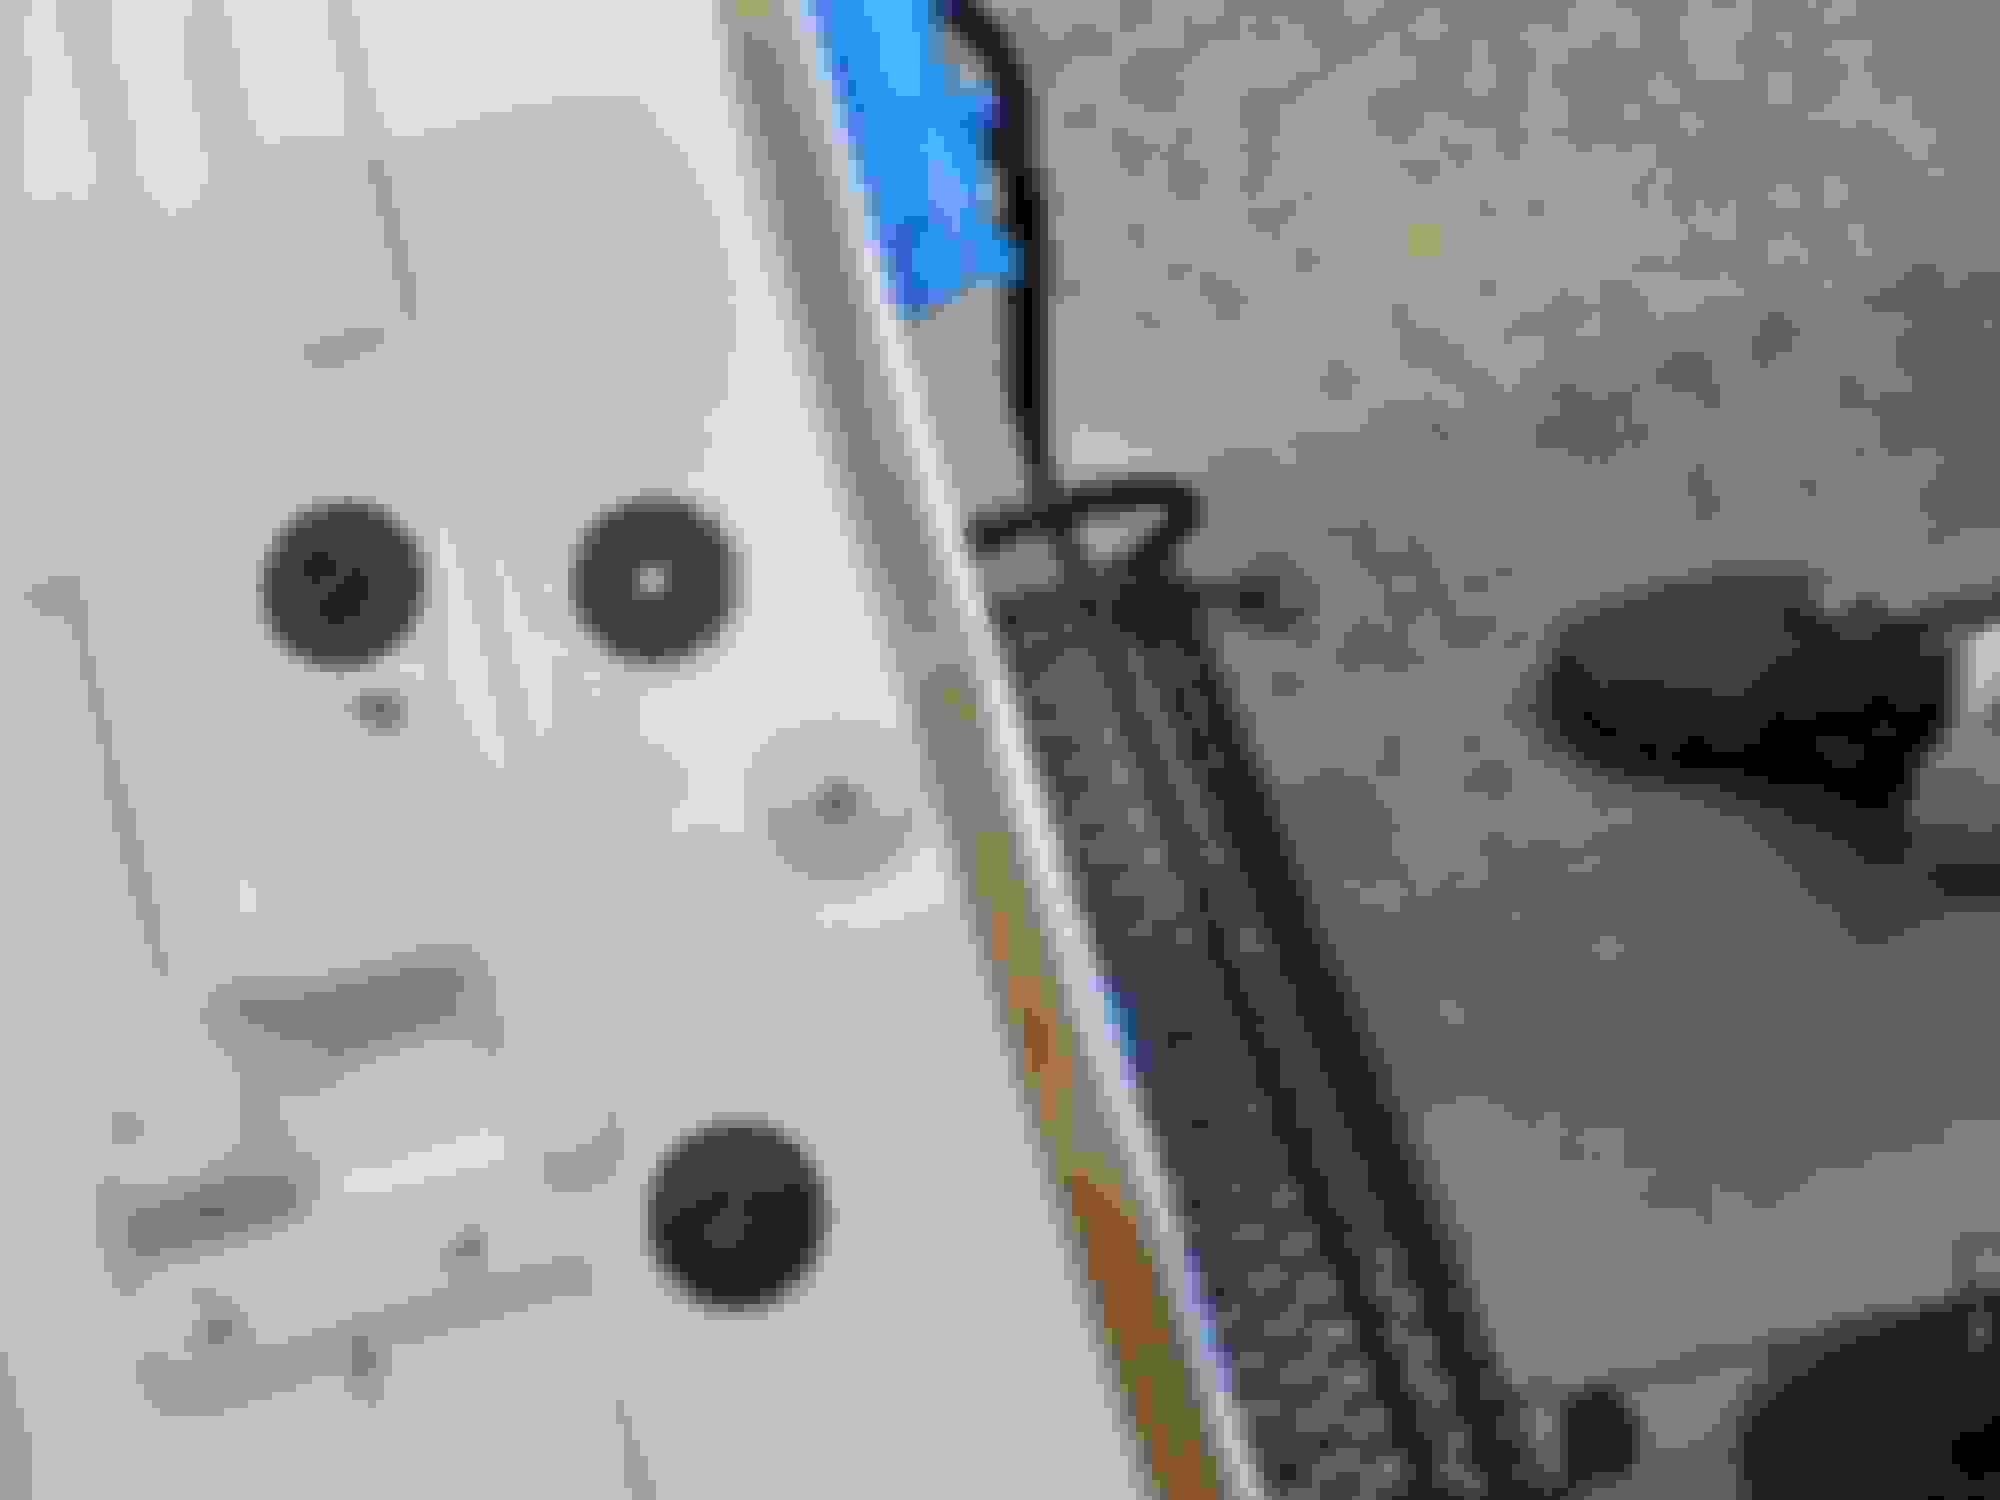
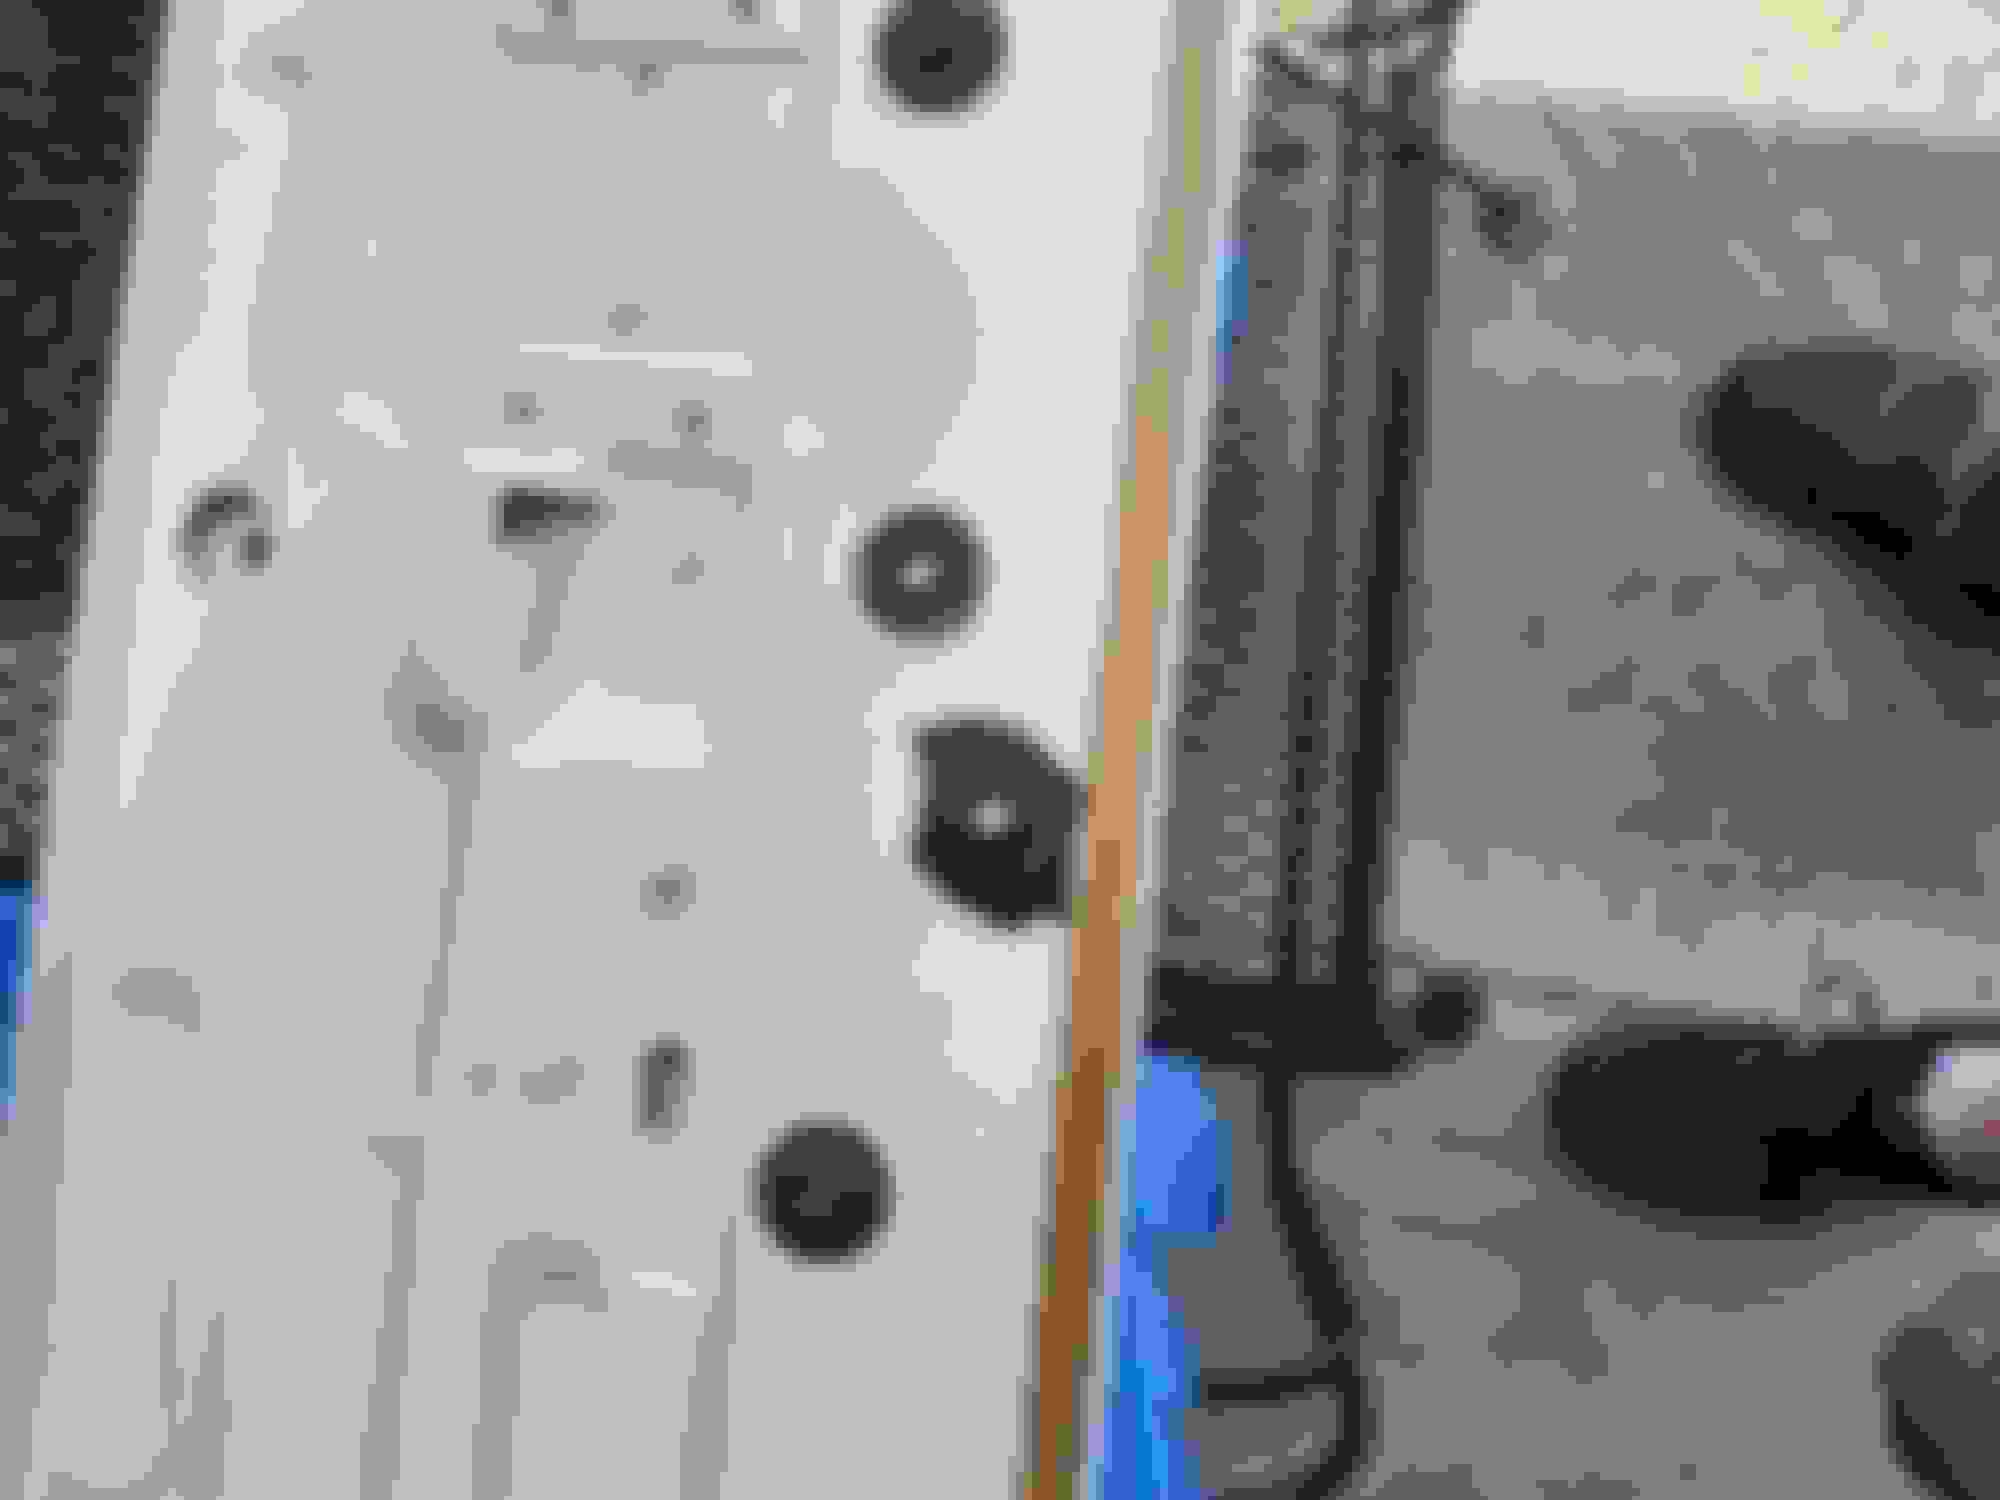
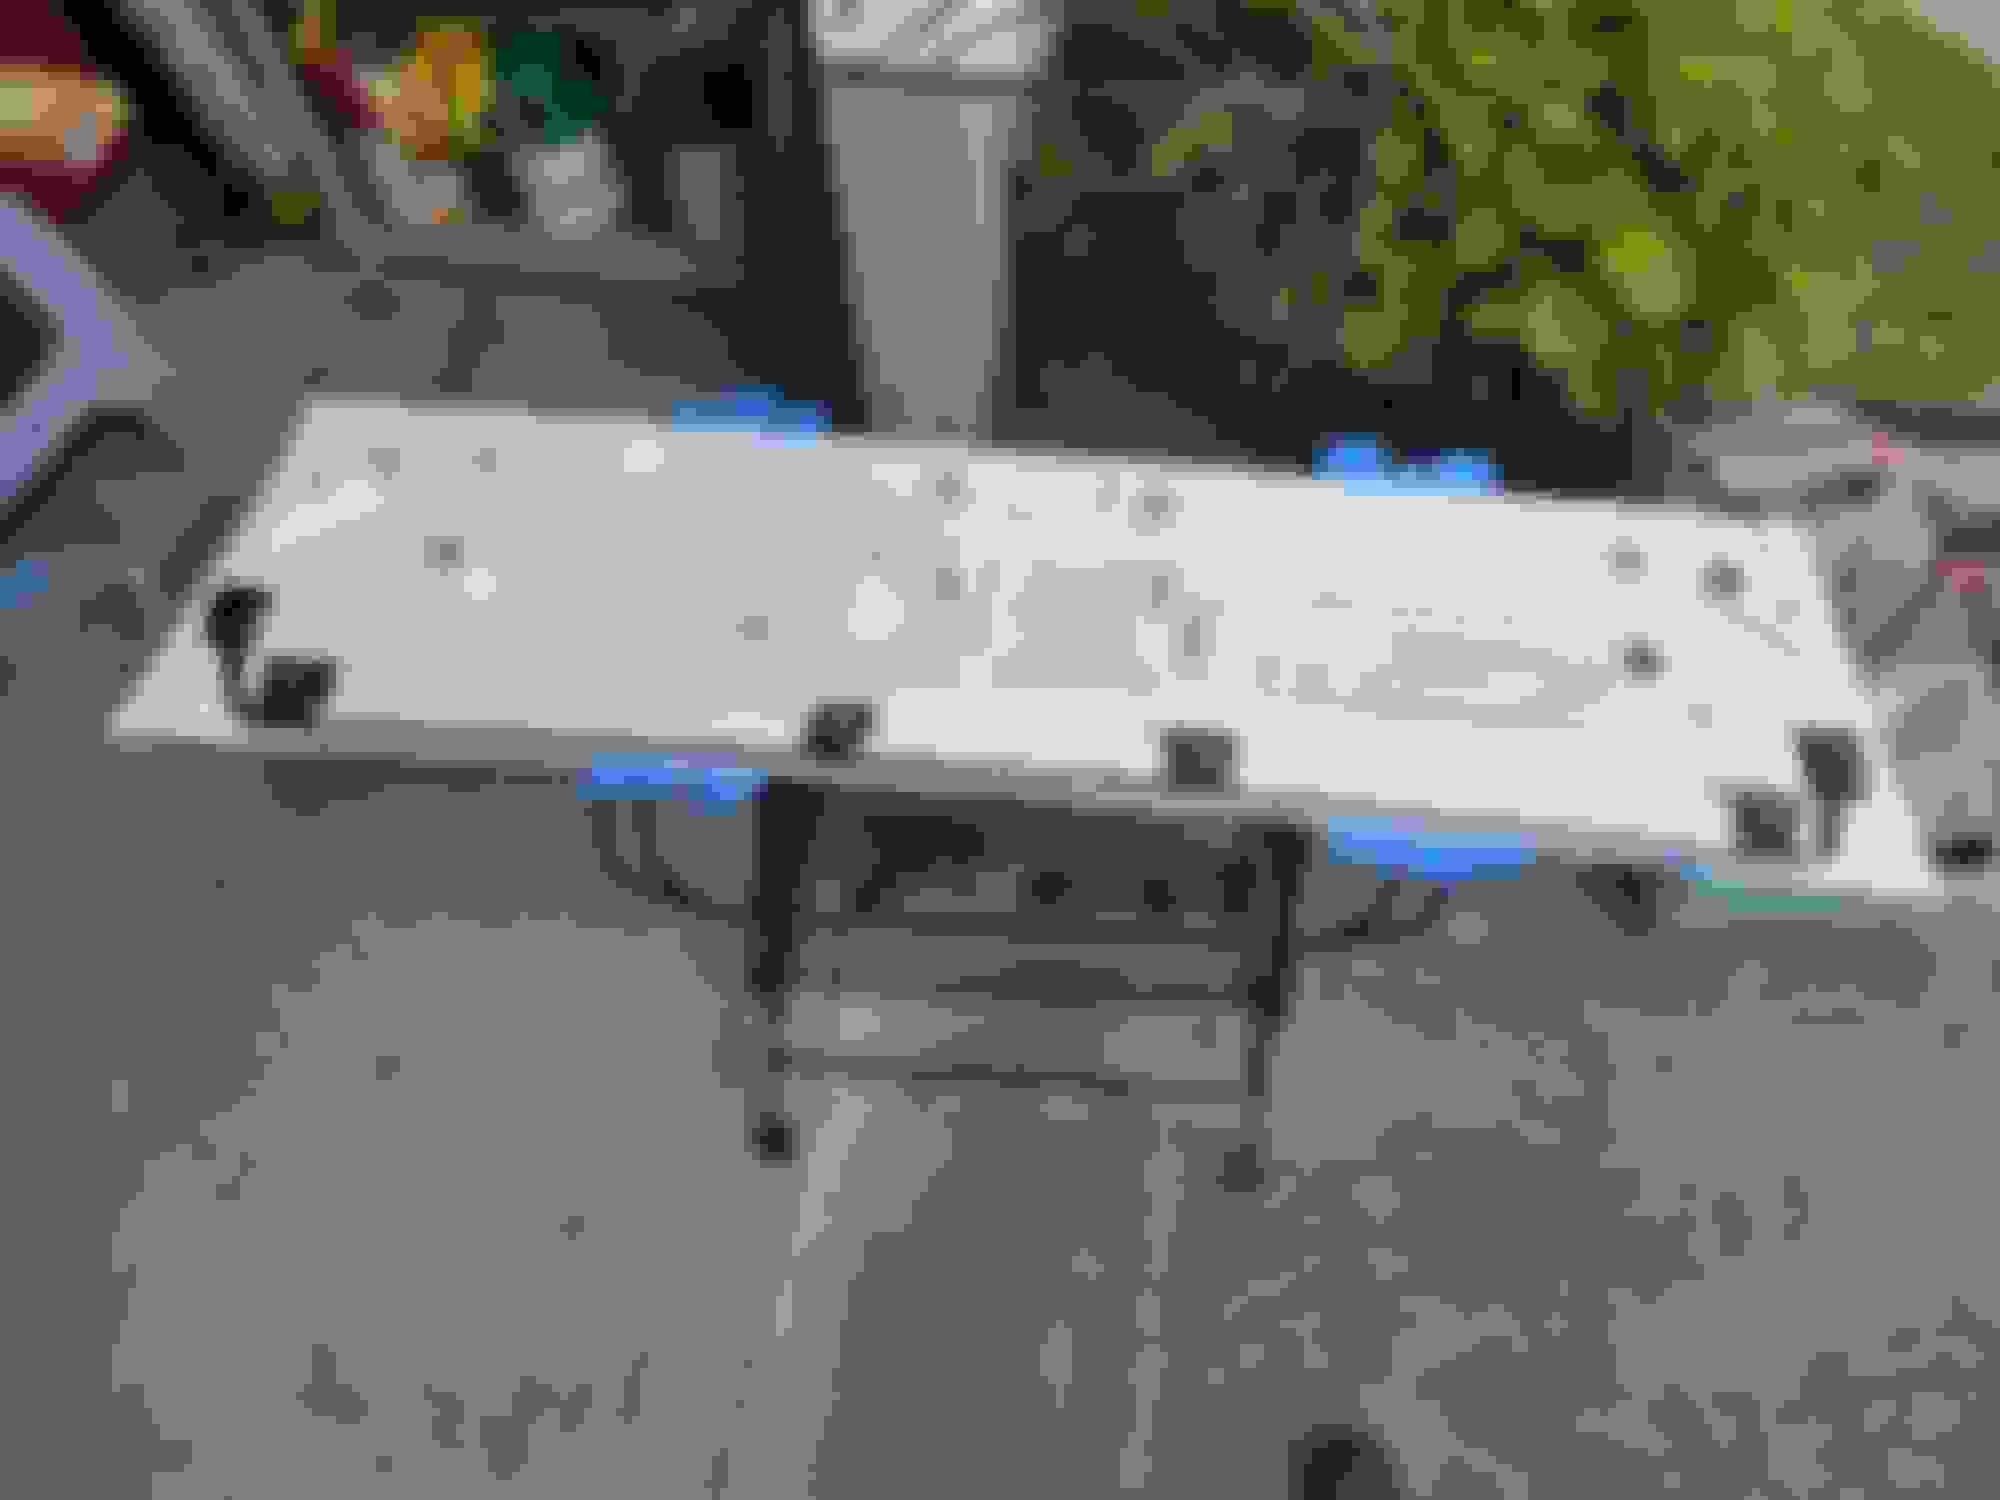
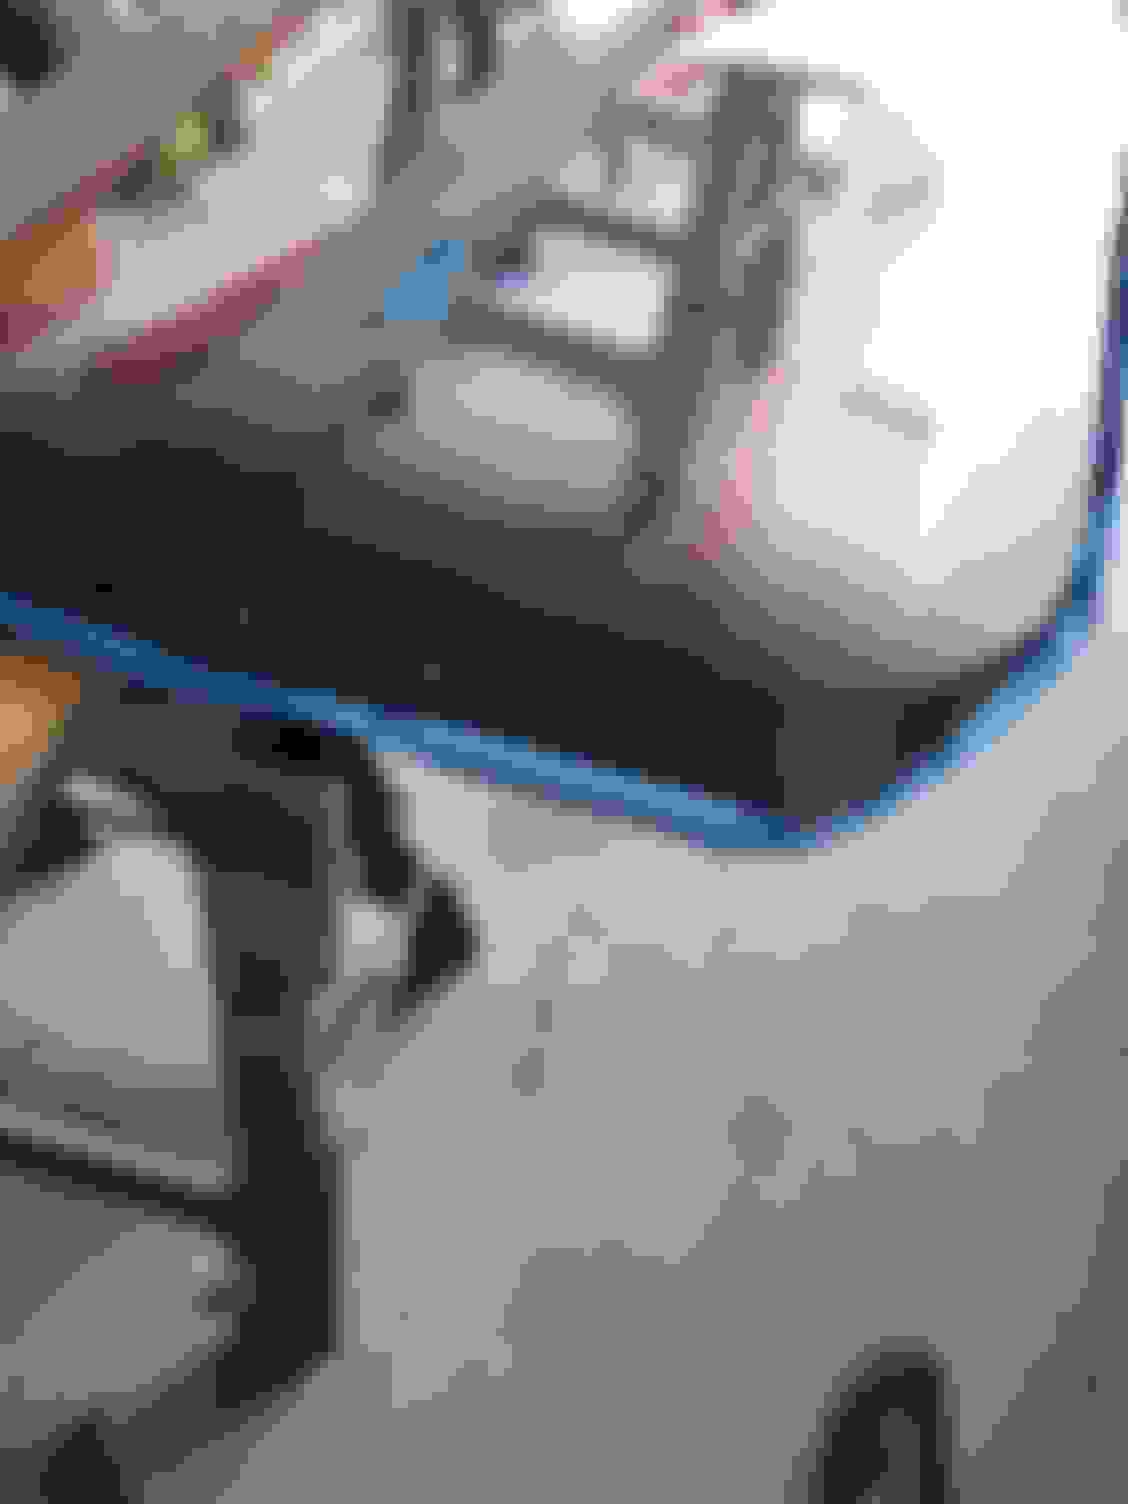
Started the process of stripping the hatch down to realign the overhang and paint the deck lid and spoiler (the fiberglass spoiler has been in primer since 2001). Unfortunately the spoiler has some damage from a tree branch several years ago, but there will be no waves when finished. Hatch removed The glass mount holes and play you have to work with Old overhang Paint prep for the spoiler Test fit to make sure I could get it even PVC pipe paint booth
Painted the underside of the deck lid and the new tail light housing. Also ordered the aluminum hinges from Hawks. This almost done re adjusting the gaps after having it apart for the LS swap and paint touch ups.
Its actually only the 4 leading bolts that go through the glass, the other bolts only goes through the metal frame that is on the bottom of the glass and what the struts mount to. There are also so me self tappers that hold the glass surround to that same metal piece.
It all makes sense when you get into it. I'm going to take the glass fully off the car so I can better paint the glass surround. The 20 year old rattle can trim paint needs replaced this time I'm using proper automotive 2k paint.
You might be able to push it forward didn't try. To do it correctly you really should take it off, remove the old sealer and put new sealer tape and re mount it. You can adjust it some at the hinge bolts (glass side not car side) if you didn't want to go all in.
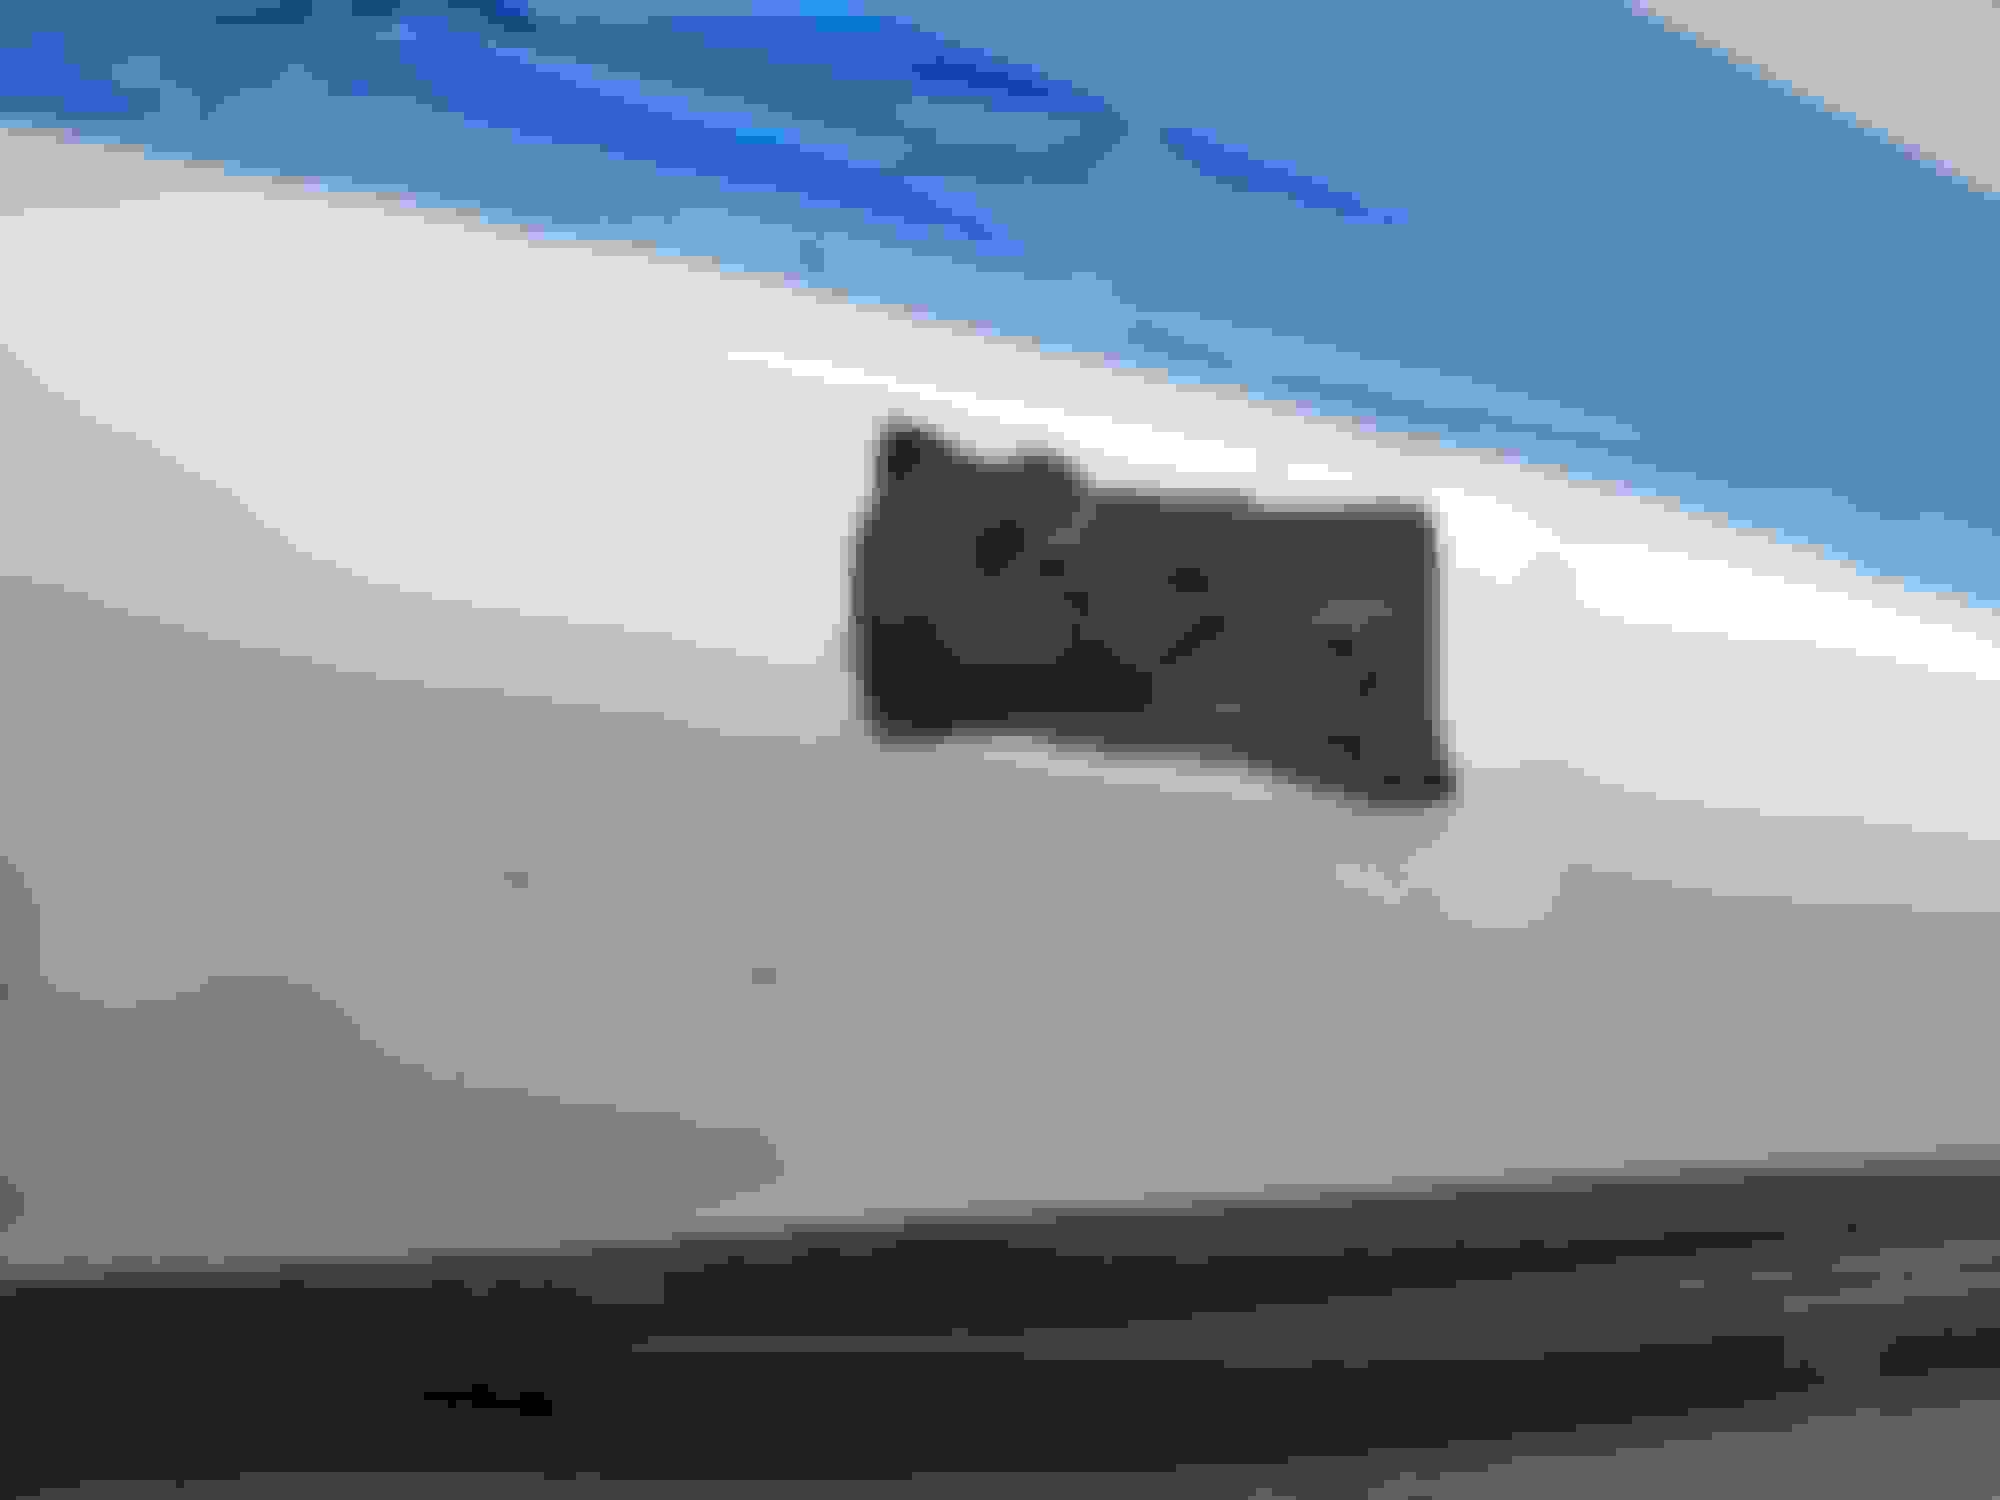
At the hinges on the hinge to body mount there is no forward aft. But on the hinge to glass it has about 1/4 inch play. If it's all the way forward their then either hinges are bent or deck lid has slid.
I did this and have to do it all over. I used the heavy duty support shocks for the heavy factory aero wing spoiler. I since replaced it with a lighter fiberglass one from Hawks. Was told I need to use the shocks from a firebird that dont have a spoiler or has the straight wing one. ASM 4967.
I hate having to have to pull off the deck and re tighten it to the glass very nervous doing so again.
At the hinges on the hinge to body mount there is no forward aft. But on the hinge to glass it has about 1/4 inch play. If it's all the way forward their then either hinges are bent or deck lid has slid.
Do you have any pictures of you applying adhessive before assembly? Thanks, Frank
Do you have any pictures of you applying adhessive before assembly? Thanks, Frank
painting is taking longer than expected. I will take pictures when I assemble it... Still debating the adhesive as it needs to be where I can cut it off if needed in the future.
painting is taking longer than expected. I will take pictures when I assemble it... Still debating the adhesive as it needs to be where I can cut it off if needed in the future.
Its a bit long but very detailed. I used it to do mine last year. Unfortunately I have to do it again. I used the stock shock supports and it pushed out the deck again. Being I replace my cracked heavy rubber aerowing spoiler with a fiberglass one from Hawks, the shocks i used were for the heavy rubber one. I was informed on this site to use one from a bird that has the single wing spoiler, not as strong. Got them from Rock Auto, AMS Automotive part number 4967.
Now i have to pull it all apart and do over, BLAH!
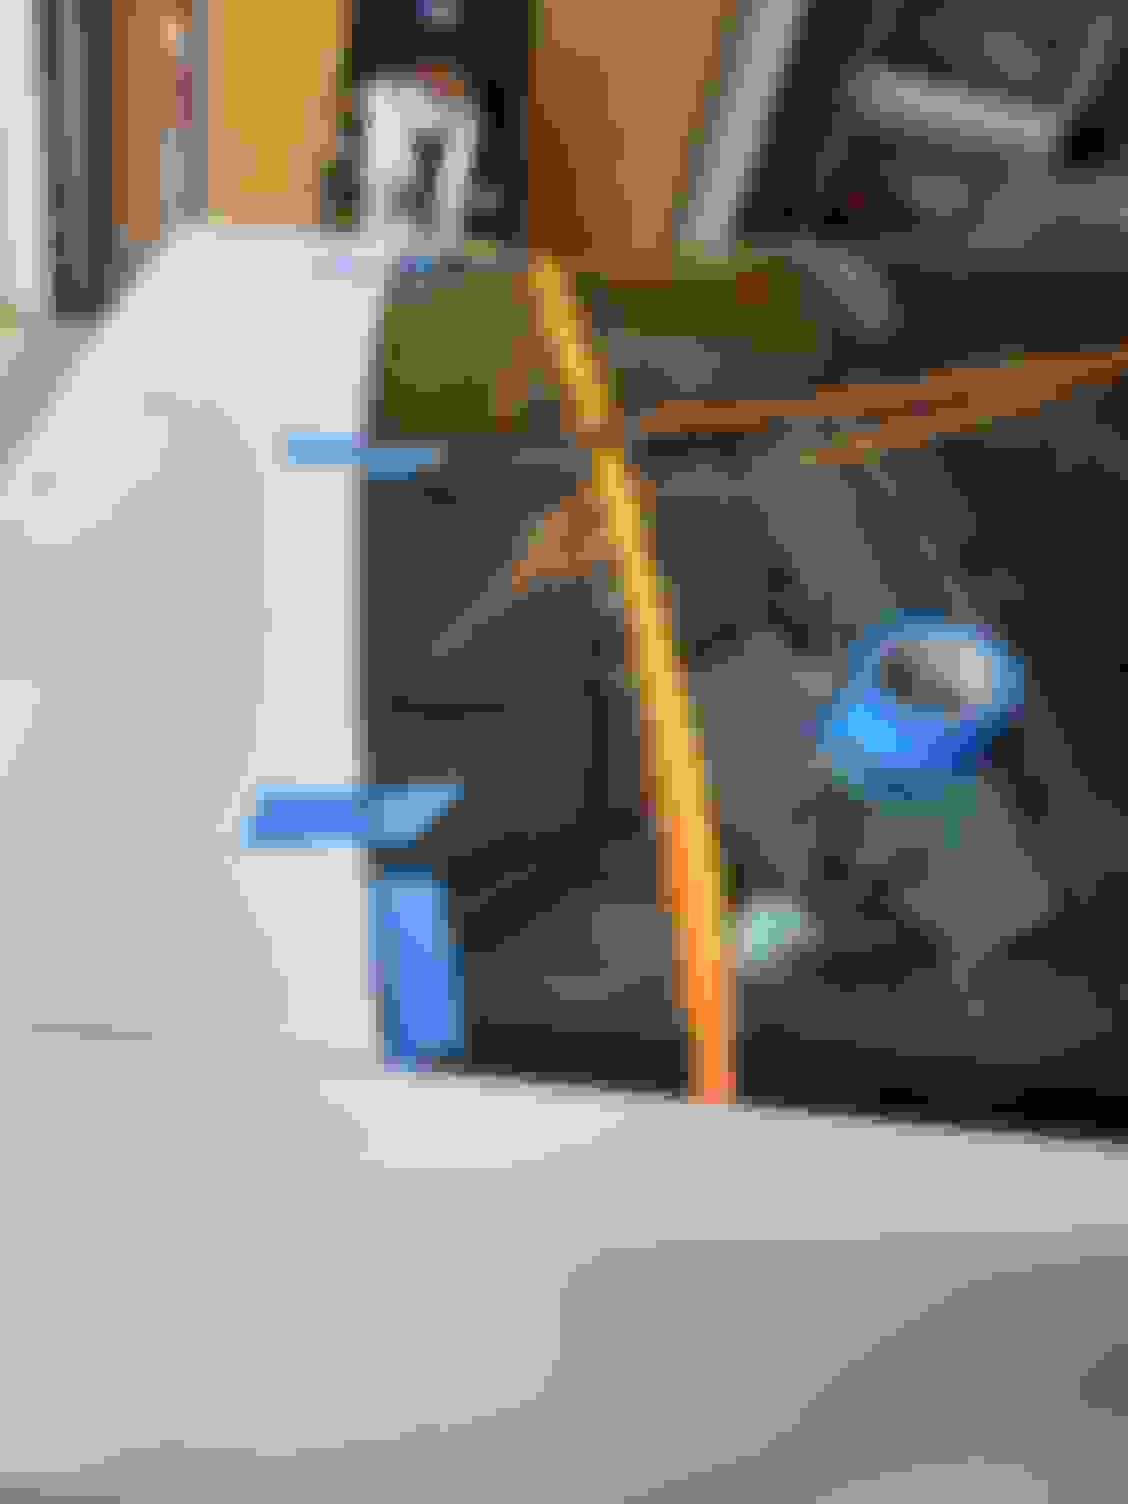
Figured out a easier and safer way to lift the glass. Everything is now painted and cleaned. Assembly starts tomorrow. I'll take more detailed pictures of the assembly than the cleaning/paint. Yes I took the metal frame off the glass to paint.
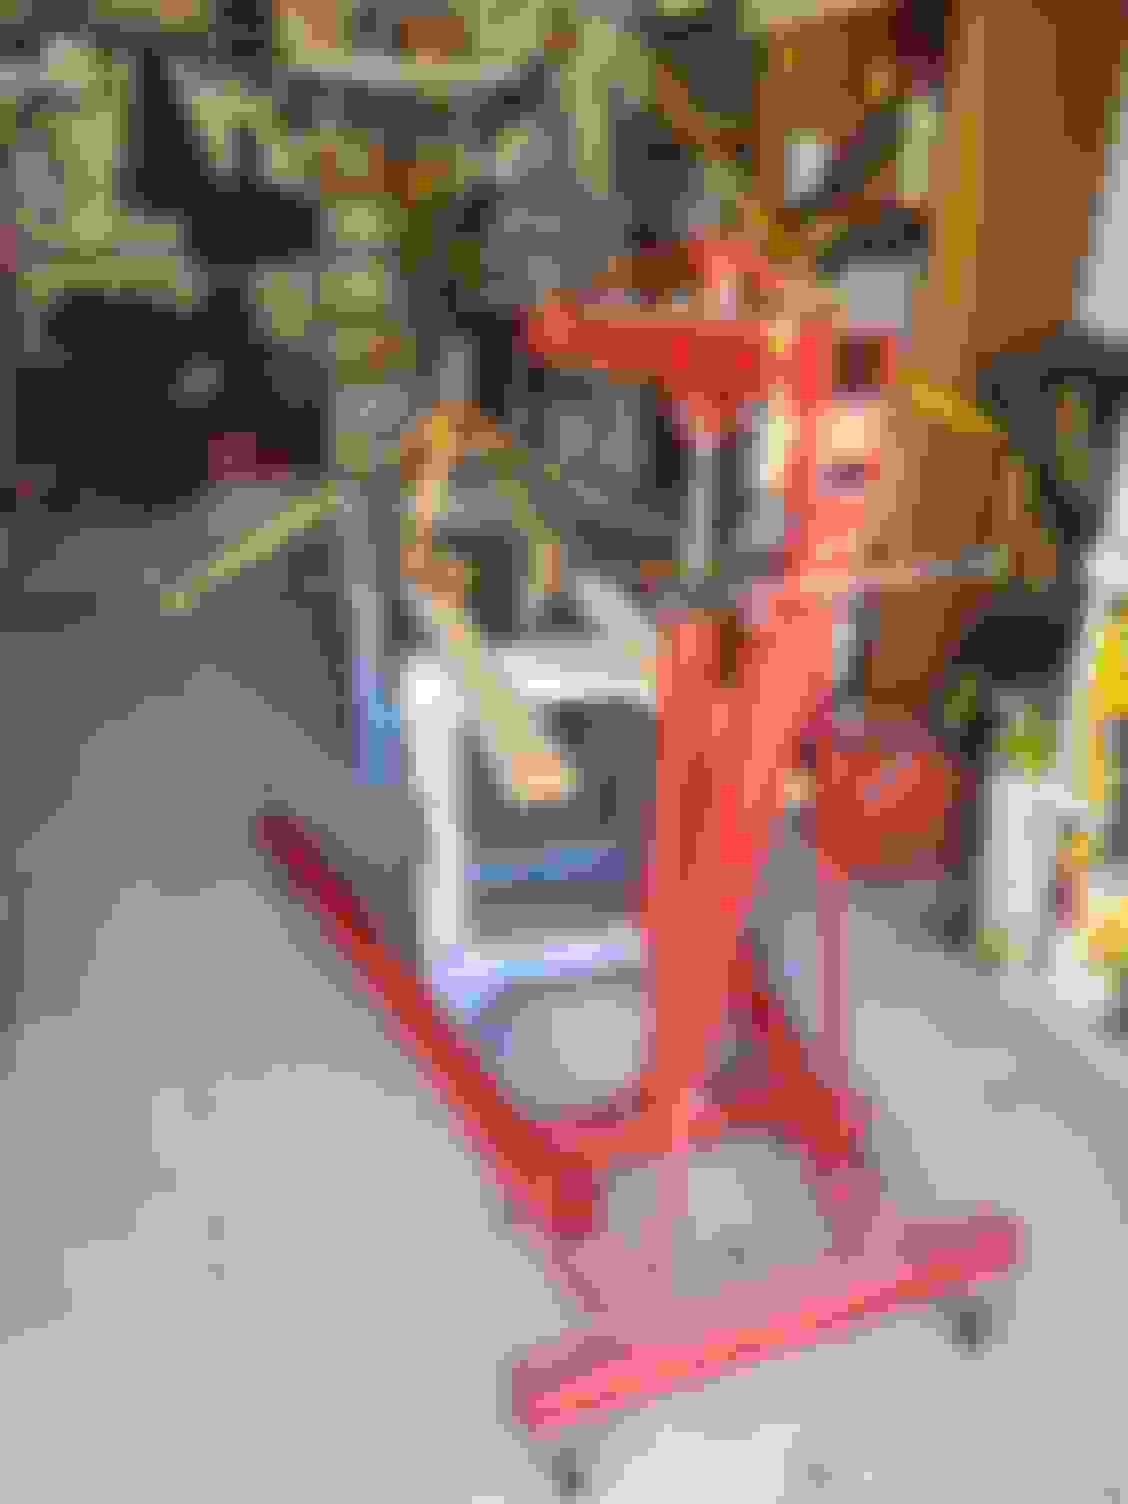
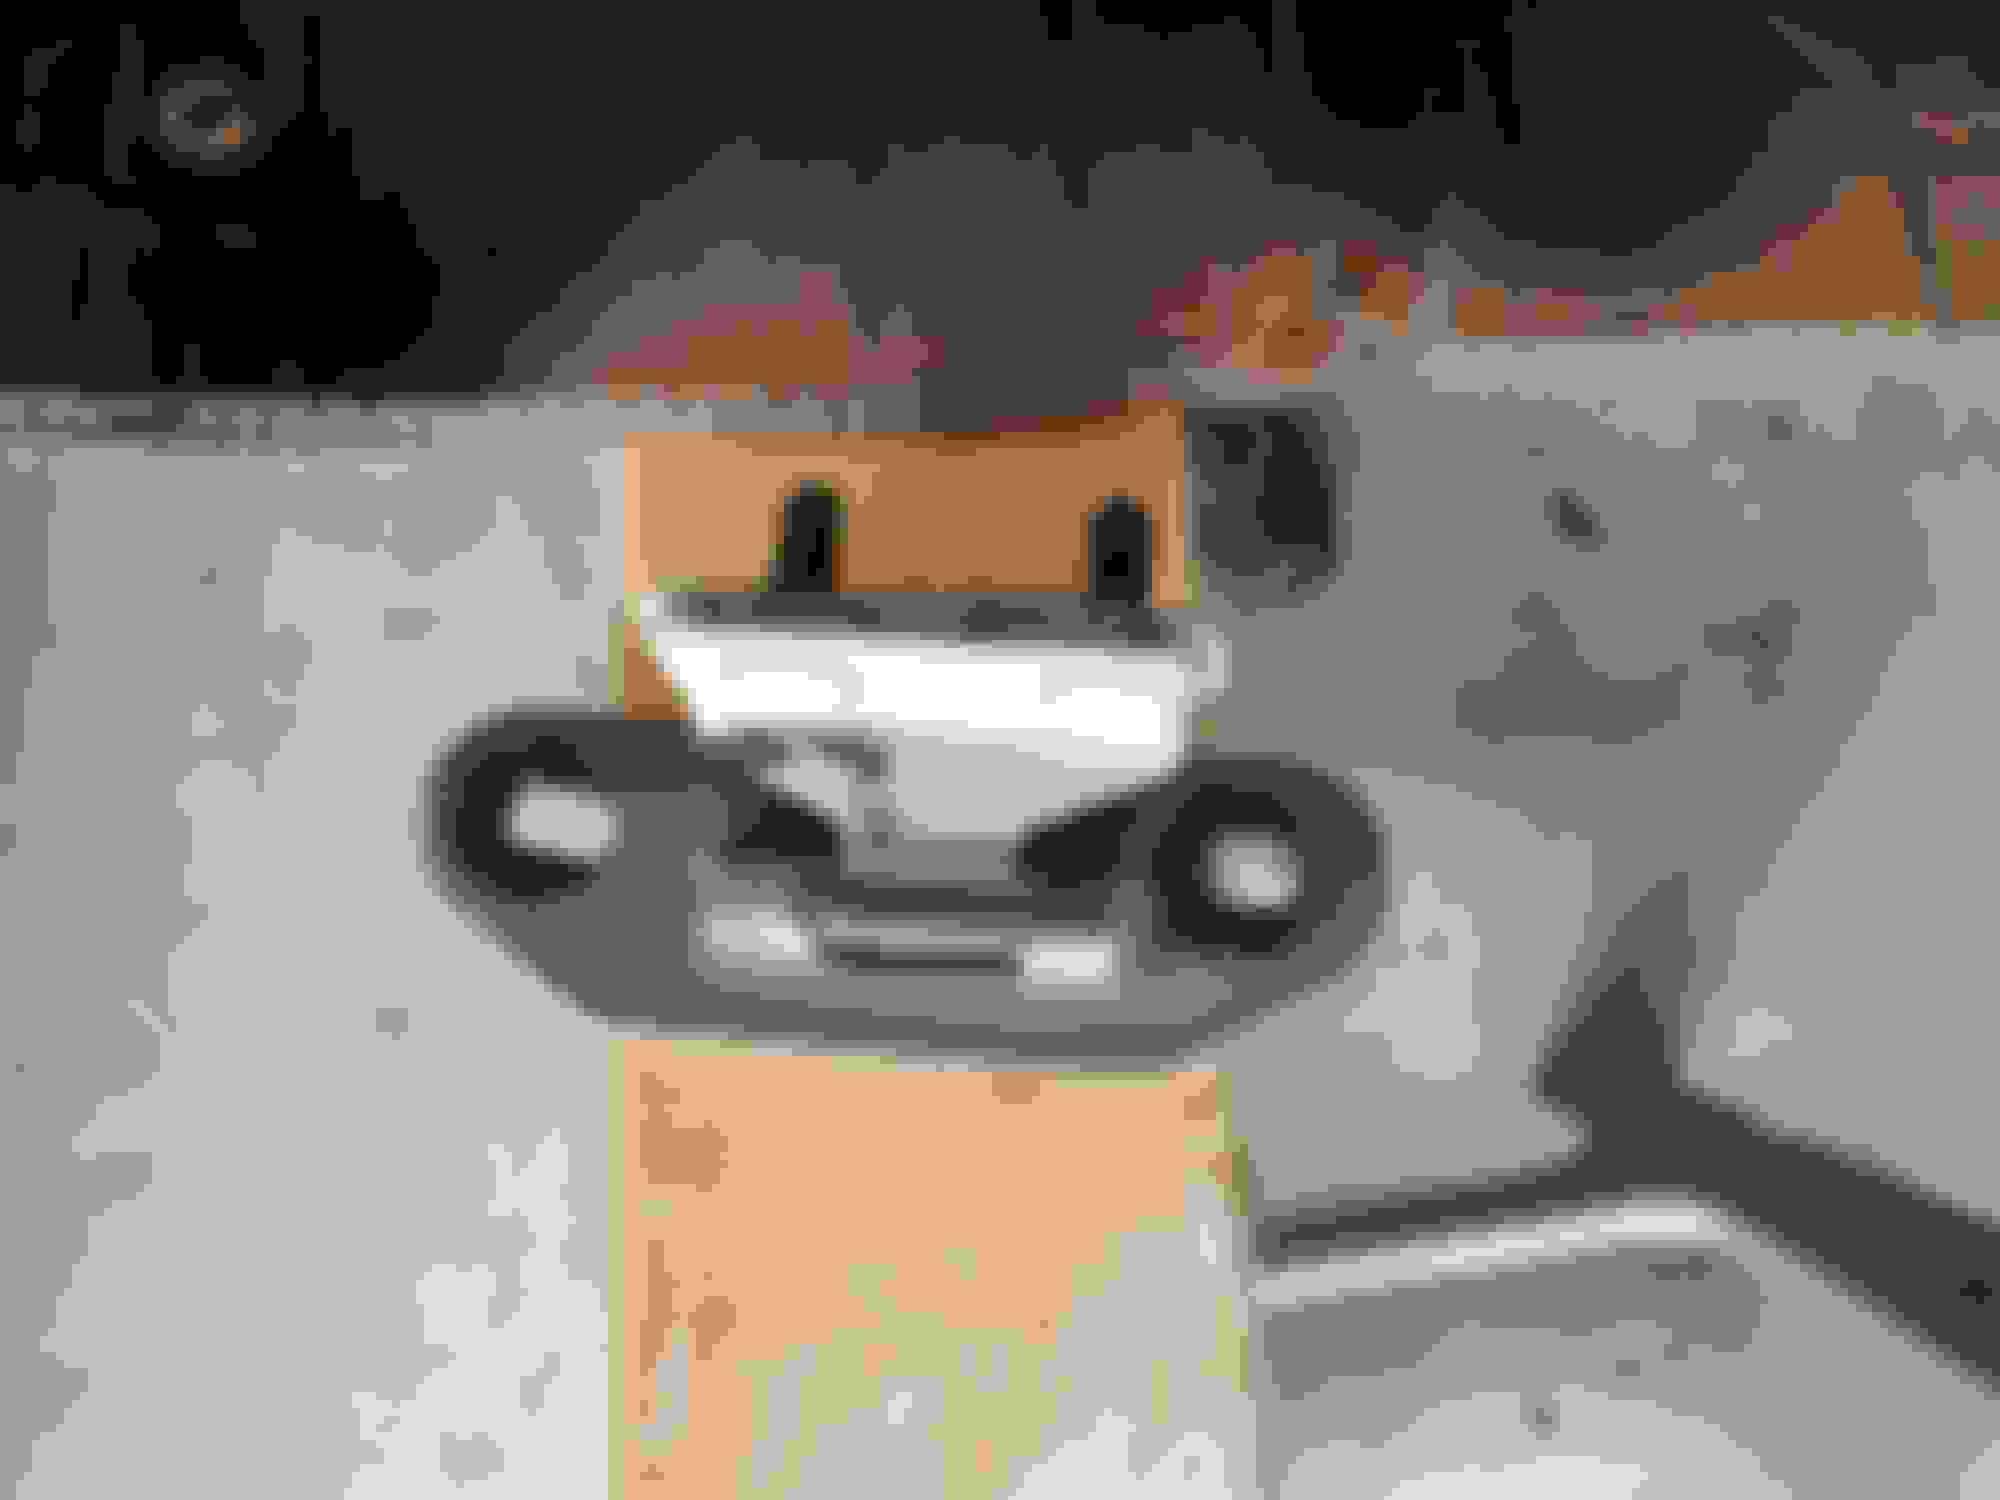
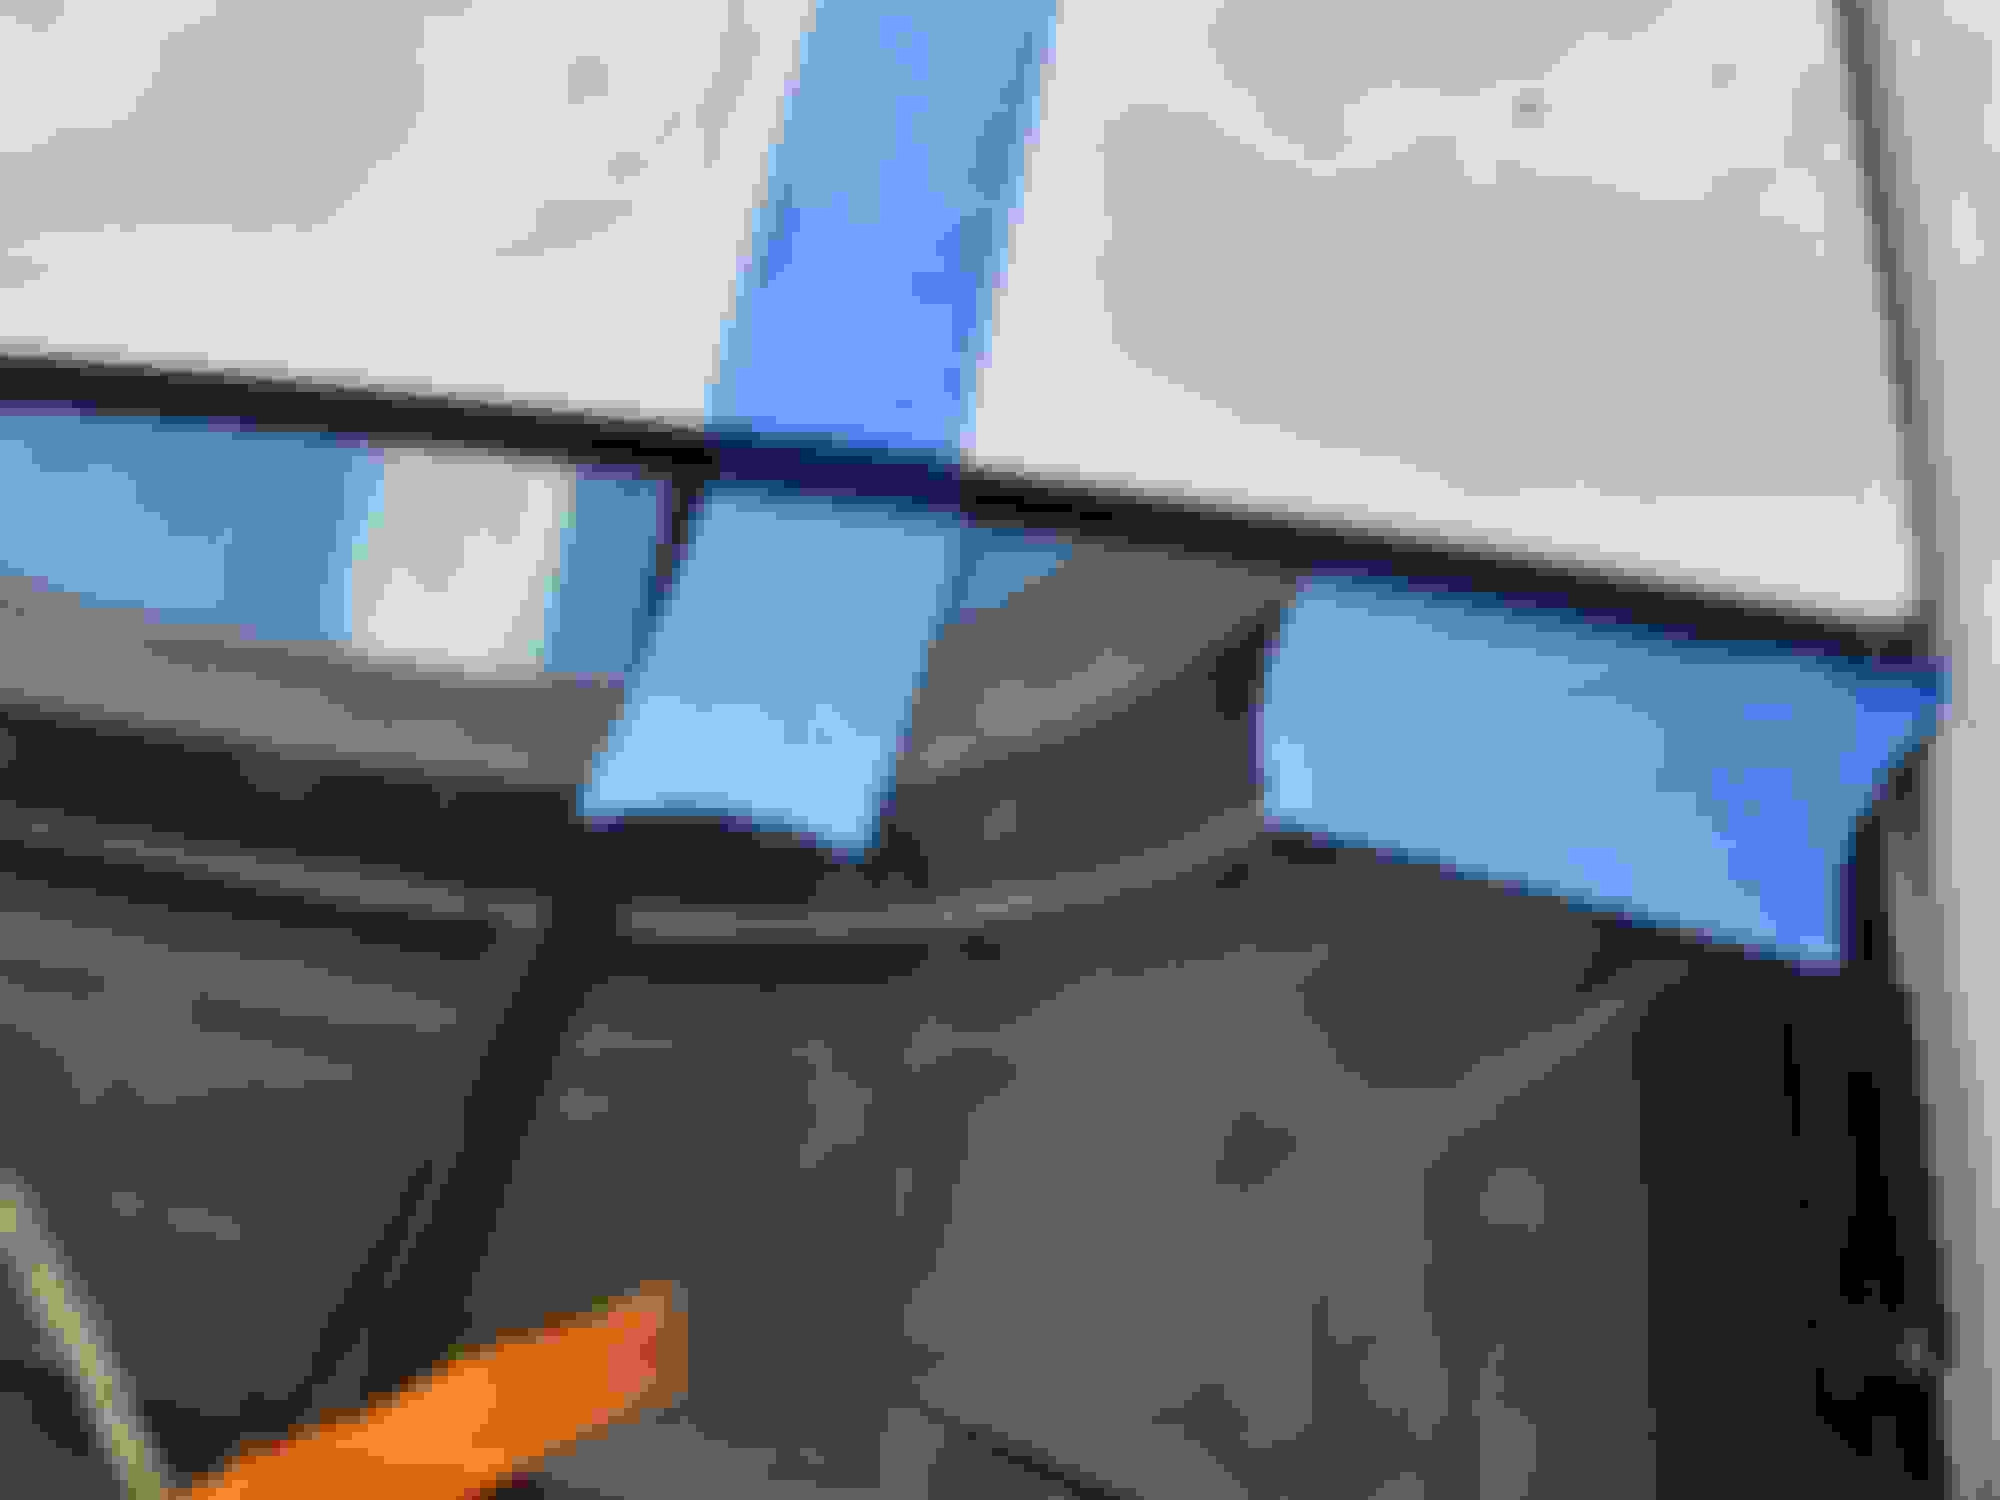
I got busy and forgot to post the final. butyl rope location decided to put some butyl at each bolt the final butyl layout tape it up to protect the paint old hinge New Hinge install, painted metal surround re installed tapped up for install Butyl tape under hinge sitting in place use tie down strips (and tape to protect the paint on the metal surround, a line and tape markers so you can lift and bolt. Alignment tape Single person operation, I had an engine hoist hooked to it to open and close it
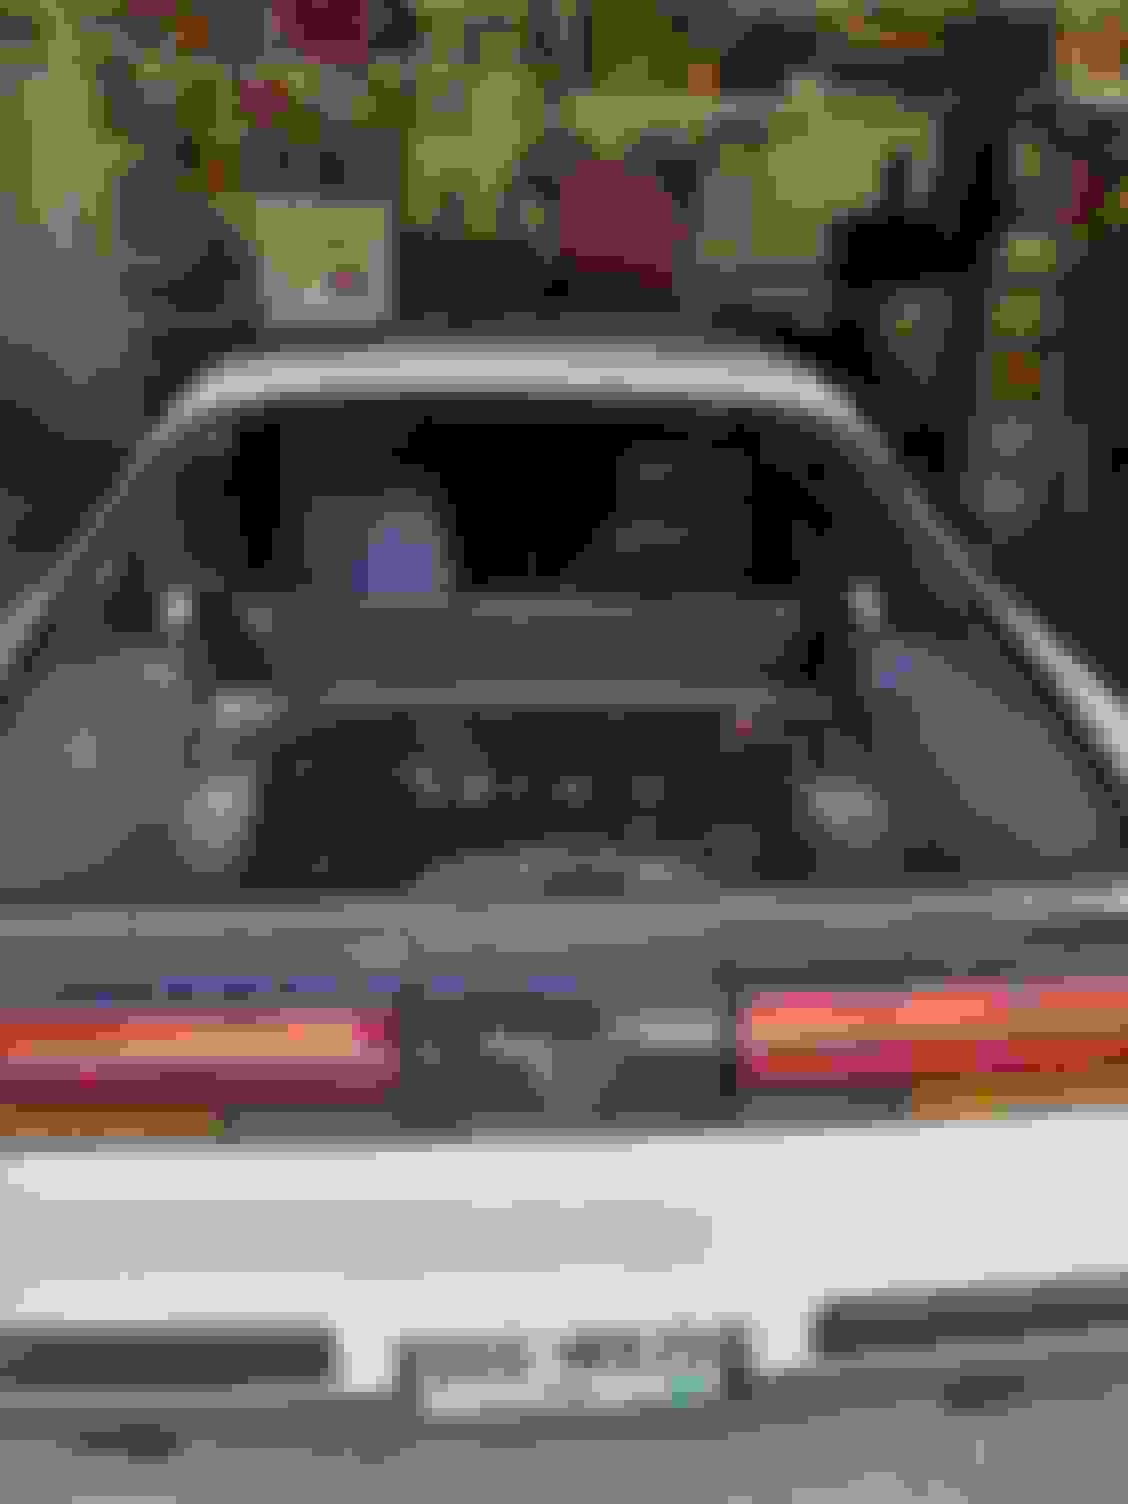
The shape of the spoiler is hard to paint right, I may re spray it again later Final product, the spoiler is just sitting there in the picture, I need to grab a picture of the final final with the new center tail light housing and NOS center tail light and after buffing the entire car
I used the HAWKS hinges but I kept my original tucked away just in case. I truly don't think there is any flex in my original ones one was somewhat stiff. I just repainted the bolts through the glass.
One thing to note one of the studs free spun when I tried to take it off so had to slot it and then one turned loose when I was putting it together so I tacked it in place. Moral of the story is clean the threads after painting it and use some pb or something before removing the bolts.
Otherwise painless just time consuming-- especially when you realize you were not quite in the mood for a project--
The paint came out looking great! How did you prep the fiberglass spoiler for paint? When you resprayed the decklid, did you use a 2K primer as a sealer and then the basecoat/clearcoat over that? Thanks.
The paint came out looking great! How did you prep the fiberglass spoiler for paint? When you resprayed the decklid, did you use a 2K primer as a sealer and then the basecoat/clearcoat over that? Thanks.
PPG shopline (rest of the car is 20 year old macco so have to balance it)
I sanded and blocked the spoiler 5-6 times before paint mainly because I kept getting runs in the primer/sealer also PPG.
Only way you will break the glass is dropping it or having something between the glass when you torque it down. I'm pretty sure you will snap the stud off before braking it. I used the specs I linked to earlier.
Only way you will break the glass is dropping it or having something between the glass when you torque it down. I'm pretty sure you will snap the stud off before braking it. I used the specs I linked to earlier.