When you click on links to various merchants on this site and make a purchase, this can result in this site earning a commission. Affiliate programs and affiliations include, but are not limited to, the eBay Partner Network.
Made some progress today in the form of supplies. Went to Eastwood's retail location in Chicago (Alsip) and spent a bunch of money ($600).
This place is dangerous......they have a TON of stuff that you generally only see in a catalog or on a website. And by dangerous I mean you'll spend more than you planned. It was great to see everything in one location. Even though they're 45 mins from my house, I'll still be going back.
I picked up:
-Filler
-Glazing puddy
-Flexible filler (for bumpers ground effects)
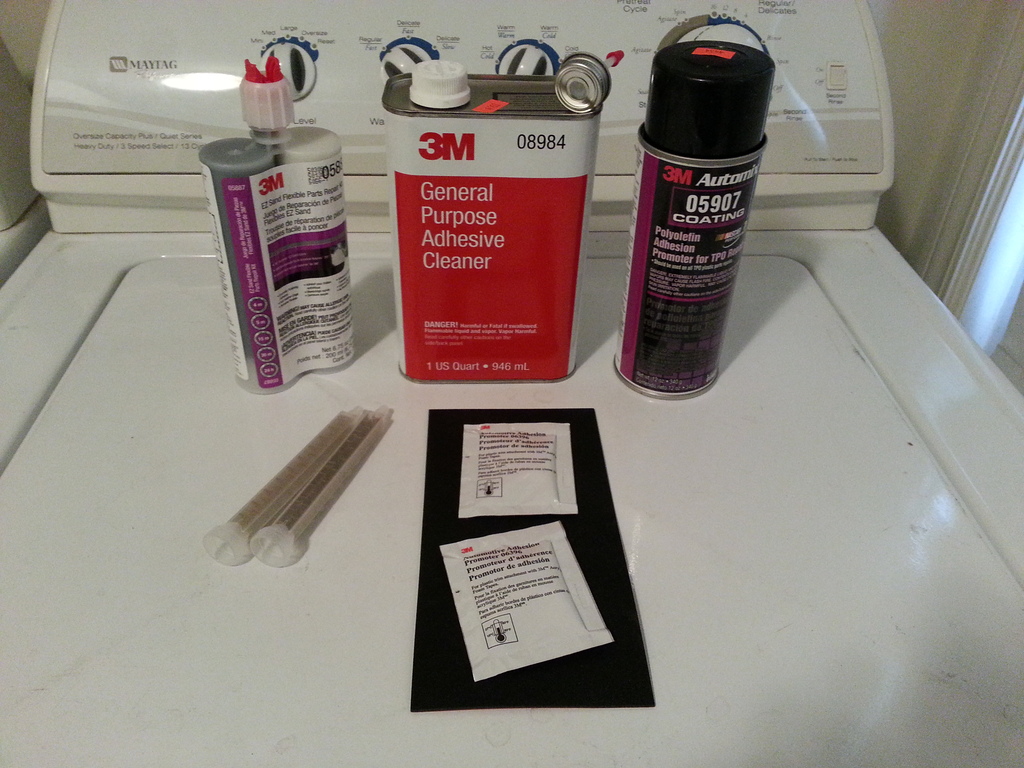
-Flex additive/adhesion promoter (for bumpers and ground effects)
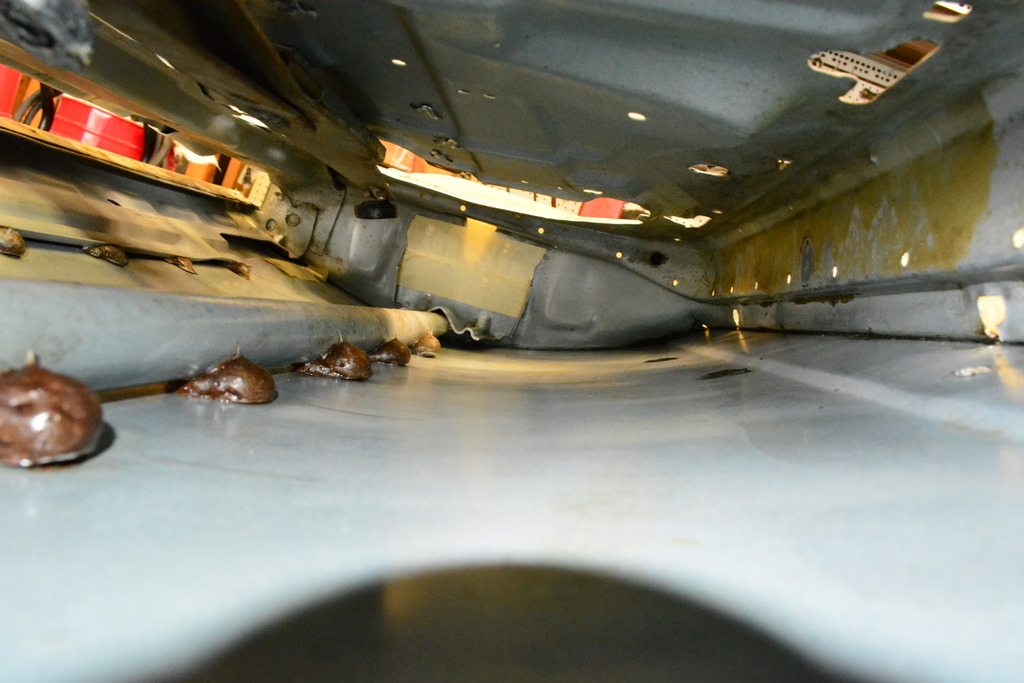
- Lizardskin (just 1 gallon for the inside of the doors)
- Polyester high-build primer
- Sandpaper 40, 80,180,220,320
- Sanding blocks
- Flexible sanding blocks
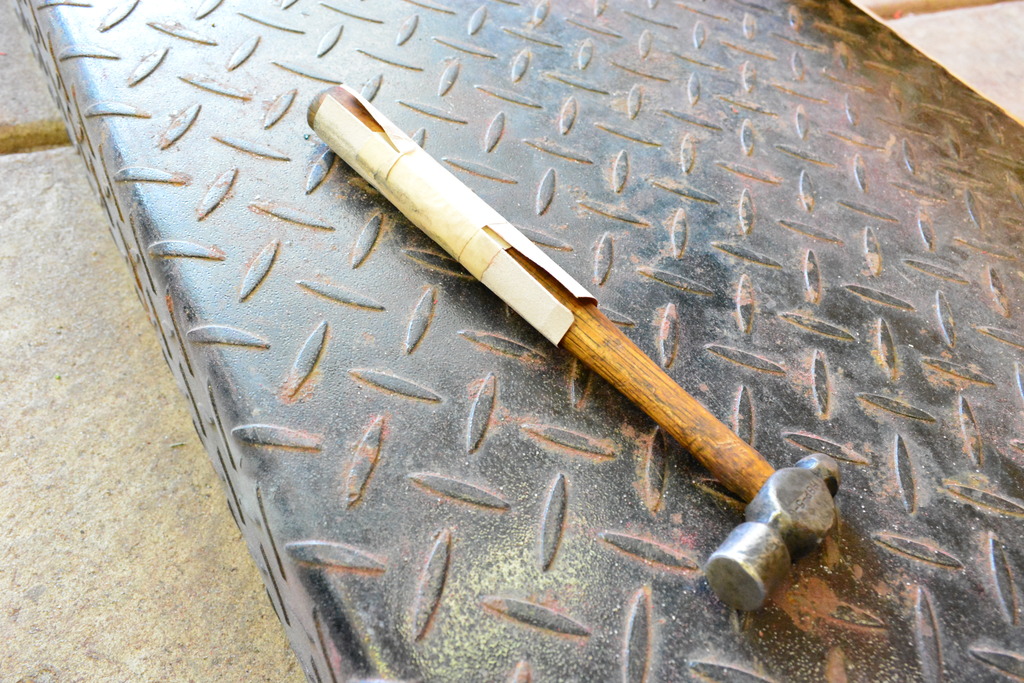
- Hammer and dolly set
- Gallon/quart pour lids
- Spreaders
- Paint gun kit
Sweet! Cant wait till I get my hoist in my garage! I didnt see your front/rear bumper skins in your garage. Be very careful where you put them. I made the mistake of leaving them in a hot garage and they got all deformed and messed up. been spending way too much time straightening them out. keep them posts coming! let us know how that eastwood paint sprays and lays will ya? been looking at that stuff and wondering.
Sweet! Cant wait till I get my hoist in my garage! I didnt see your front/rear bumper skins in your garage. Be very careful where you put them. I made the mistake of leaving them in a hot garage and they got all deformed and messed up. been spending way too much time straightening them out. keep them posts coming! let us know how that eastwood paint sprays and lays will ya? been looking at that stuff and wondering.
-Dan
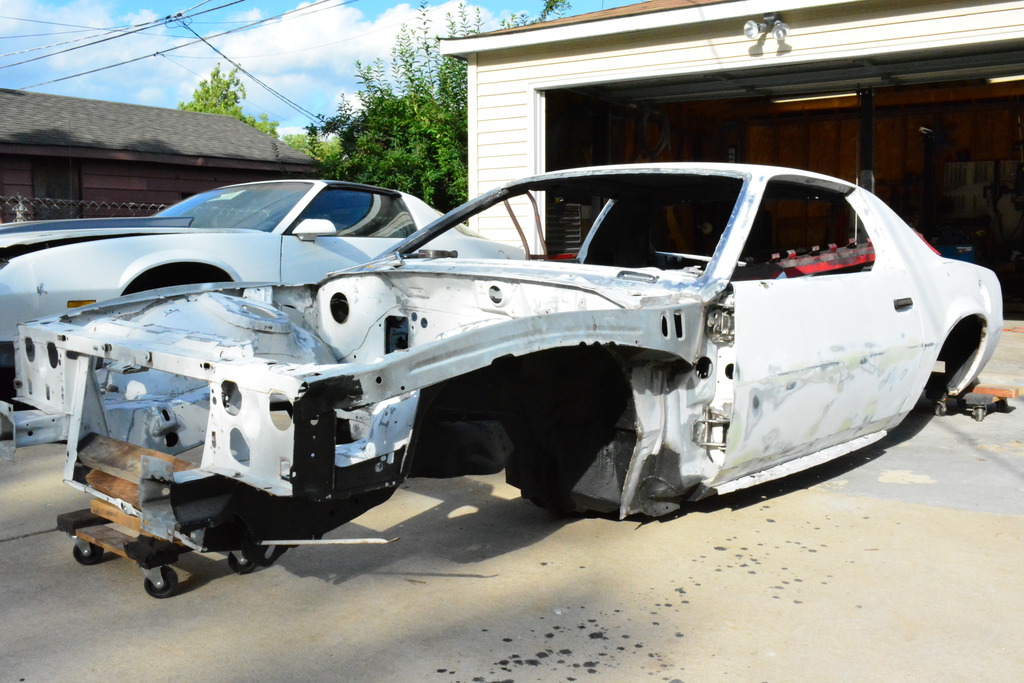
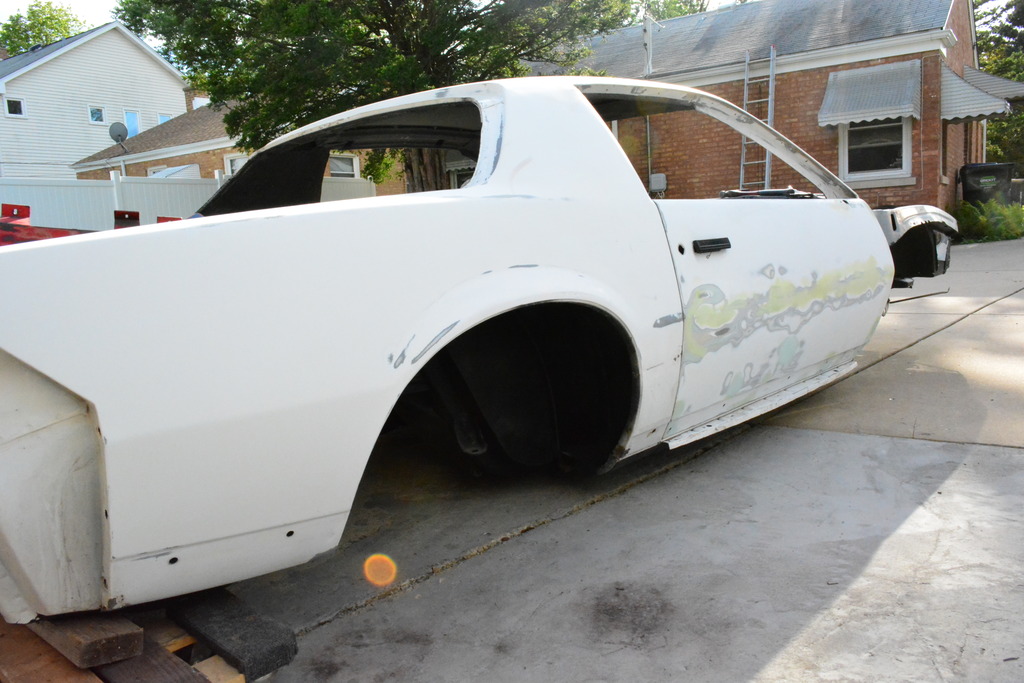
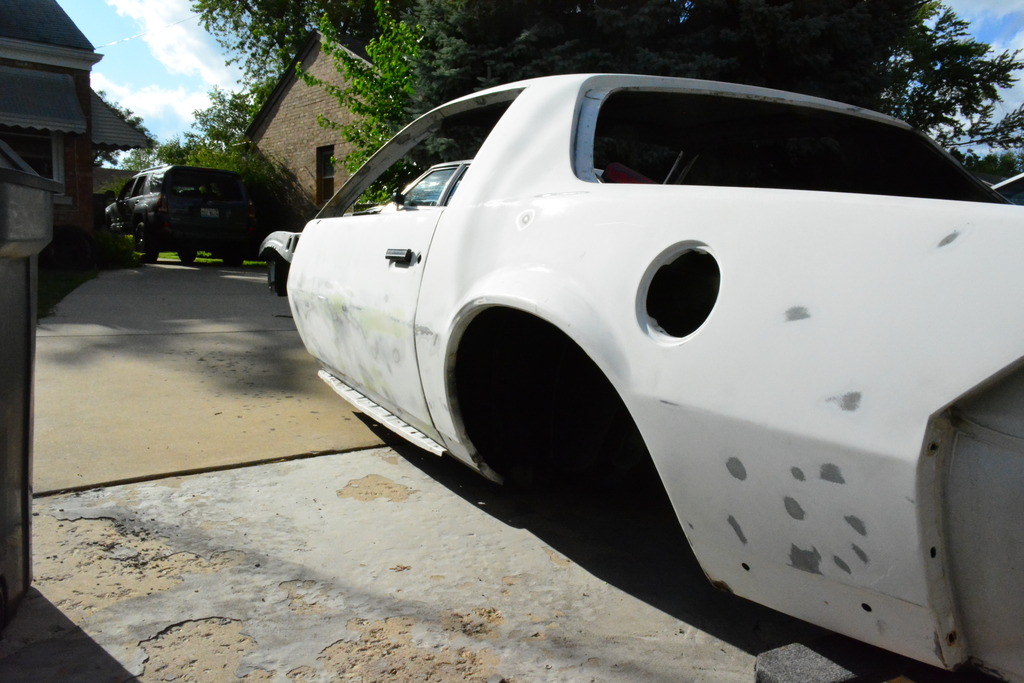
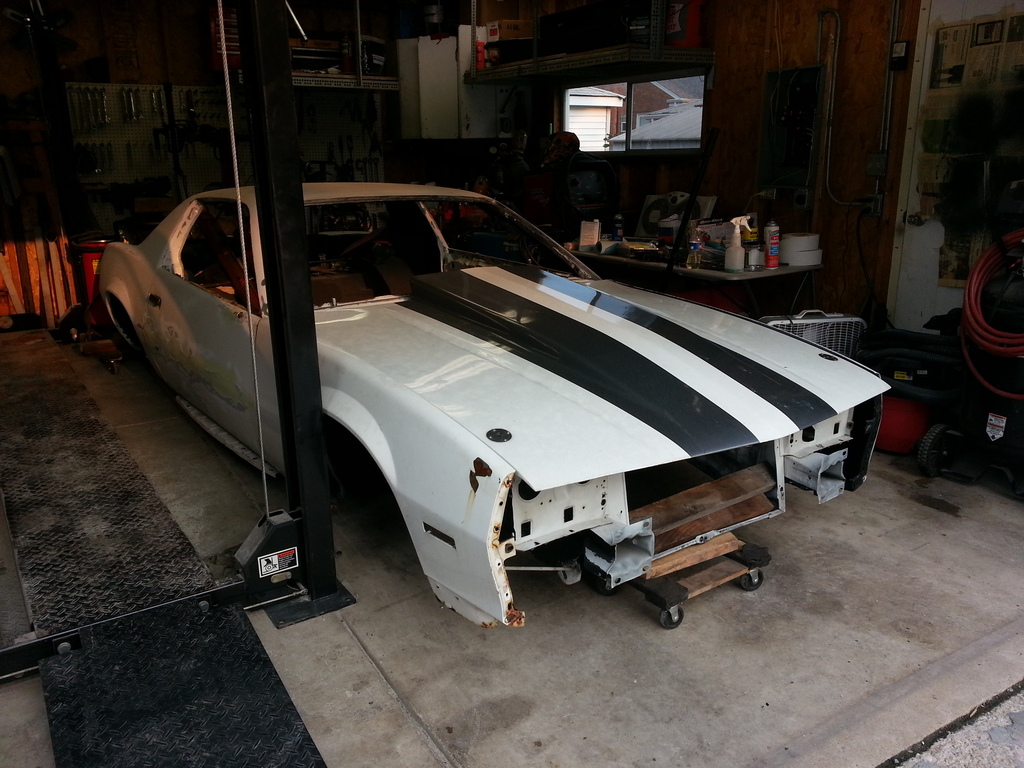
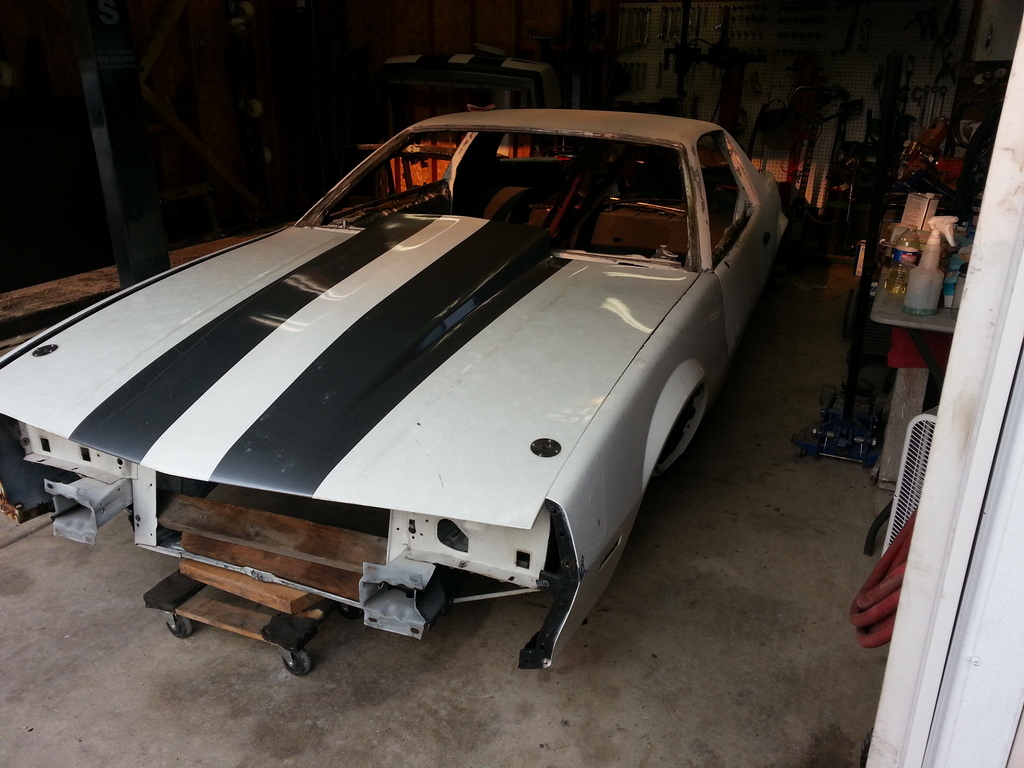
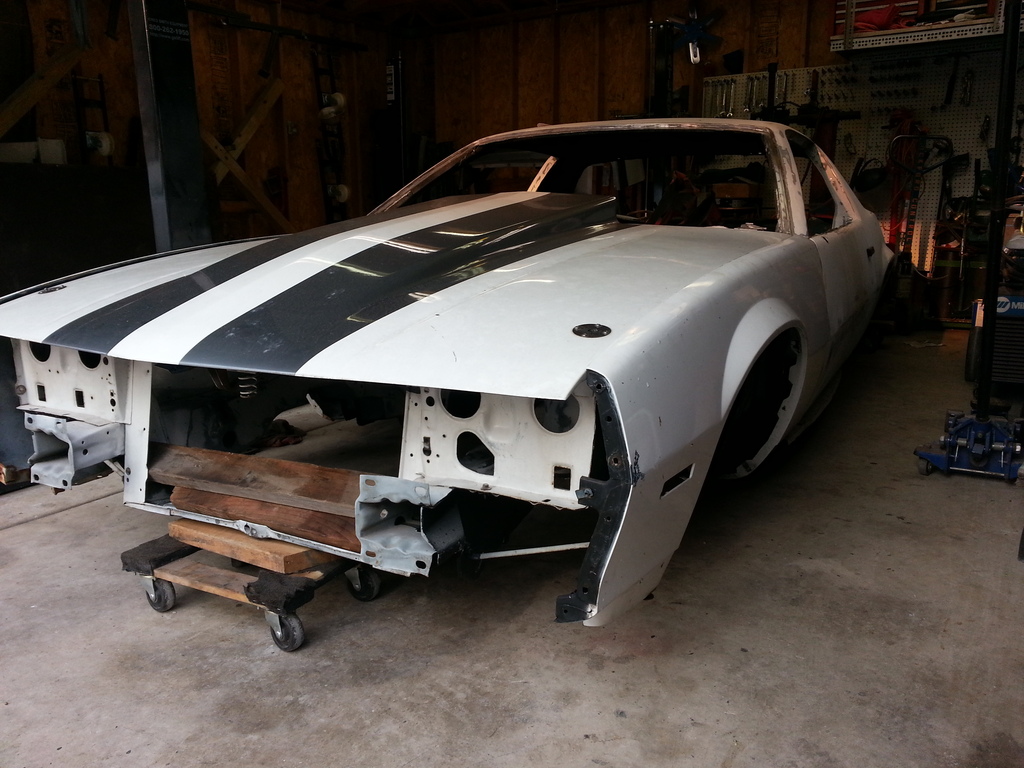
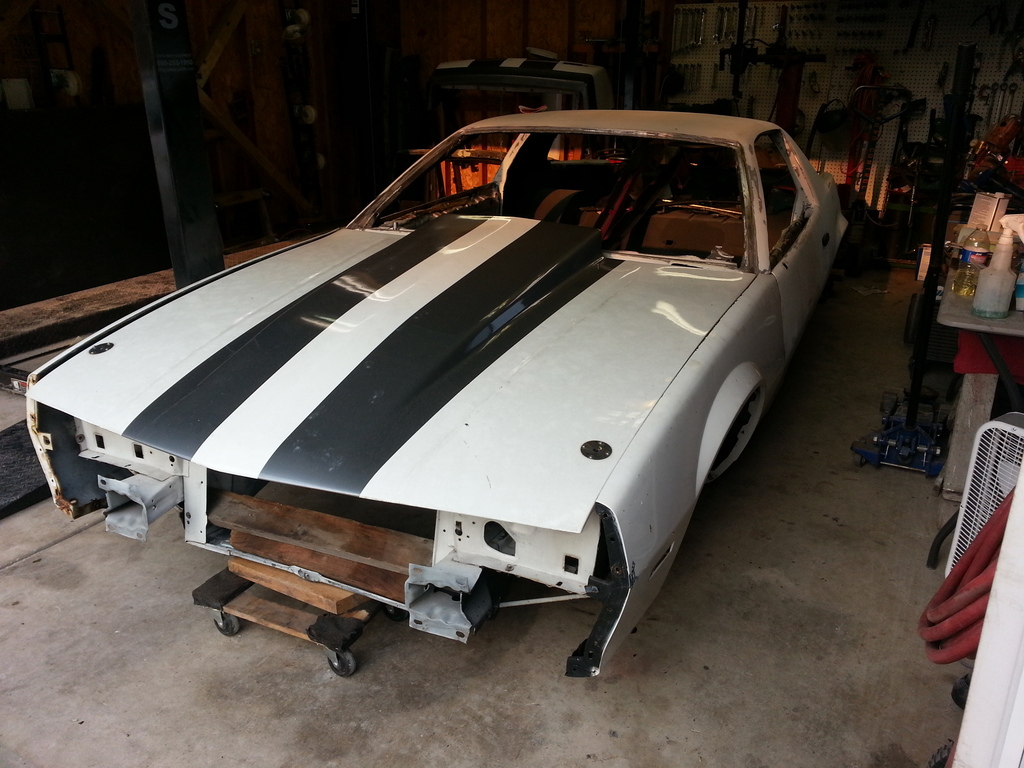
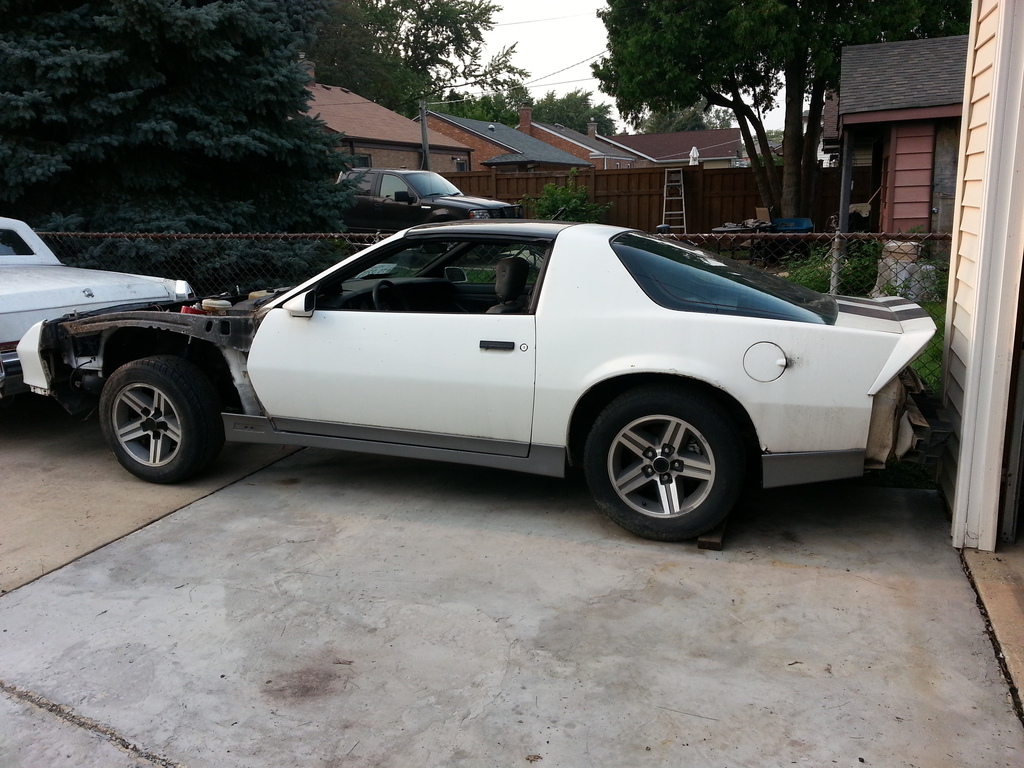
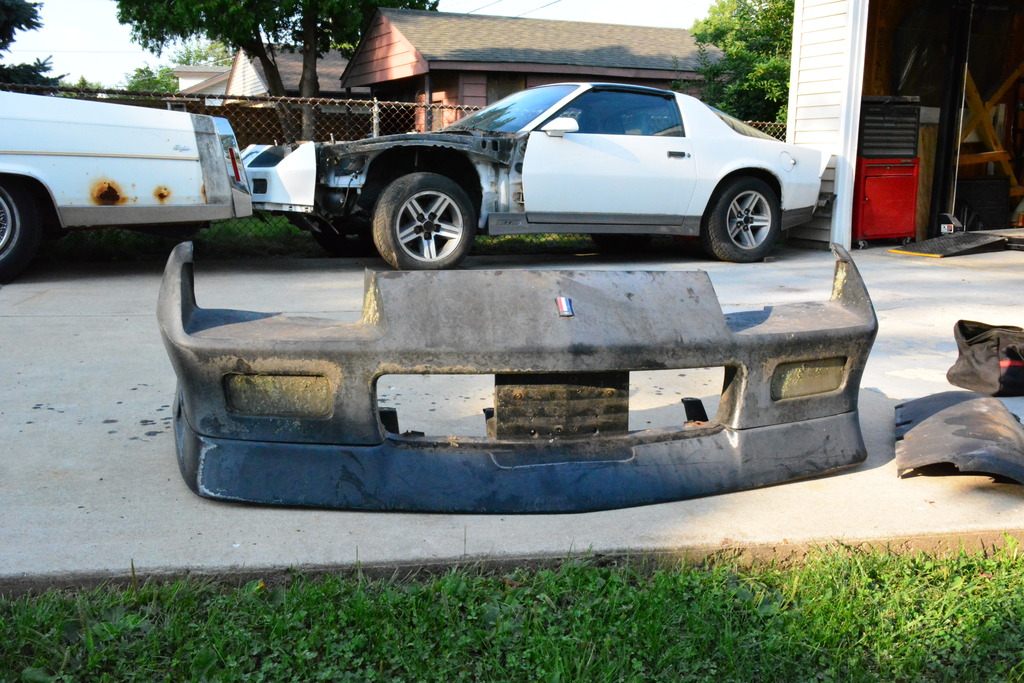
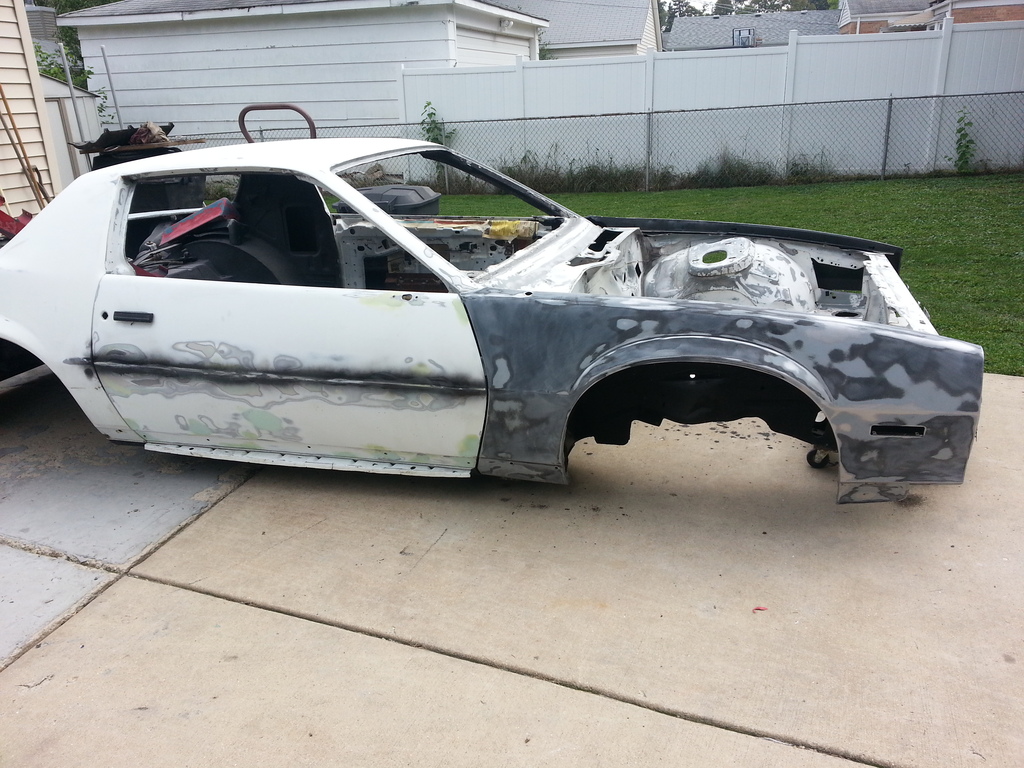
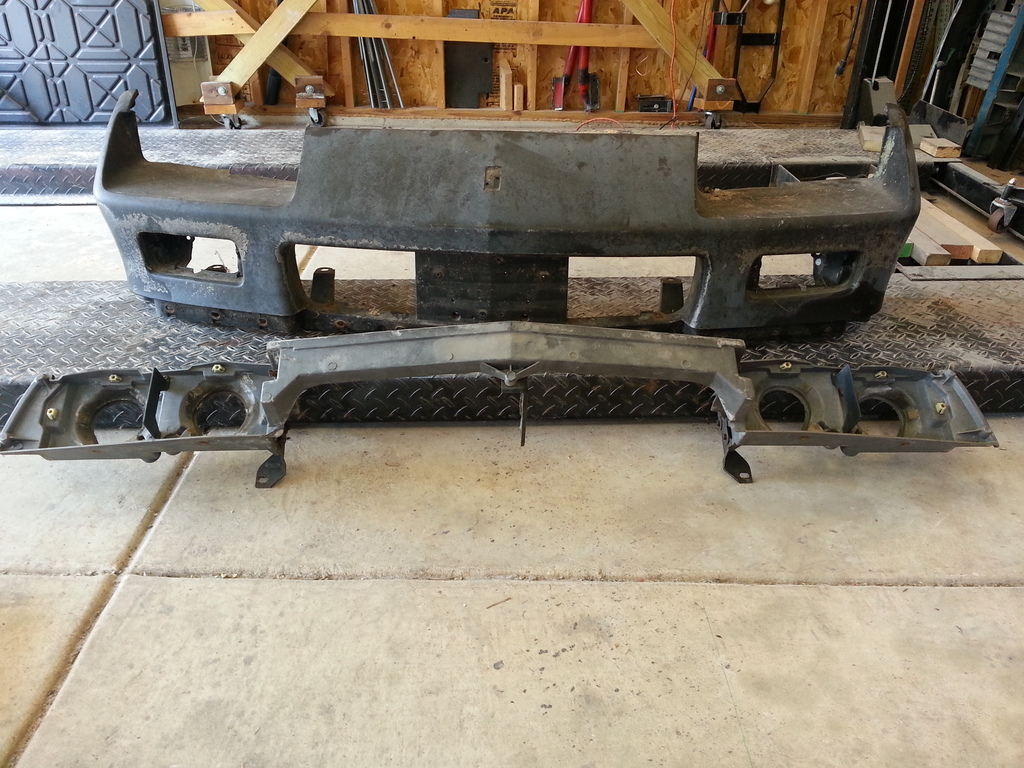
I have some pics to upload that show what I have so far. As of right now both bumpers are currently still attached to the car in the very first picture of this thread. The bumpers, fenders, and fiberglass hood will be coming off of that car.
I researched the primer quite a bit before I purchased it so I'm fairly confidant it'll spray well.
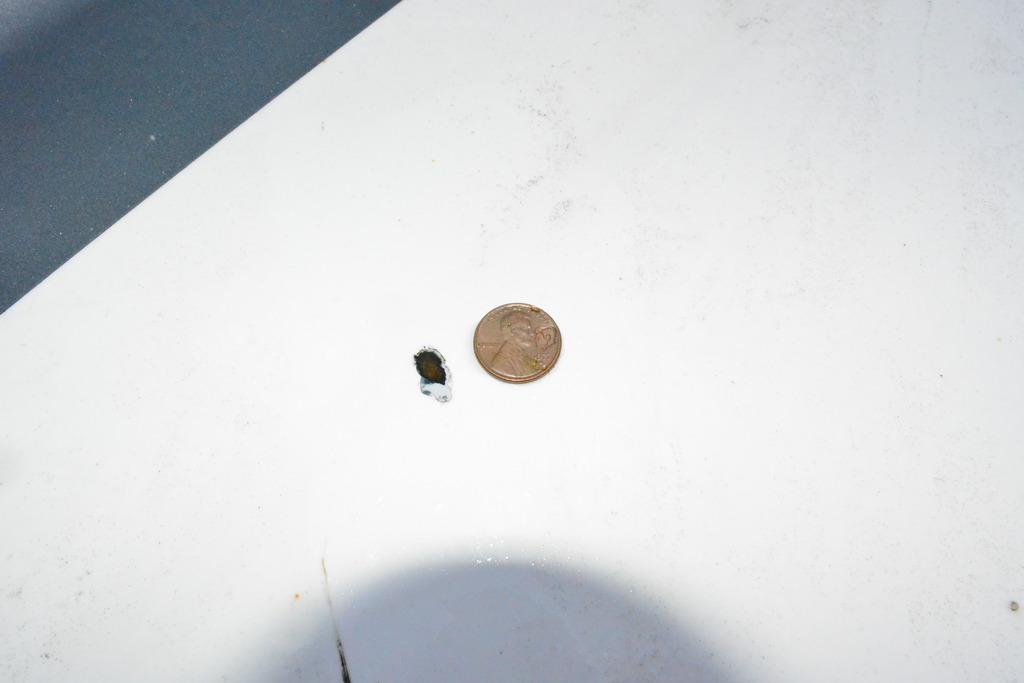
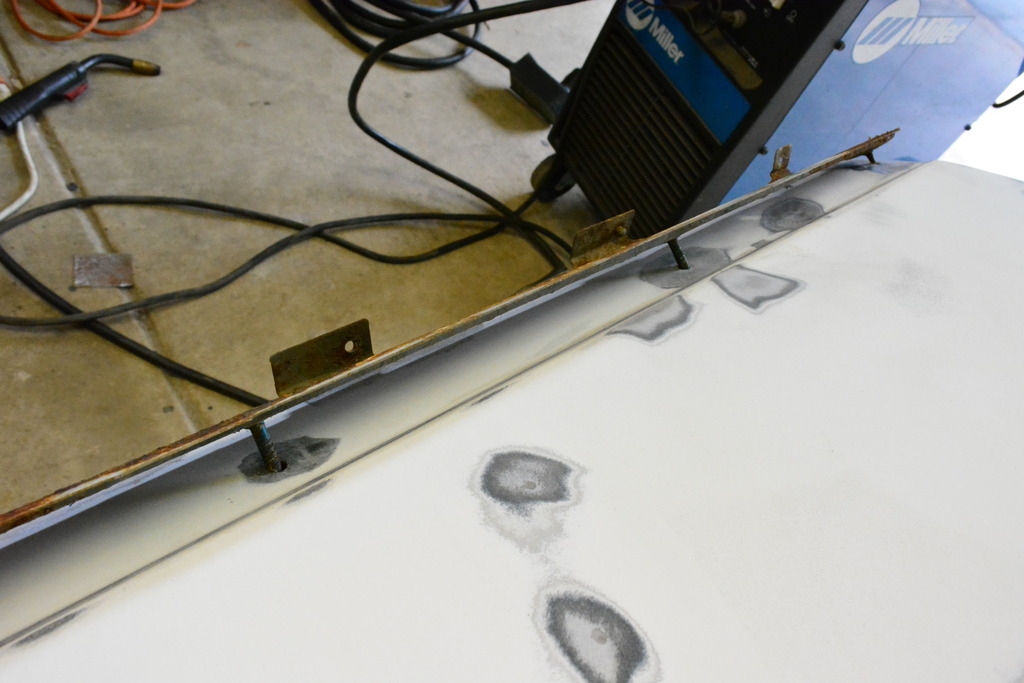
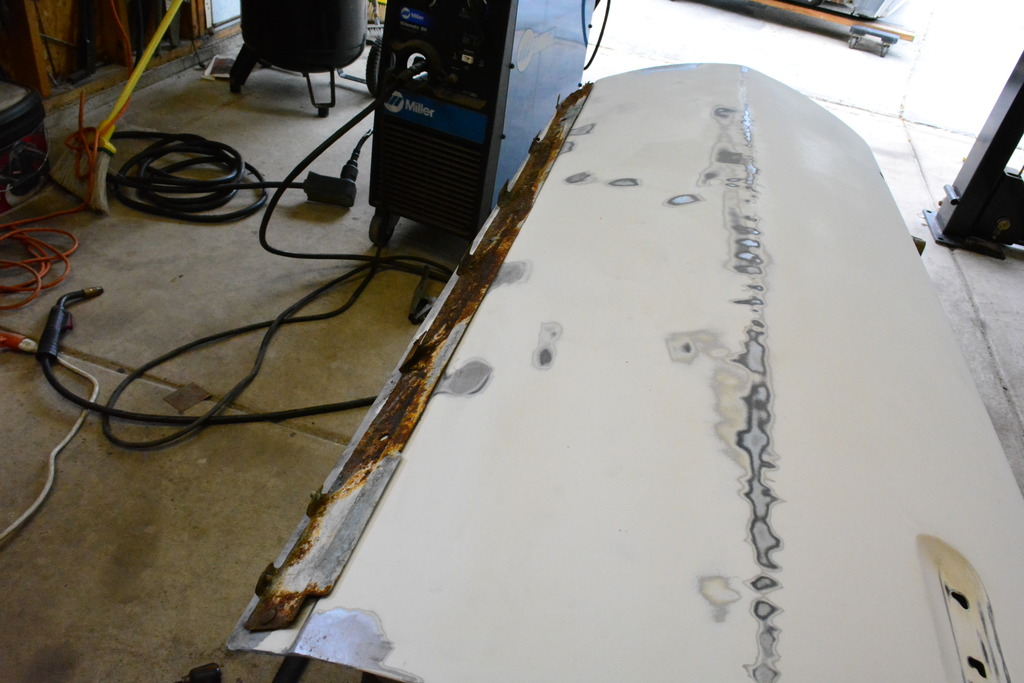
My fiberglass hood needs a small repair but I need some advice on how to perform the repair. Regular filler, or is there a different kind I need? The chip isn't very deep I just need to know what product to use.
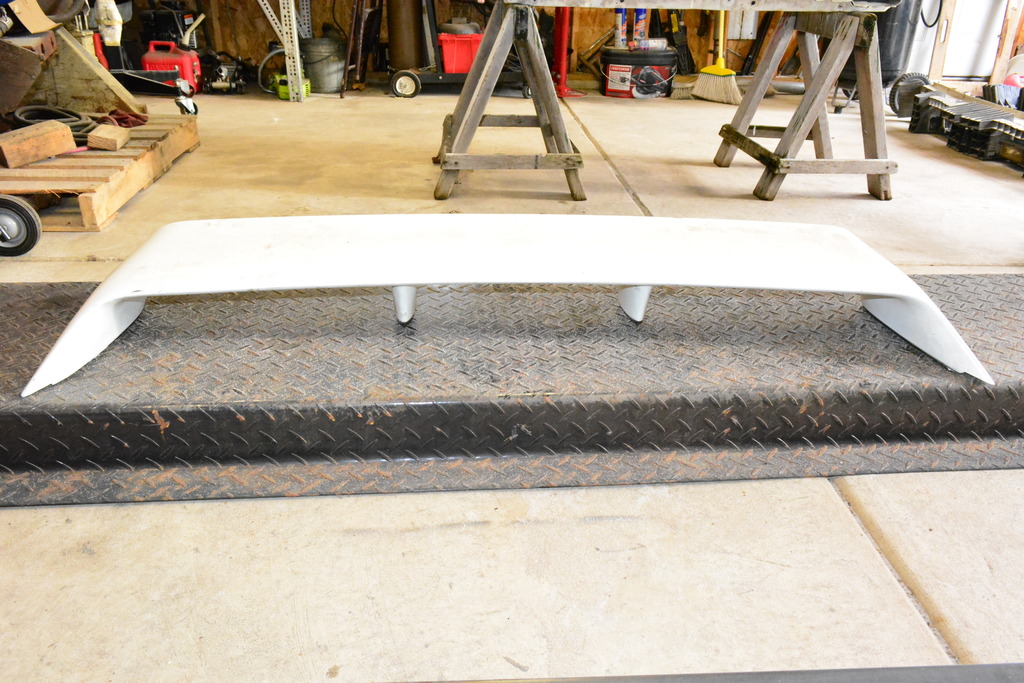
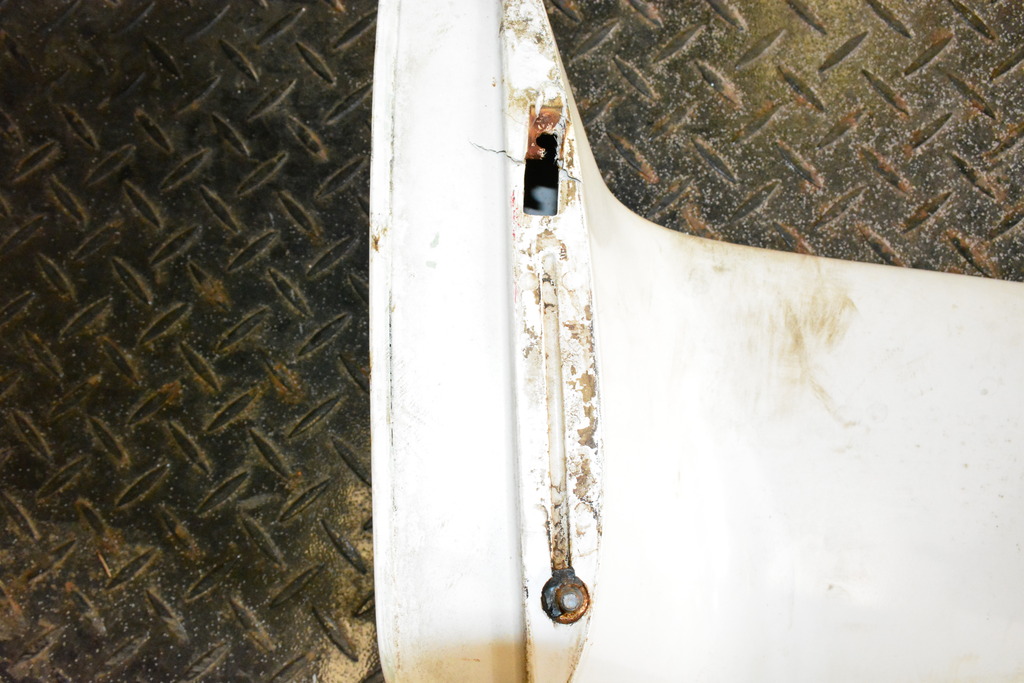
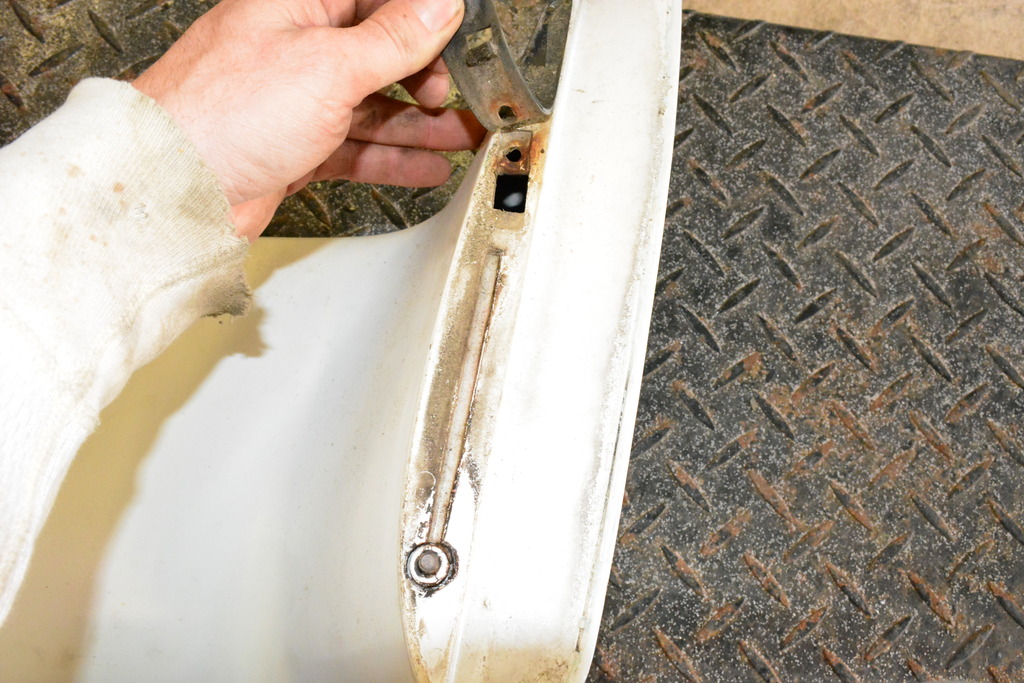
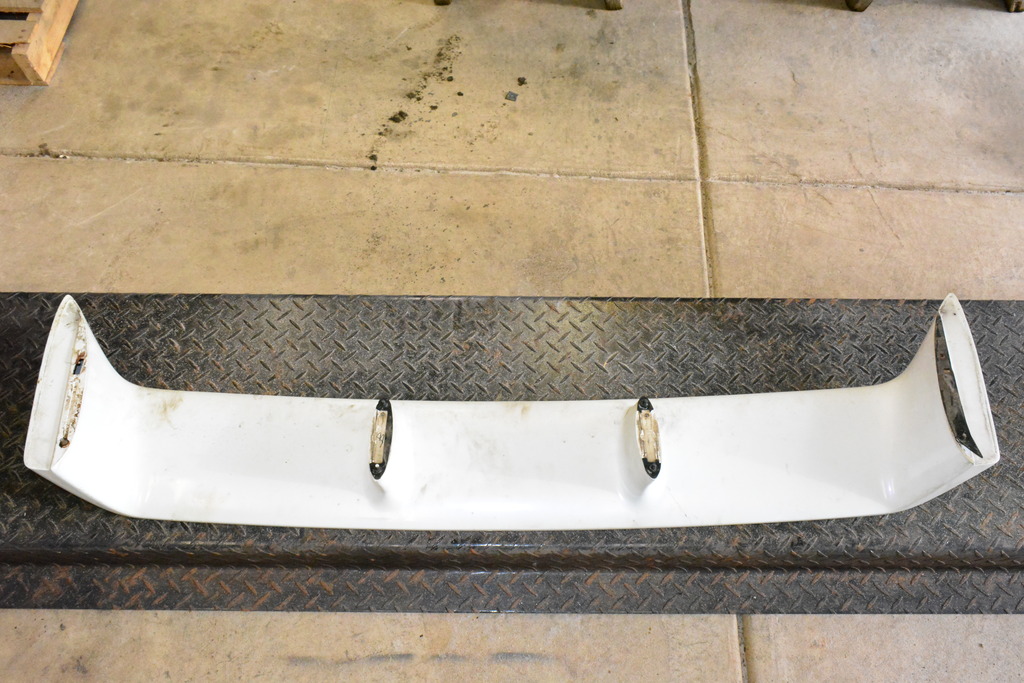
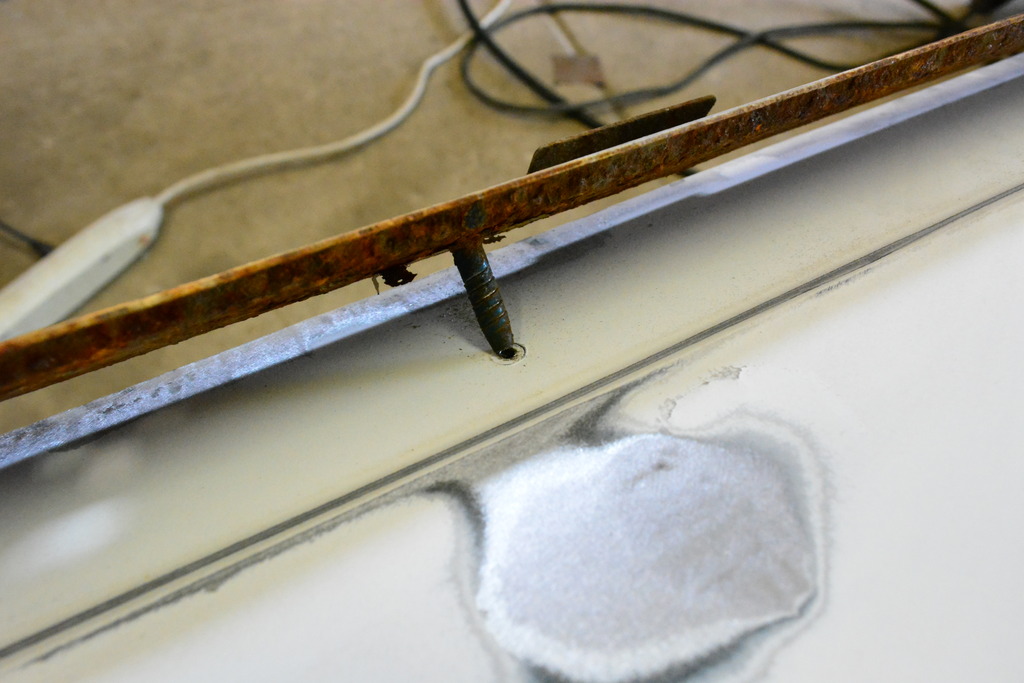
Second question - How are the high-rise spoiler studs attached to the fiberglass spoiler? There are 8 total, but 2 of the outer studs on mine are missing and one looks slightly damaged.
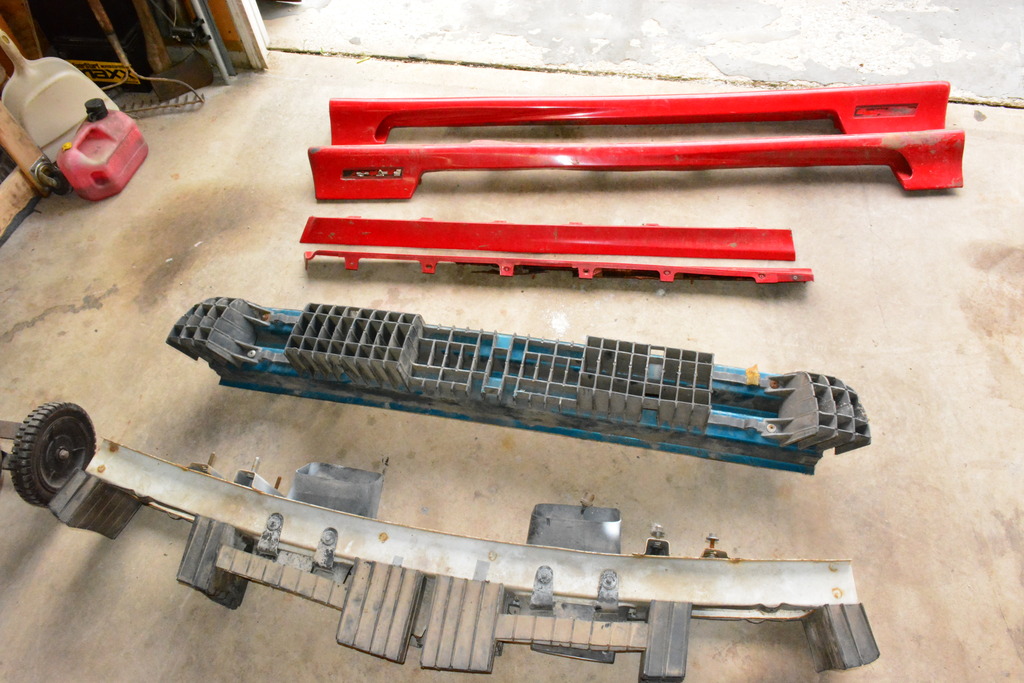
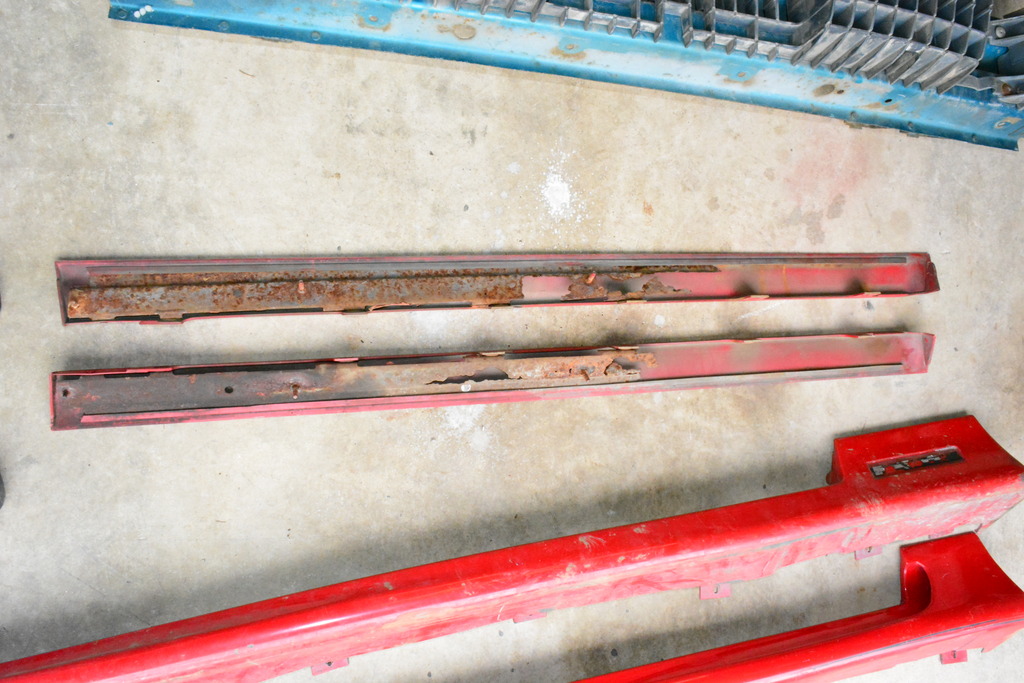
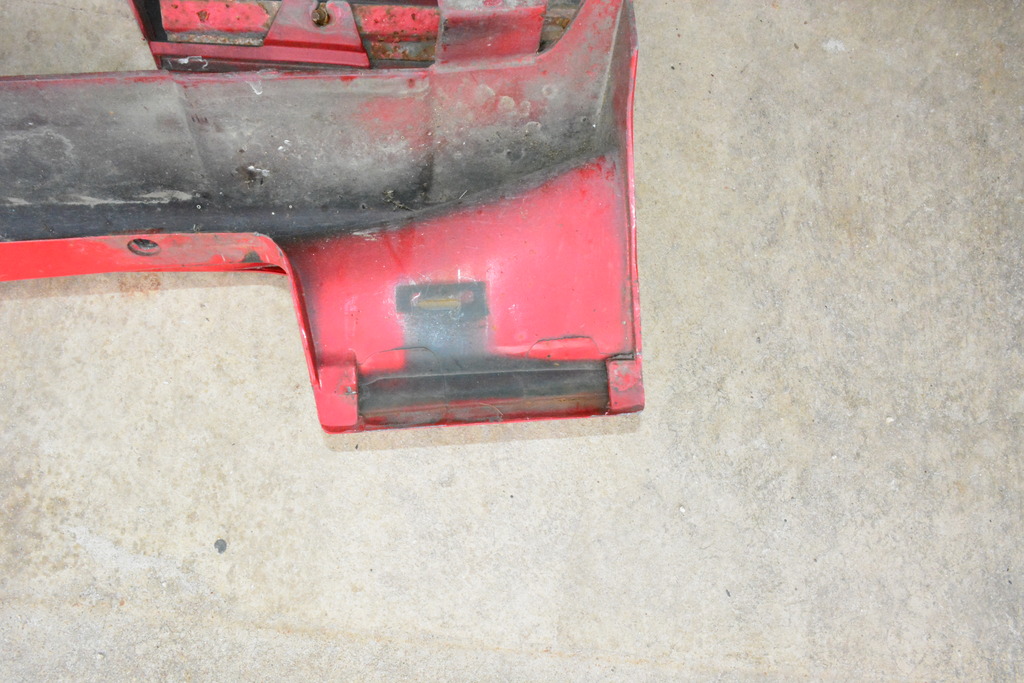
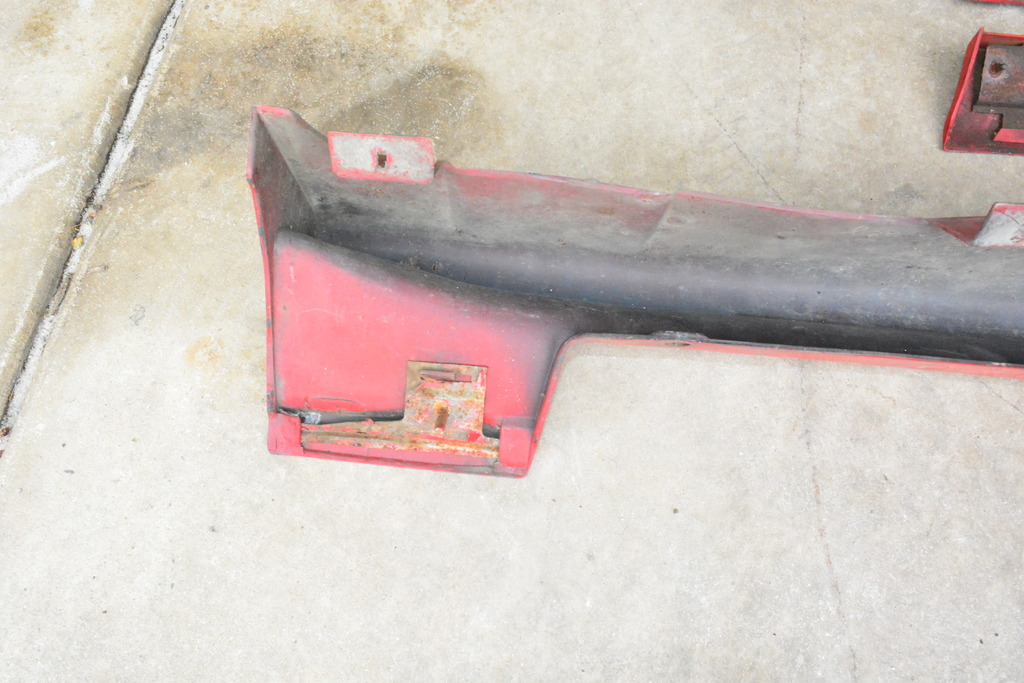
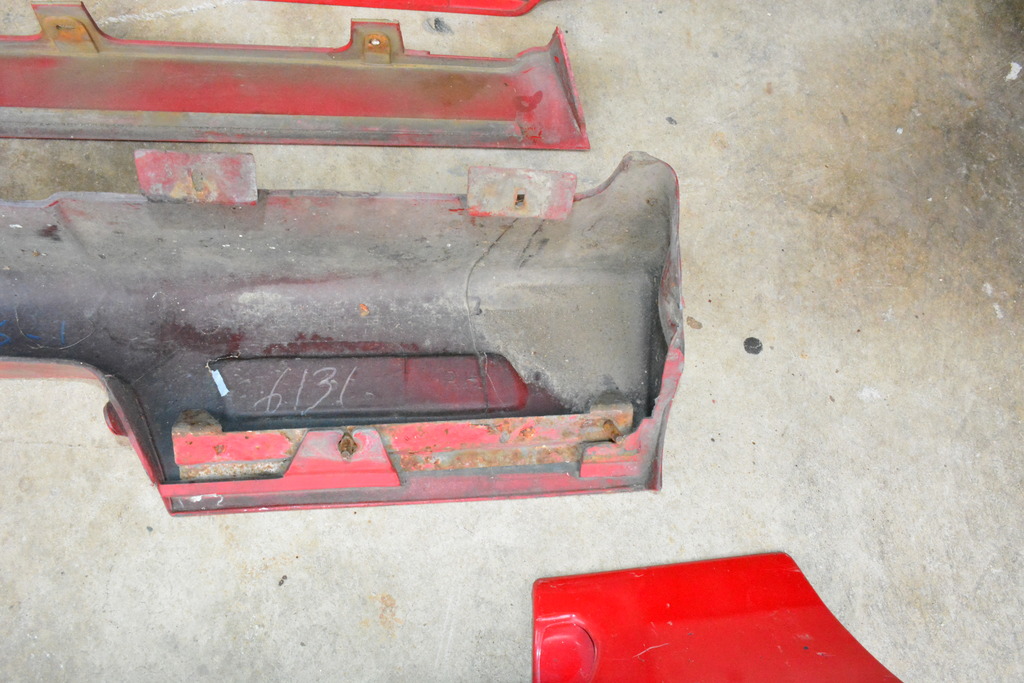
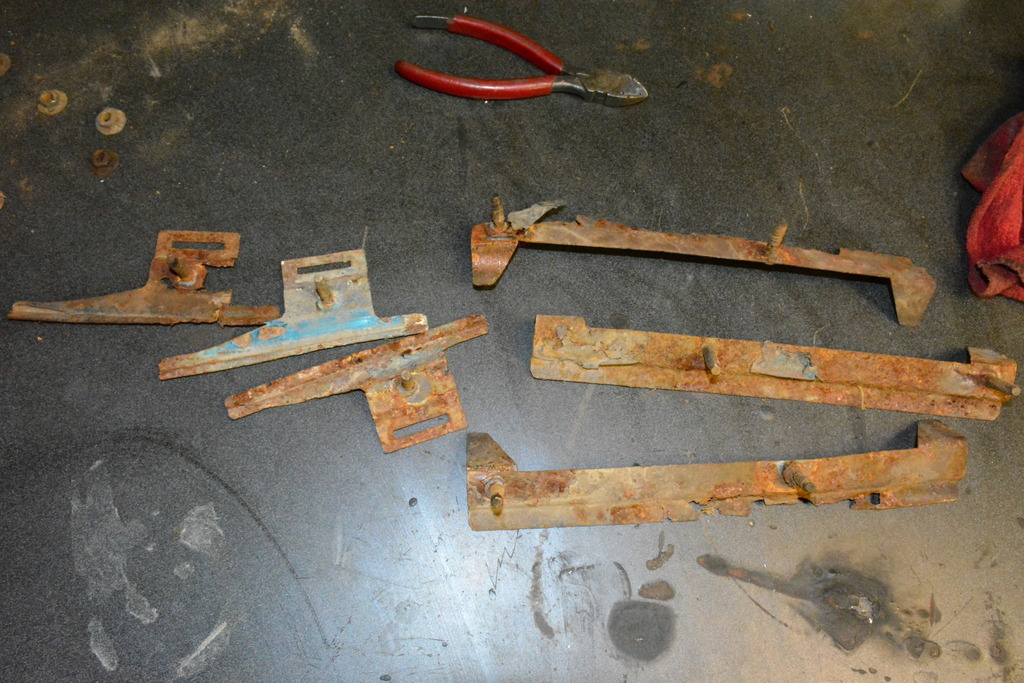
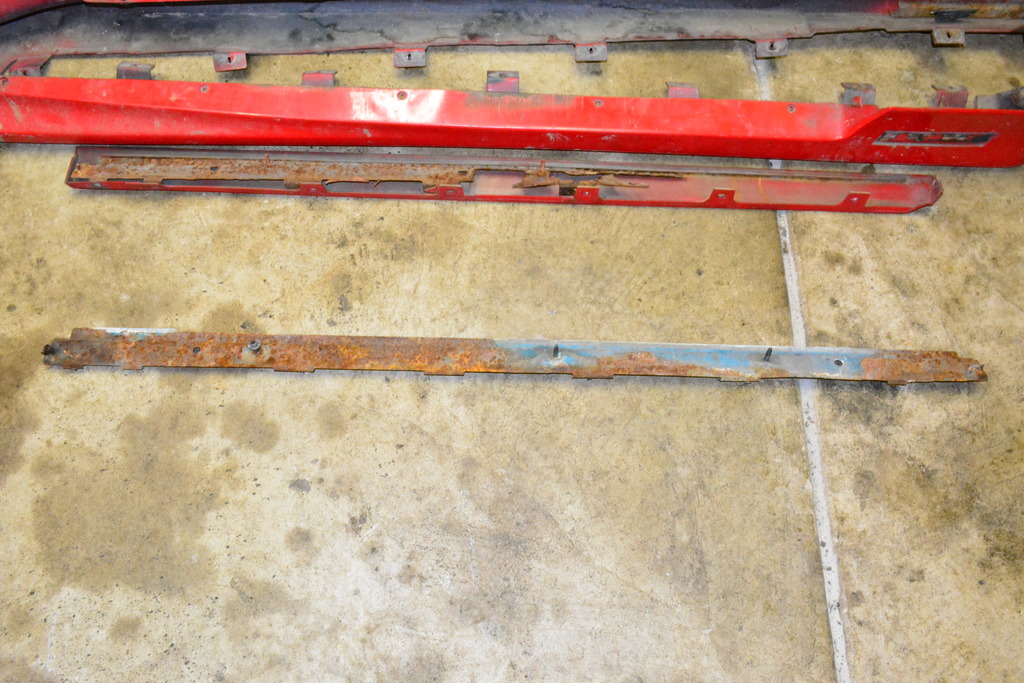
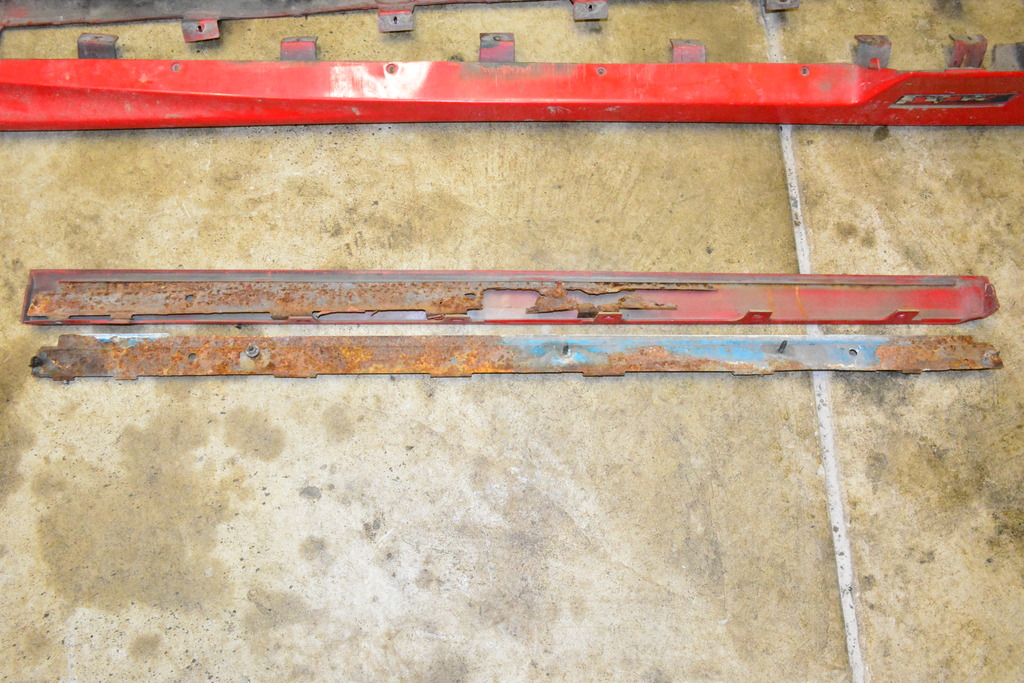
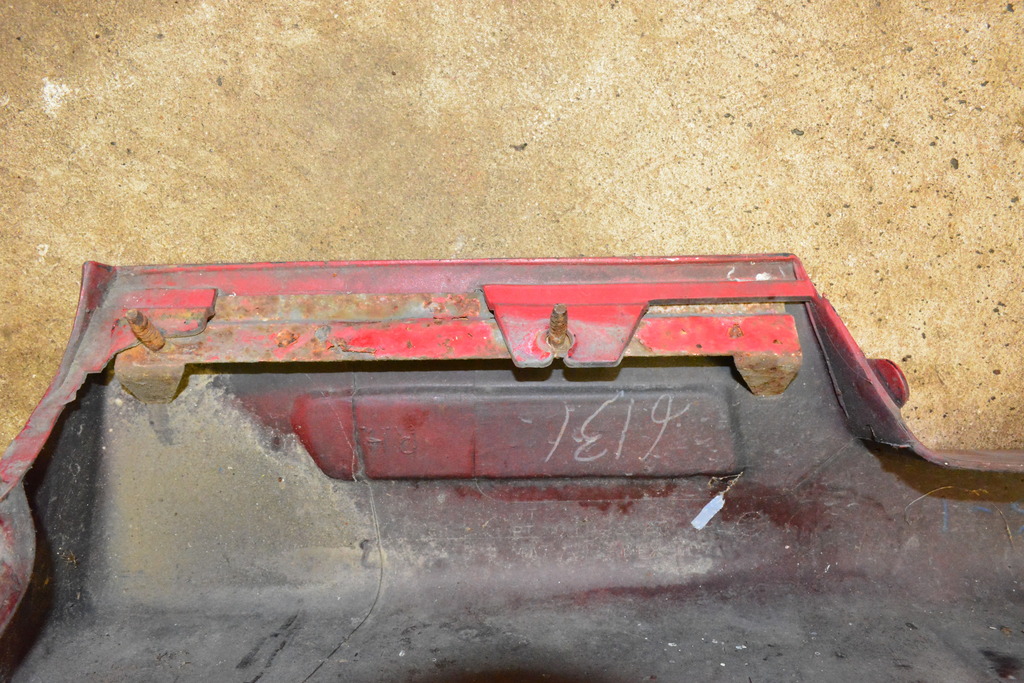
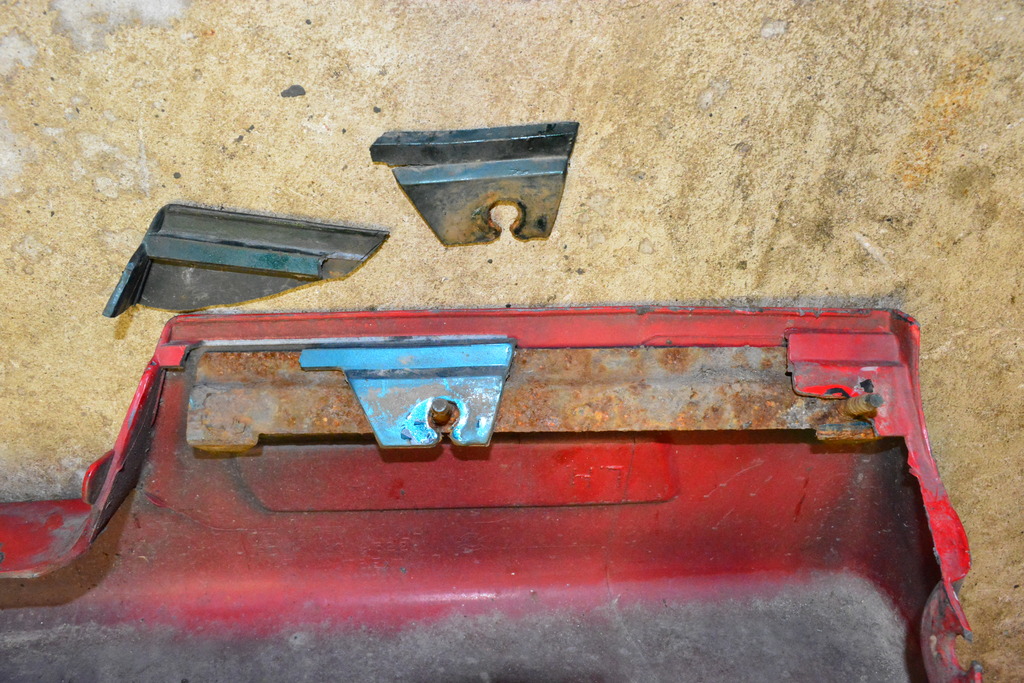
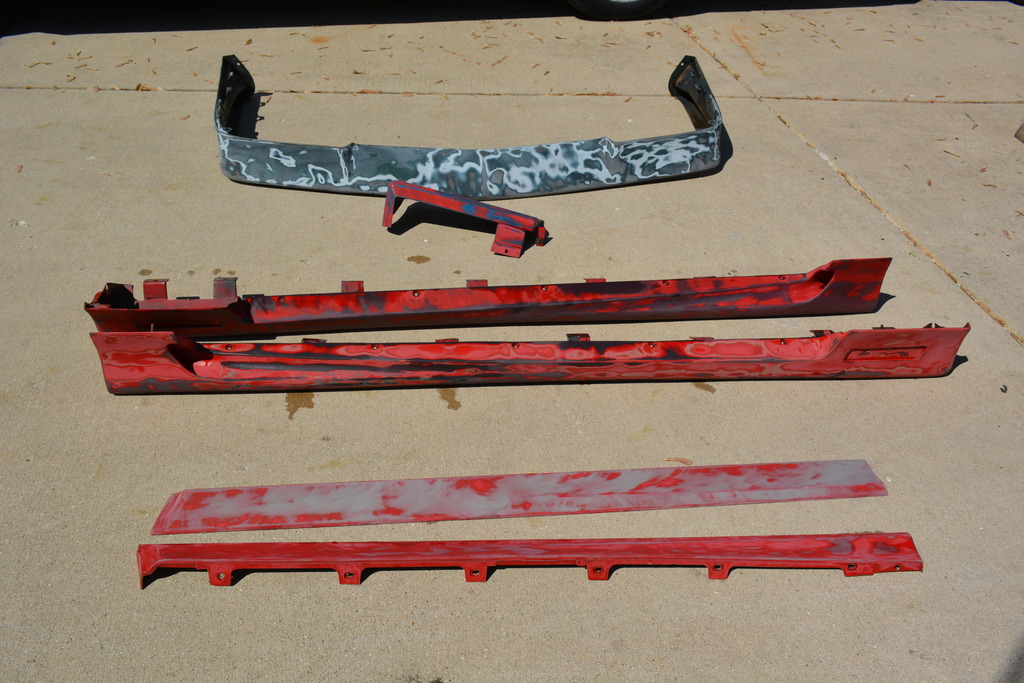
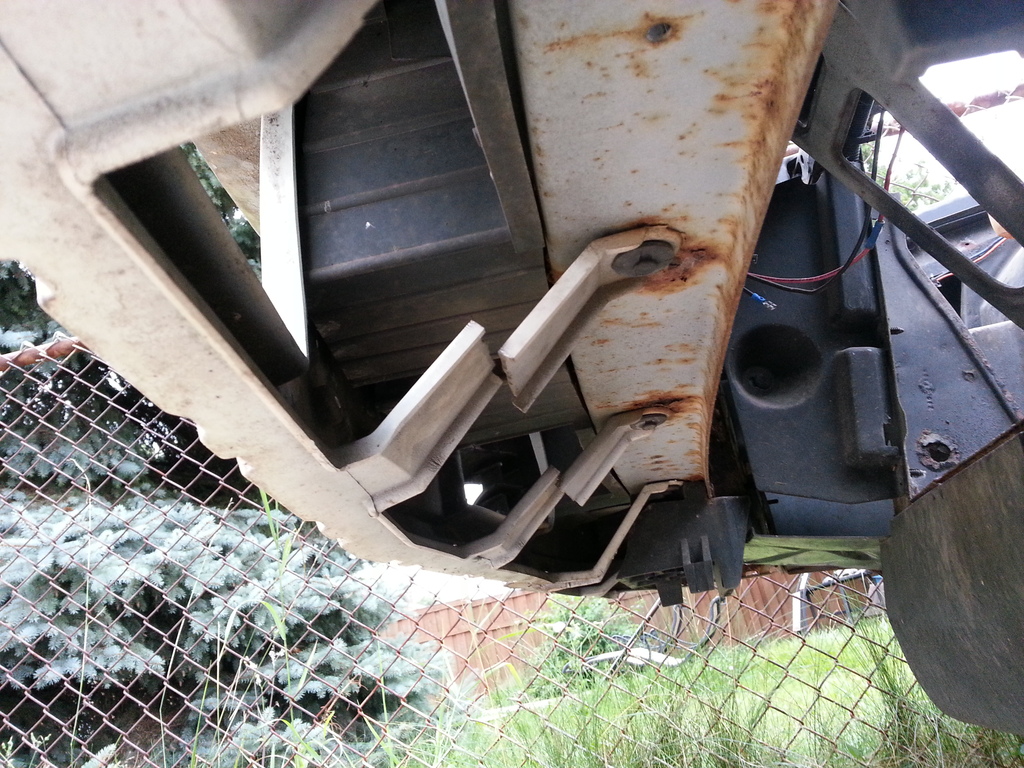
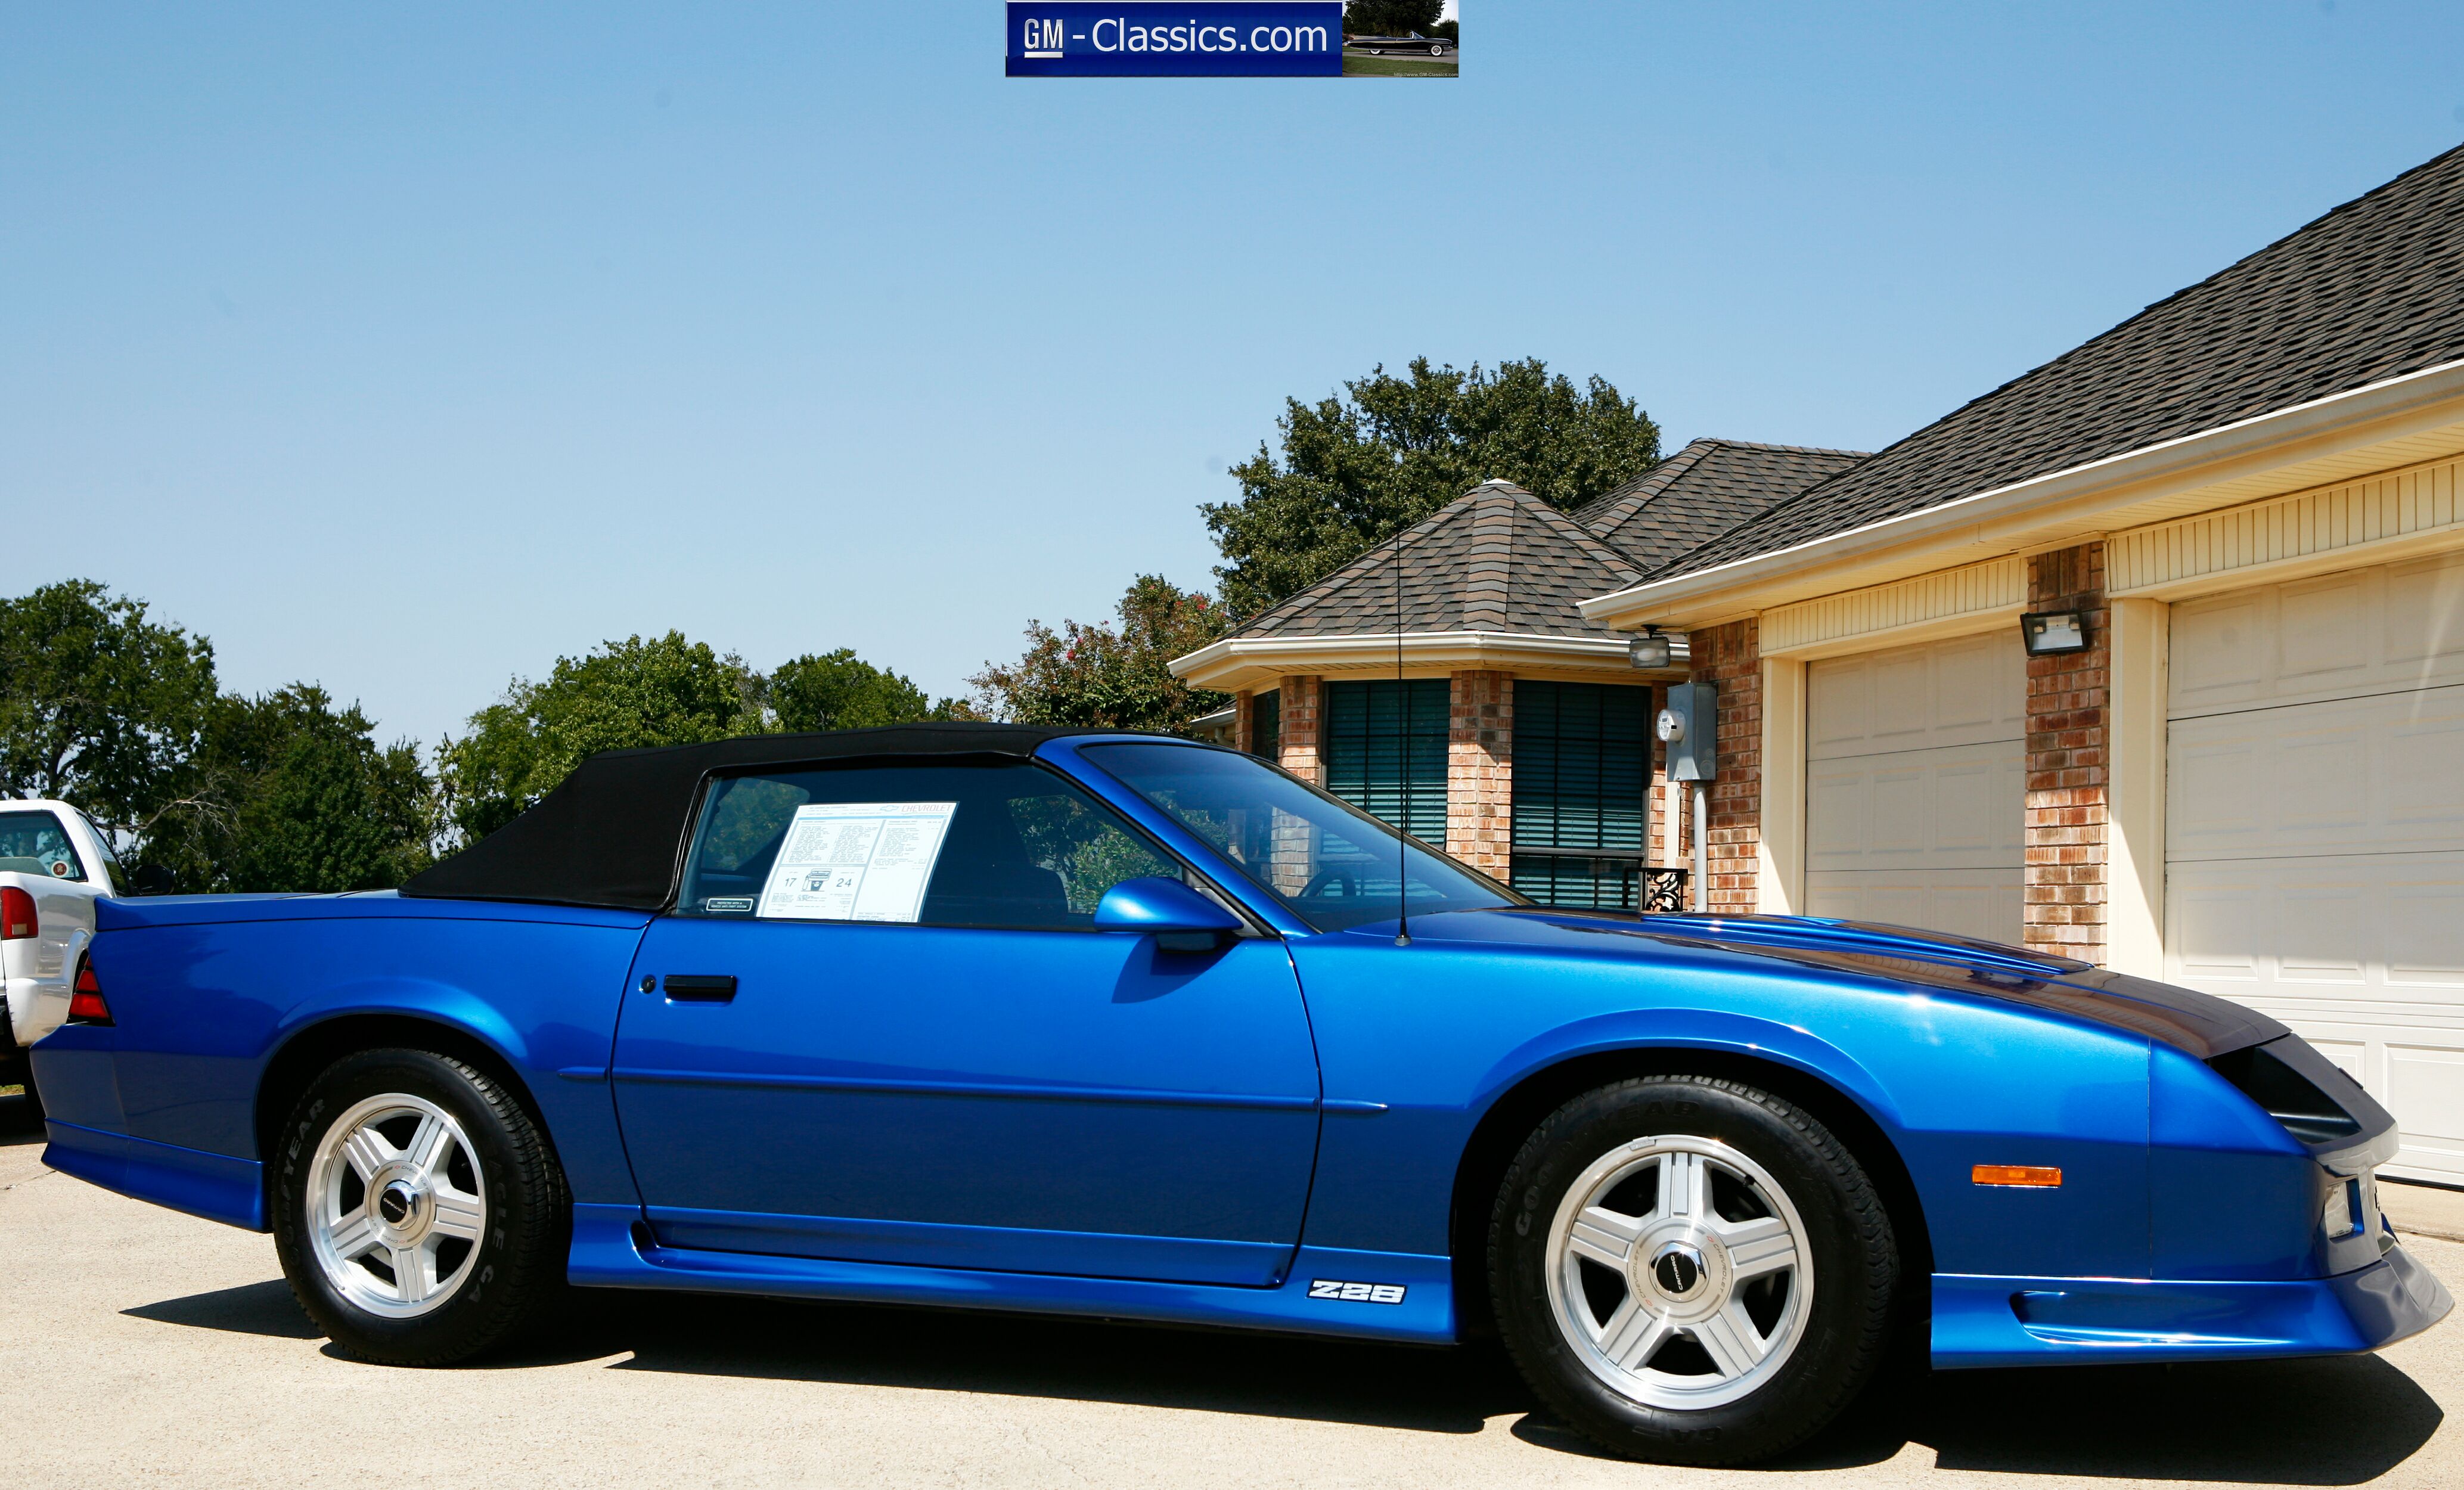
Next are the ground effects. They're in good shape except for 1 of the door pieces which I can fix. My problem is with the mounting brackets. Both door pieces are rotted to hell so I'm currently on the hunt for good pieces. I'm also curious to see if 82-90 brackets will swap over. I'll find out this weekend.
Last edited by robguitargod1; Aug 26, 2015 at 04:27 PM.
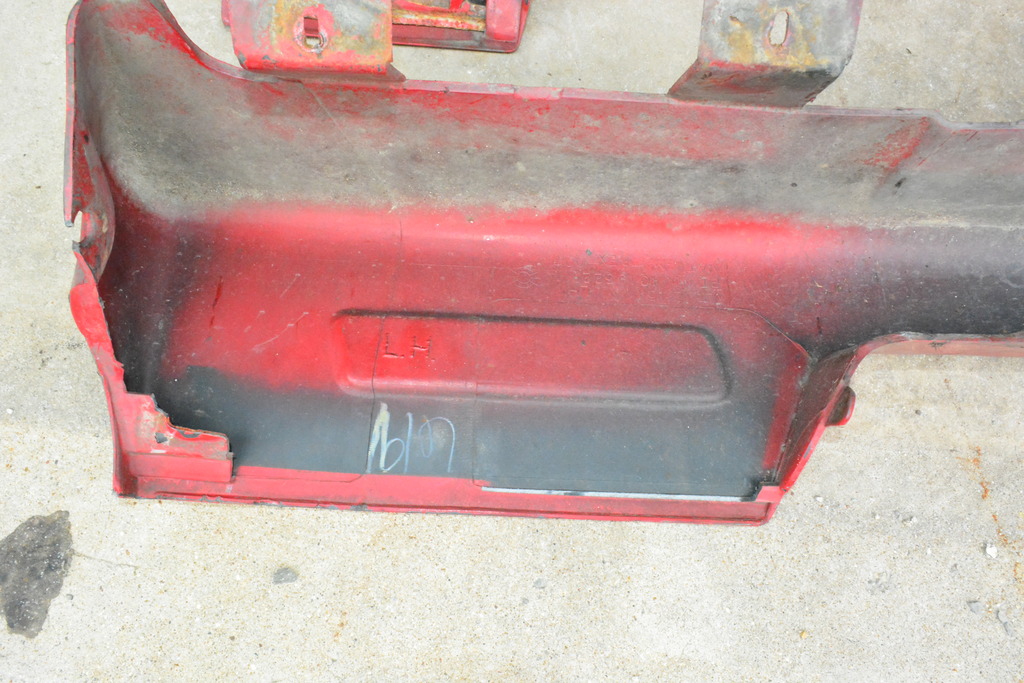
The lower ground effects also have bracket issues. 1 of them is fine but the other is missing both brackets and some of the plastic that holds the bracket in place.
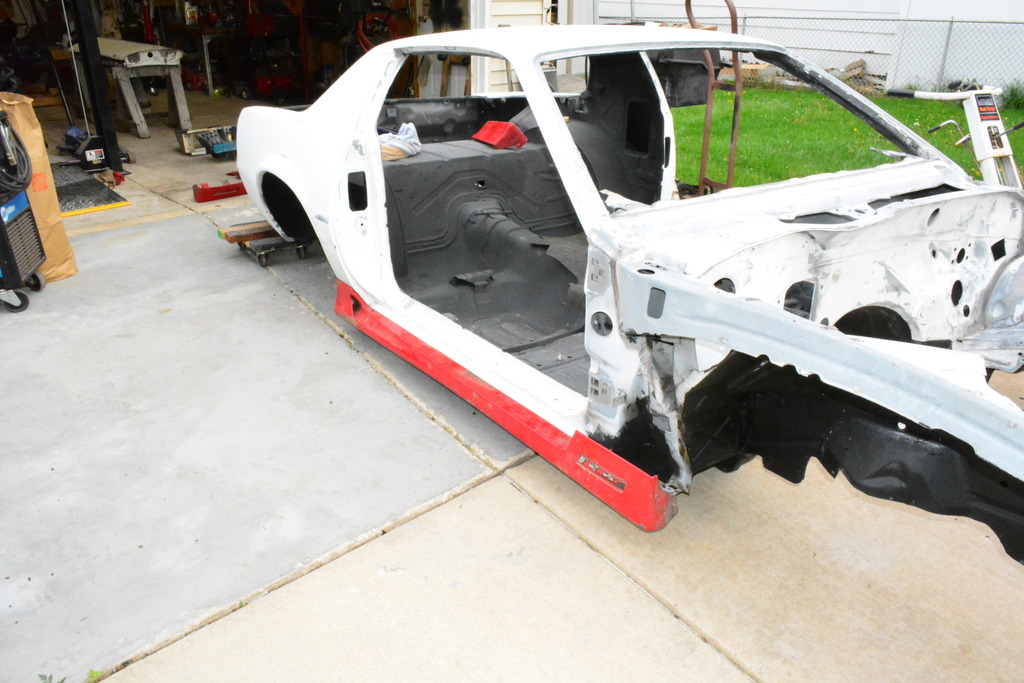
Here's the one that's ok
I had to mount it to the car just to see how it looked
Last edited by robguitargod1; Aug 26, 2015 at 04:29 PM.
Scored at the junk yard today. I noticed pick-n-pull in Summit, IL had a '92 RS that had only been on the yard a few days. So I was able to snag the following:
So now that I have all the ground effects, all I'm missing is the passengers side door mounting bracket. I was able to find the drivers side but the passengers on both cars at the junk yard were shot.
I'm still very curious to see what the difference is in my '86's mounting brackets.
Also just for reference, if you're using a 91-92 Firebird door on a 91-92 Camaro 3 ground effect holes need to be welded/patched, and only 1 needs to be drilled. I'll try to get some pics of that tomorrow.
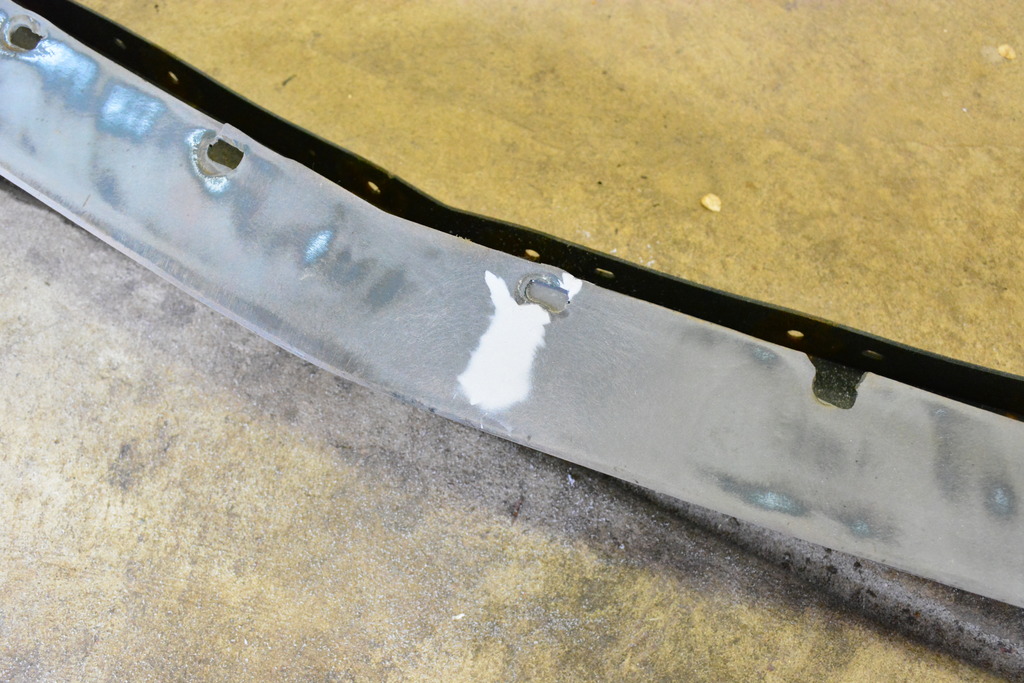
I also cut away the correct sections off of the junkyard car so I can repair the front drivers side ground effect. You can see in previous pics that it's mounting location got torn off at some point.
No this thread is not dead. Just hard to make progress with so much other stuff going on.
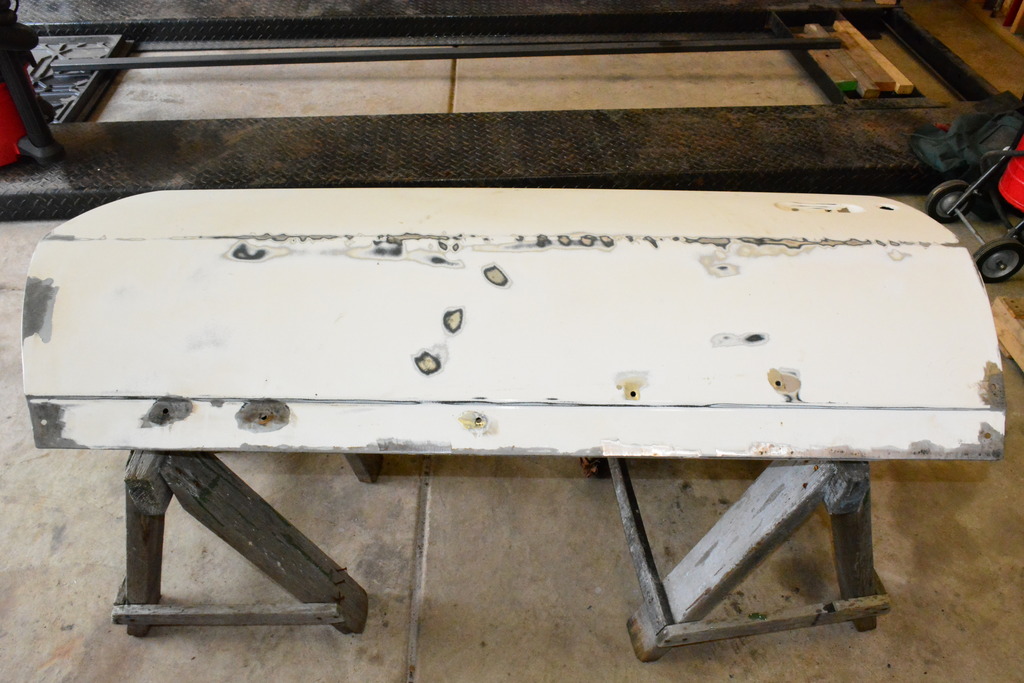
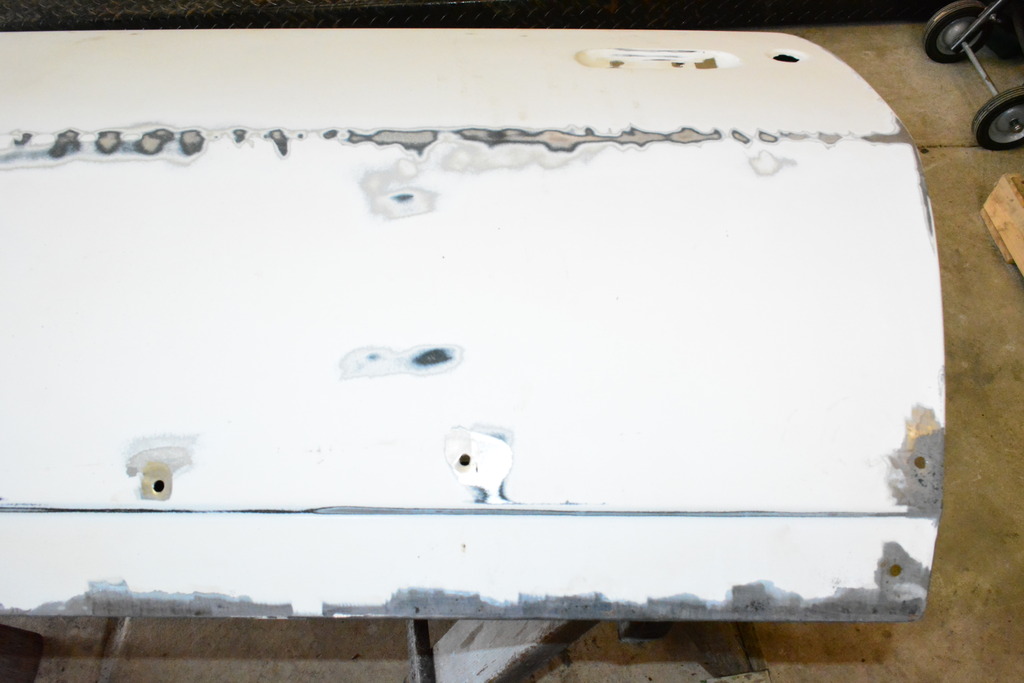
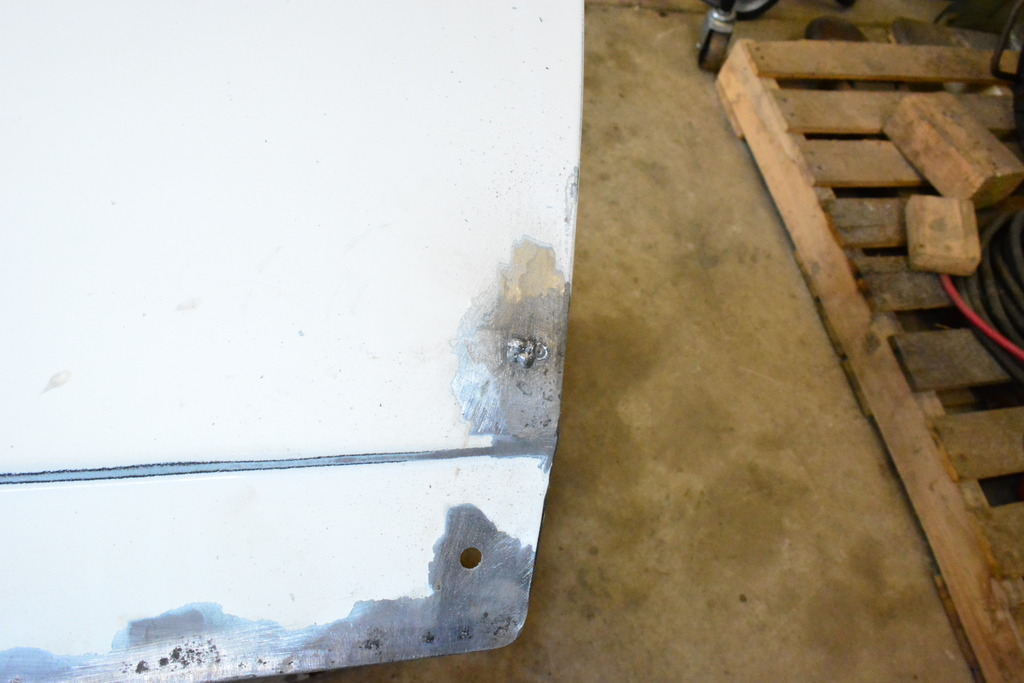
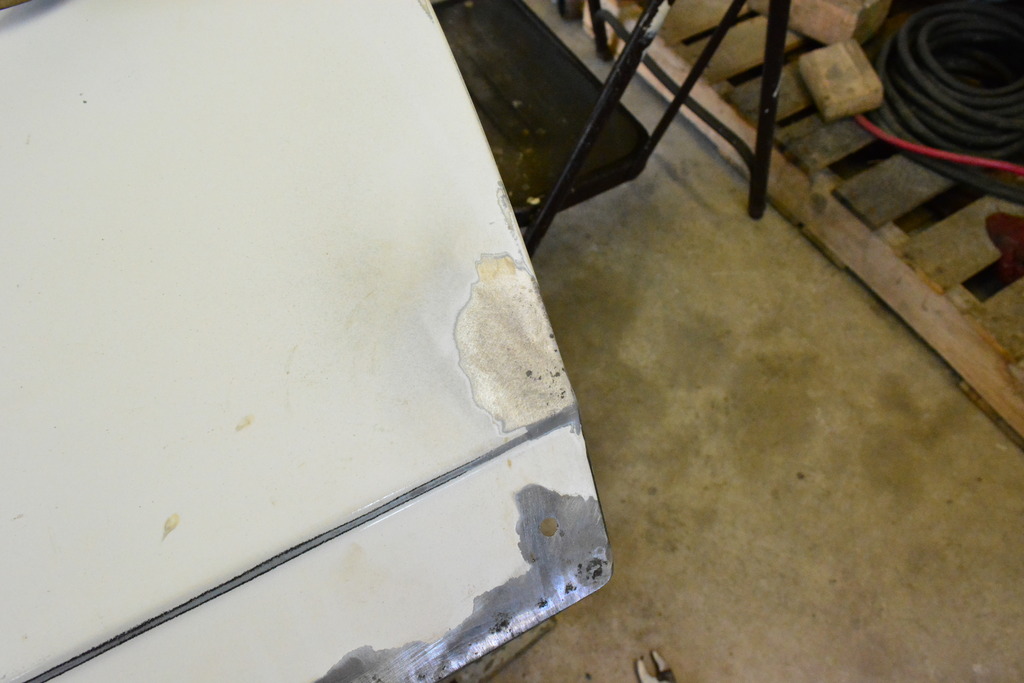
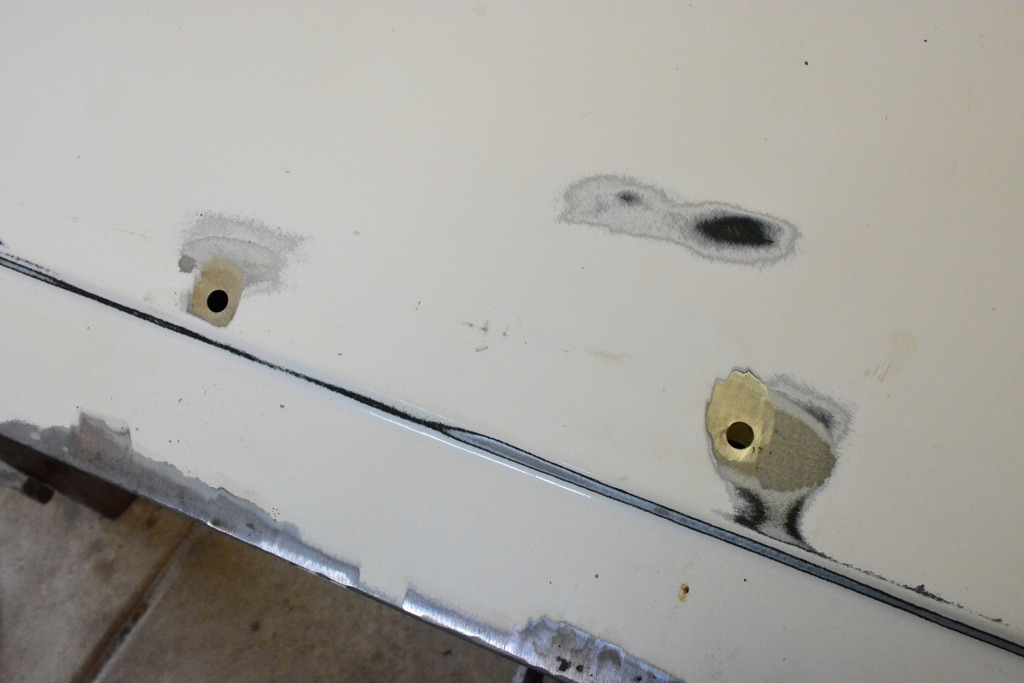
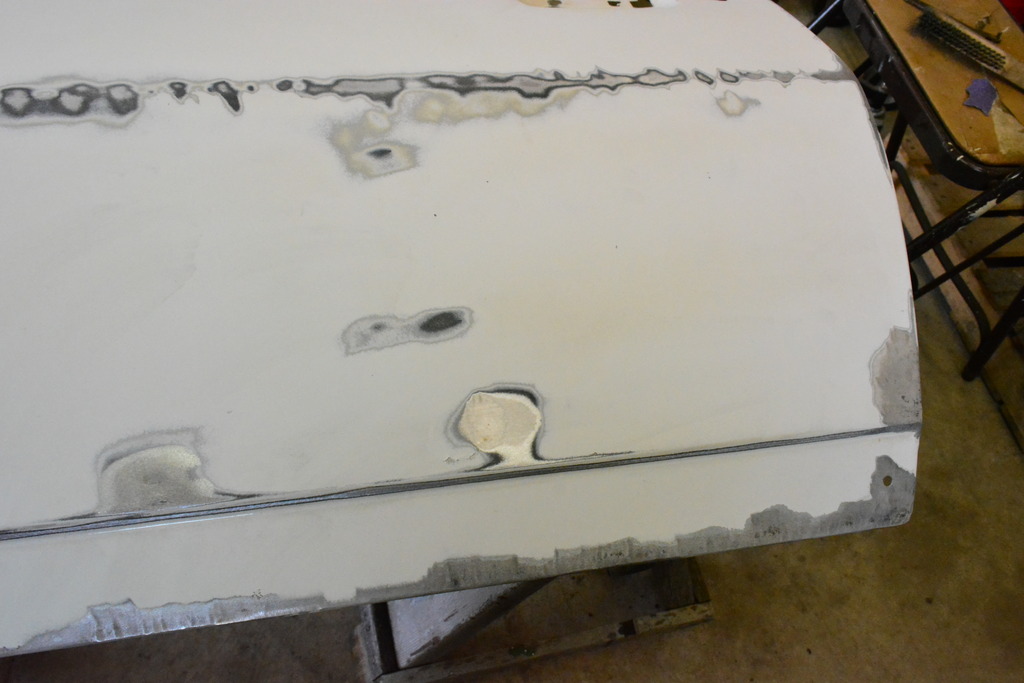
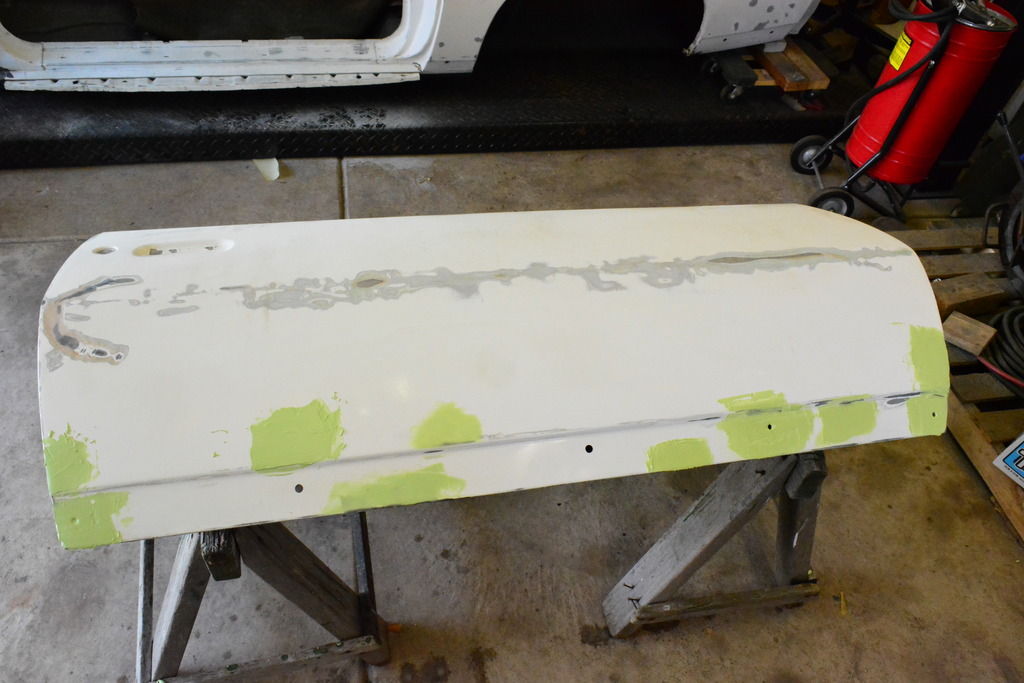
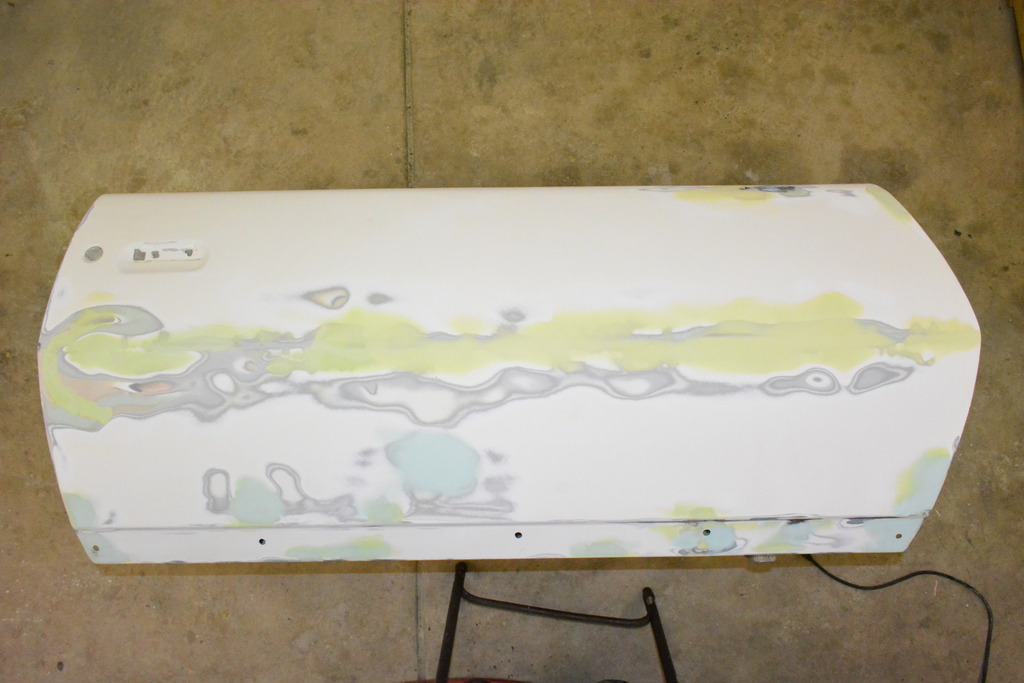
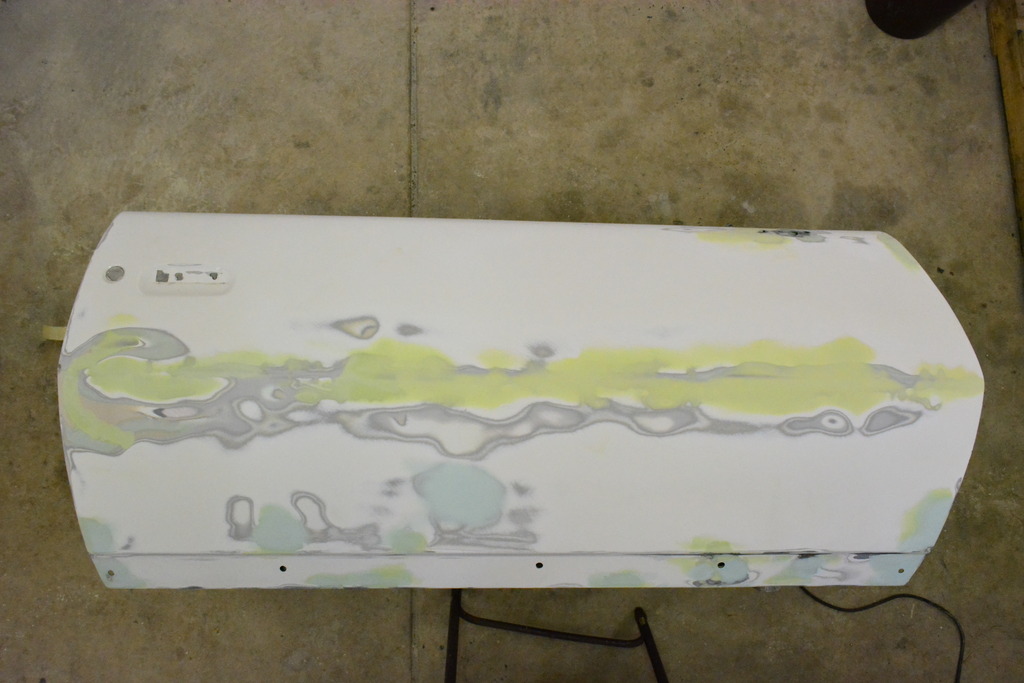
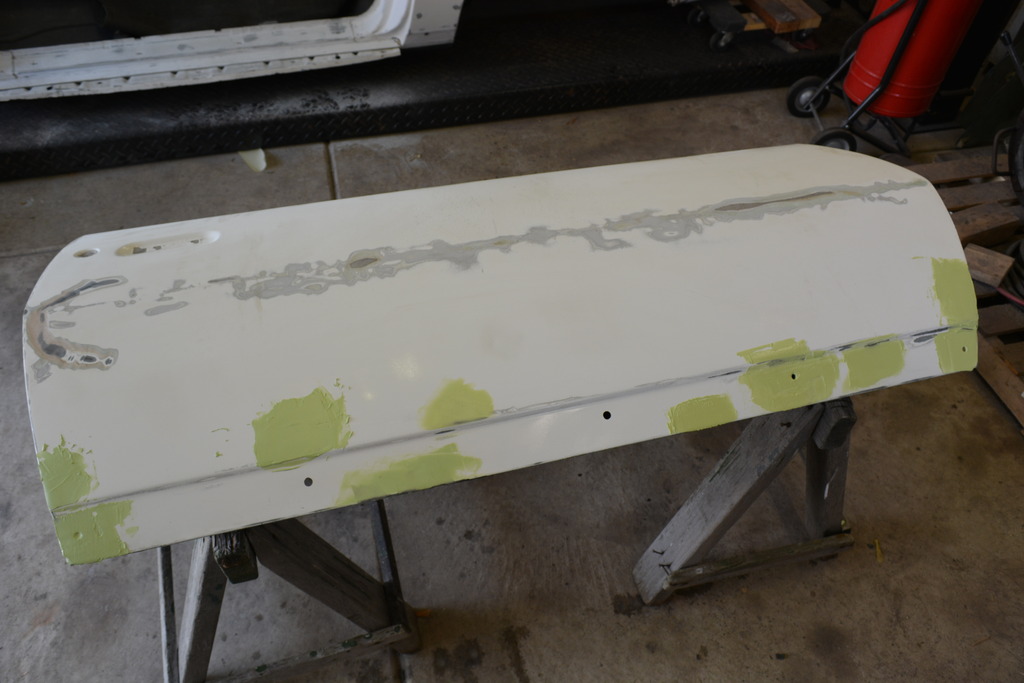
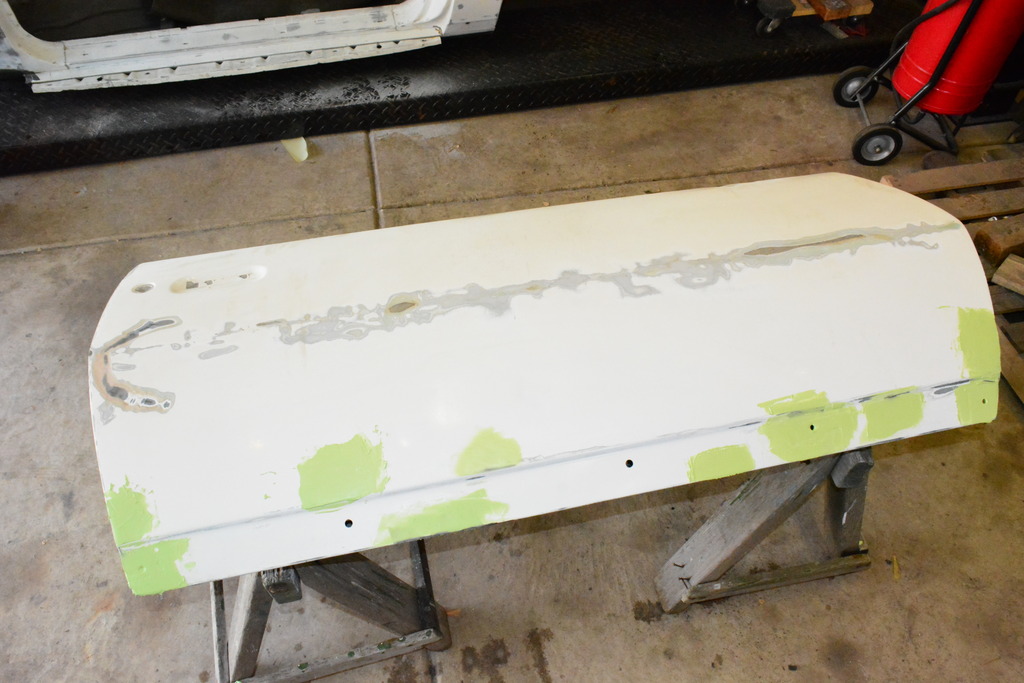
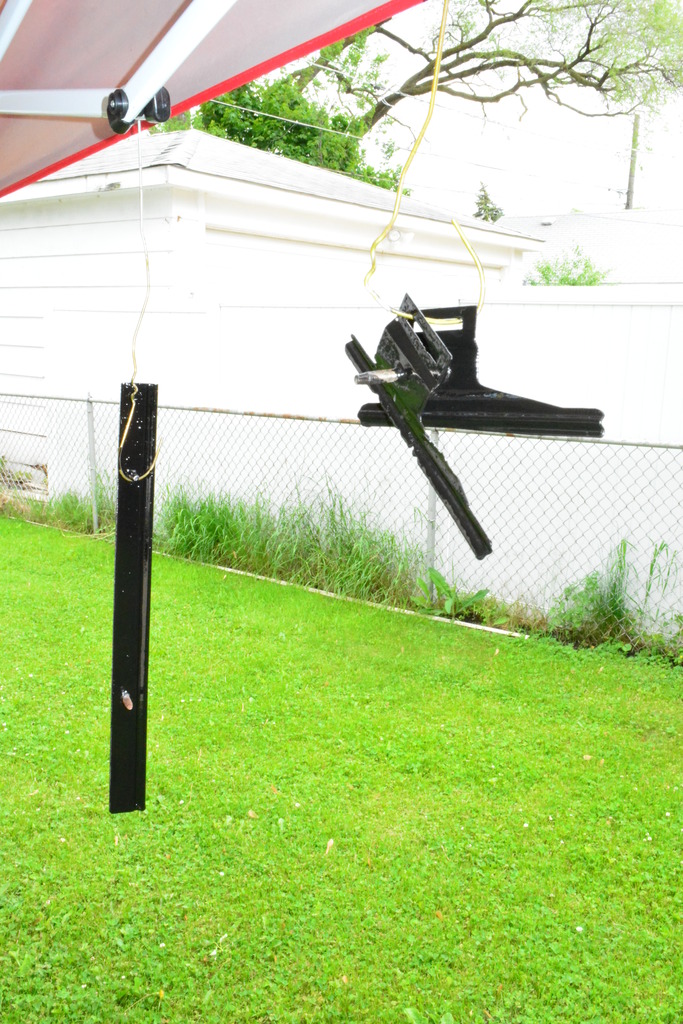
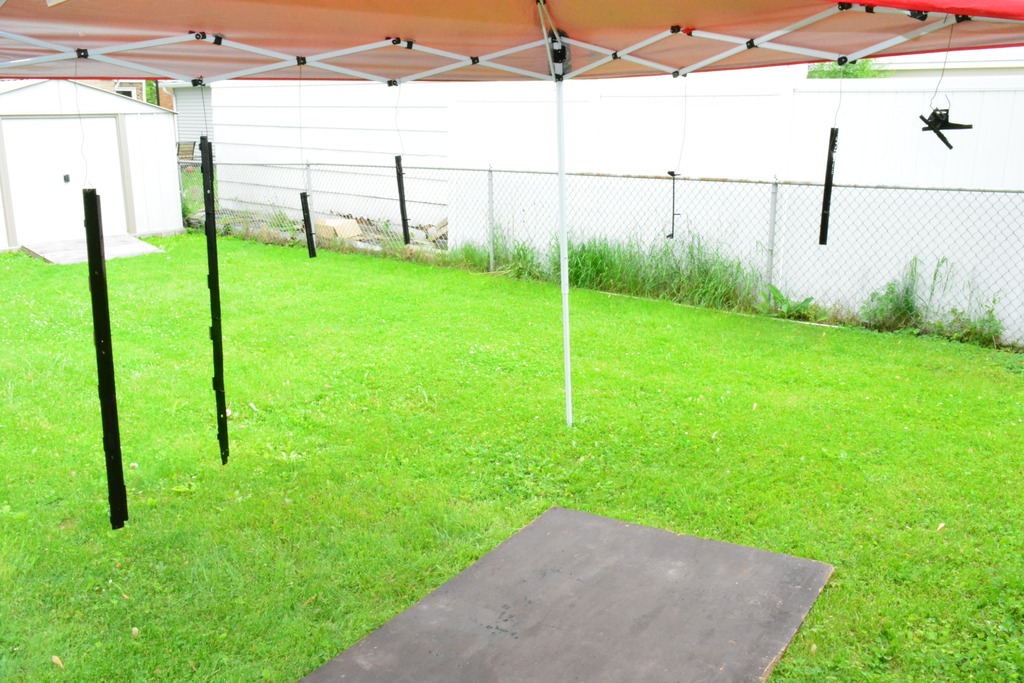
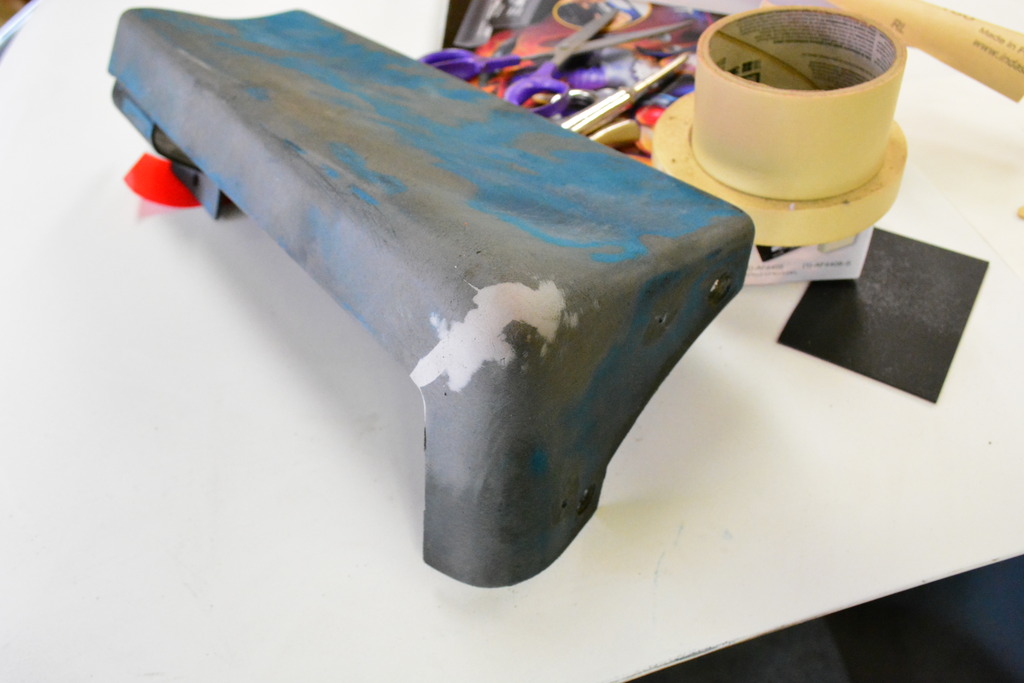
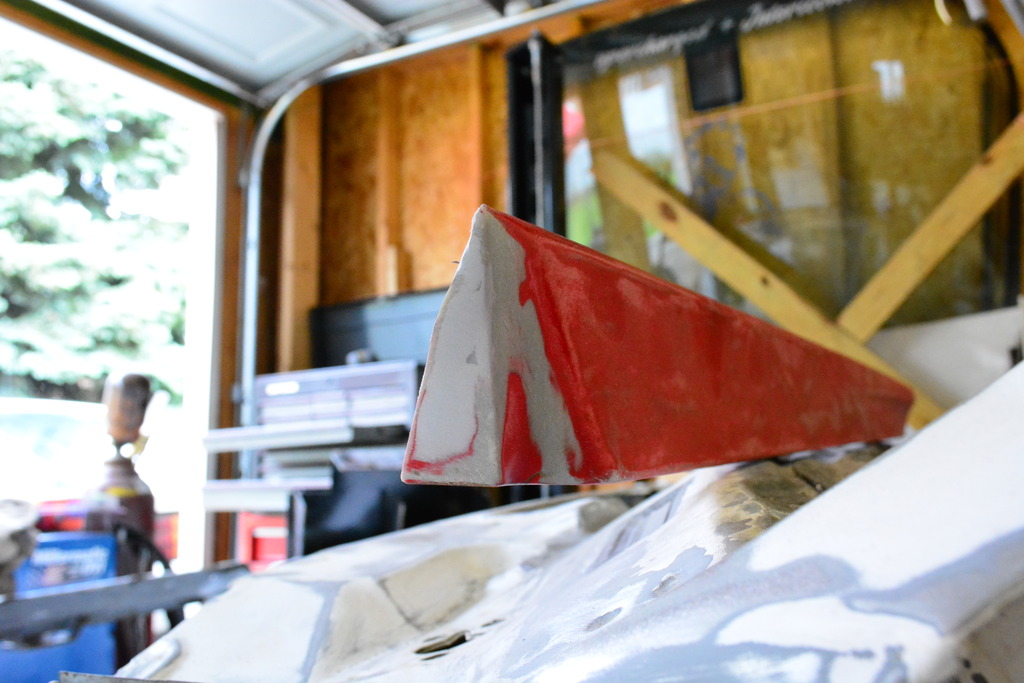
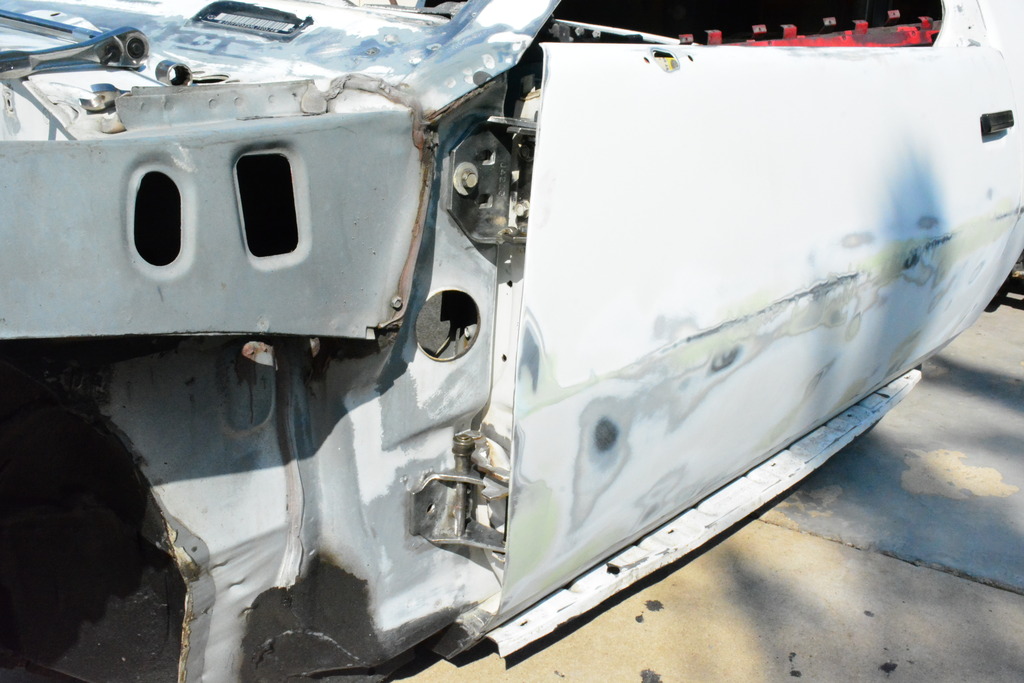
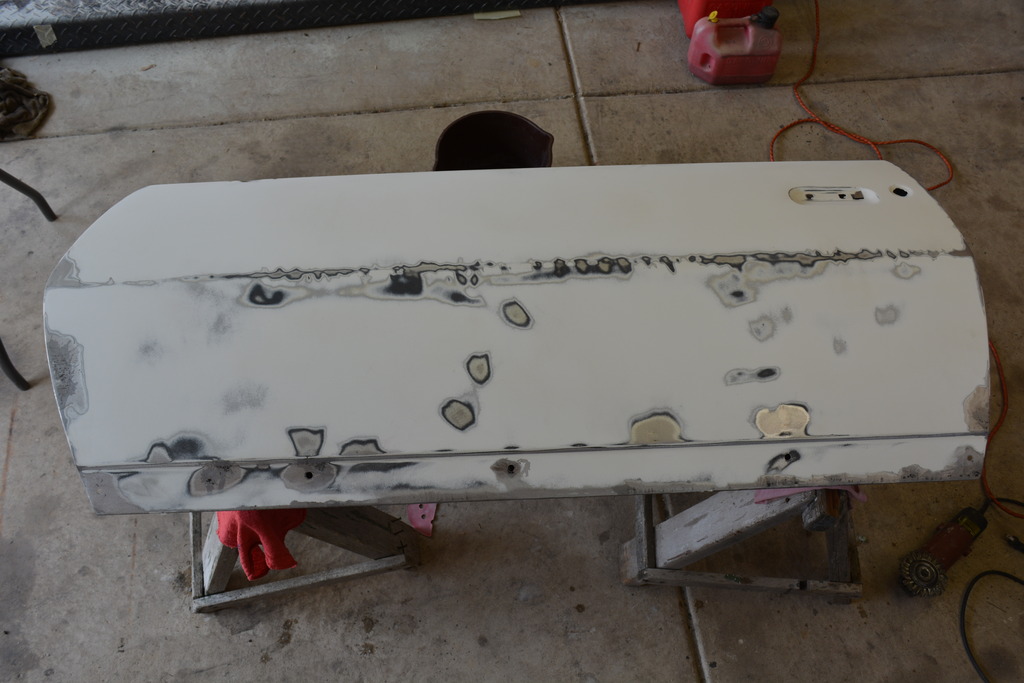
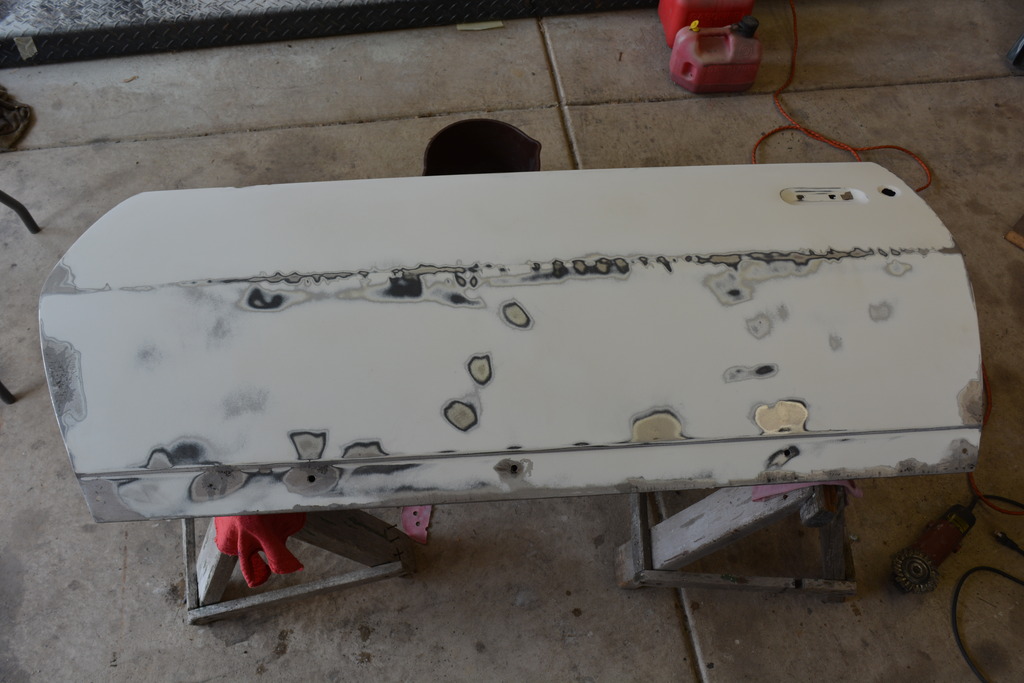
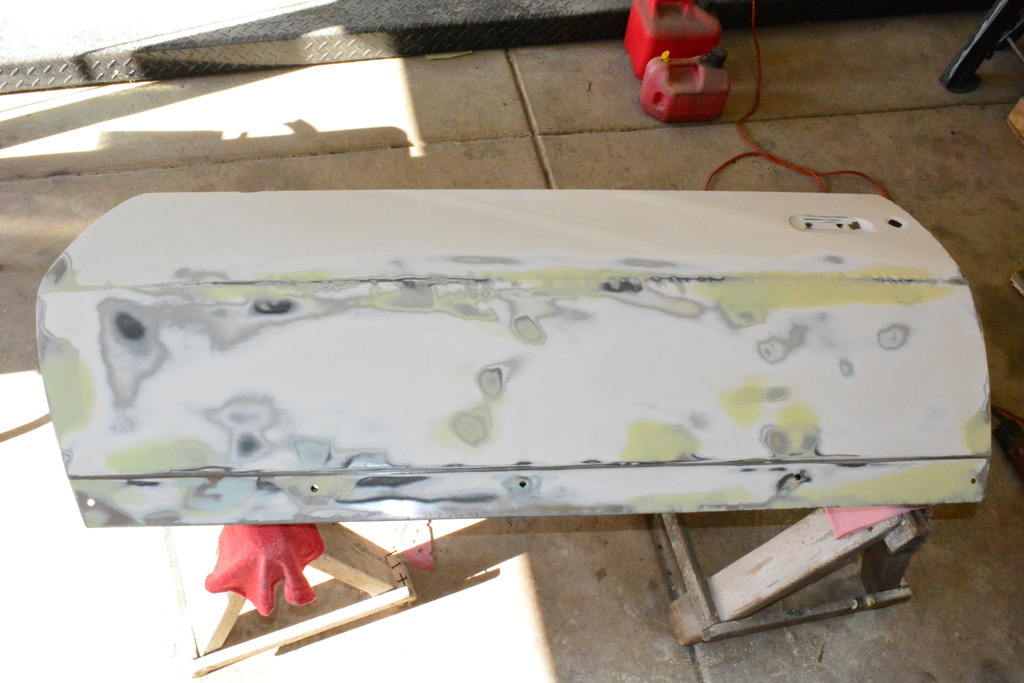
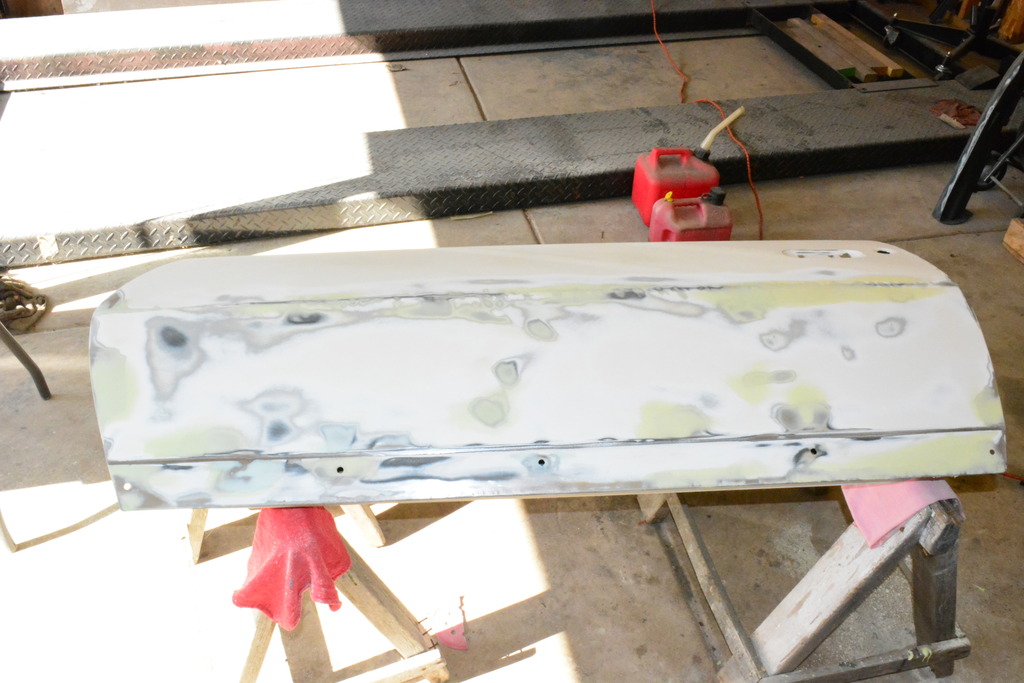
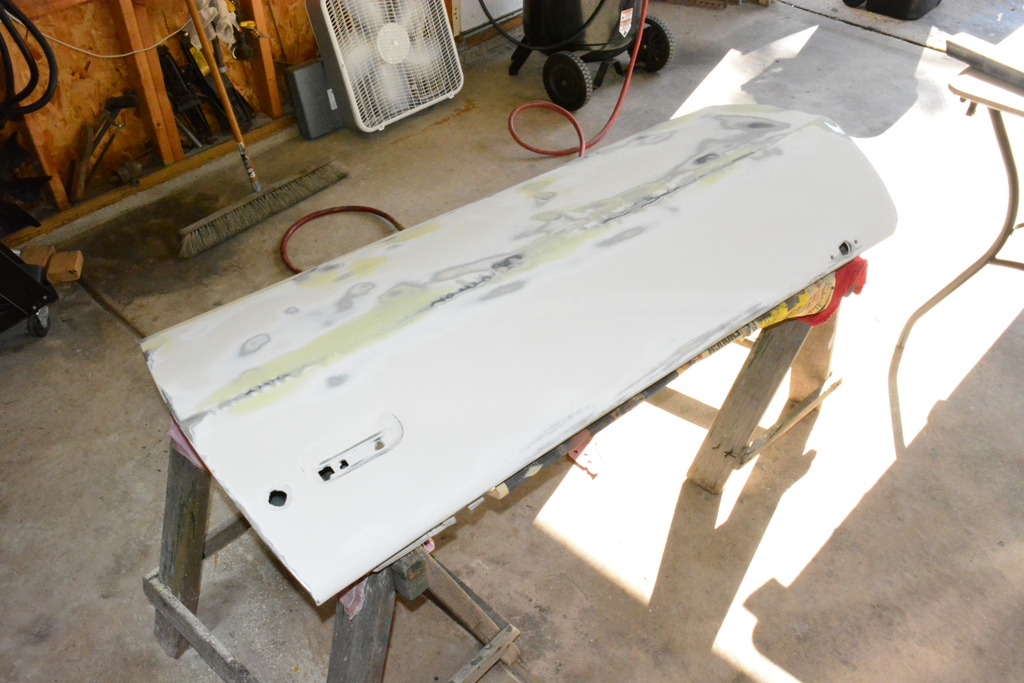
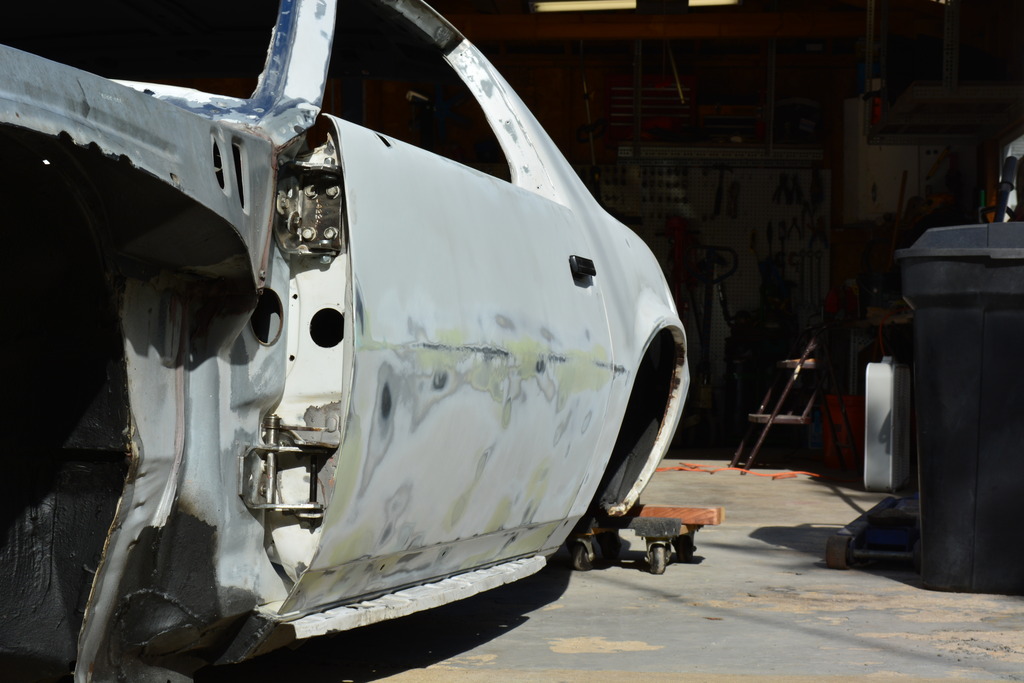
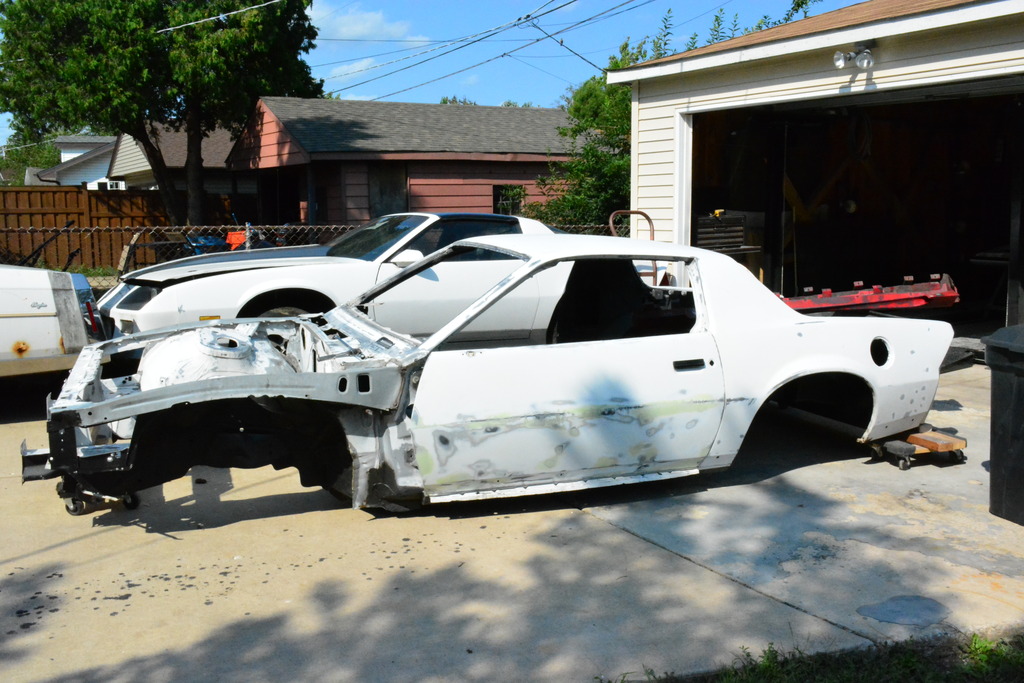
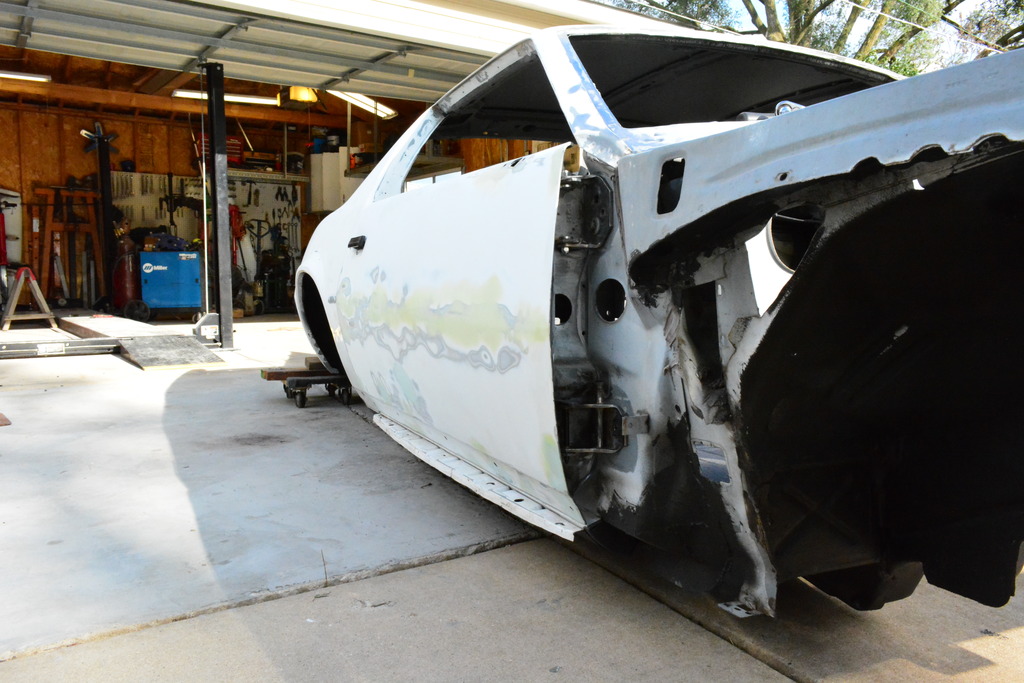
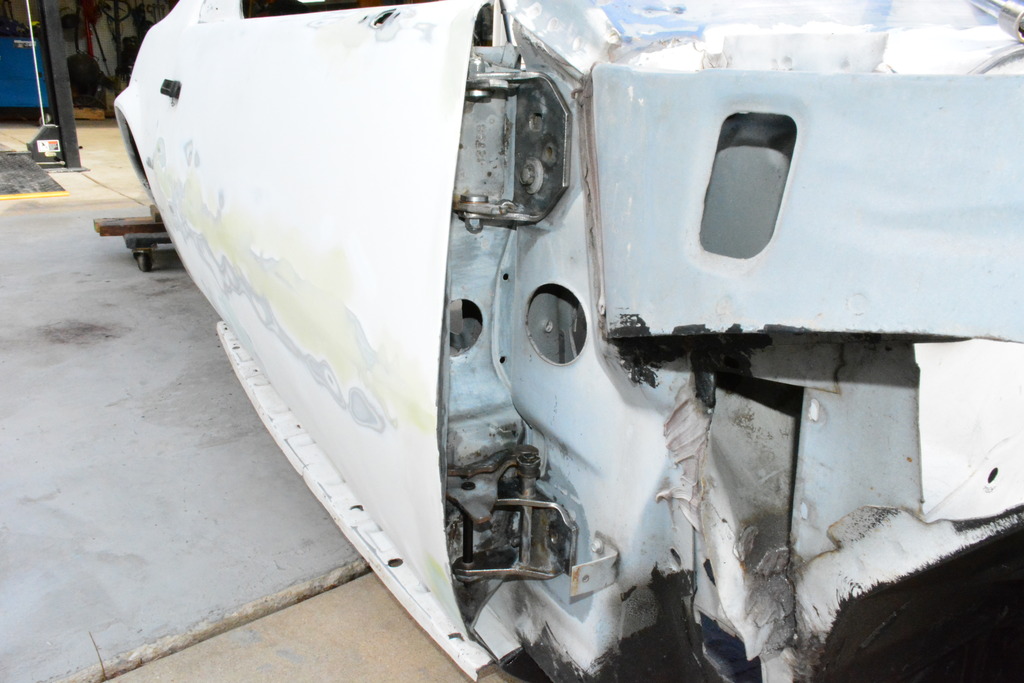
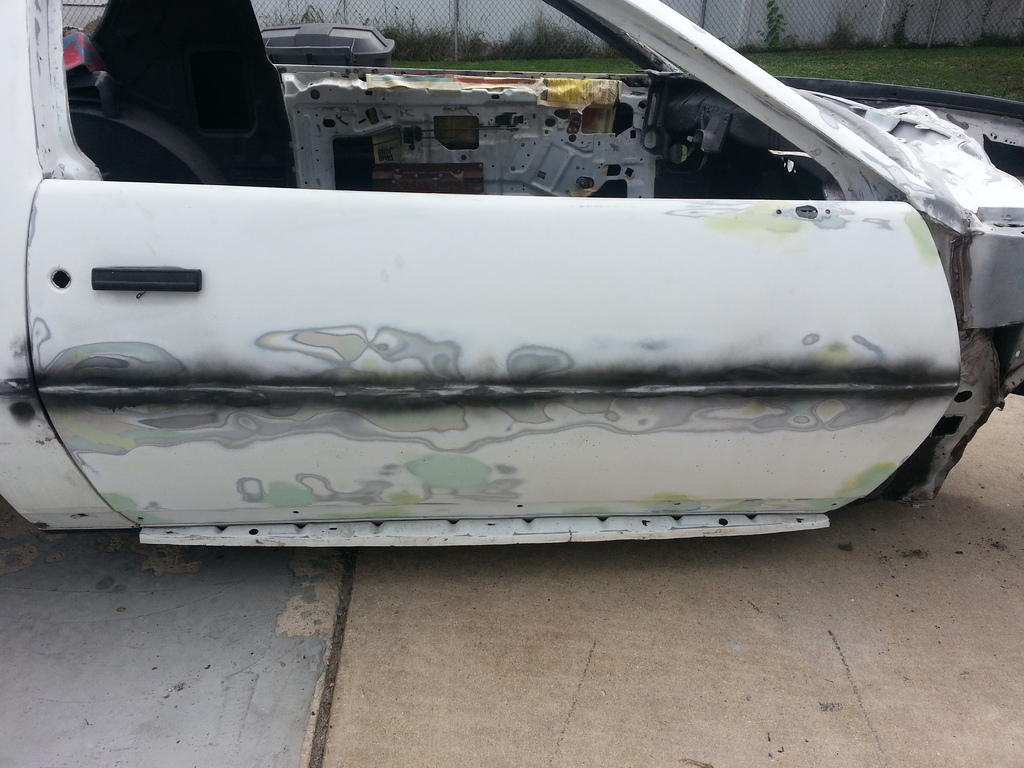
So last post was spraying lizard skin inside the doors. That went well, so then it was onto bodywork on the door skins. I've already welded/patched the GFX holes that weren't needed (because the doors came from a '91 Firebrd) so next was filler and blocking.
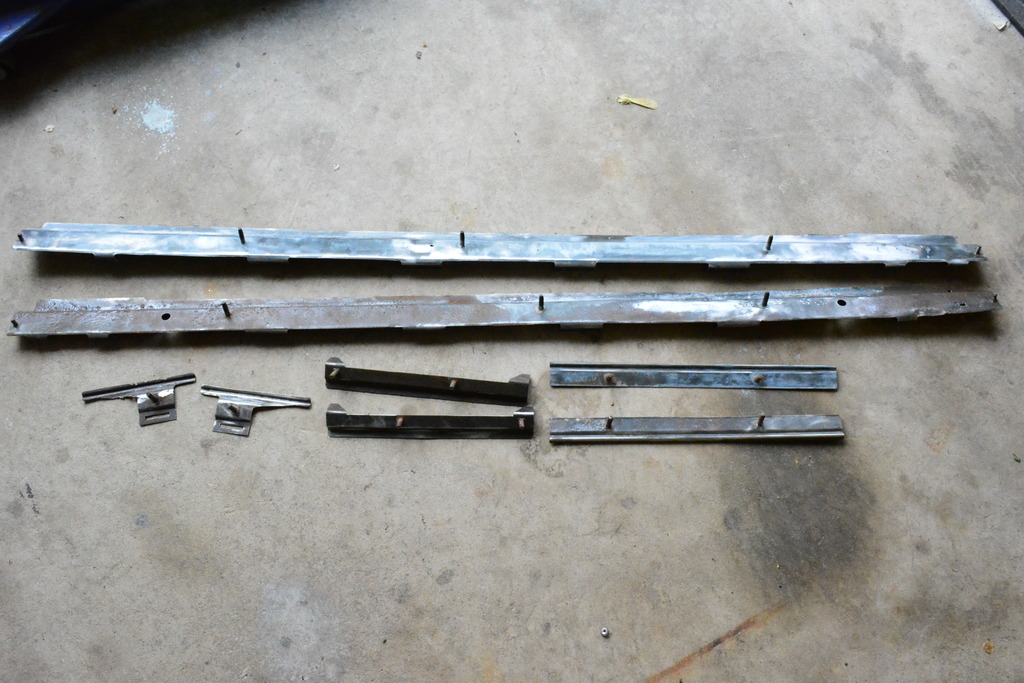
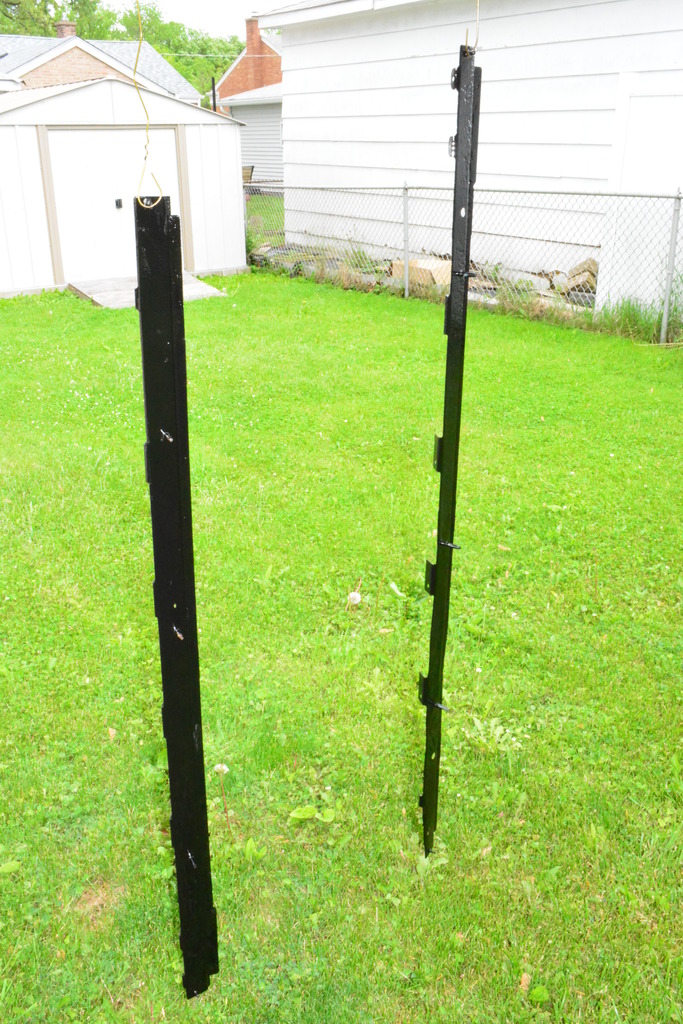
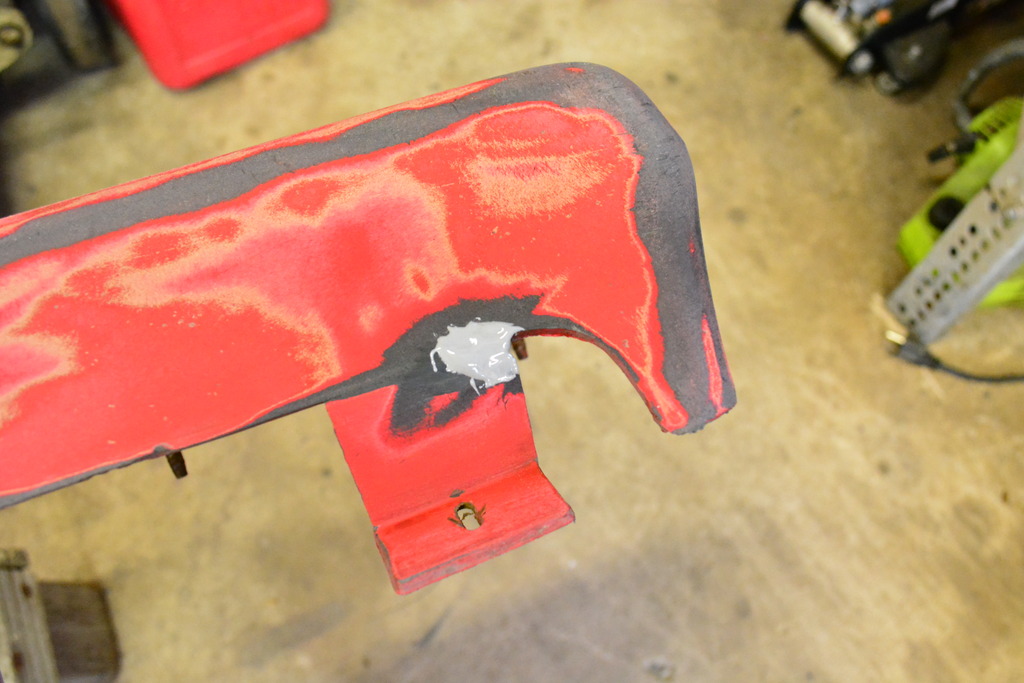
I also removed all of the metal GFX mounting hardware (some are riveted on), cleaned and painted them so they'll never rust again.
It's a craftsman 30 gallon/5HP compressor. It blew up (compressor seals) a few years ago but I was able to rebuild it. Been pretty solid and had it for over 10 years now.
I'm not a fan of using pneumatic DA's for body work. Electric sanders do the same work without stressing your compressor. Mine is pretty damn loud so when I use a pneumatic DA the compressor is screaming in my ear the entire time.
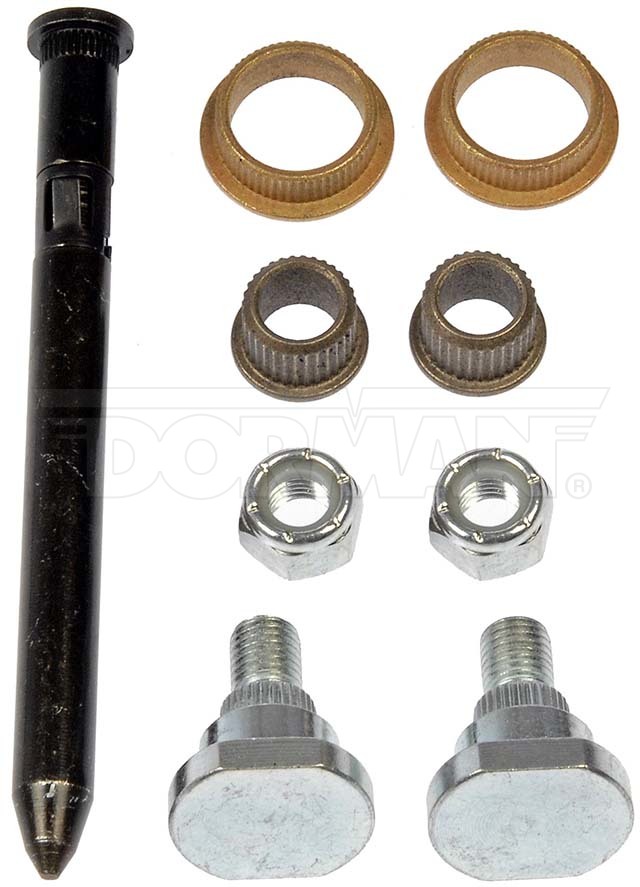
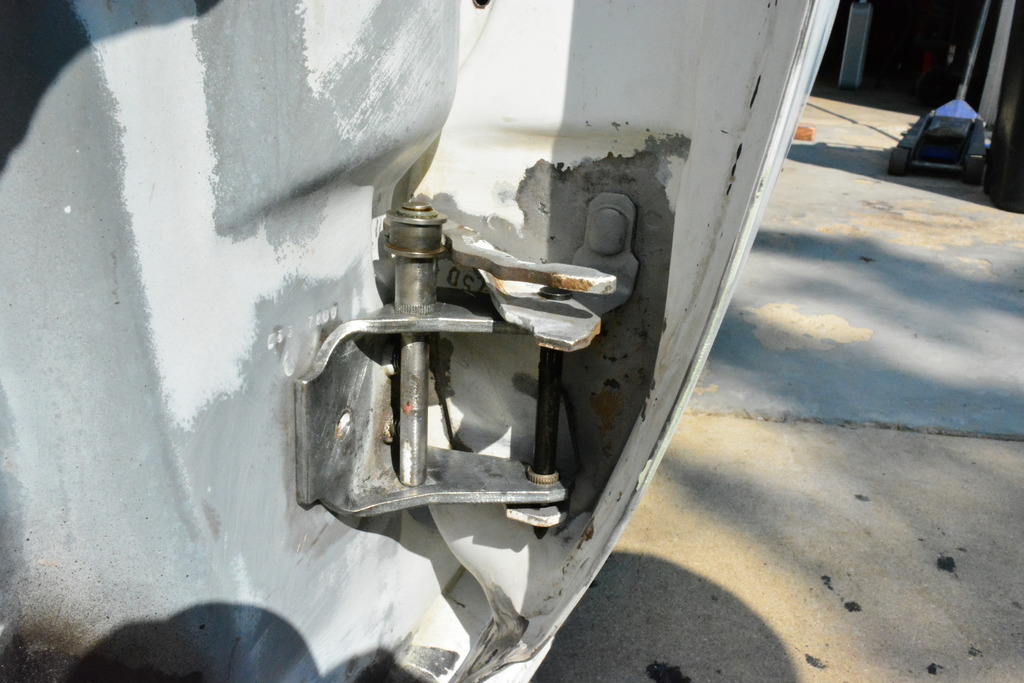
Bolt in. I can't imagine a reason to weld them in! The kits are made by Dorman and are part number 38401. Under $10 per door and you can get them just about anywhere including auto part stores.
I purchased the $100 greaseable ones from top down solutions and I really think they're overkill. They're awesome but not needed. Assemble the Dormans with a little grease and you're set.
Bolt in. I can't imagine a reason to weld them in! The kits are made by Dorman and are part number 38401. Under $10 per door and you can get them just about anywhere including auto part stores.
I purchased the $100 greaseable ones from top down solutions and I really think they're overkill. They're awesome but not needed. Assemble the Dormans with a little grease and you're set.
Oh I was talking about the hinges themselvses, it looks like you bolted them in the picture but I couldn't remember if they were welded from the factory?
Oh I was talking about the hinges themselvses, it looks like you bolted them in the picture but I couldn't remember if they were welded from the factory?
Oh the hinges are all bolt on, both to the car and door.
Last edited by robguitargod1; Aug 27, 2015 at 03:25 PM.
Looks like the door hinge refurb job is pretty easy with the fenders removed. I need to replace them (door hinge bushings) on my car. How much work is involved in removing the fenders? I'm thinking I just need to keep track of where the shims went and it should be pretty straight forward, right?
Looks like the door hinge refurb job is pretty easy with the fenders removed. I need to replace them (door hinge bushings) on my car. How much work is involved in removing the fenders? I'm thinking I just need to keep track of where the shims went and it should be pretty straight forward, right?
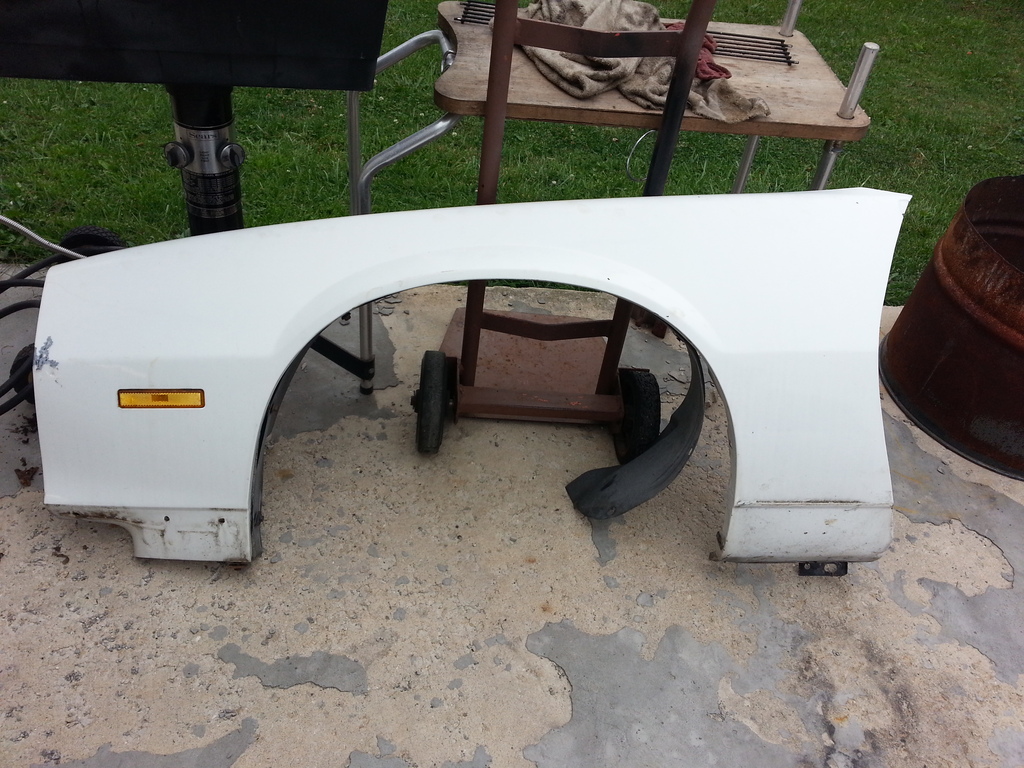
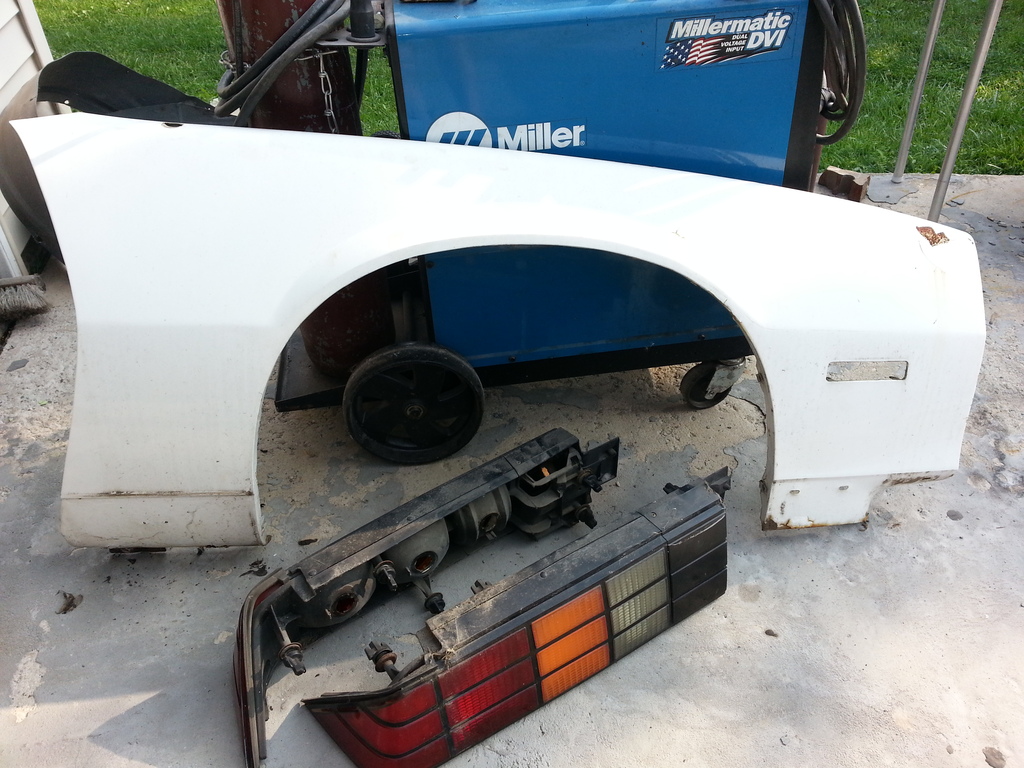
It's MUCH easier with the fenders off. However, getting the fender off can be challenging. There's 16 bolts that I can think of off hand not including the ground effects. The problem is that the top 2 bolts that hold the bumper cover to the fender are molded into the bumper cover. The other 3 are removable but the top 2 are not which means you have to slide the fender backward (toward the rear of the car) or a combo of pulling the bumper forward and the fender backward.
The biggest problem is the lower fender bolt. It's always rusty and usually won't move. That's what makes pulling fenders at a parts yard such a PITA. Of course all are different so yours might be in good shape. Here in Chicago things rust making our jobs much more difficult.
I removed the fenders from my parts car last weekend and I needed a torch both times. Got everything medium red hot and broke the bolt loose no problem. Without a torch it'll be extremely difficult if it's seized.
If you don't want to remove the fender you can pull the inner fender guard away from the wheel well to get access. Not ideal but can be done. Pull the tire too for more room to work.
Shims......I haven't found any on my car yet but I'm sure I'll need some. anyone know where they're originally used and what they look like?
My $.02 is
- Early IROC wheels (single stripe) over 92 Z28 wheels.
- Fixed antenna over power antenna... I replaced the busted power antenna with a stock fixed mast.
Originally Posted by robguitargod1
I have a few things I'd like opinions on.
Wheels - Stock Z28 wheels:
Or 85-87 IROC wheels:
I like the idea of a power antenna and can rebuild it so it won't break (there's a thread here about it) but it also might be more trouble than it's worth.
Stock wheels are the way to go. I could change my mind 10 mins from now but I too like single stripe wheels. Polished (fine but not like a mirror) with the stripes and anything set back painted black.
Pros and cons on the power antenna. I have a factory pwr antenna on my T/A. It didn't work when I got the car. I made the repairs (wiring) and it works just fine. What I've learned; it's nice that it's not constantly up and I don't need to worry that it will get bent or broken. The down-side, every time I turn on the radio it goes up. A solution would be to have an out of the way switch in-line with the antenna power so that if I want it up, I have the option. If there is a modern radio with iPod or USB input, the antenna doesn't need to be up.
Pros and cons on the power antenna. I have a factory pwr antenna on my T/A. It didn't work when I got the car. I made the repairs (wiring) and it works just fine. What I've learned; it's nice that it's not constantly up and I don't need to worry that it will get bent or broken. The down-side, every time I turn on the radio it goes up. A solution would be to have an out of the way switch in-line with the antenna power so that if I want it up, I have the option. If there is a modern radio with iPod or USB input, the antenna doesn't need to be up.
I might be putting too much thought into such an insignificant topic. The car won't be going through any automatic car washes so I'm not worried about it getting bent. I think I'll stick to a fixed antenna until the car is done and I need something else to modify.
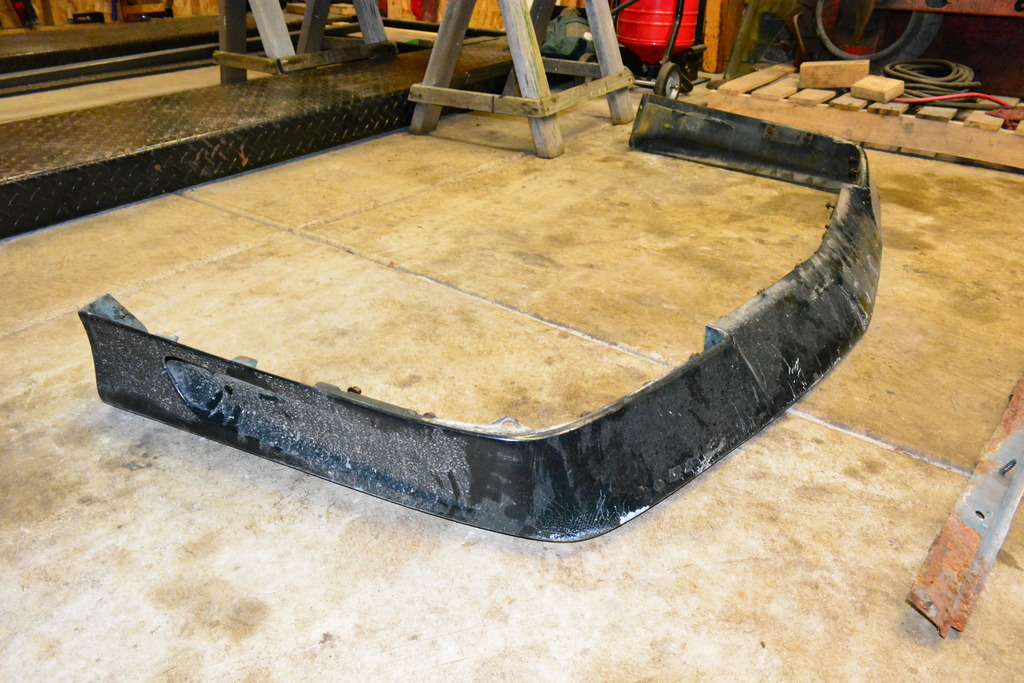
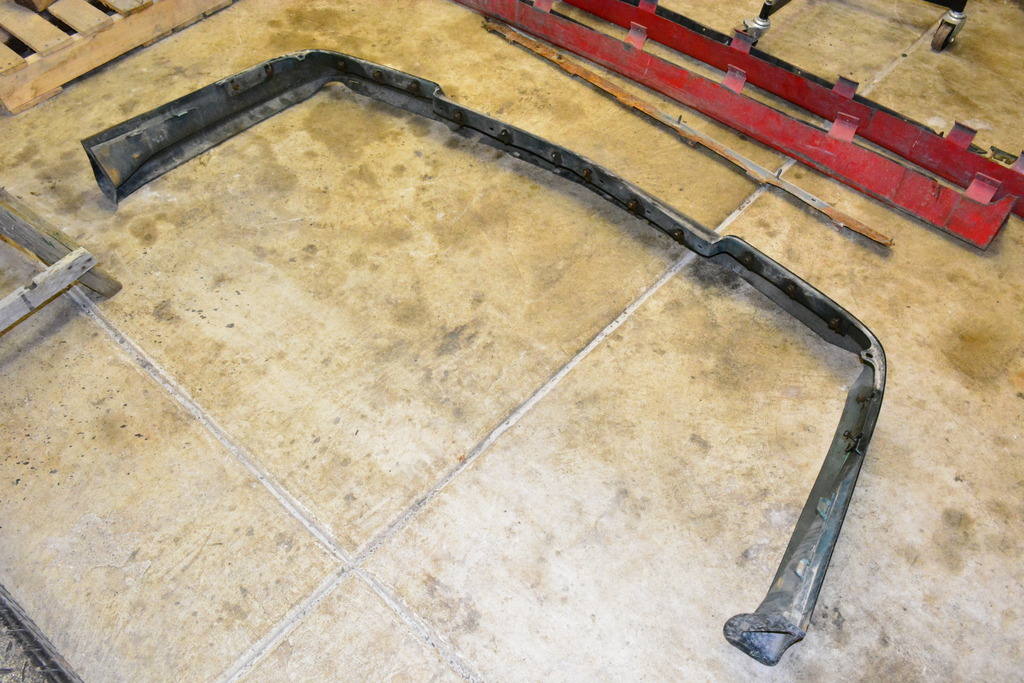
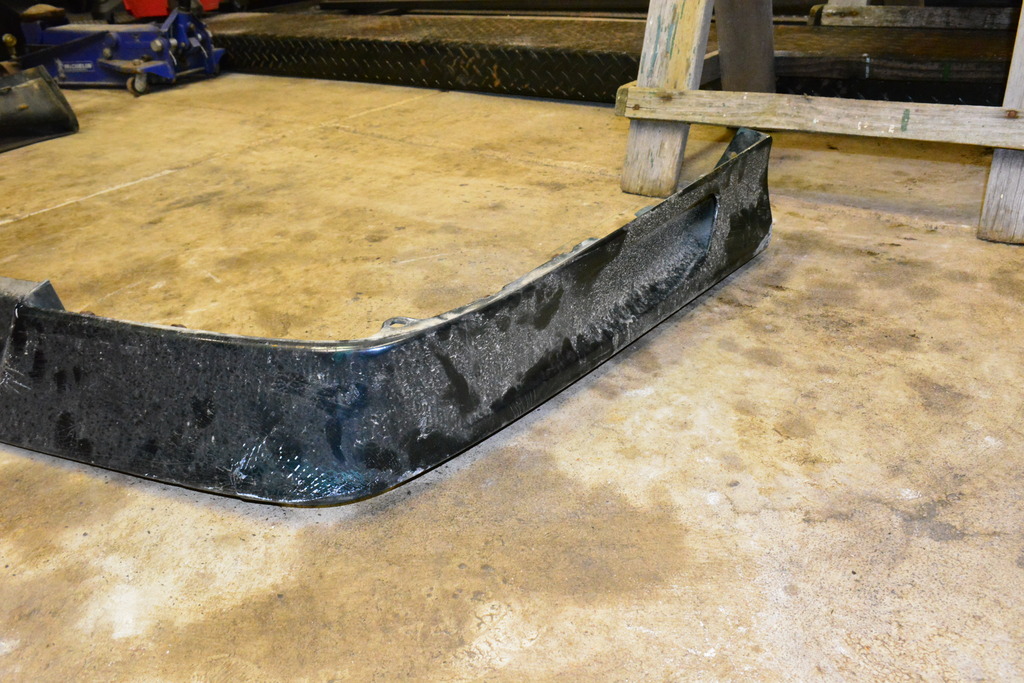
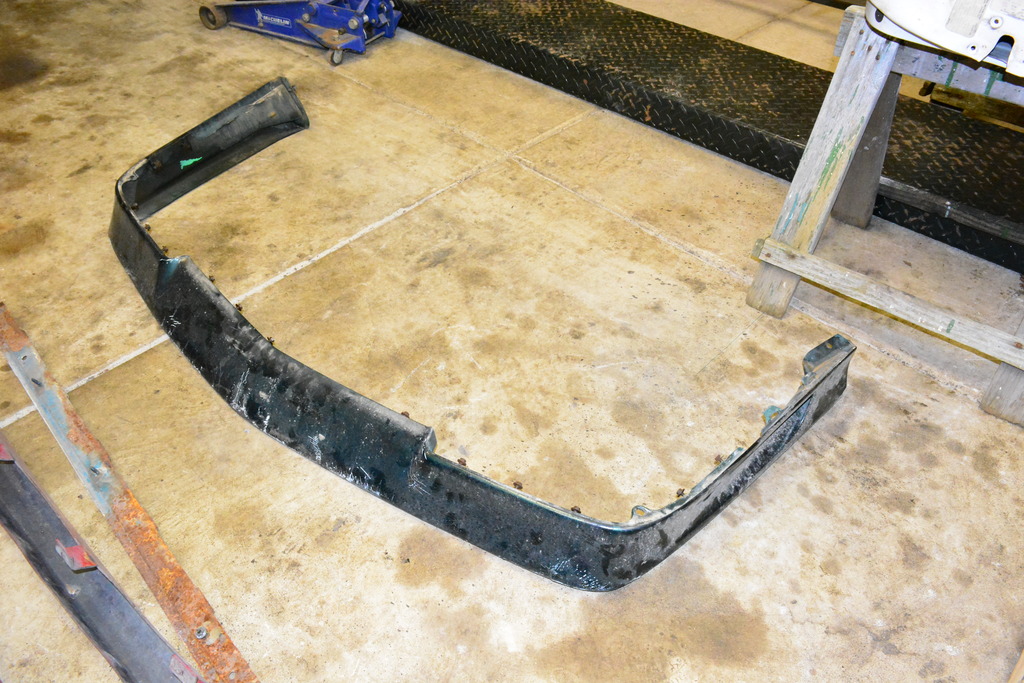
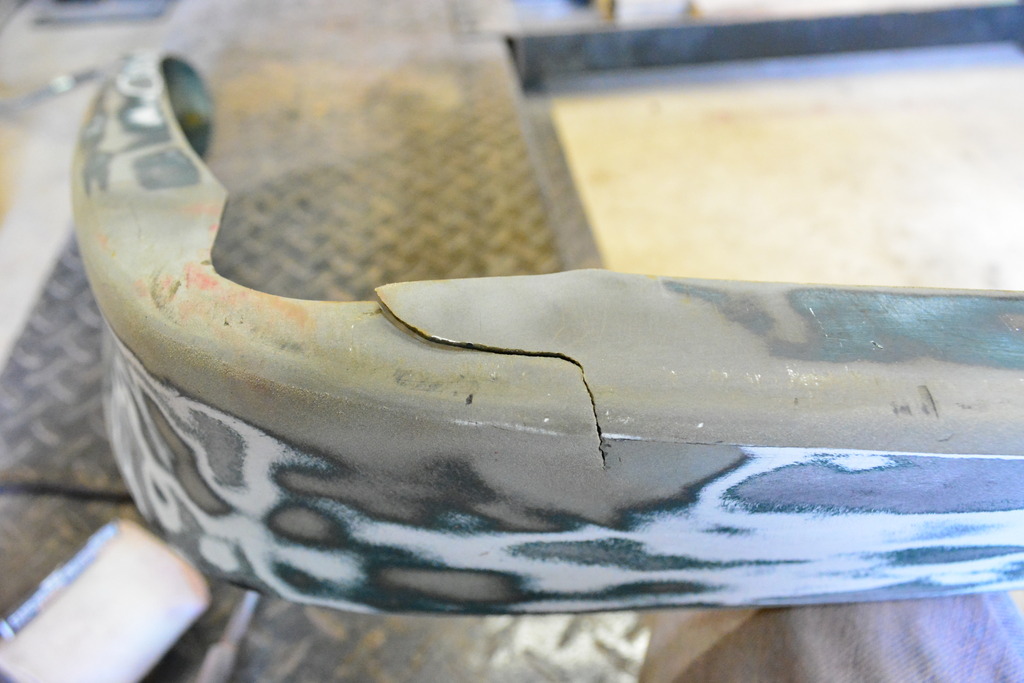
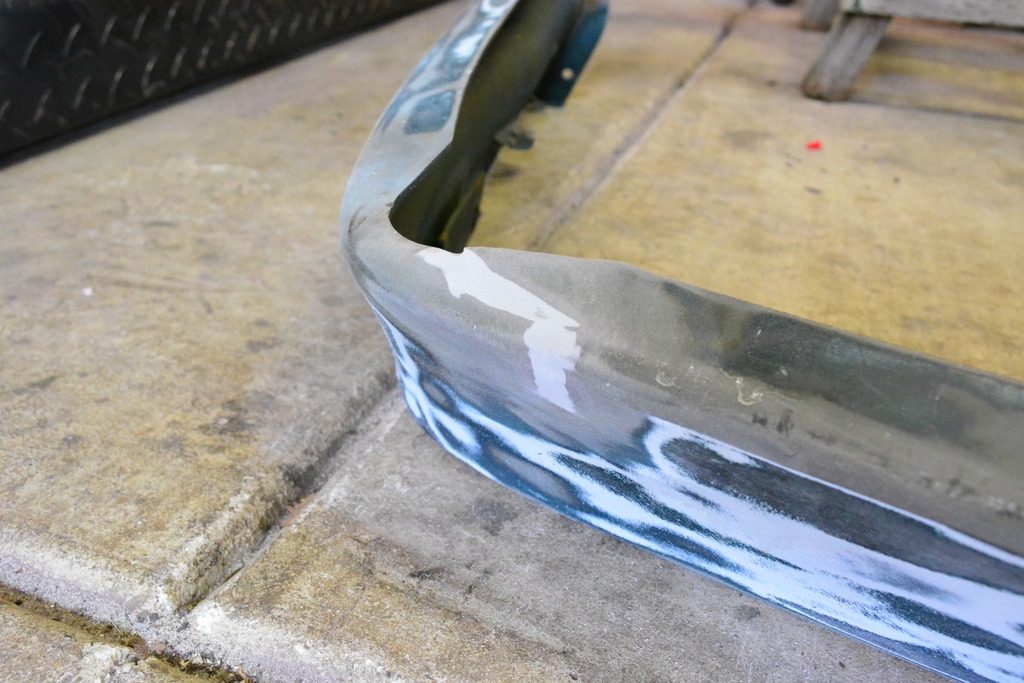
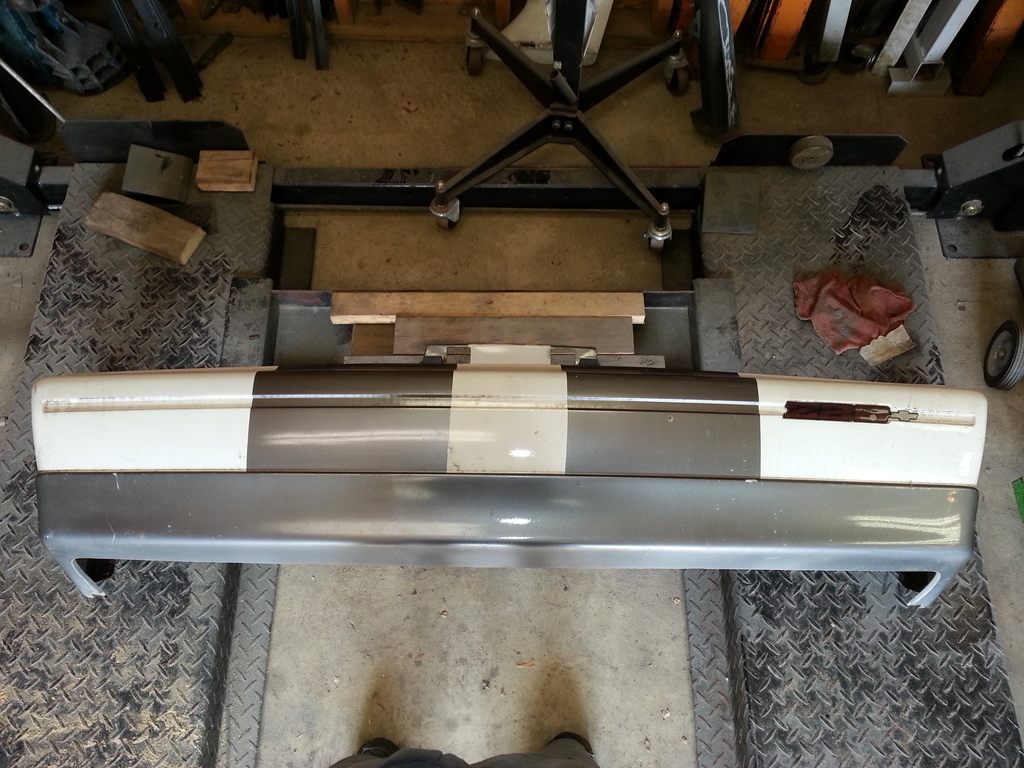
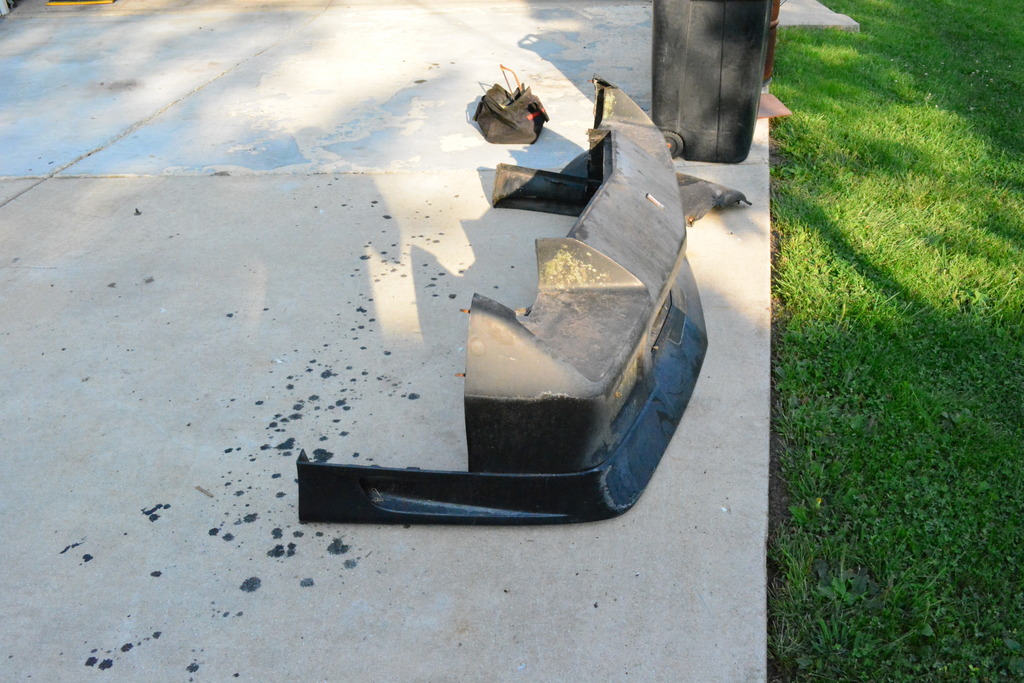
Took a half day today to go to Victory (parts yard)for a front bumper cover since the one I have is damaged. Found one is great shape with the ground effects for $45. Tonight I sanded the drivers fender and tomorrow I'll be sanding everything once it's all mocked up onto the car.
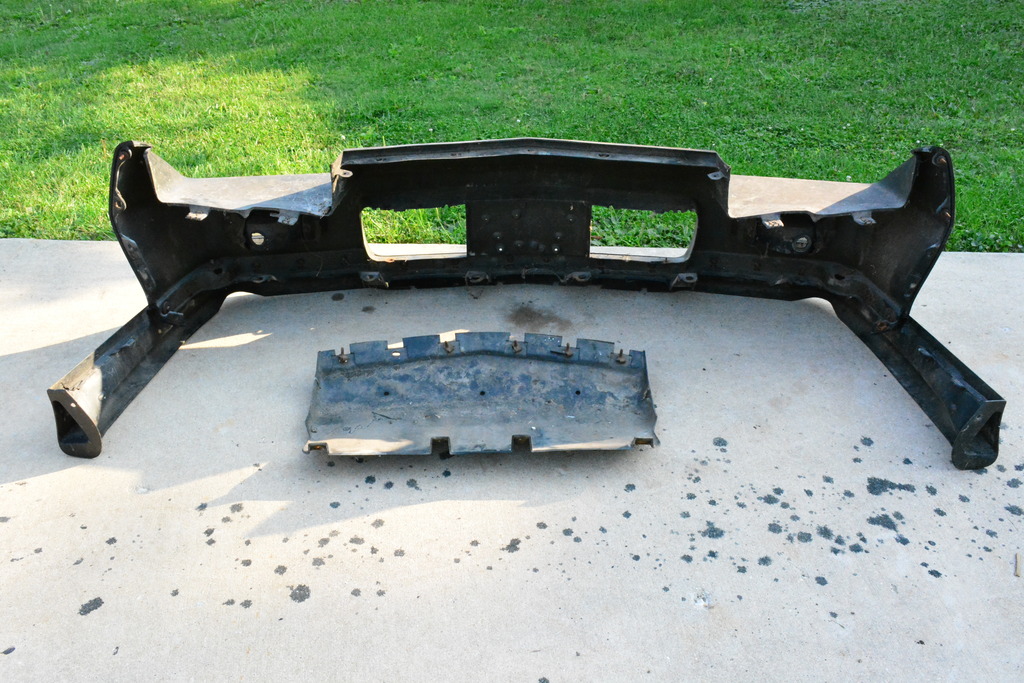
The only thing I'm missing now is the rear inner bumper. The one I have is from a '91 formula and won't work with my Camaro.
Got some work done this weekend but not enough. After working on the passenger fender I decided to scrap it.
So because I needed a fender and I had gotten the front bumper off of the '92 I'd found at the junkyard, I went back to check out the cars passenger fender. Turns out it was in great shape so I grabbed it for $40.
Will be picking up the rear inner bumper tonight from a local guy tonight.
Here's the new fender and me using some guide coat to refine the doors bodyline.
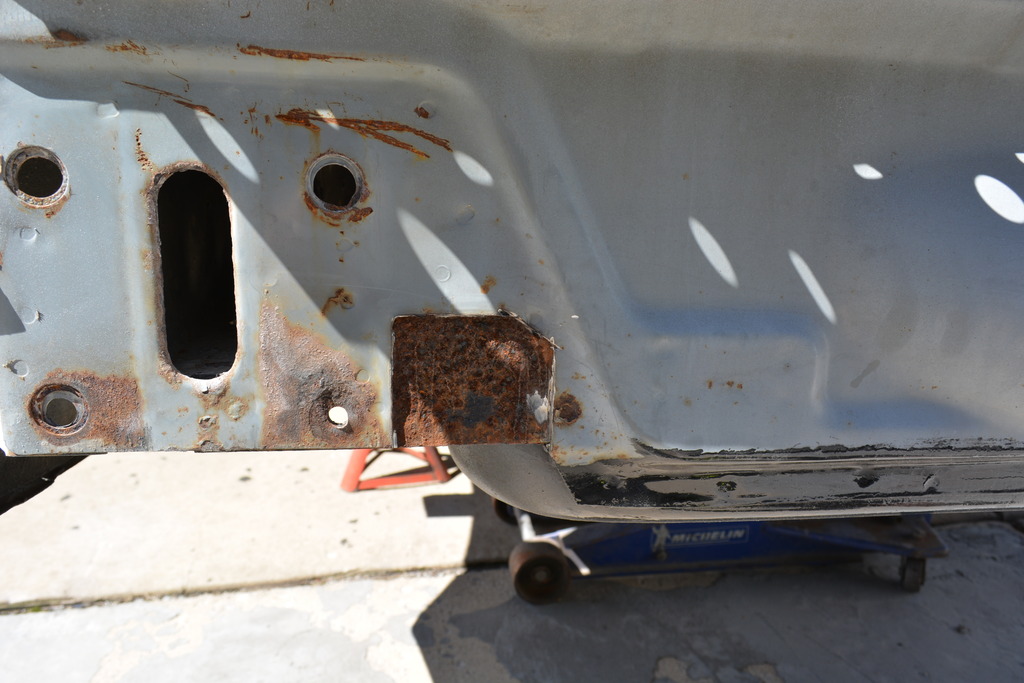
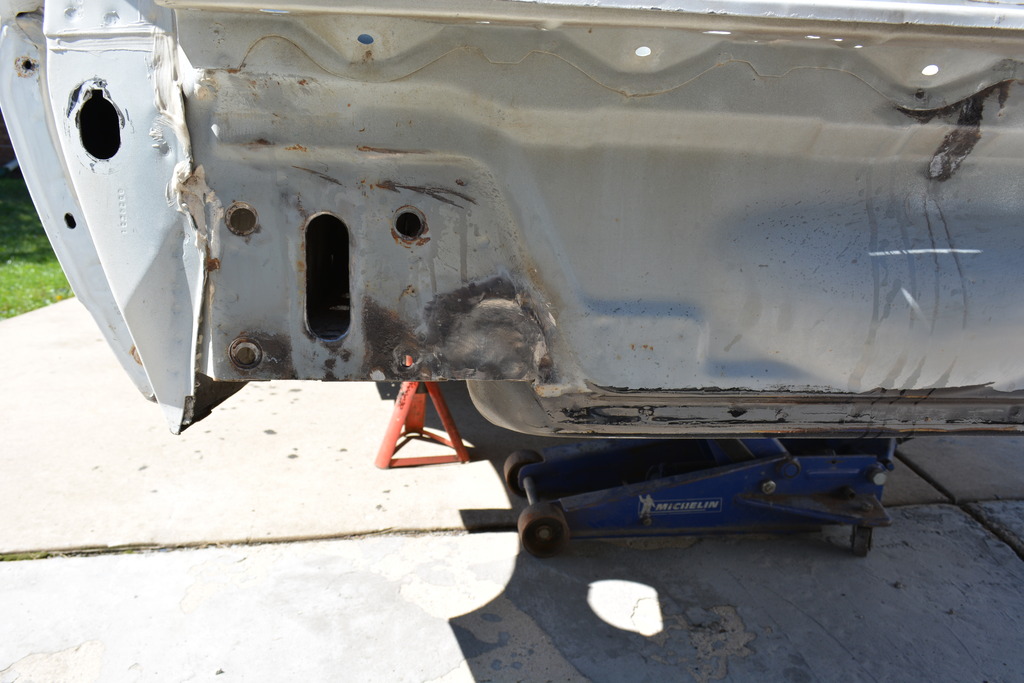
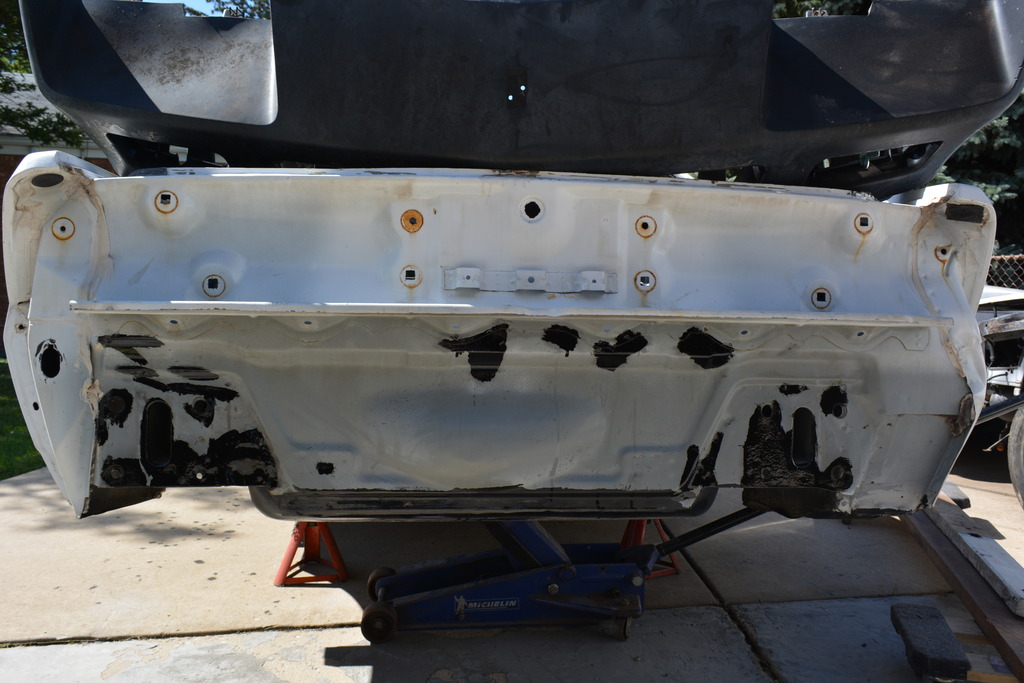
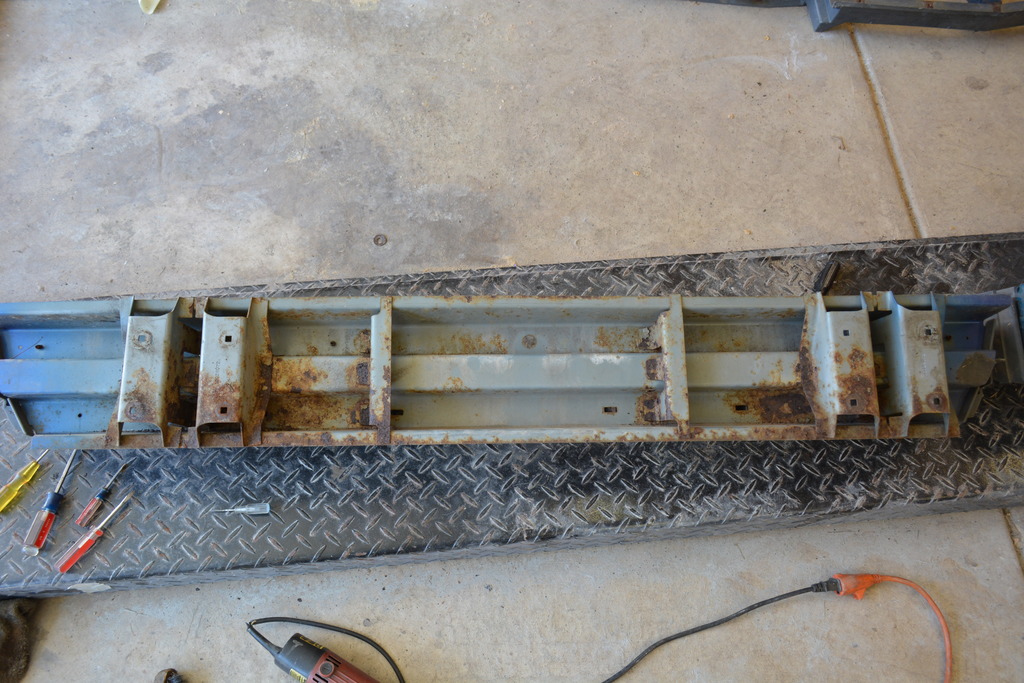
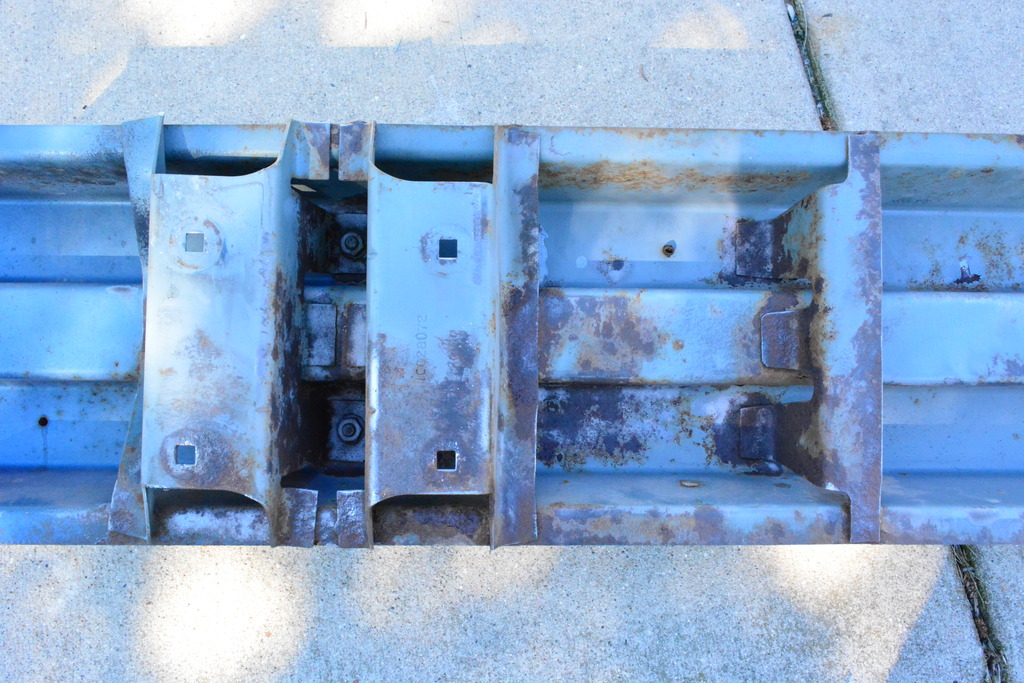
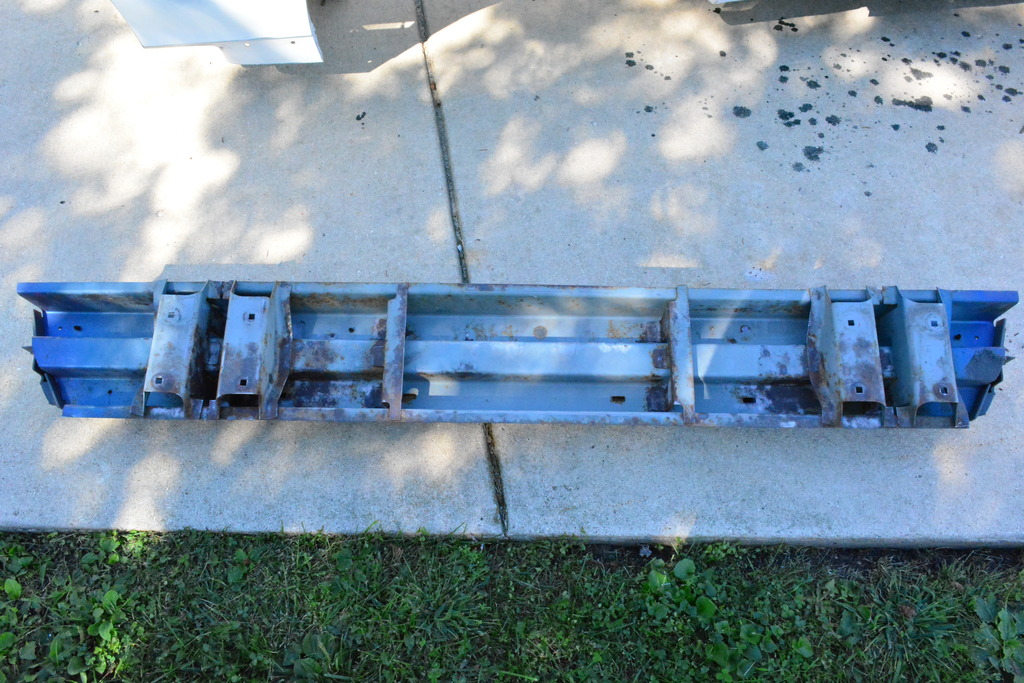
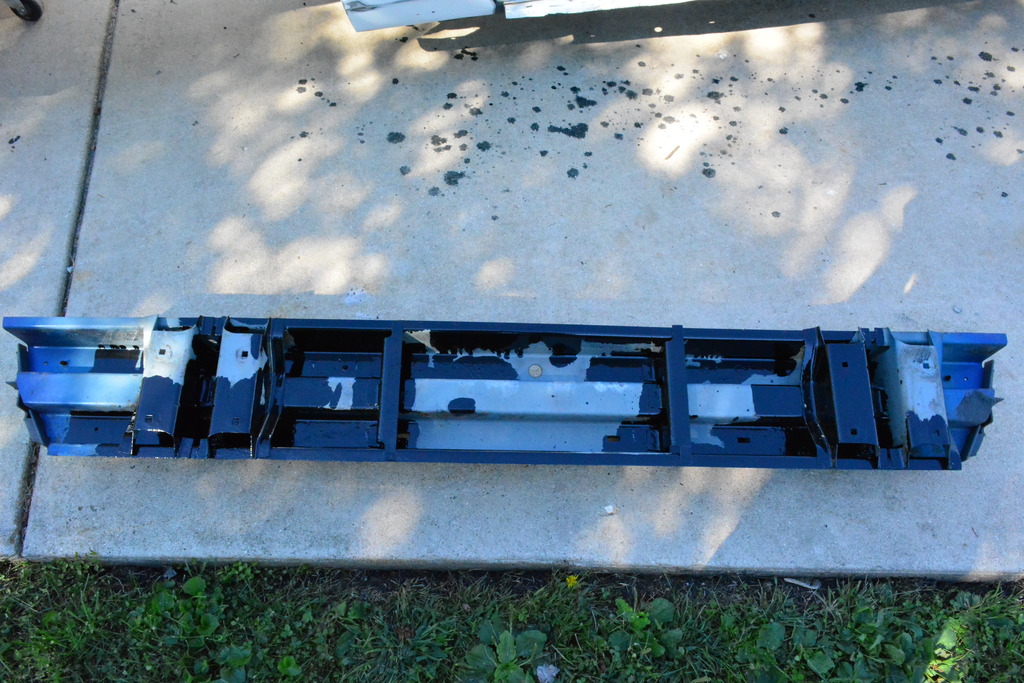
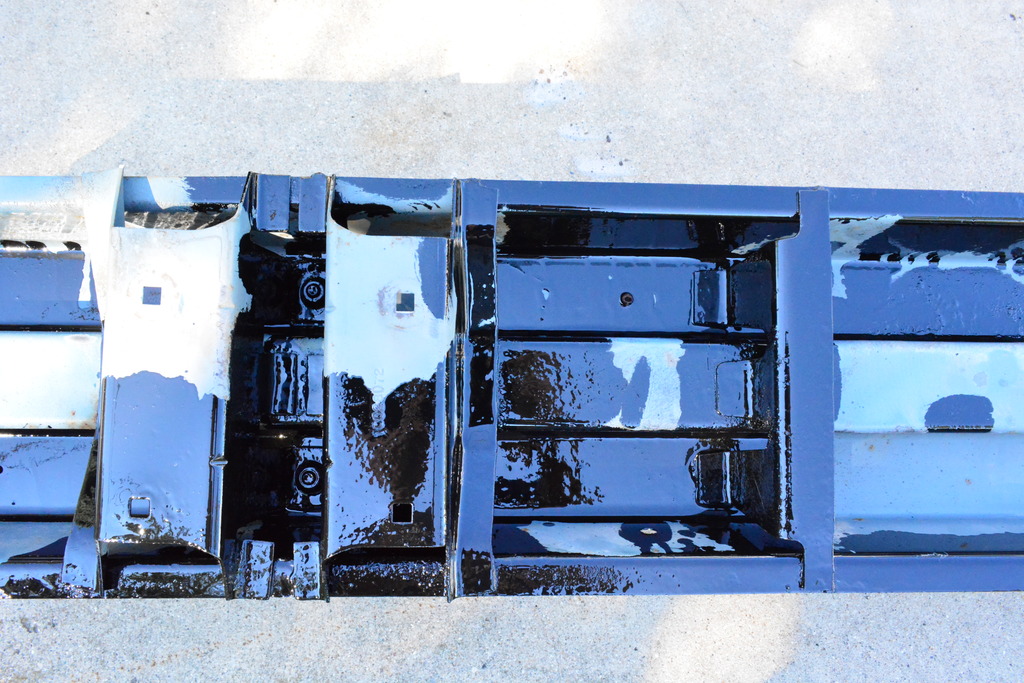
Had to switch thing up today and do some metal work. Patched a small rusted area behind the rear bumper, then ground a few other areas with a wire wheel, then POR15 painted the areas.
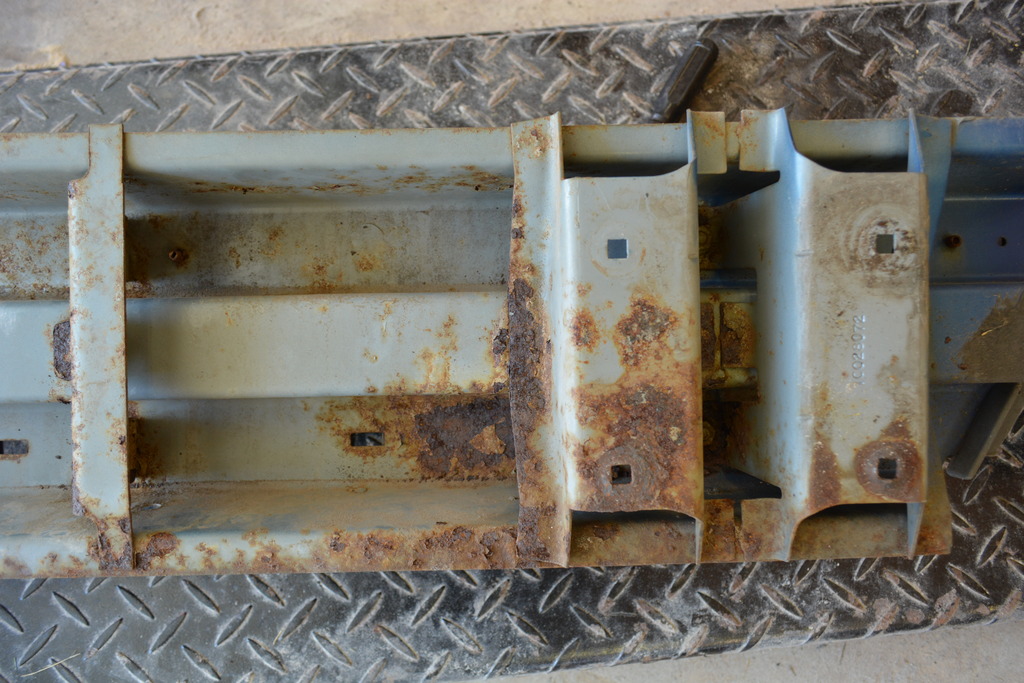
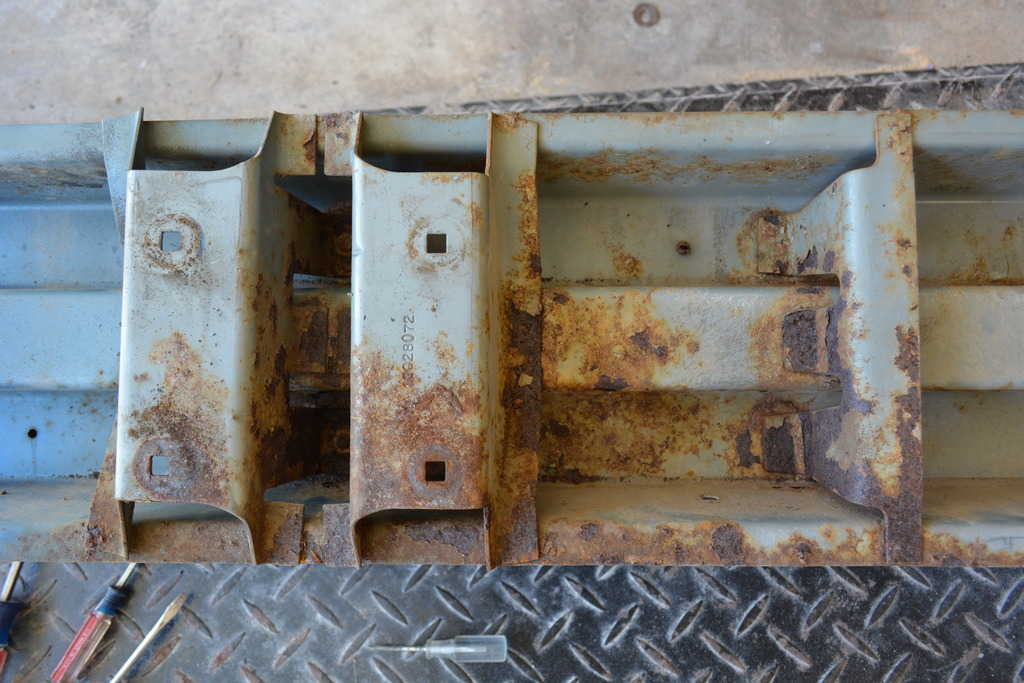
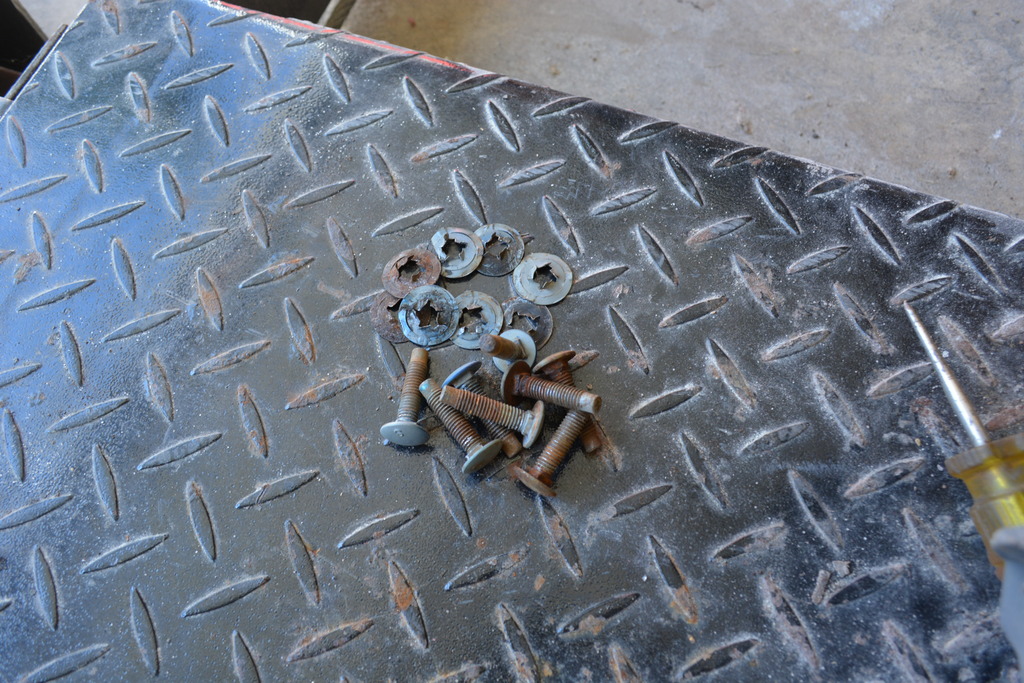
Then I started cleaning up the rear inner bumper with the wire wheel and sandblaster. Then I painted those ares with POR15 too. Also removed the bolts and retainer so I could clean them up.
All of this will never been seen of course, but I couldn't NOT do it!
Somebody previously cut a hole in the drivers battery tray so I finished smoothing it out. Was very jagged before.
If was for a cold air tube that went to the supercharger, THIS tube to be exact.
My second supercharger system came off that car when they upgraded from Vortec to ProCharger. That car did have South Side Machine Company subfame connectors on it; they must have gotten stripped off too.
Awesome. Please tell me as much as you can about the car!
Whatever subframe connectors may have been on the car were gone before I got it. Must have been bolt on too because it's clear that nothing was welded on.
The car was built and tuned by Larry at ASSC Racing in Lake Bluff, ILL. The SSM subframes were welded; I'm positive of that because I looked at them installed on the car when Larry and I were talking about what to put on my car after I bought the blower setup. I also copied the fuel system that was on that car(and Larry's personal car) and the system is still on my car and will support roughly 1000hp with a forced induction application.
The supercharger system I bought was a Vortec R-trim that was running 10.4X at 14X mph when removed. It was only removed to upgrade to a ProCharger D1 shortly after it was introduced to the market. I'm pretty sure that Larry/ASSC got ProCharger to provide some sort of sponsorship for the car and that is why the switch was made. That car (and I'm sure its the same car) was actually the car used in the Procharger magazine advertisements that show it leaving the line with the front wheels about 12"+ in the air!!!
That car, Larry's personal 1991 Formula, and maybe a maroon 88ish GTA that Larry built are the cars that were used to develop the 3rd gen ProCharger kits. If I remember correctly, Larry's car had the first twin intercooler kit for a third gen because he is the one that did the fab and R&D work to make the kit fit and be able to be mass produced. Some haters on TGO will claim that "Willie" from this board was behind the 3rd gen 'twin IC setup', but the only thing he was behind was Larry and a few years.
Hope this helps. Good luck with the restoration; glad to see it happening!
REALLY old pics BTW, but it gives you an idea of hwat it looked like because that Camaro also had a Stupid Ram on it when I bought the blower.
Wow super cool! I need to see a picture of this car during that launch!
Man you seem so positive this is the car, but I'm pretty positive there has never been subframe connectors welded onto this car. I had this thing on a rotisserie (there are many pics of it in the thread) for about a year and was able to closely inspect the underside of this car. Maybe I'm wrong and they were removed without a trace! It did have a big procharged decal on the windshield, or maybe it was the hatch glass....I'll have to look at pics.
I have so many questions man......like why was the car torn apart?!? It doesn't seem to have any crash damage.
When were the mini tubs installed and who did them?? They weren't perfect but were done well. I finished what metal work needed to be done.
What rear was in the car?? What trans?? Why was it sold to me for a mere $200???
Thanks for the input my friend!
Last edited by robguitargod1; Sep 16, 2015 at 09:57 AM.