When you click on links to various merchants on this site and make a purchase, this can result in this site earning a commission. Affiliate programs and affiliations include, but are not limited to, the eBay Partner Network.
This might get lengthy, but I'll do my best to make this as readable as possible.
I bought an '86Z in 2009. This is it at a car show:
It had a well-built 355, 700R4, 3" fiberglass cowl hood, and ran very well. I did a T56 swap a few months after buying it. Also built a Currie 9" for it. Here's a thread I made of installing the gears:
Then I noticed how bad the floors were. Around this time I found a complete '99Z LS1/T56 car:
So I sold the engine/trans from the '86, to pay for the '99. I pulled the LS1/T56/fuel tank, and sold the '99 as a roller.
So at this point the '86 had no engine/trans, just the Currie 9". I also now had a complete LS1/T56/plastic fuel tank.........but no car to put all these parts into.
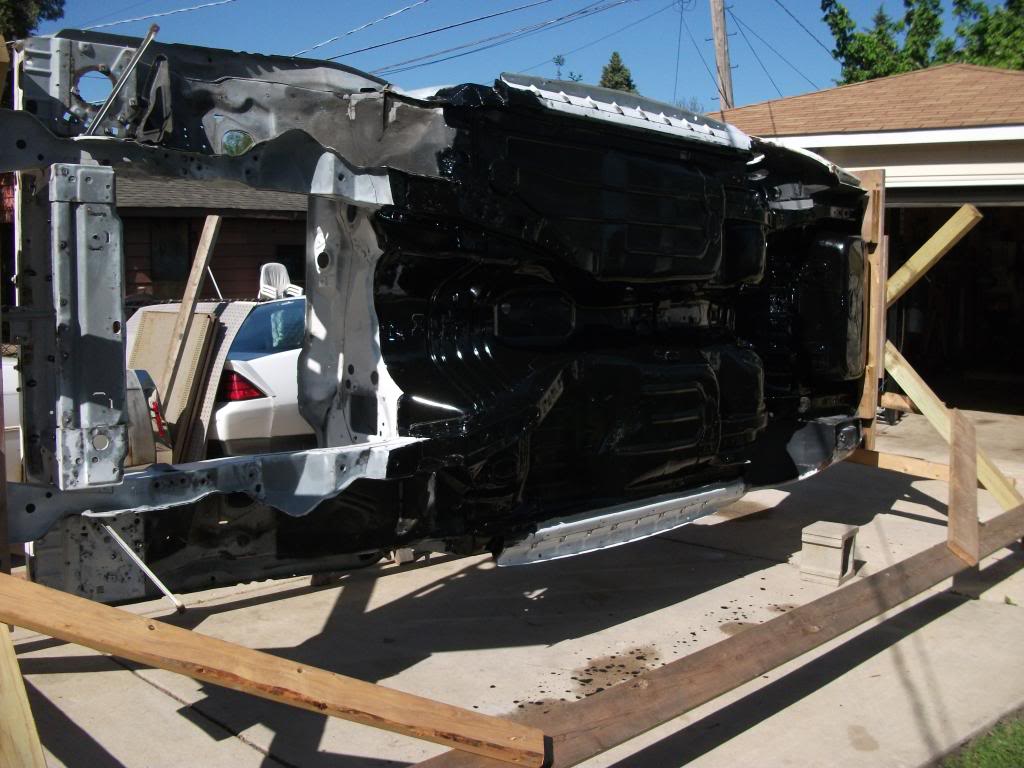
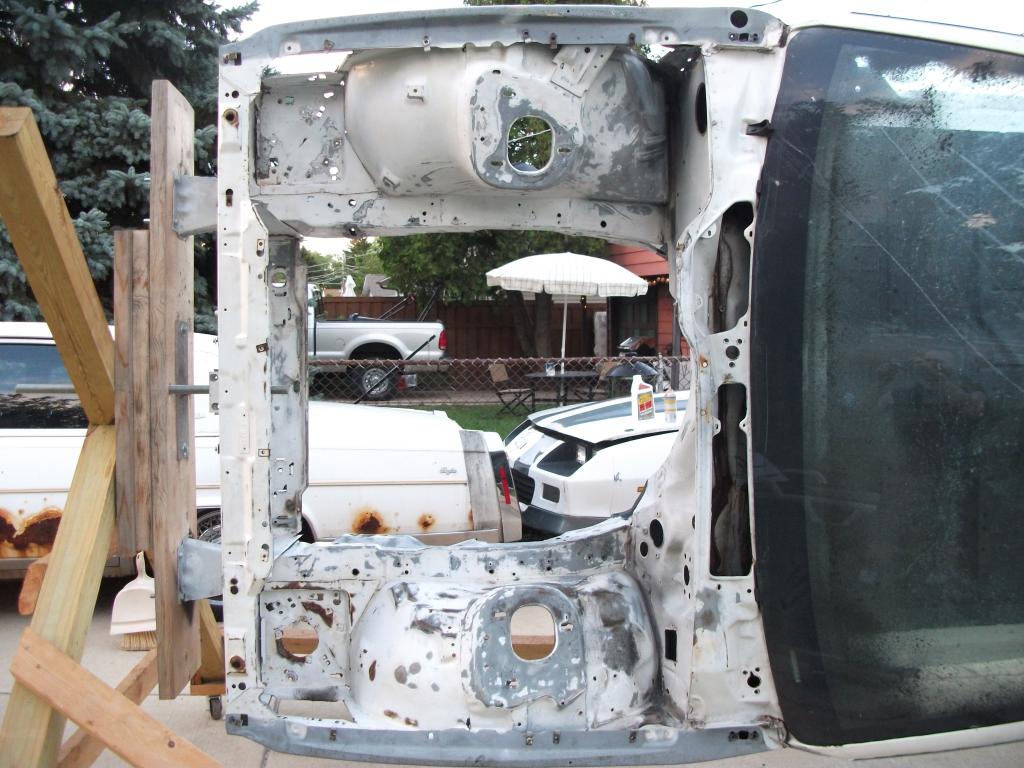
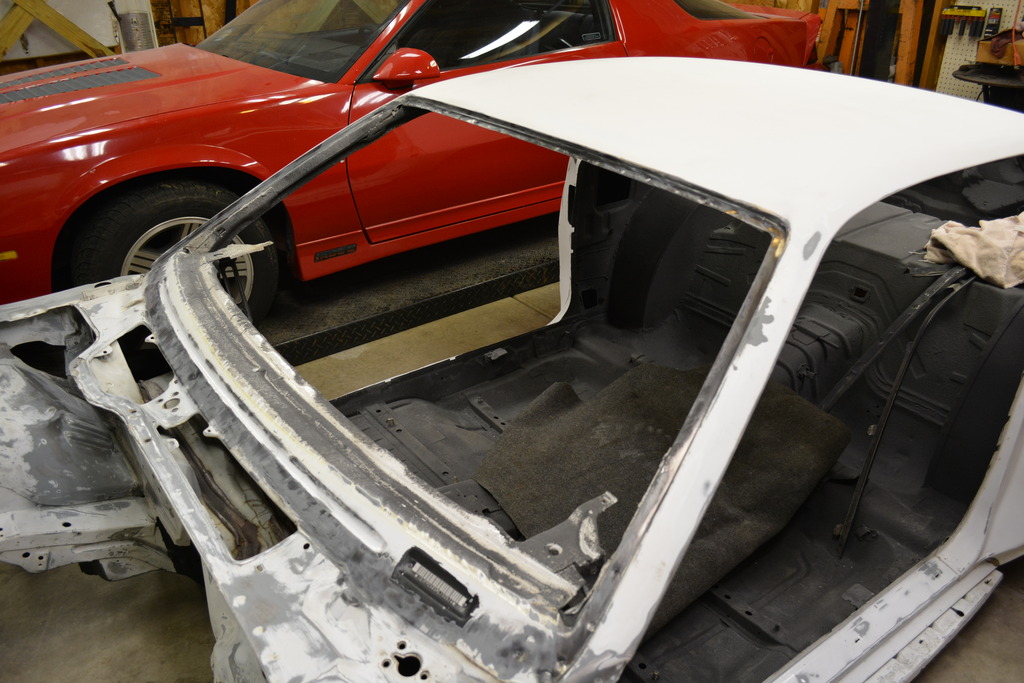
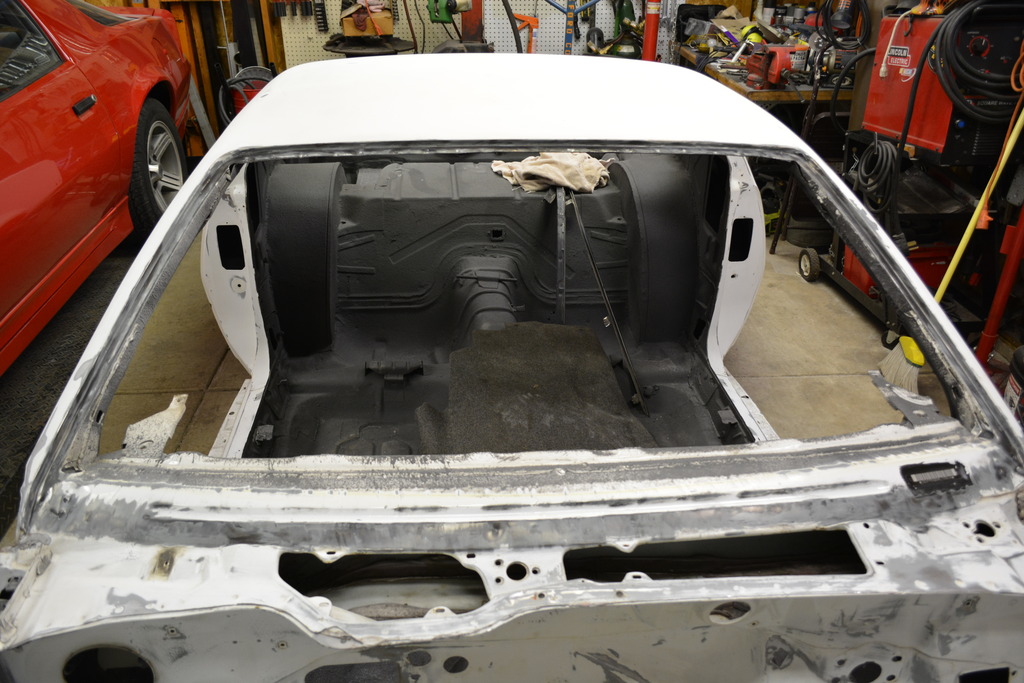
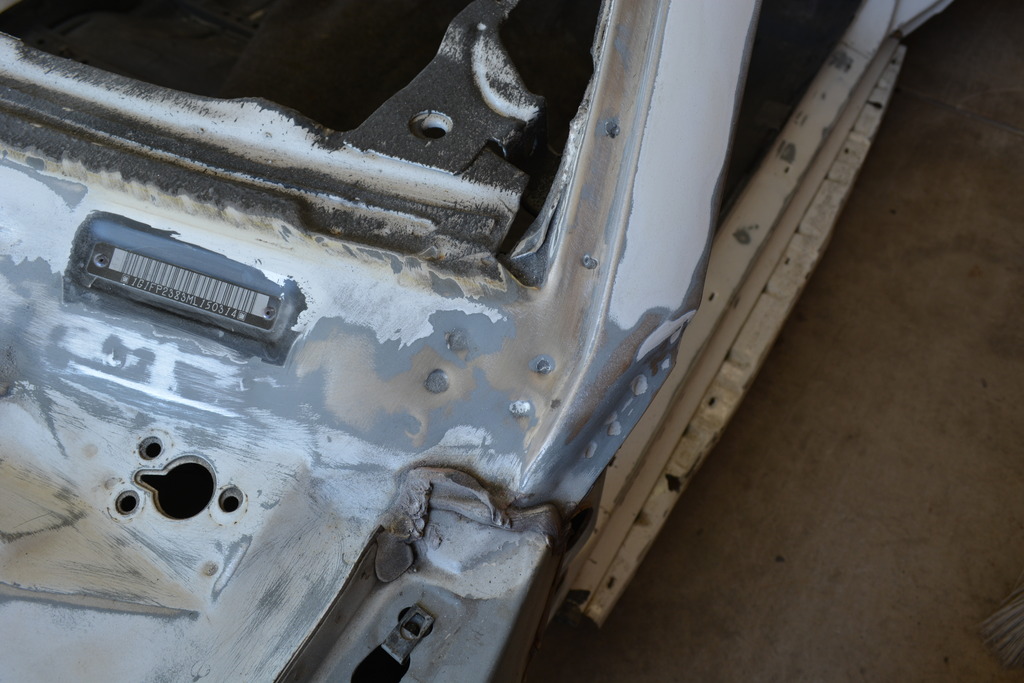
So one night I'm trolling craigslist and I found a '91Z shell that had been mini-tubbed. It was bare, but had FAR less rust to contend with (compared with the '86) had already been mini-tubbed, and only cost me $200. There ended up being more rust to deal with than I had anticipated, but it's been dealt with. It was a chore to get it home, but I made it happen. Here's a thread I made about the car:
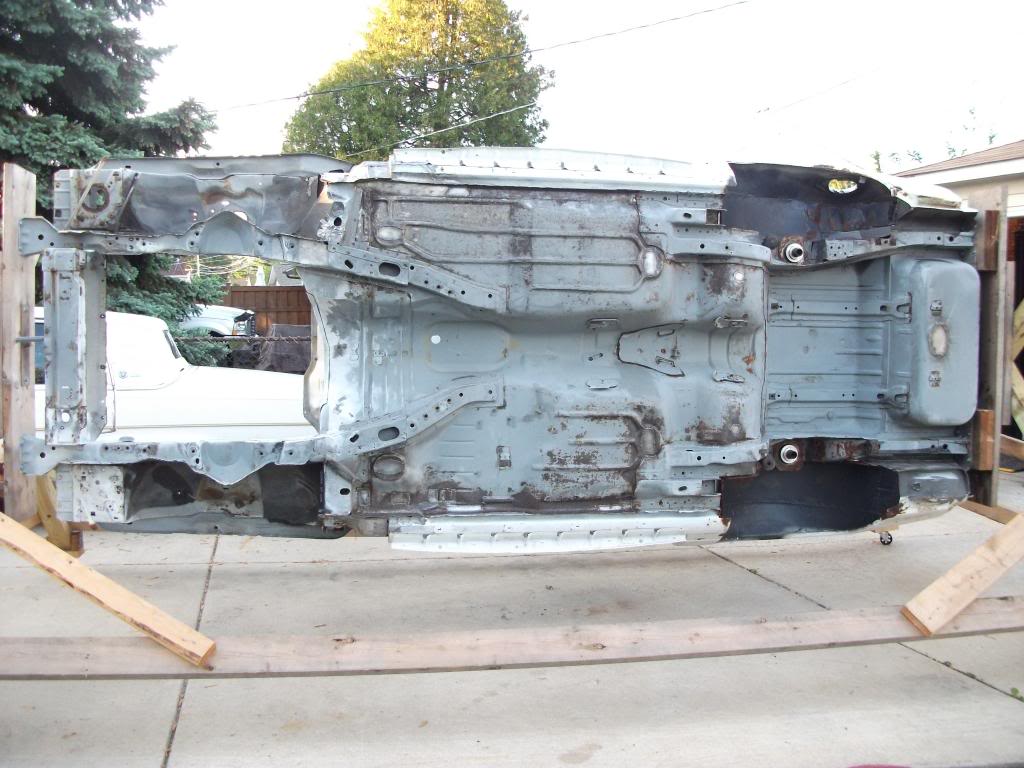
After I built the rotisserie I cleaned/degreased the bottom, then it sat. Again......
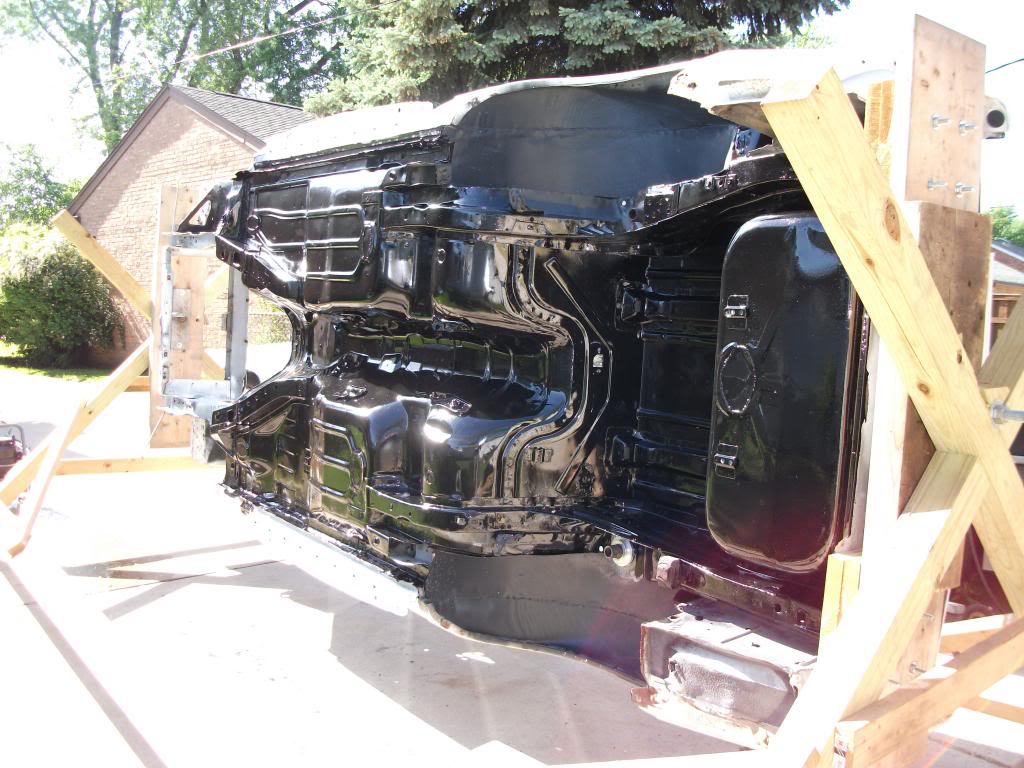
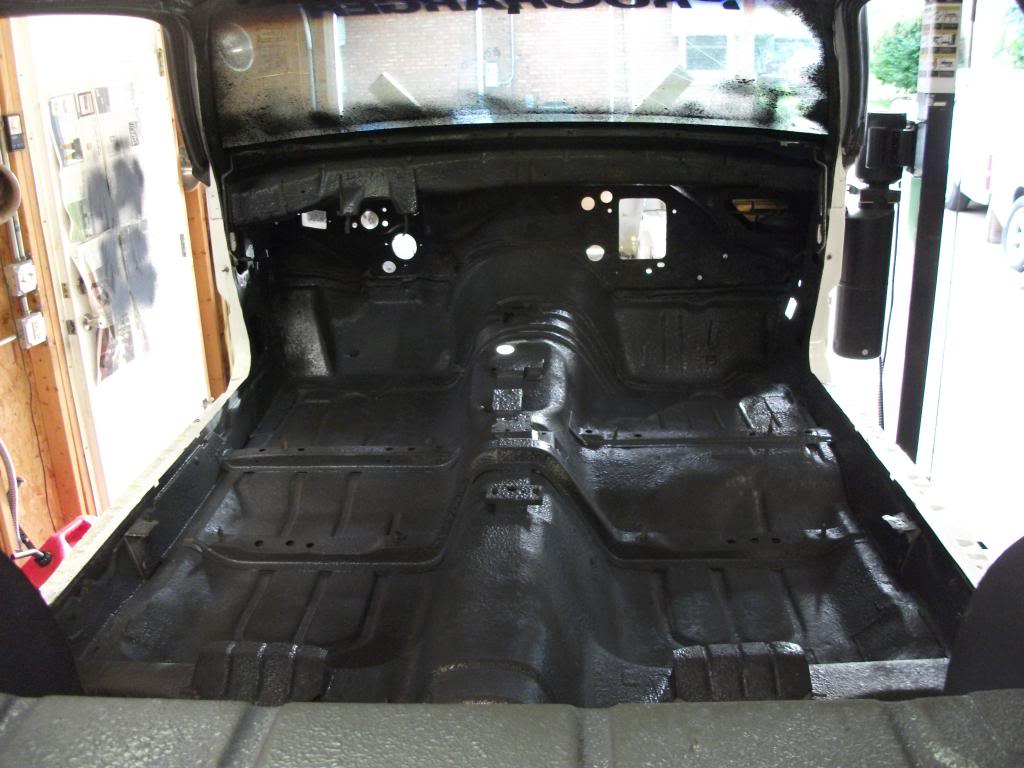
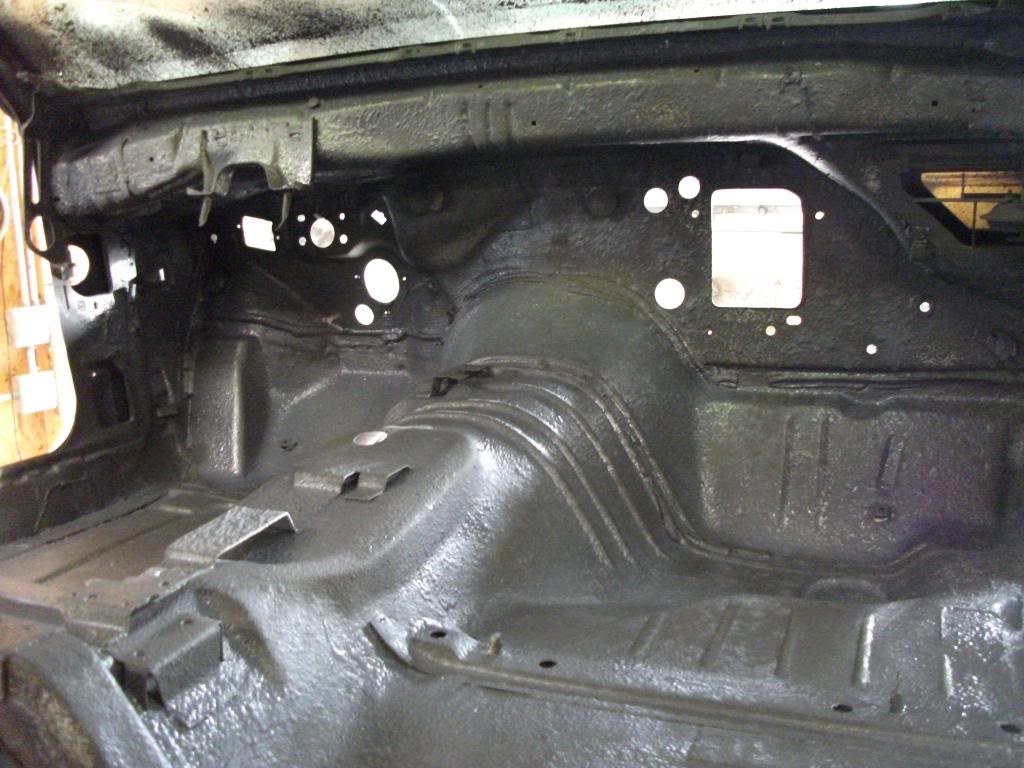
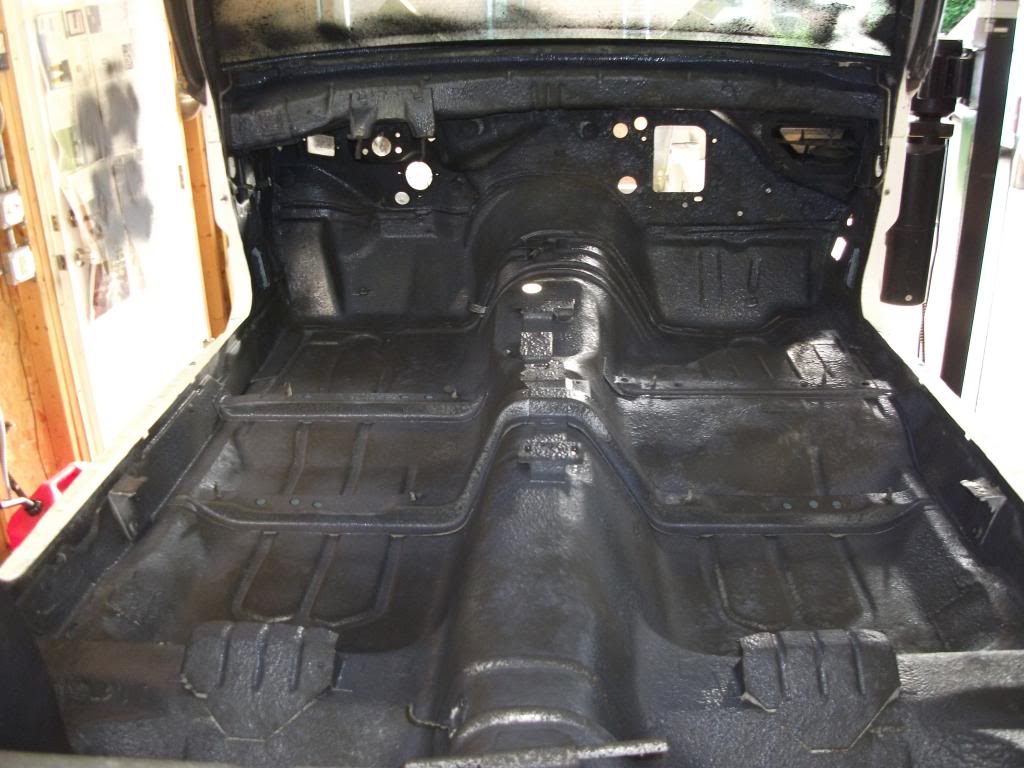
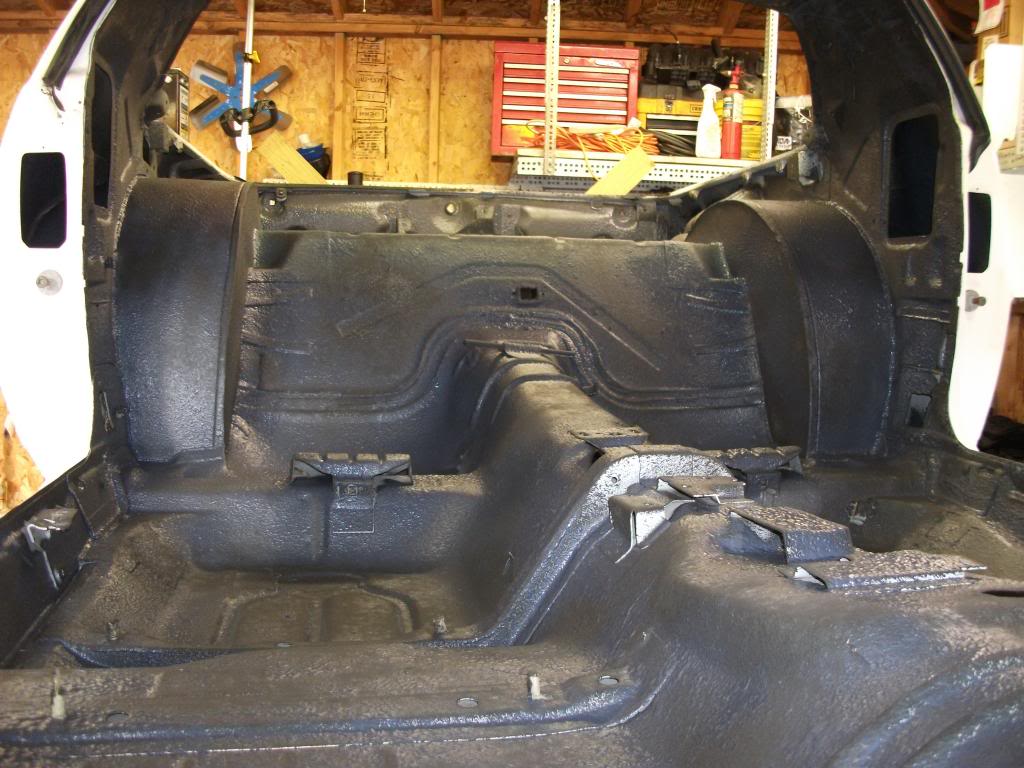
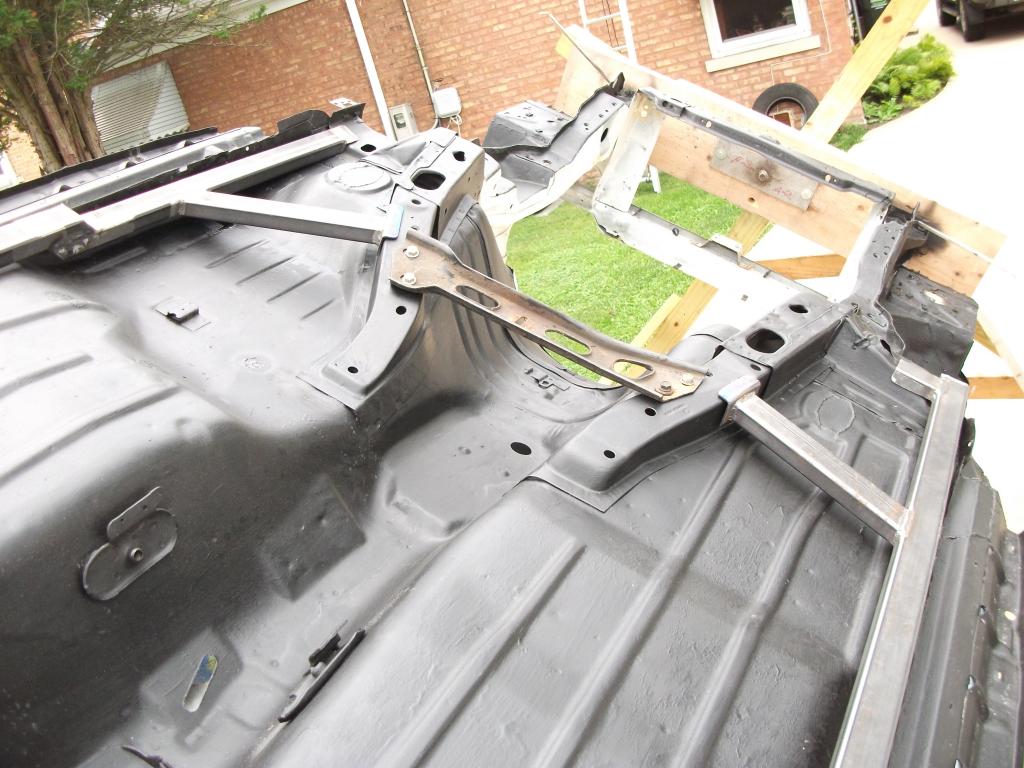
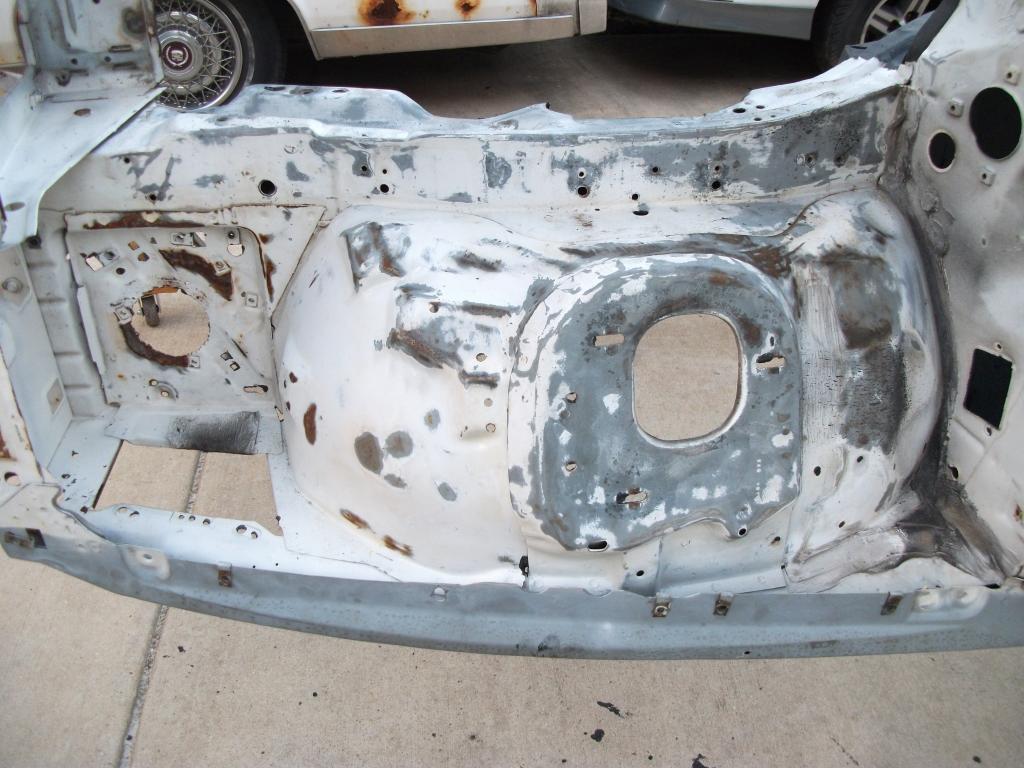
So now to the present! I finally decided to do some real work on the car, and I'm happy to say that the bottom/floor is FINISHED. Let me walk you through what I did over the last week and a half.
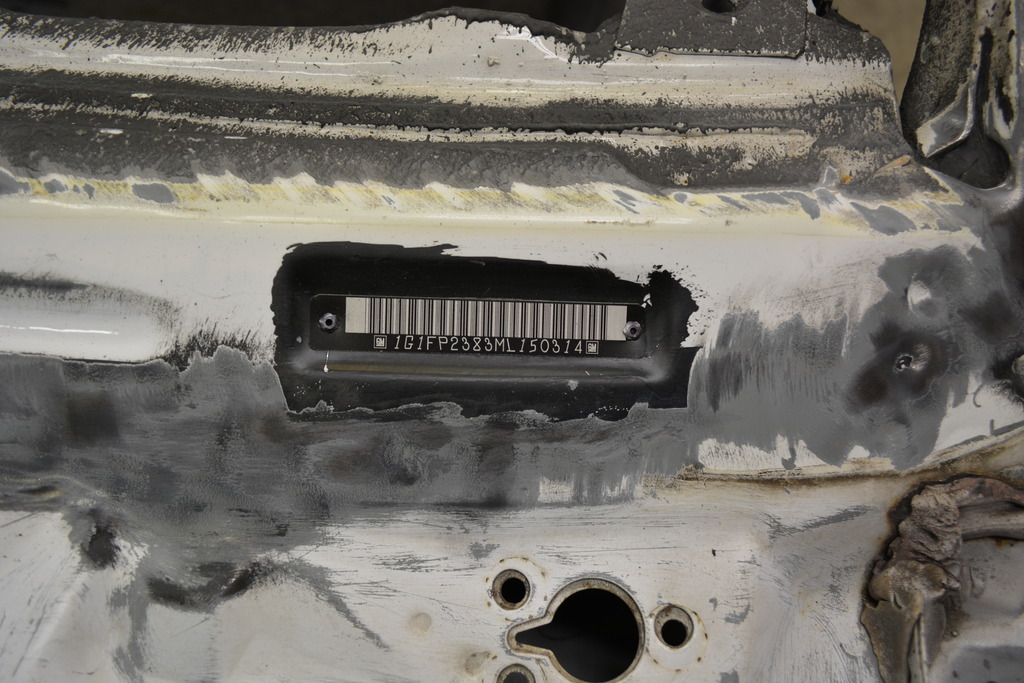
I started by patching the 7 body plugs. There's also 2 more above the fuel tank, but they're seam-sealed and I didn't feel it was necessary to do them.
First I pulled the plugs:
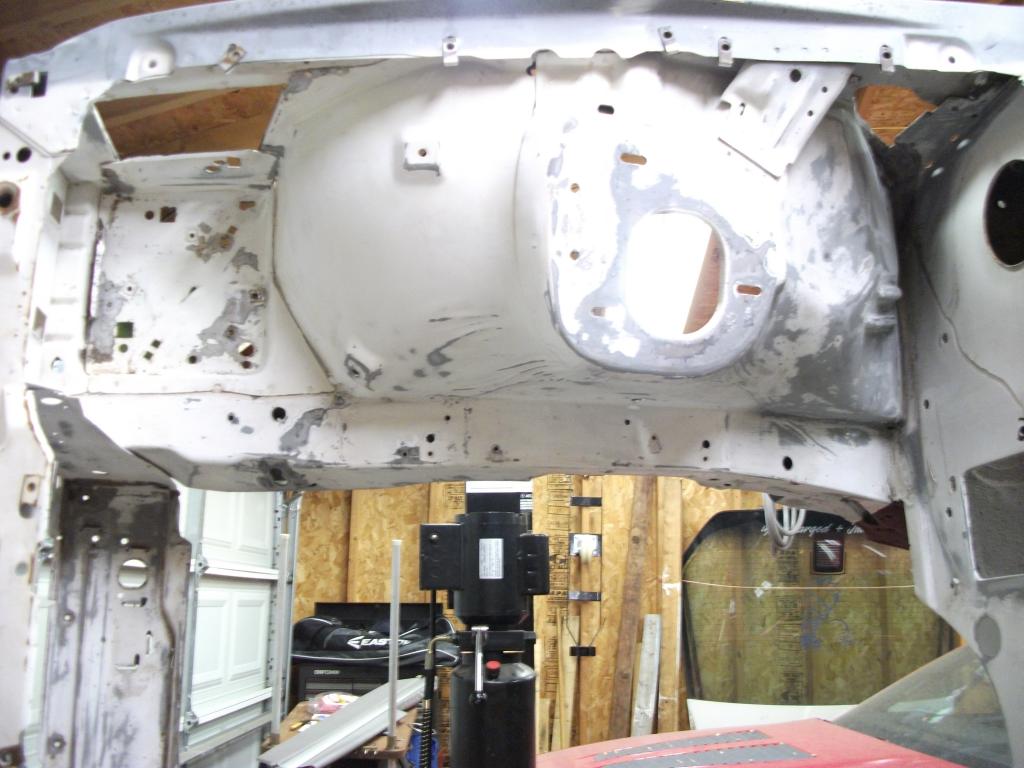
Then scrapped away the sealer from the inside:
Then cut out the entire area so that the patch would extend over the entire area:
Cut out the patch:
And welded it in:
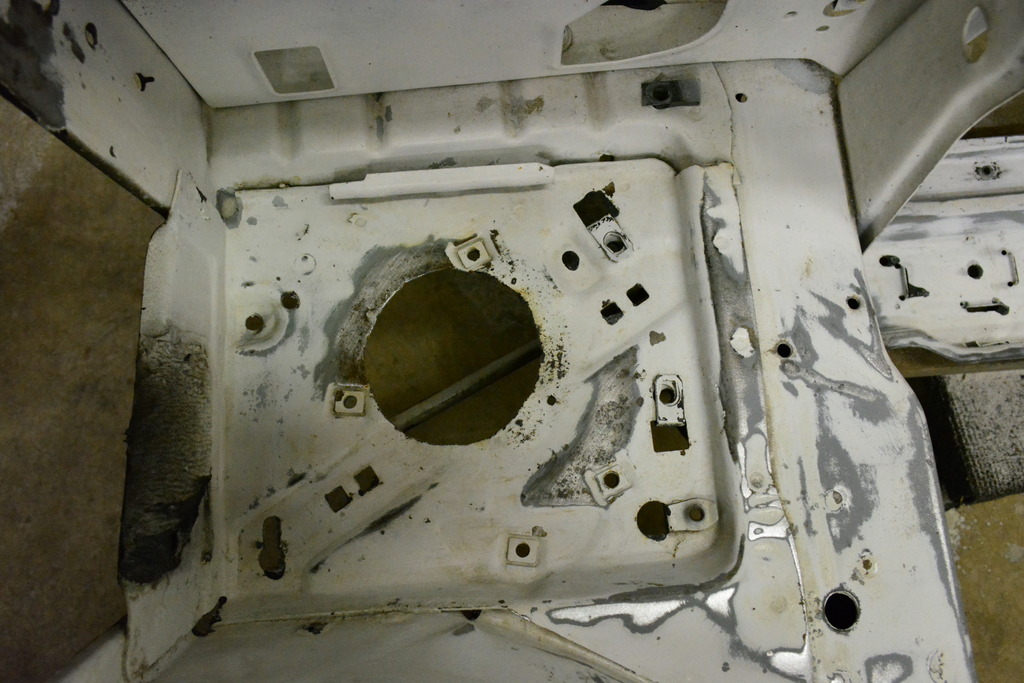
Here's one of the round plugs underneath the passenger seats:
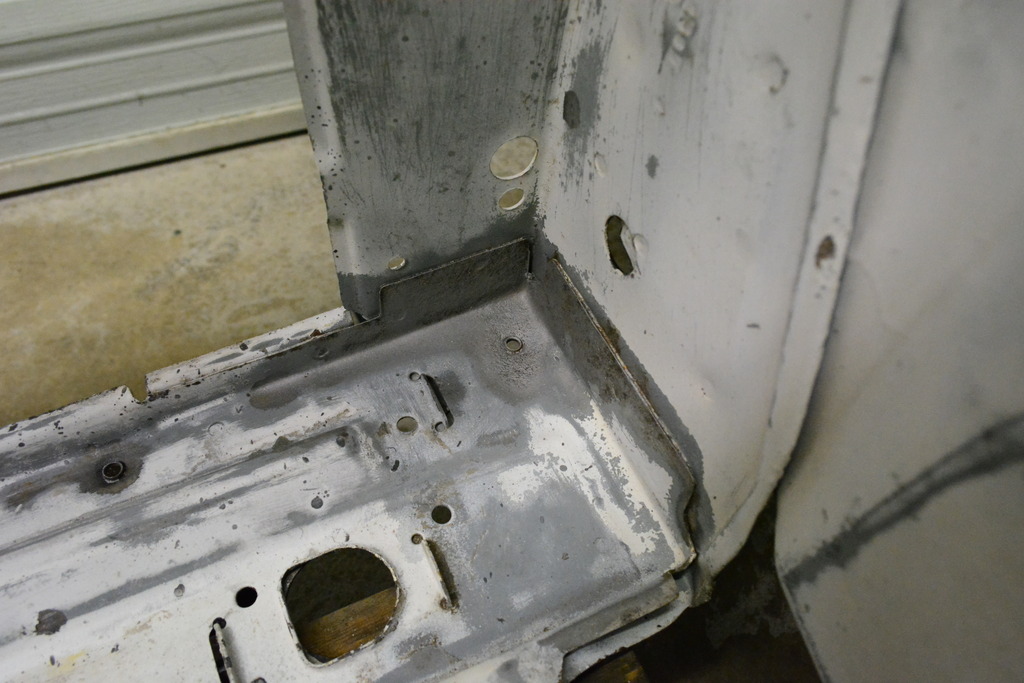
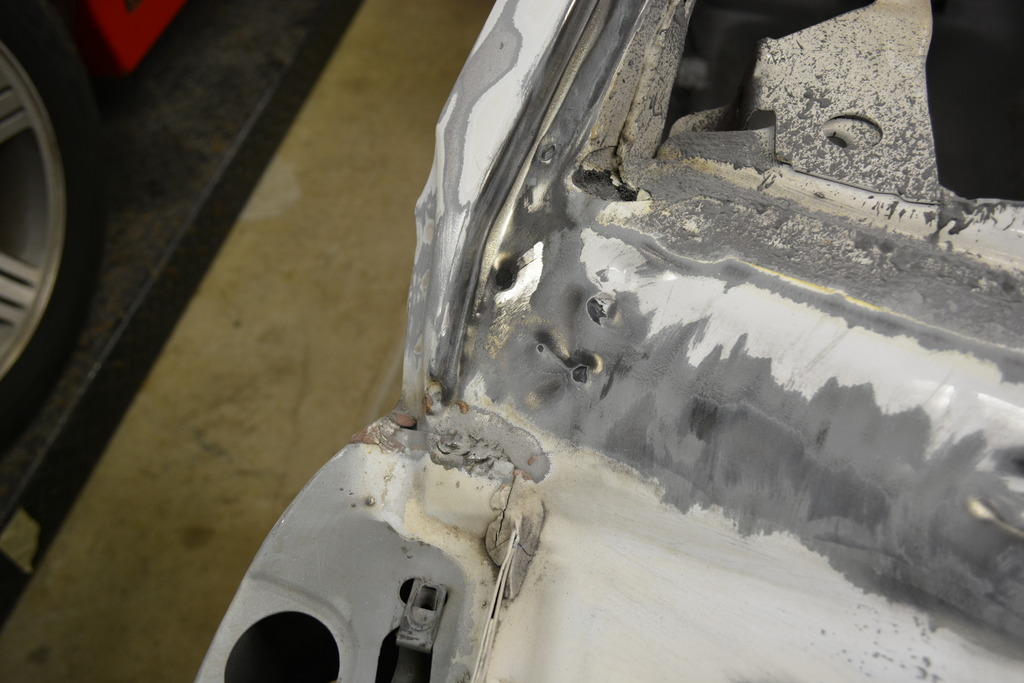
Also, it looks like the car hit something that tore up this area:
So I worked the metal back into place and welded it:
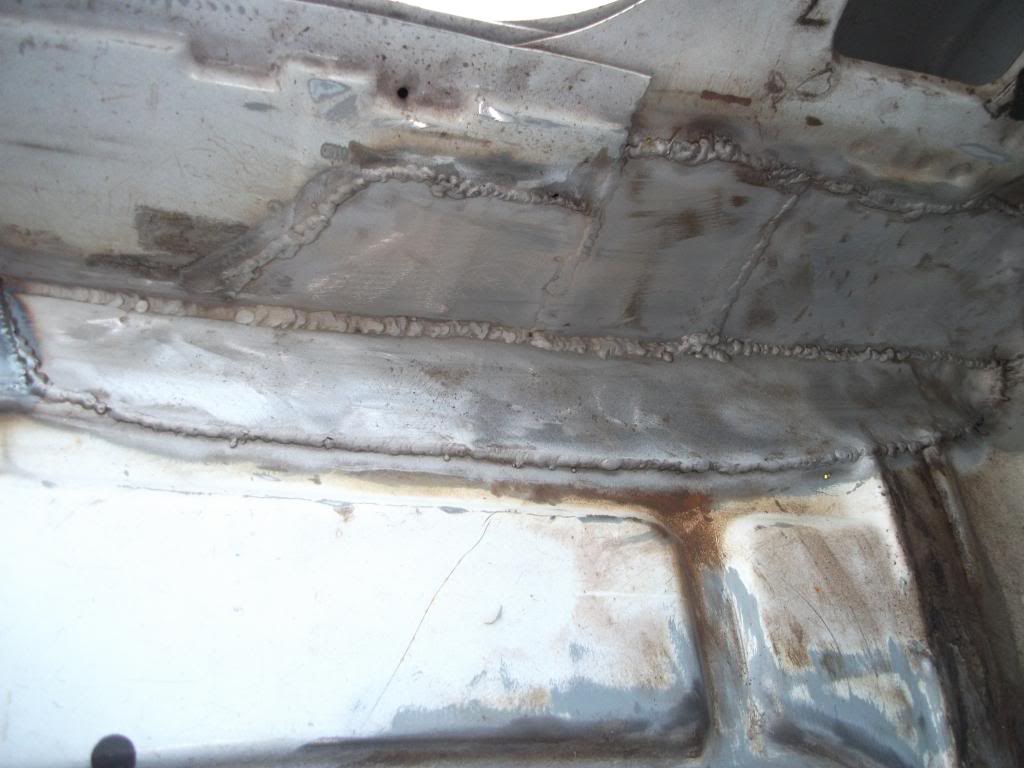
Then I had more work to do on the floors. Cutting out ANY rust and replacing it with new metal:
Last edited by Photobucket Mod; Jul 20, 2017 at 05:12 PM.
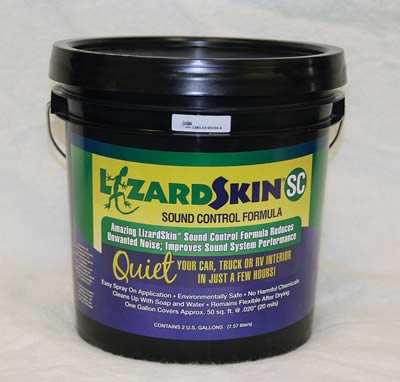
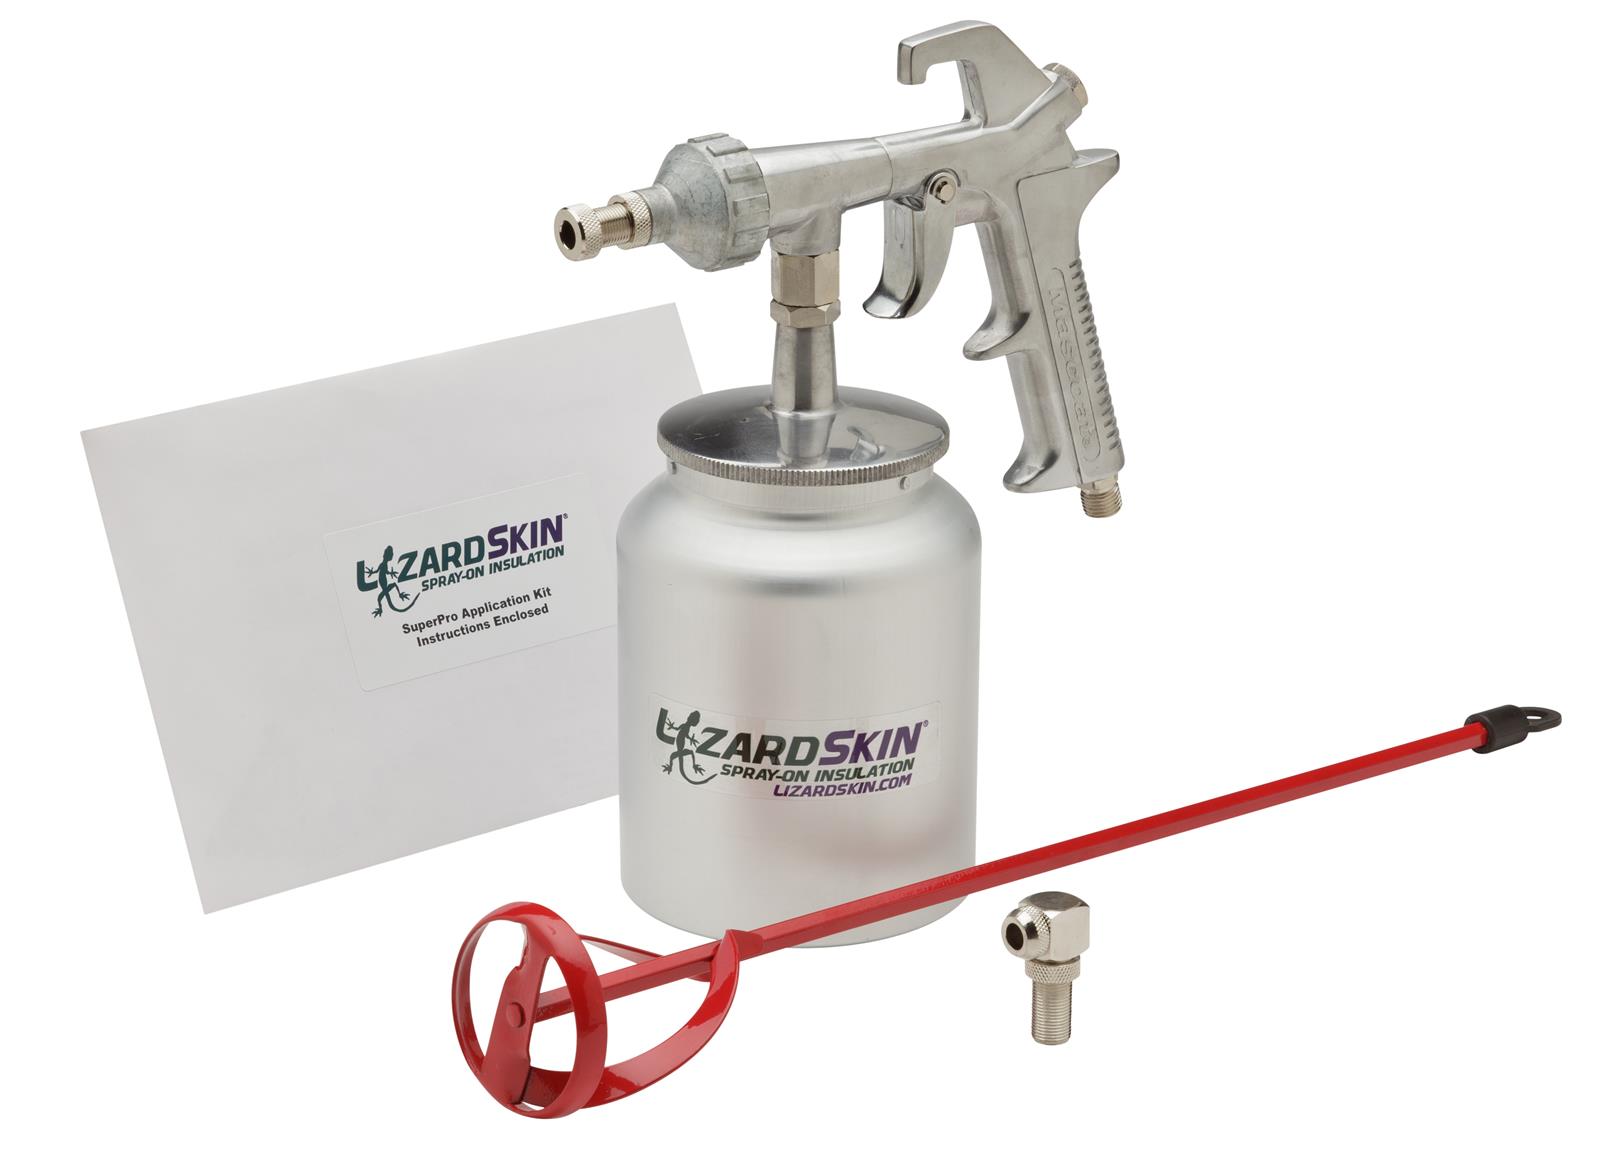
Yesterday I bought some Lizard Skin sound-deadening insulation (2-gallons) along with the accessory kit from Summit. Should be here tomorrow.
I'd also like to provide some details about the work done so far since I kind of skimmed over a lot yesterday.
First, the body/floor drain plugs - From what I understand they were only designed into the cars floor so that liquid would drain from the car during manufacturing. You'll notice that they're sealed with some kind of sealer from the inside which also holds the carpet in place. I saw these as just unnecessary holes in the floor, which is why I patched them.
Patching holes - Because you're welding thin sheet metal you have to make your patch almost perfectly contoured to the hole it's covering. When welding, staying in one spot too long will cause burn-through so move around to avoid this. You can also cool the weld with compressed air or a damp rag.
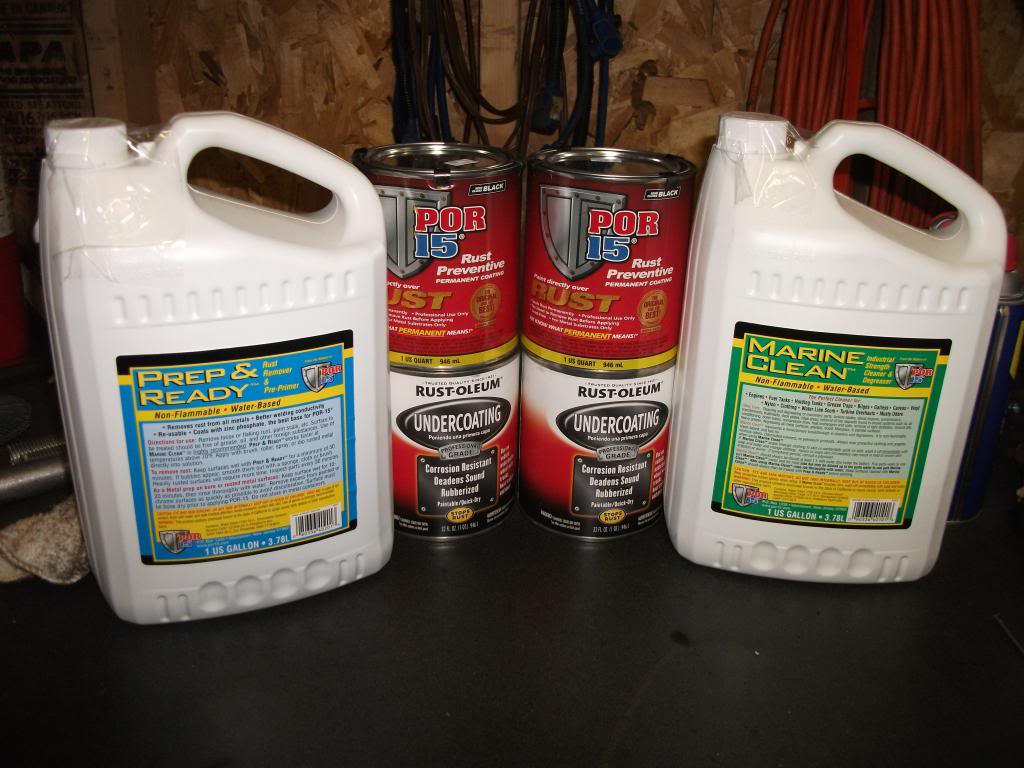
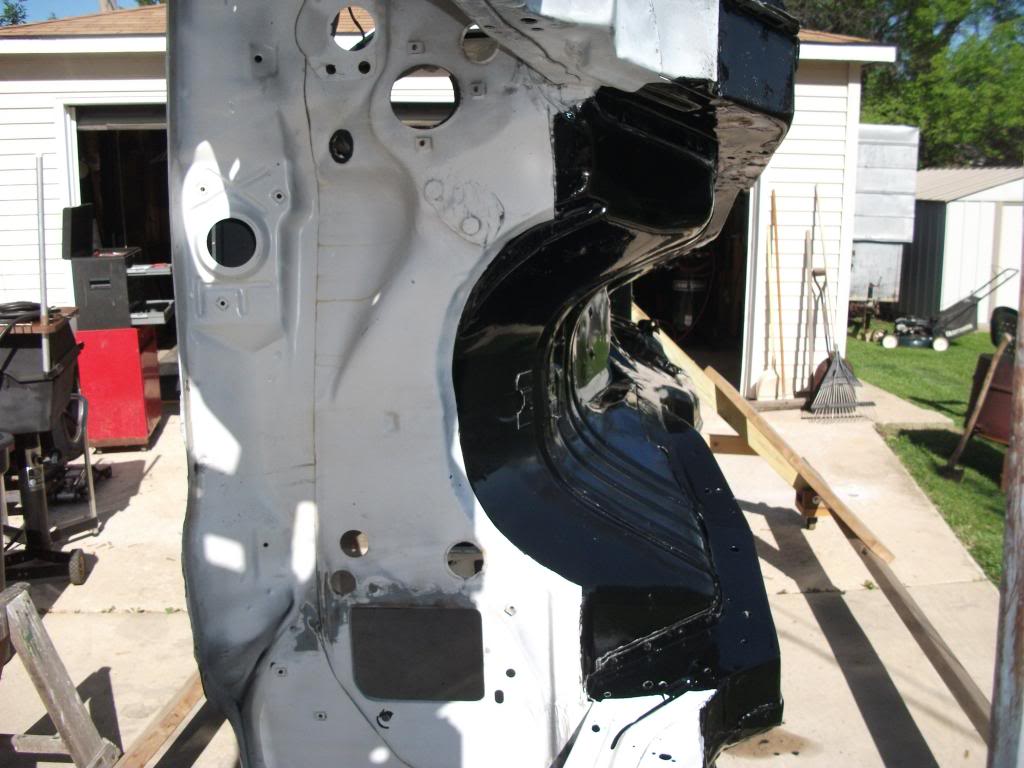
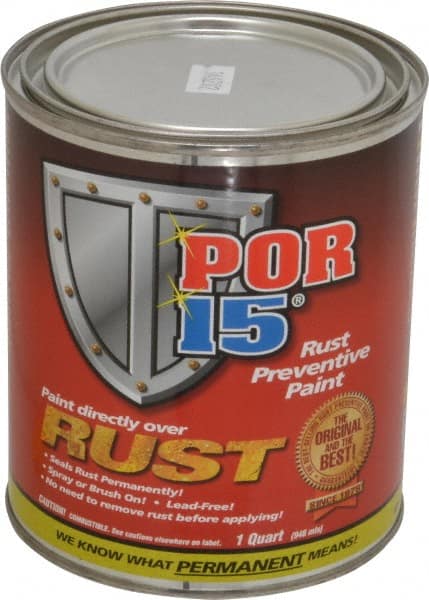
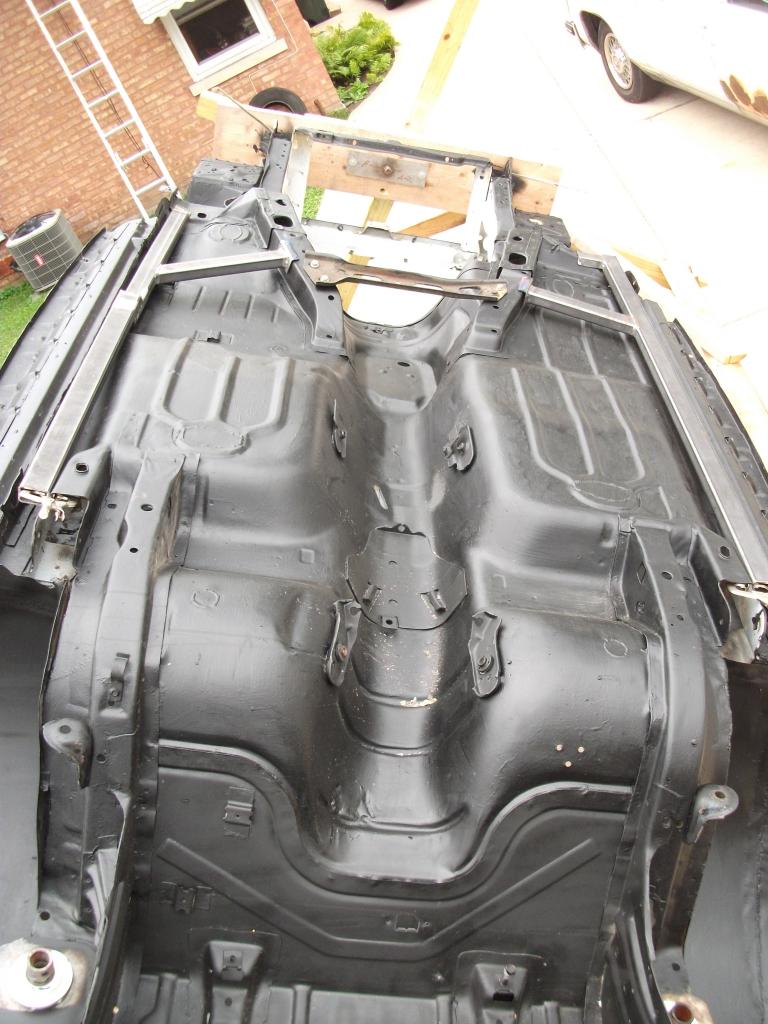
POR15 - This stuff is no joke. WEAR GLOVES. If you get it on your skin, you can easily clean it off with mineral spirits. I used gasoline too. However, if it dries on your skin it is NOT coming off! I had some dry on my fingers last week, and it's almost completely worn off by now. So if it happens to you don't sweat it, it'll wear off. I applied the POR with a $3 3" paint brush. This stuff drips too, and if it gets on your concrete it's NEVER coming off! 2 coats is a must. 1 coat looked fine, but after I did a second it was clear that 2 was the way to go. I cannot imagine working with this stuff with the car above me. Just having my car sideways on the rotisserie was somewhat challenging. Last thing, you must prep your surface properly. Clean/degrease then etch before painting. I etched the entire bottom of the car for over 30 minutes keeping the metal wet by continuously spraying in different areas. 1 quart was enough for 2 coats. I now have a second quart that I haven't touched.
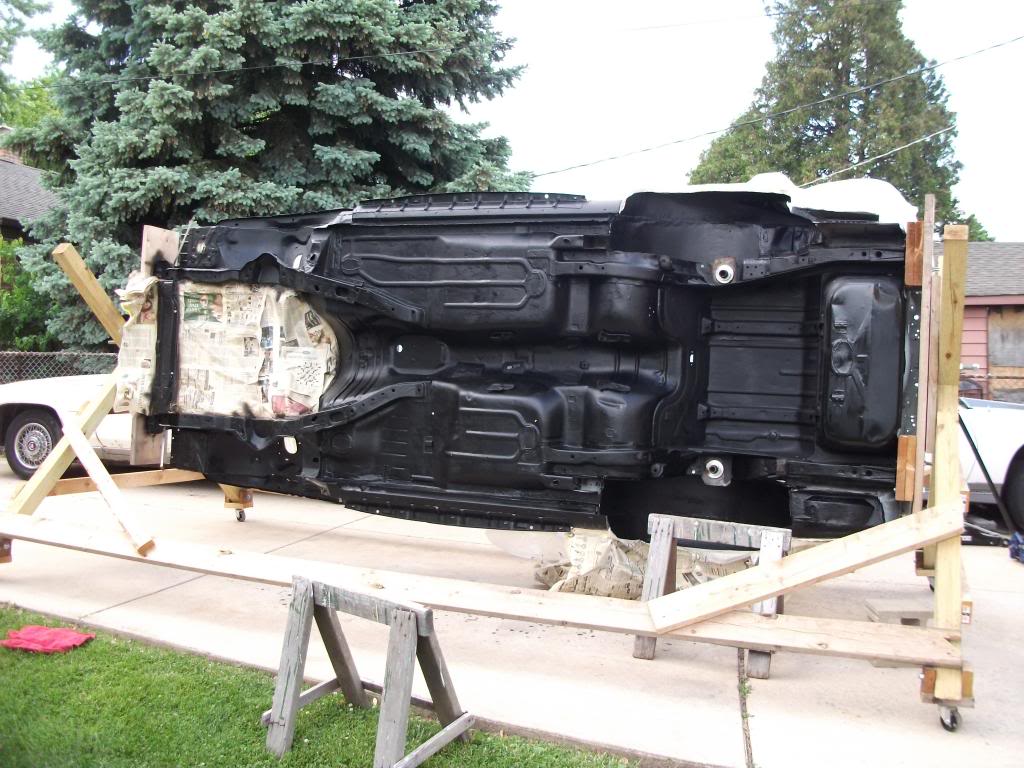
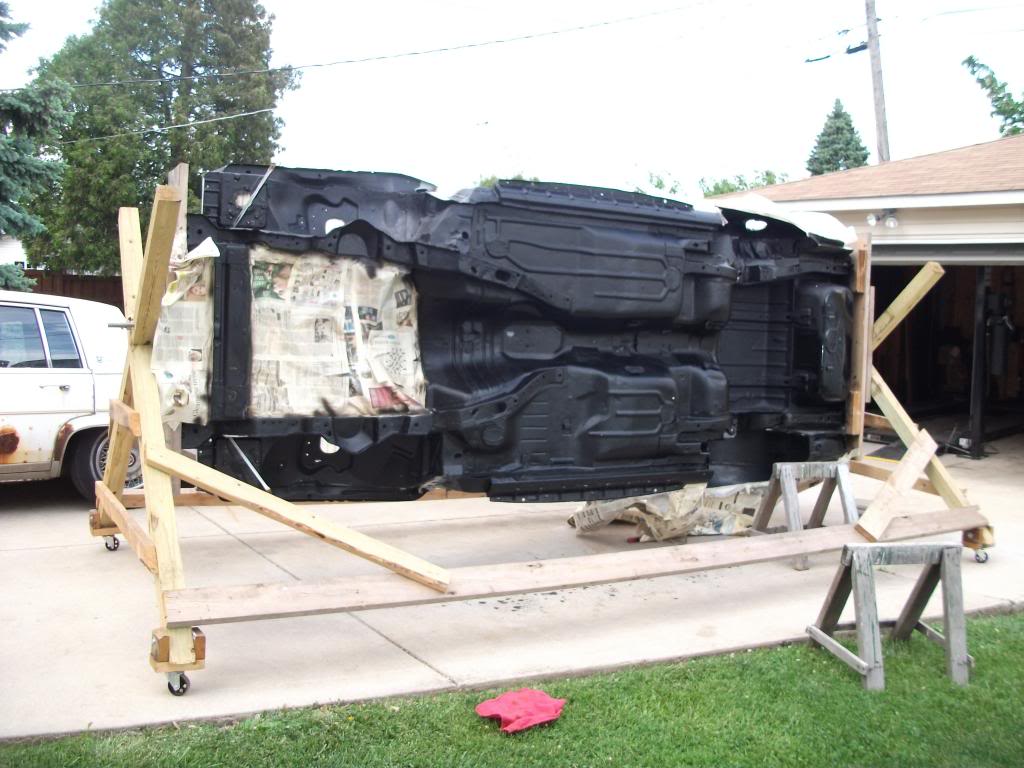
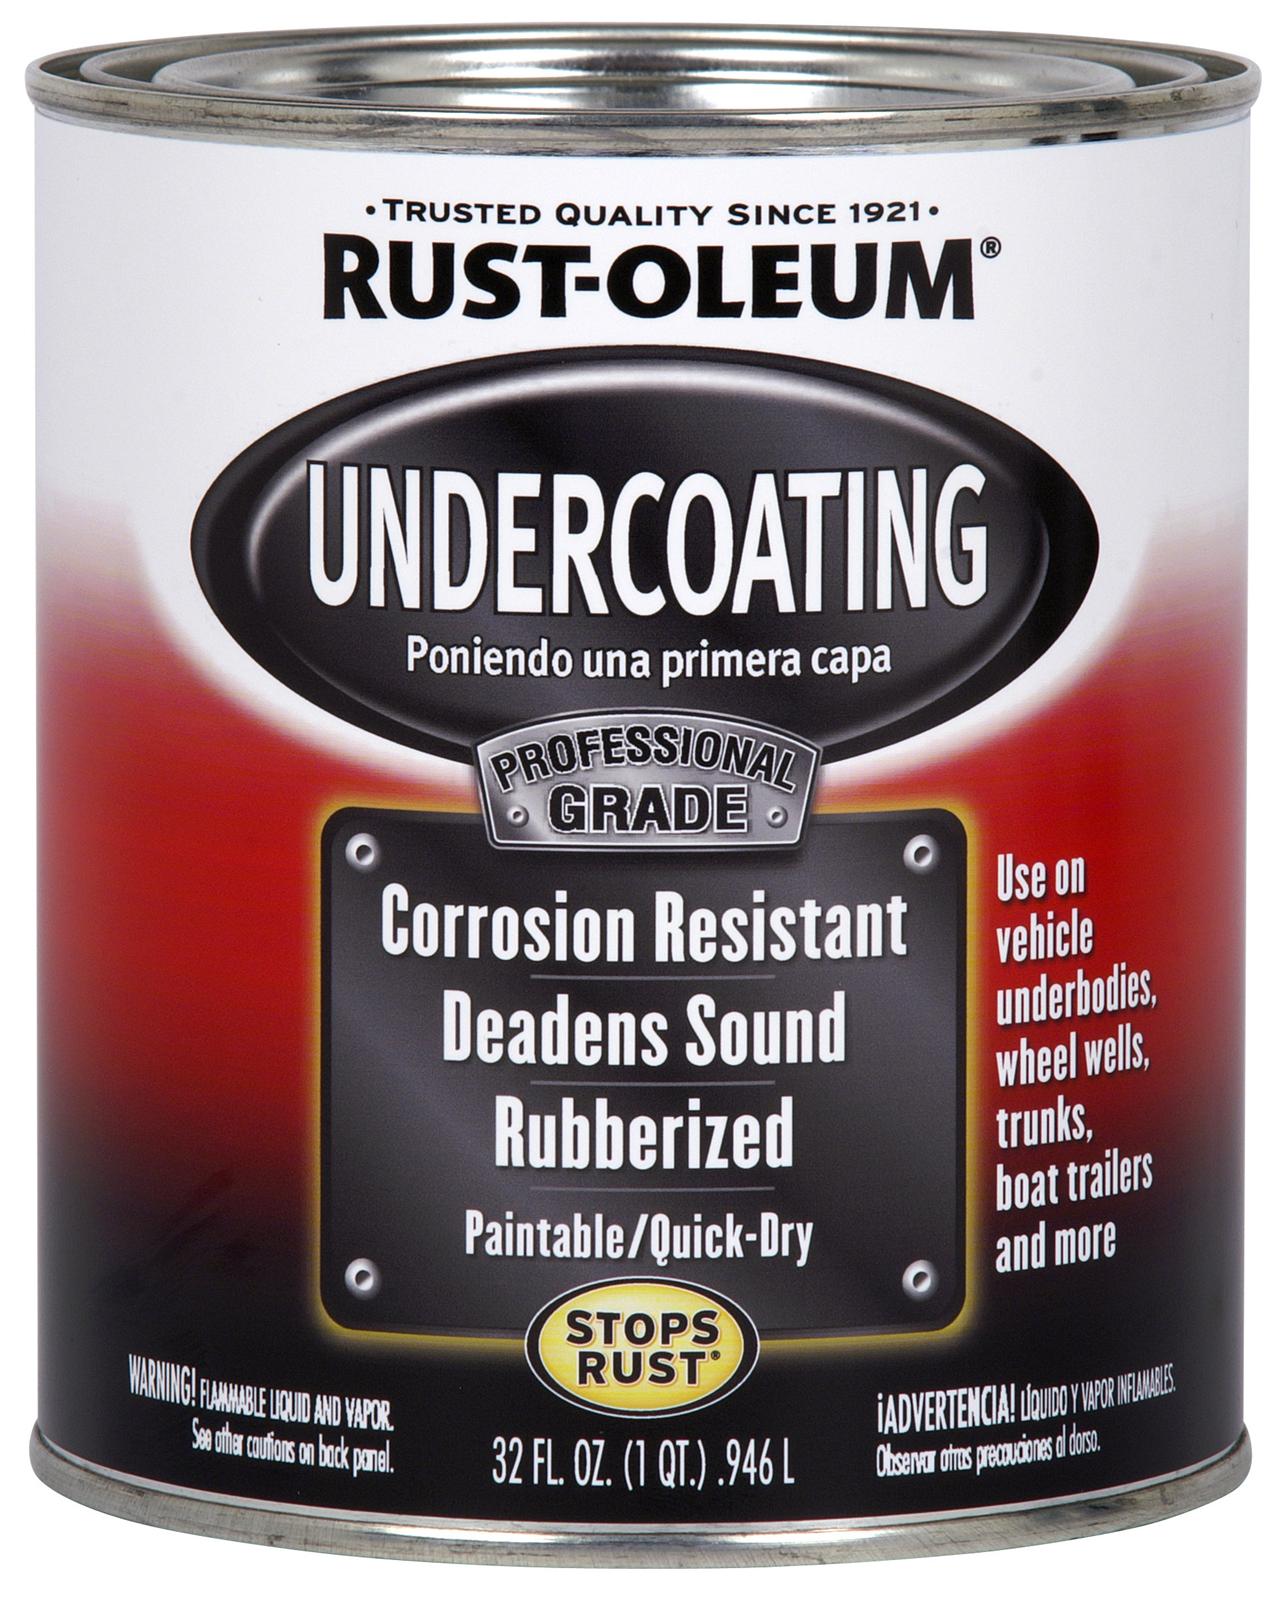
Rust-oleum rubberized undercoating paint - This stuff cannot be sprayed from a paint gun! The can says to use a hopper style gun, but that's a lie.........I tried and it won't even spray. Simply too thick. This stuff is like thick chunky peanut butter. I used it to protect the POR (which will breakdown over time if not top-coated) and for it sound-deadening properties. While I only used POR on the floor, this stuff was used on every surface that faces the ground. Also unlike the POR I had to use 2 quarts for 1 coat. First thing I did after the POR dried was apply a dust coating of this product in its spray can form. 2 cans did the trick.
Followed by 1 coat (using 2 quarts) in paint can form. I also brushed this product on using a 3' brush. It's very thick and covers well.
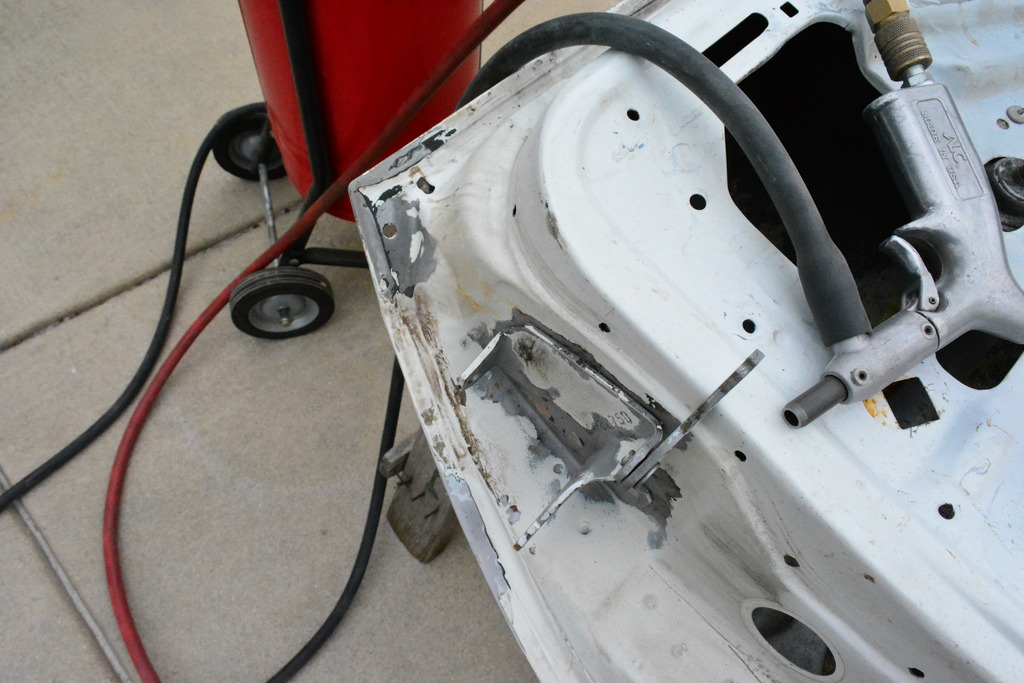
Sandblasting - I bought a small sandblaster a few years ago and haven't touched it until now. Since some of my previous metal repairs had rusted a little I decided to remove as much with my grinder and abrasive wheel as I could, then sandblast the rest. This thing worked very well, but sand gets EVERYWHERE! From the track of your garage door to the crack of your *** I mean EVERYWHERE! Wear a hood and ling sleeves too. I bought a cheap sandblasting hood a while back that helped.
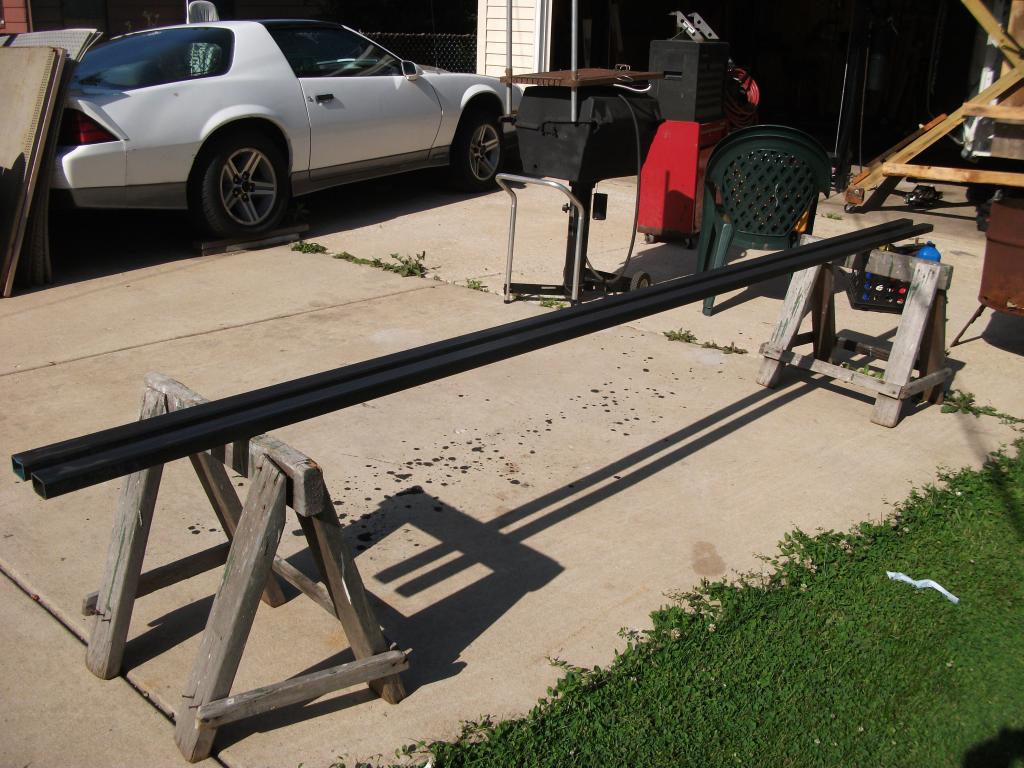
BMR said they could sell me the material bare and un-welded, but it wasn't exactly cheap. So I emailed Alro in Melrose Park (I'm in Chicago) for a quote on 24' of 2"x1.24" .120" wall rectangular tubing.
Quote was around $150 picked up. Is that fair? Cheap? Expensive? I know it's more than I need but I'll be using some of it to brace in other areas too.
I also cut the inner subframe connectors (Alstons) off of the '86 (the first pic in this thread) intending to use them on this build, but now I'm second guessing myself. I planned to connect them to the outers I'm building, but I'm worried they'll become a problem with the car lowered.
Also, I'll be using a crossmember mounted torque arm (like the BMR Trac Pak) that mounts a crossmember between outer subframe connectors. I've never seen that crossmember mounted to INNER SFC's......has anyone else?
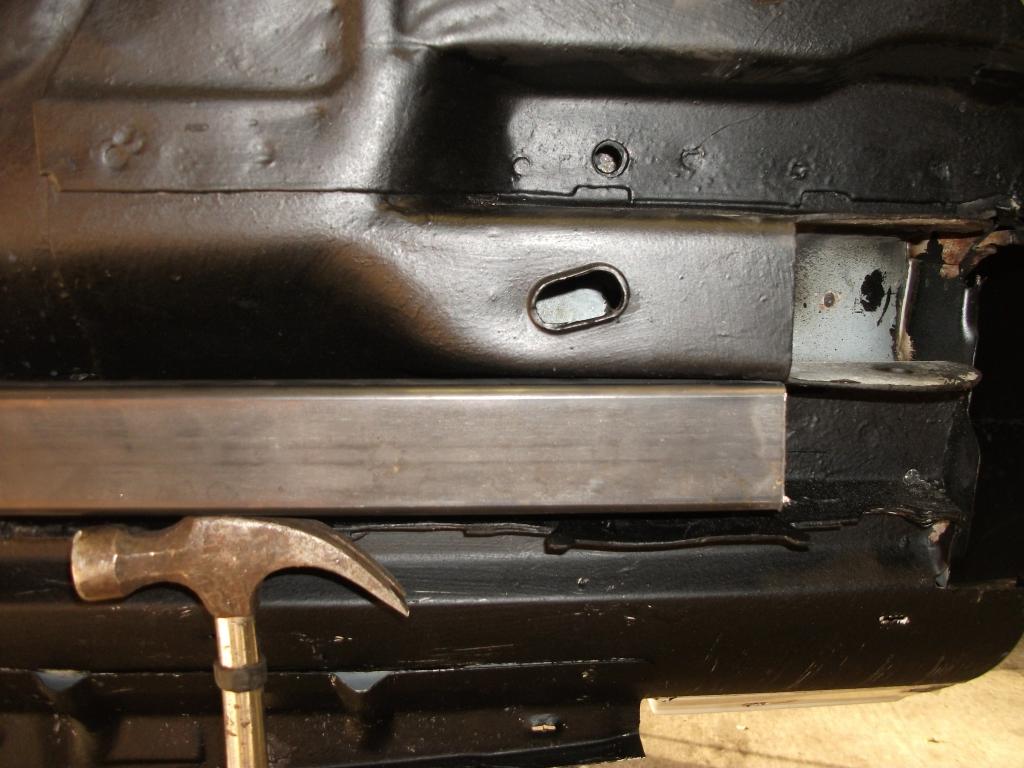
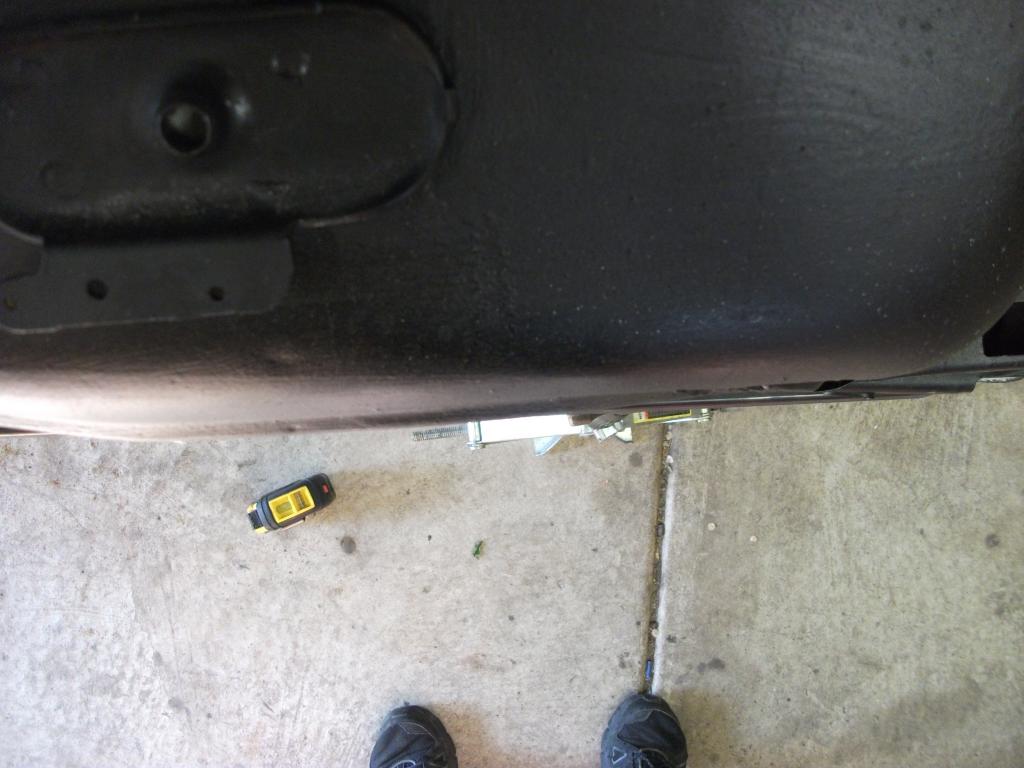
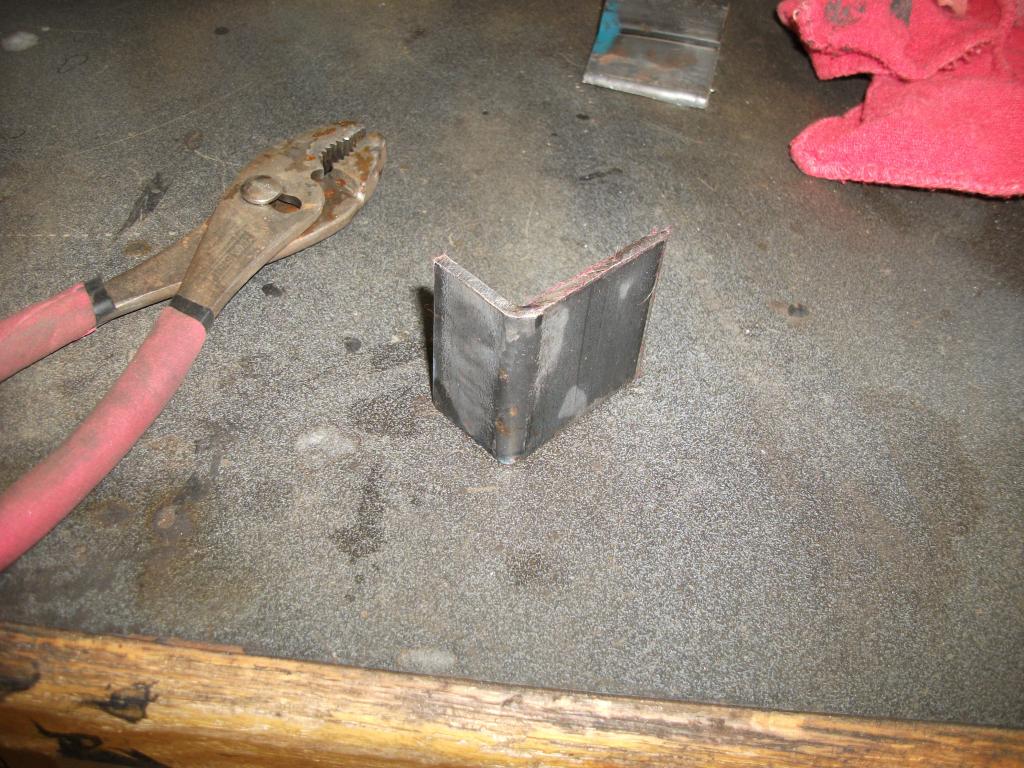
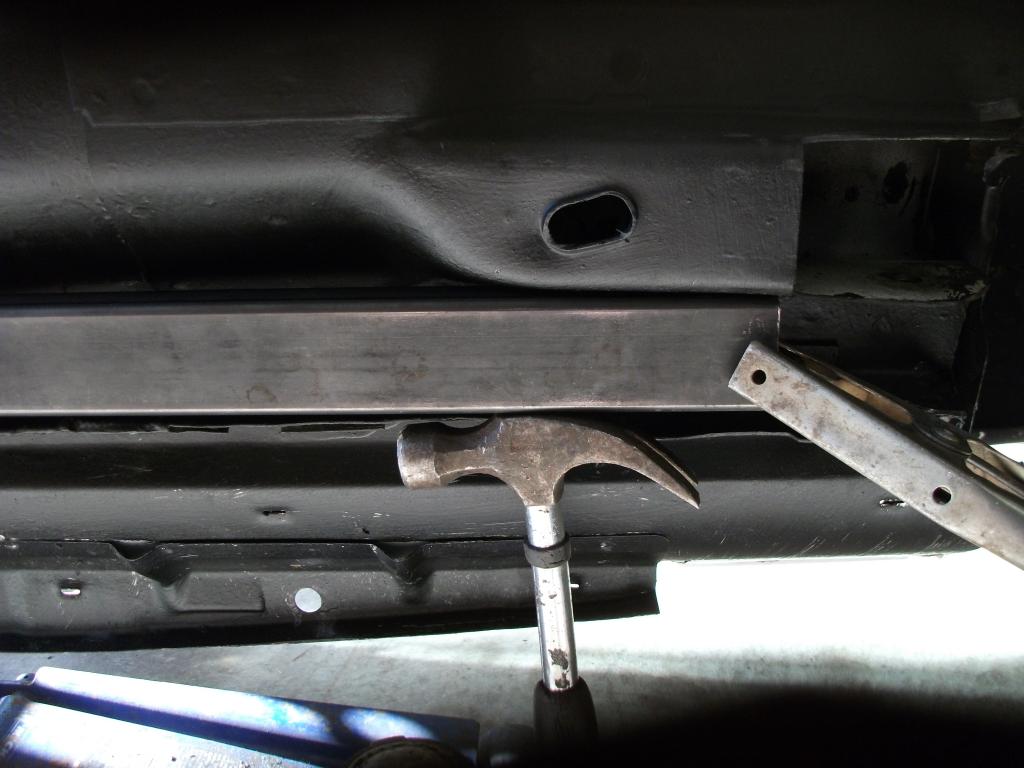
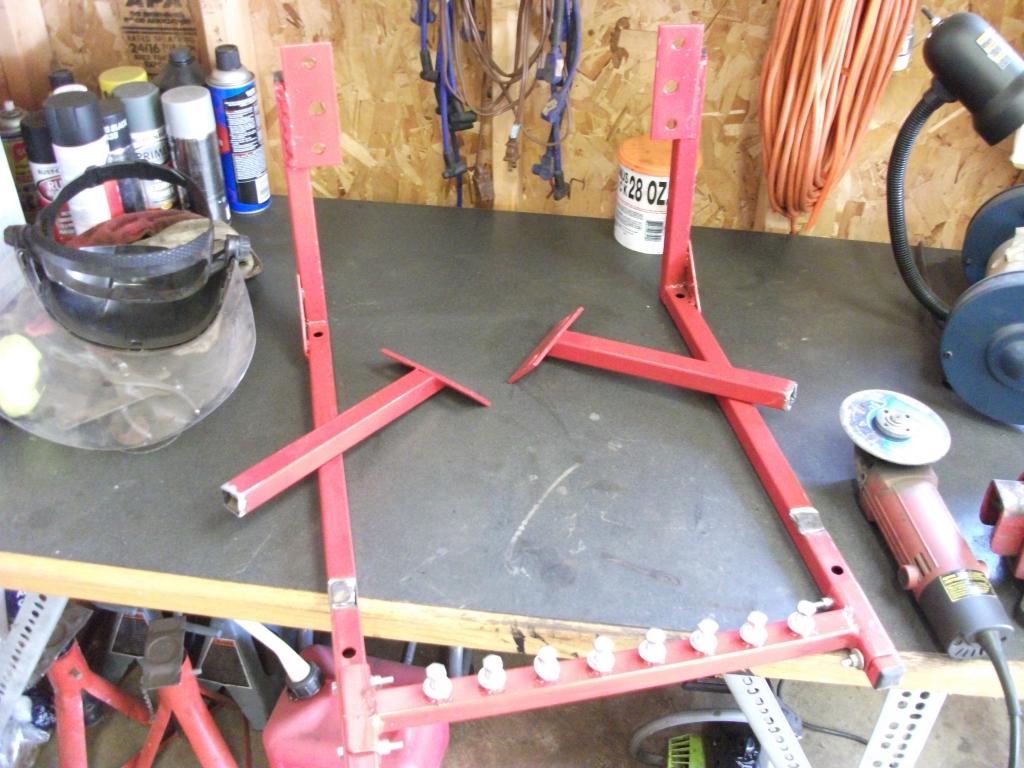
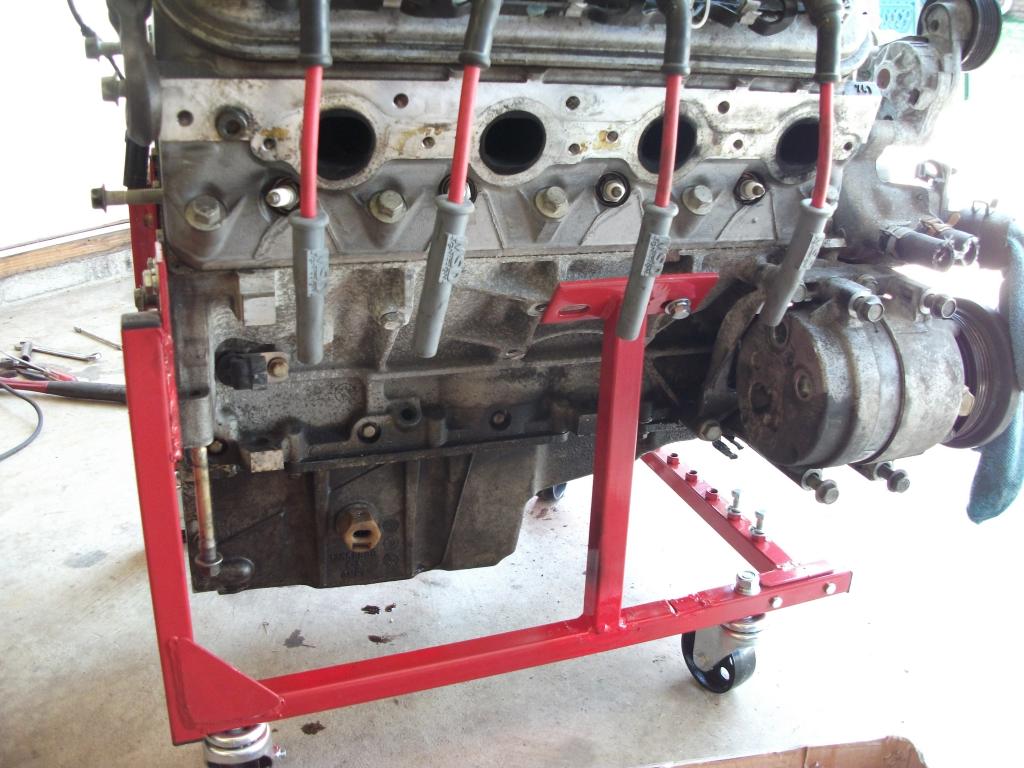
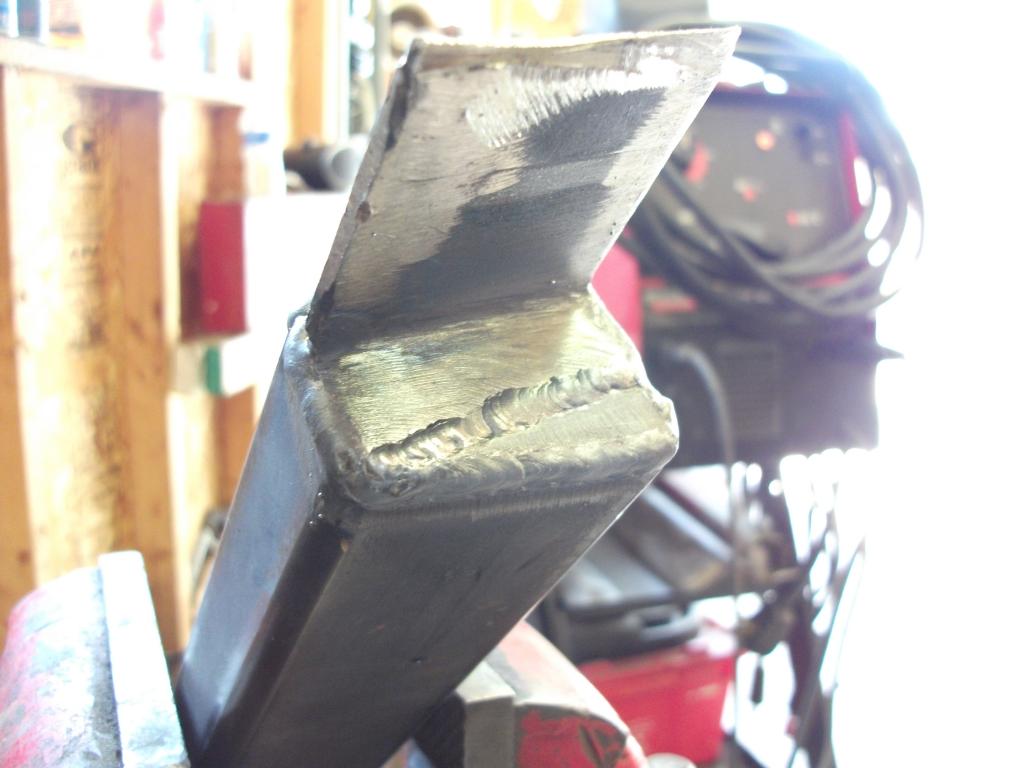
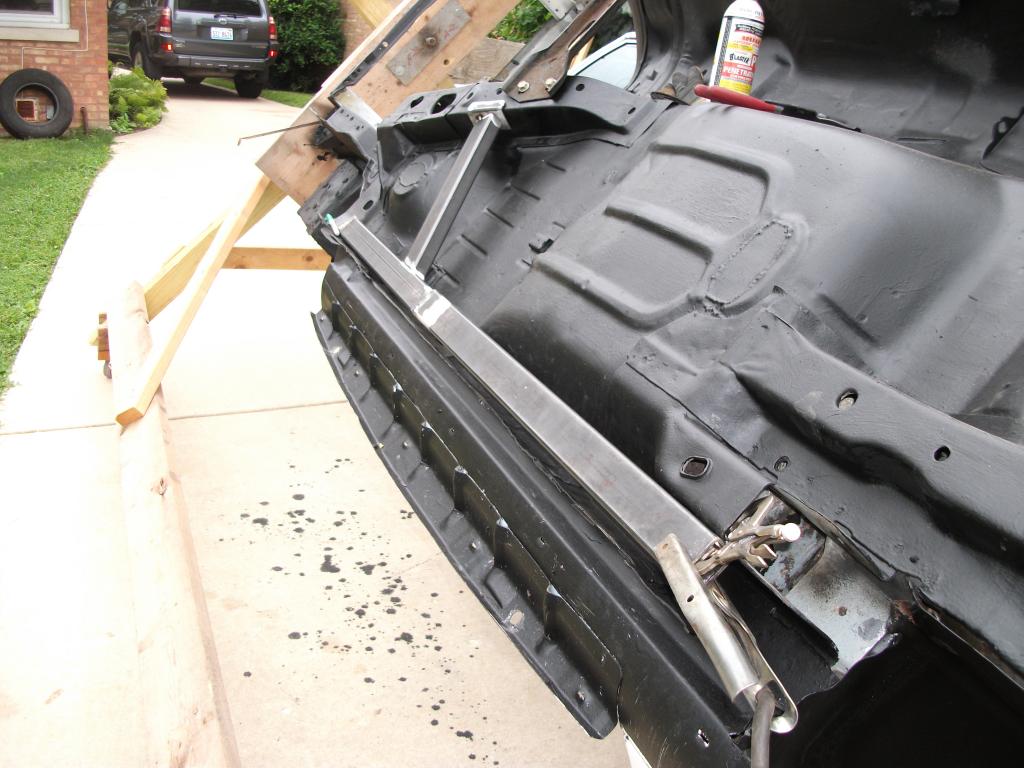
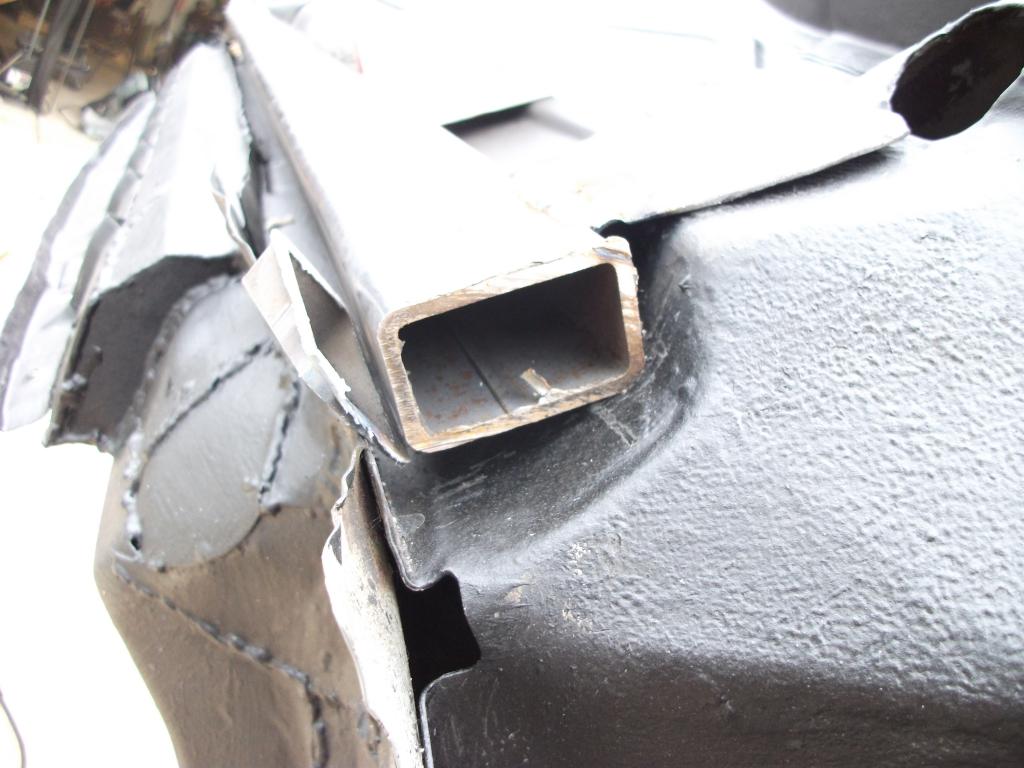
Started on the outer SFC's yesterday. Here's what I started with:
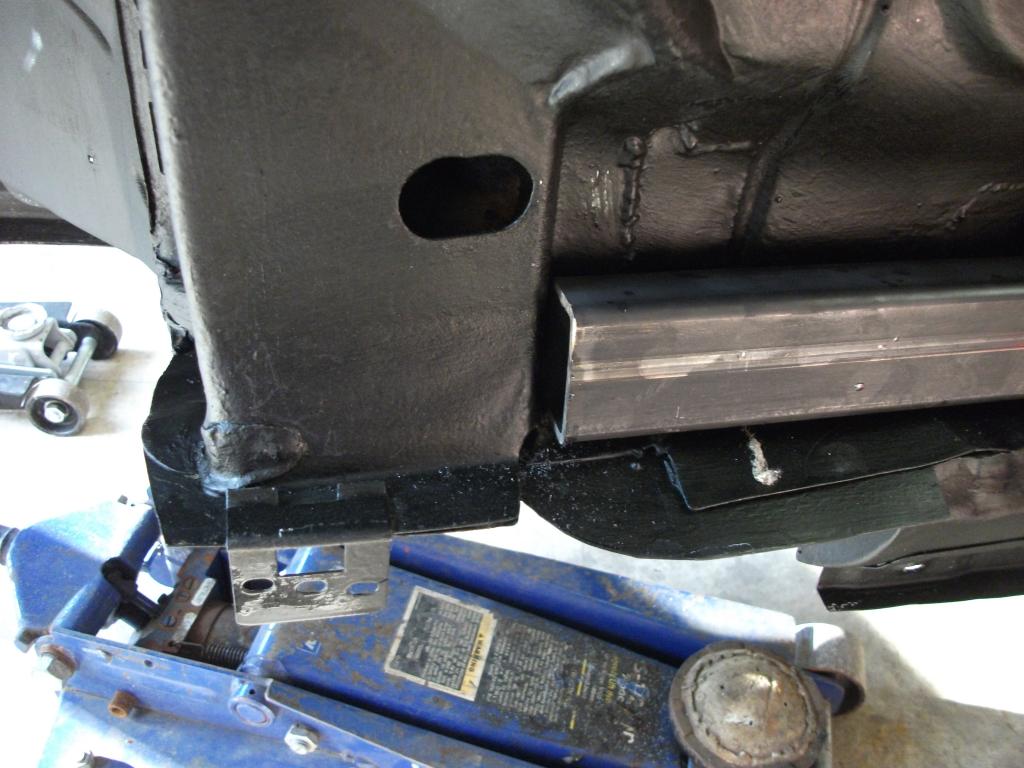
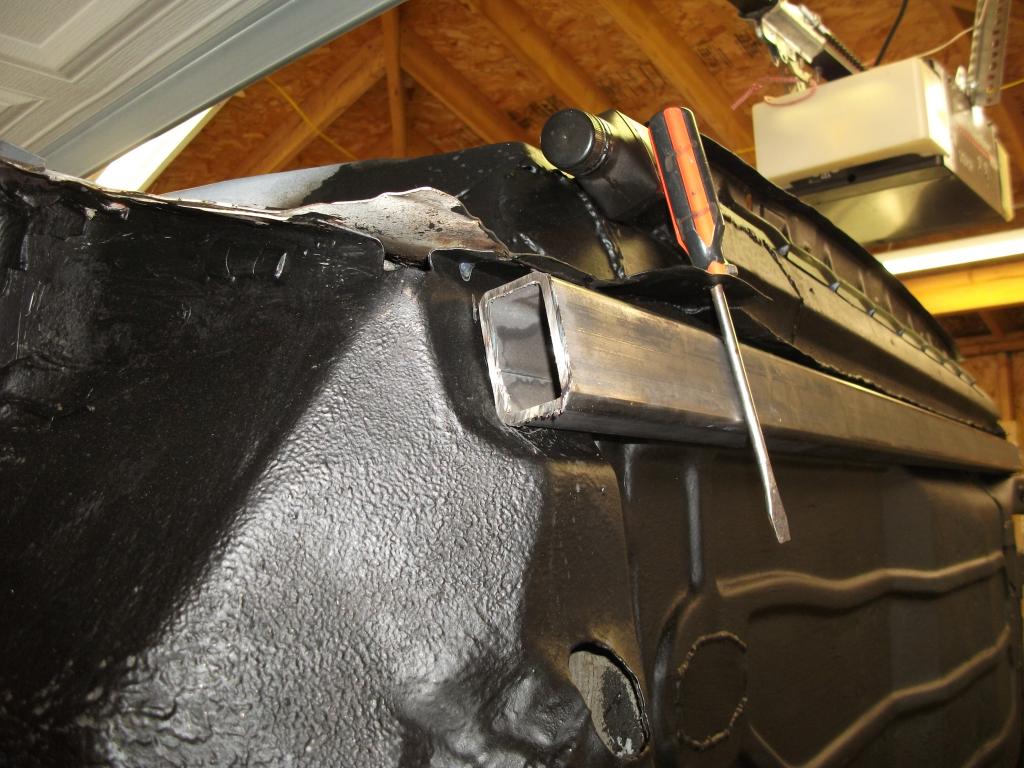
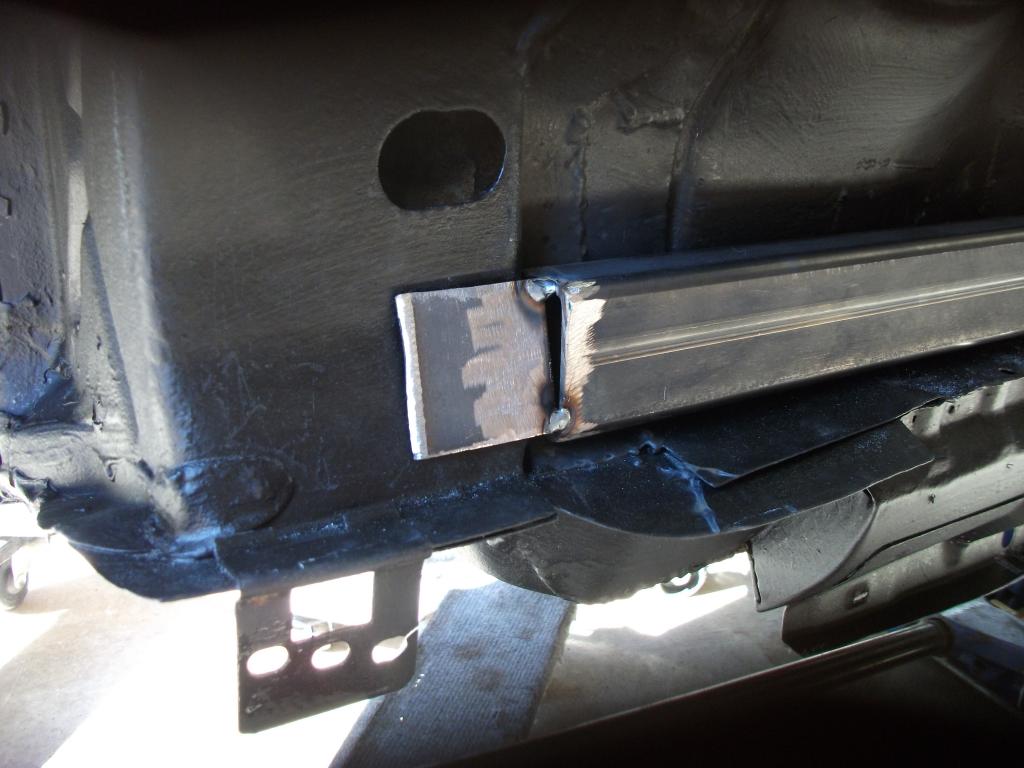
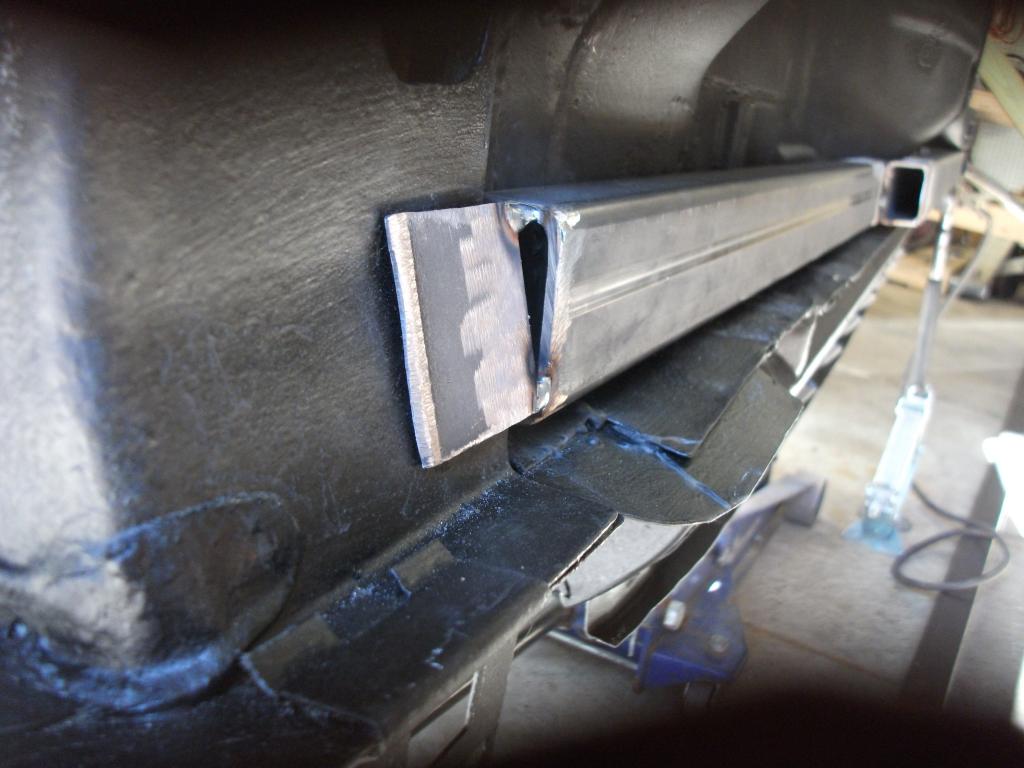
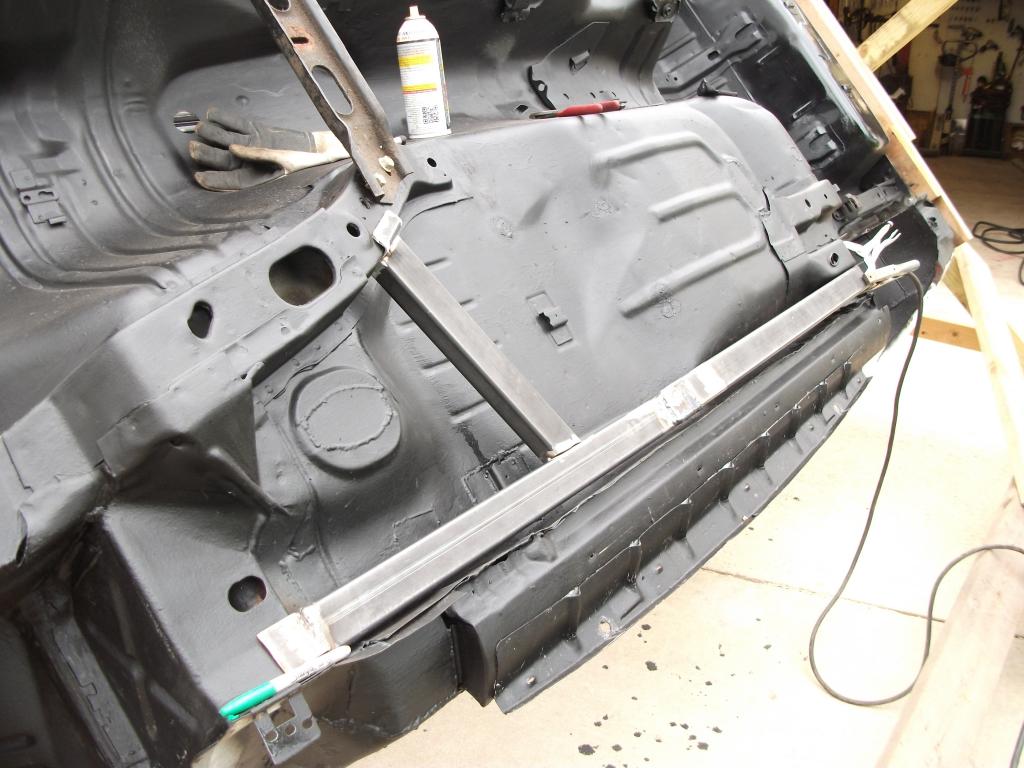
Starting with the passenger side I decided to keep them tucked close to the floor which meant making 2 sections so that the front will line up with the front subframe:
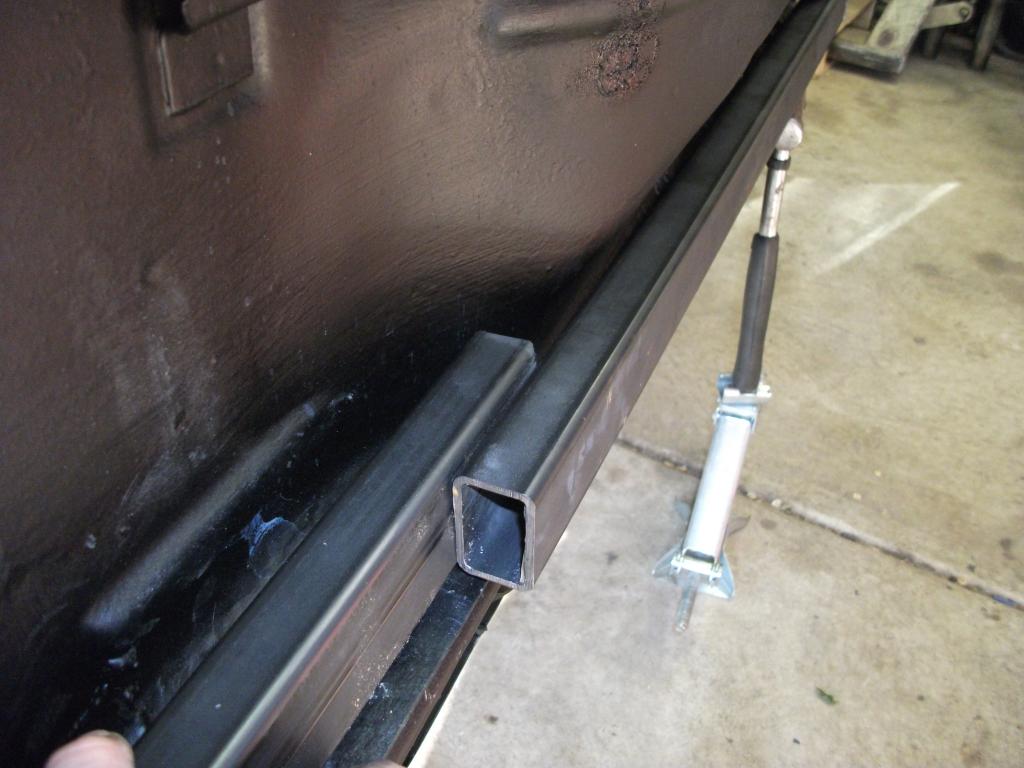
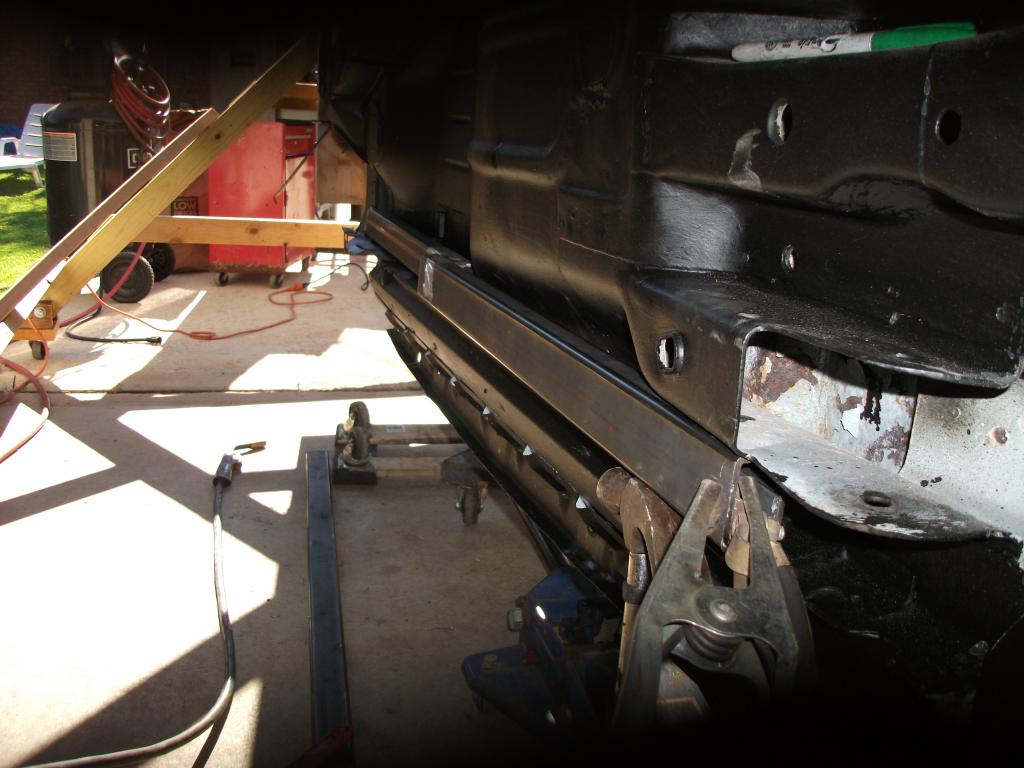
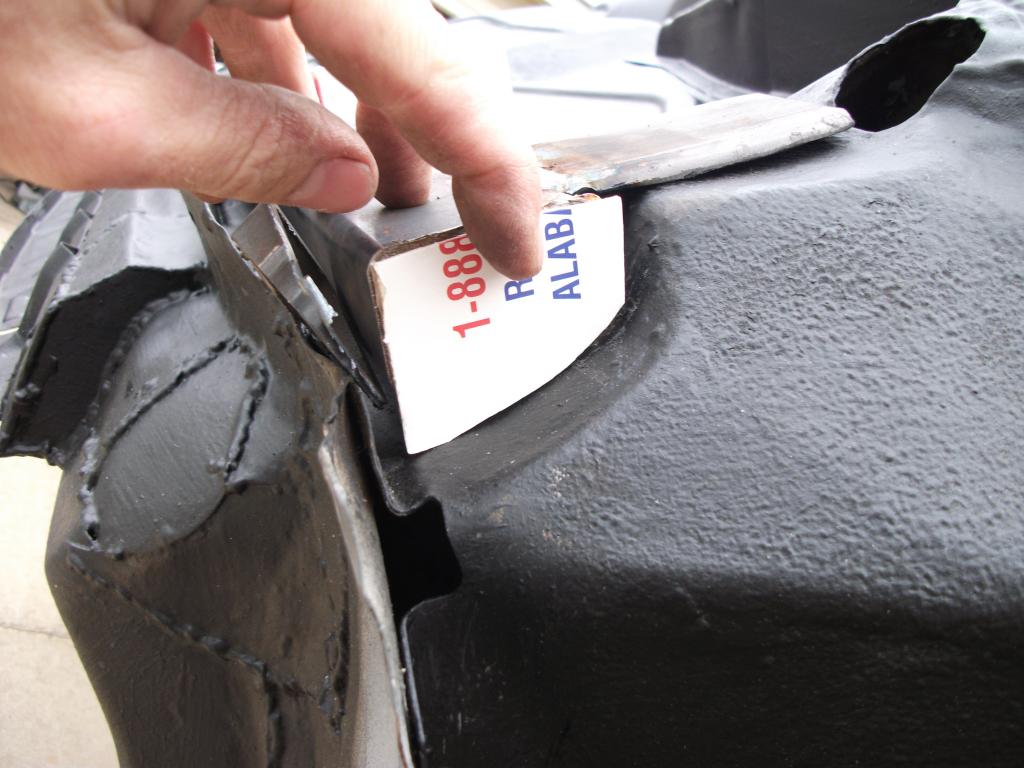
They won't hang below the floor which is why I went with outers VS inners:
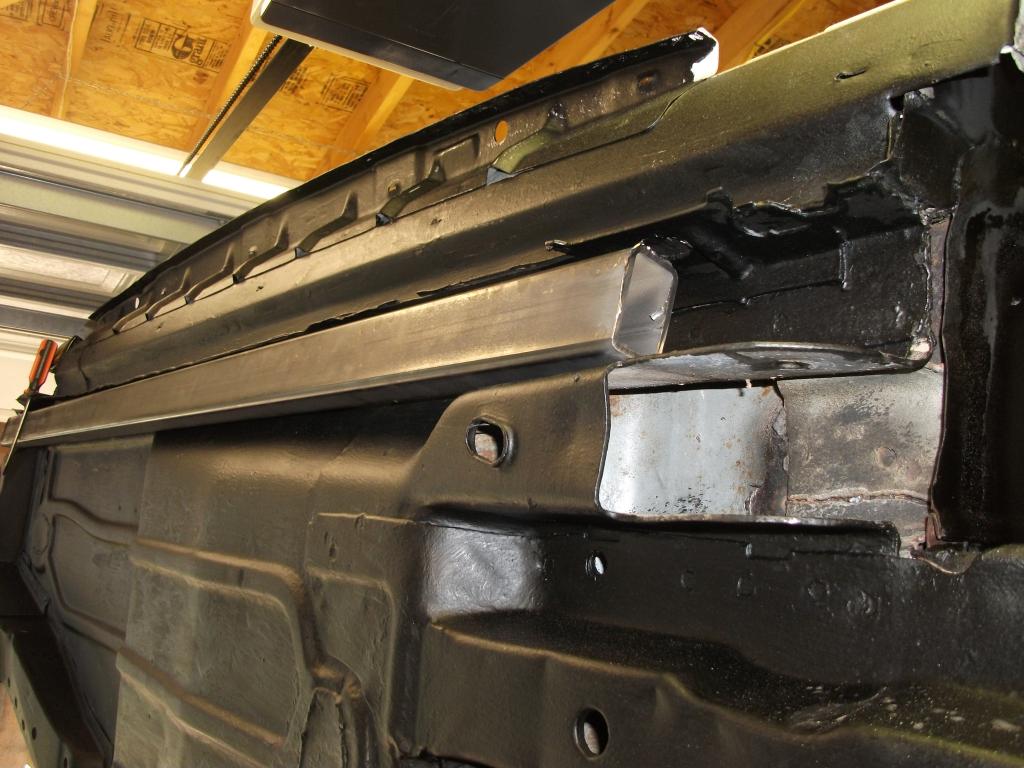
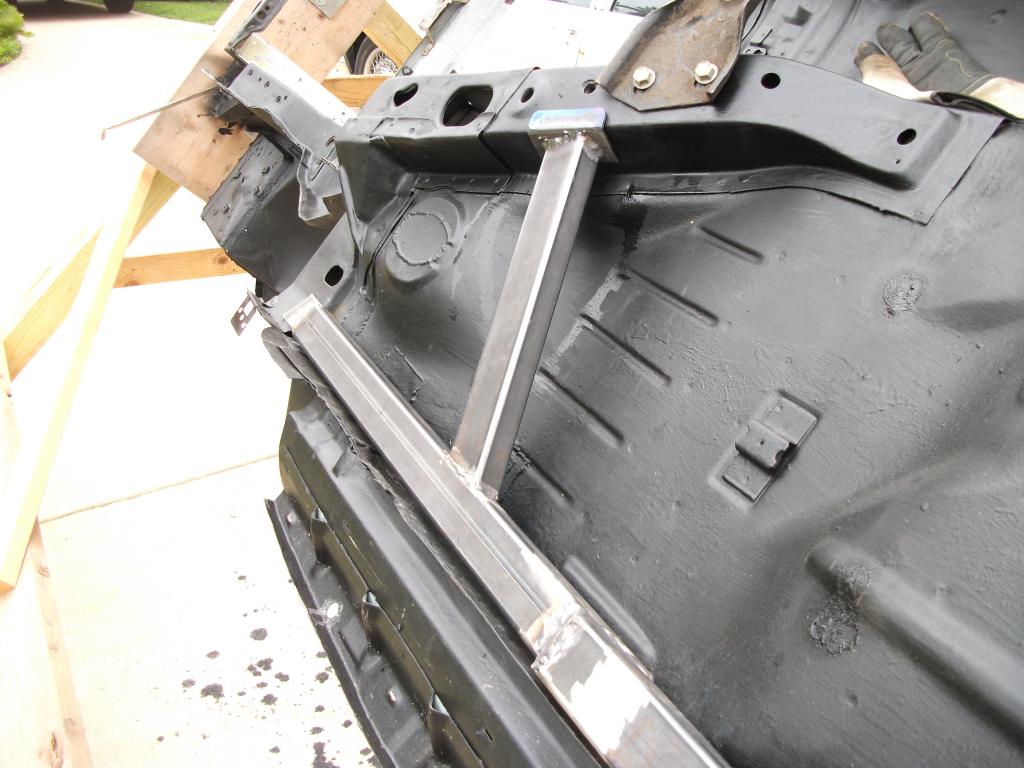
Drivers side. The drivers side is one solid piece running the length of the rocker.
I still need to make angled mounting points for both side to connect the the front subframe. I'm still not sure If I should make a piece to fit around the control arms, or just weld it as-is. What do you think?
Got some more done on the subframe connectors this weekend. Still need to get a trans crossmember bolted up before I make the angle piece that'll weld near it.
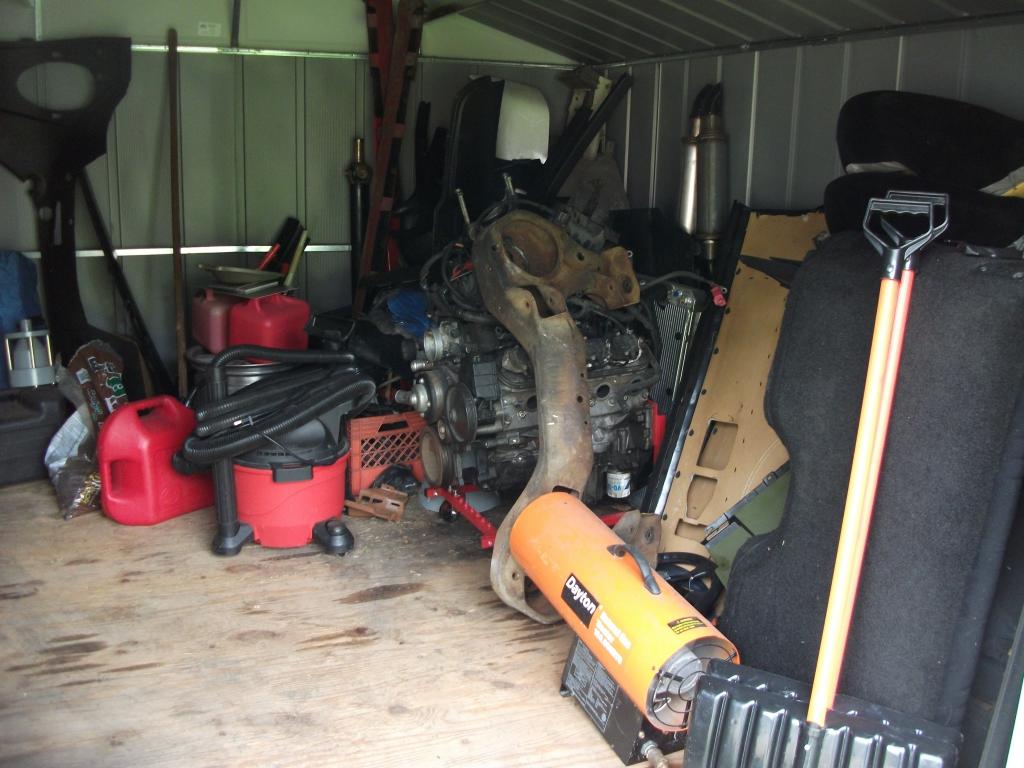
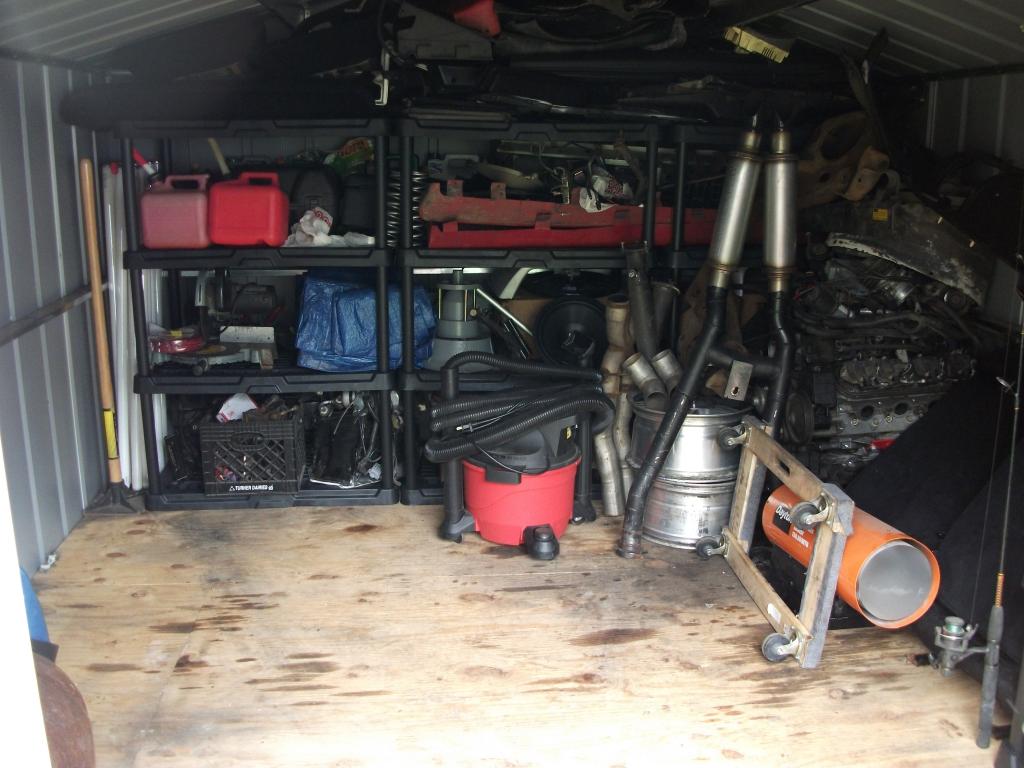
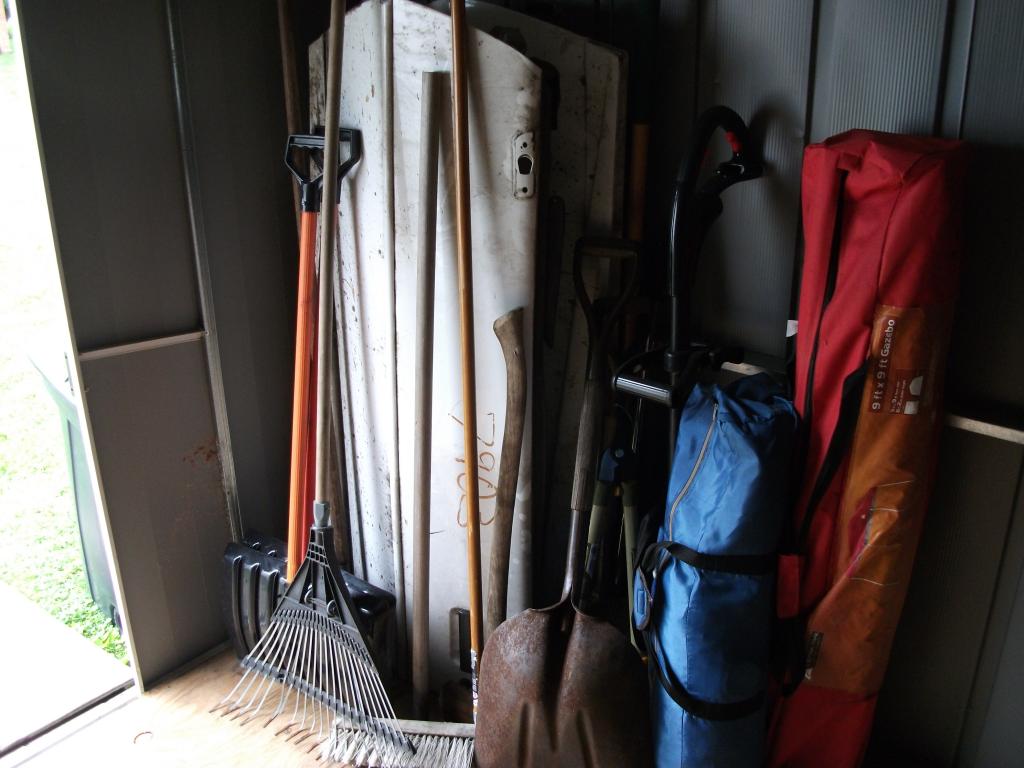
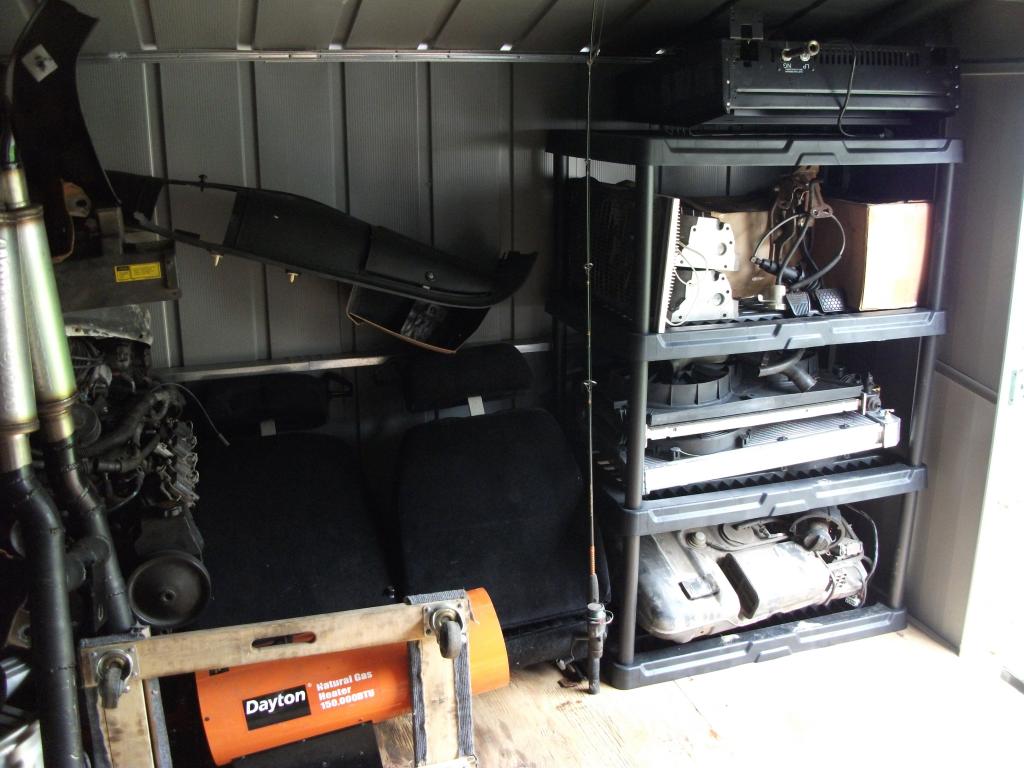
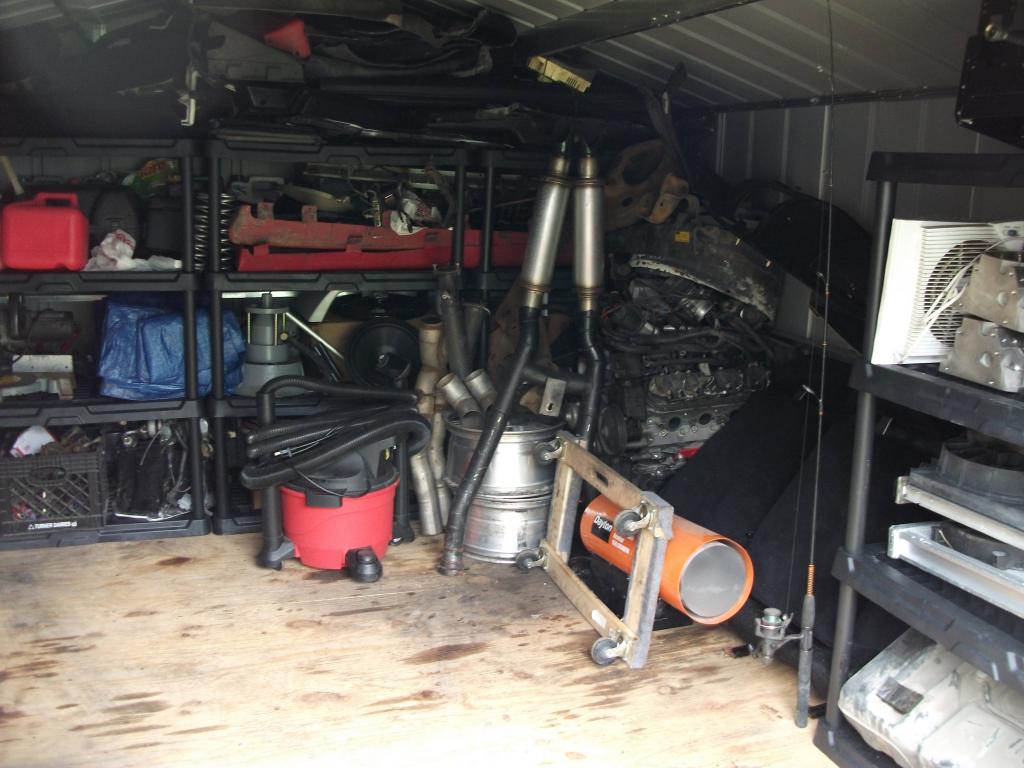
I also spent some time making the garage nicer to work in. Since parts for this build are split between the garage and shed, I decided to add shelving to my shed so I could store everything in there. This way I have more room to move around in the garage.
From the garage I was able to remove:
- 700R4 (great trans and need to sell. Only pulled it for a T56 swap years ago)
- 4l60E (picked it up for $50. couldn't pass it up)
- T56 (LS1)
- Both 91 Formula doors. (got them for $50 at a discount weekend at the local parts yard)
- Plastic fuel tank
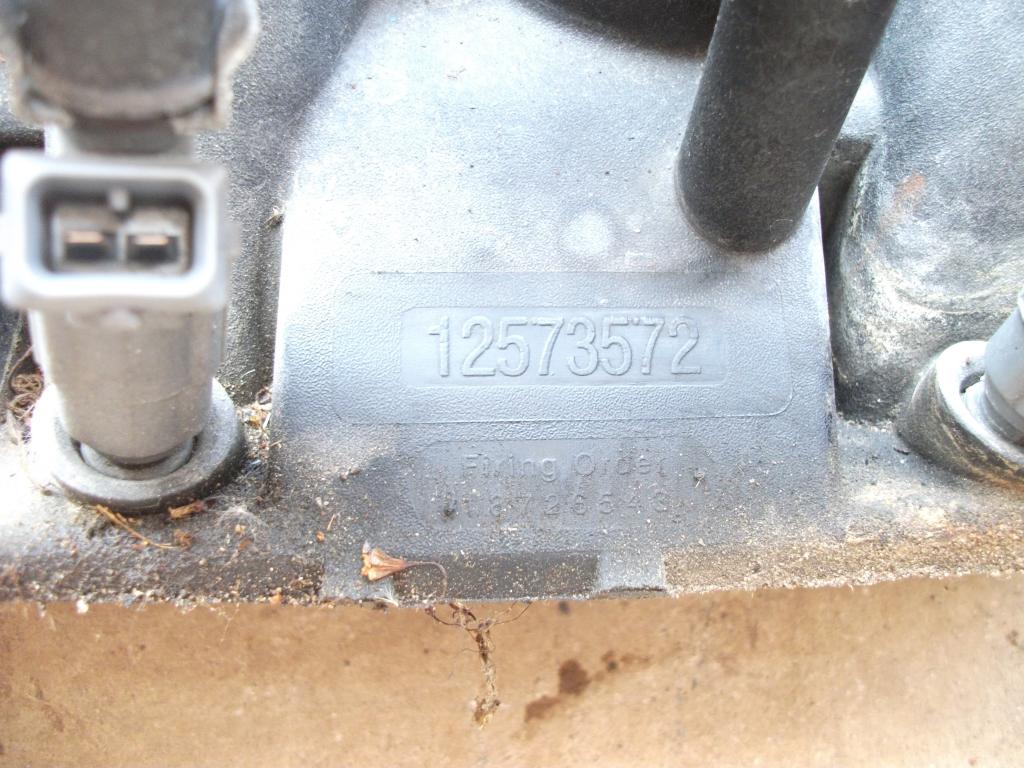
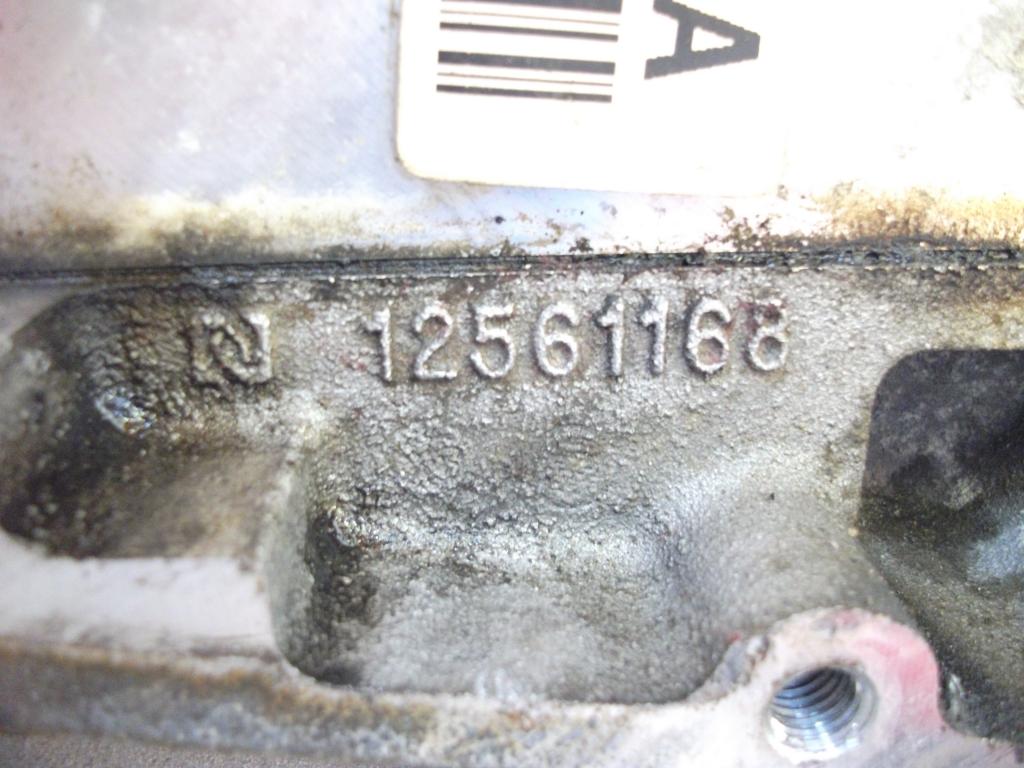
- Heads
- radiator/fans
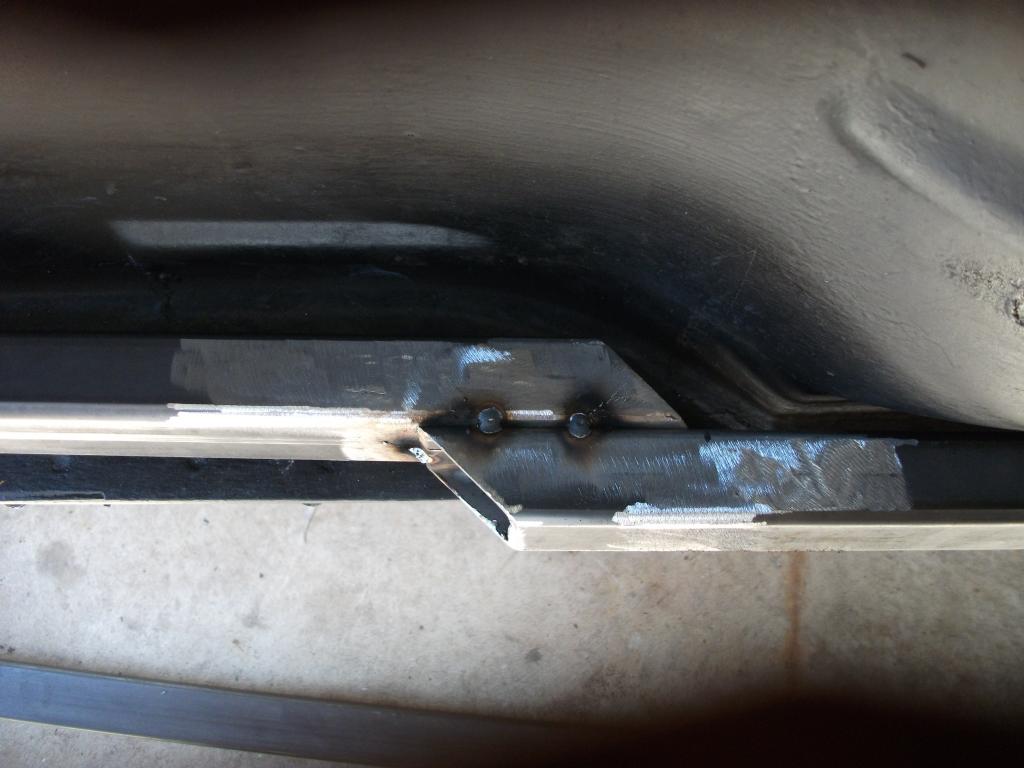
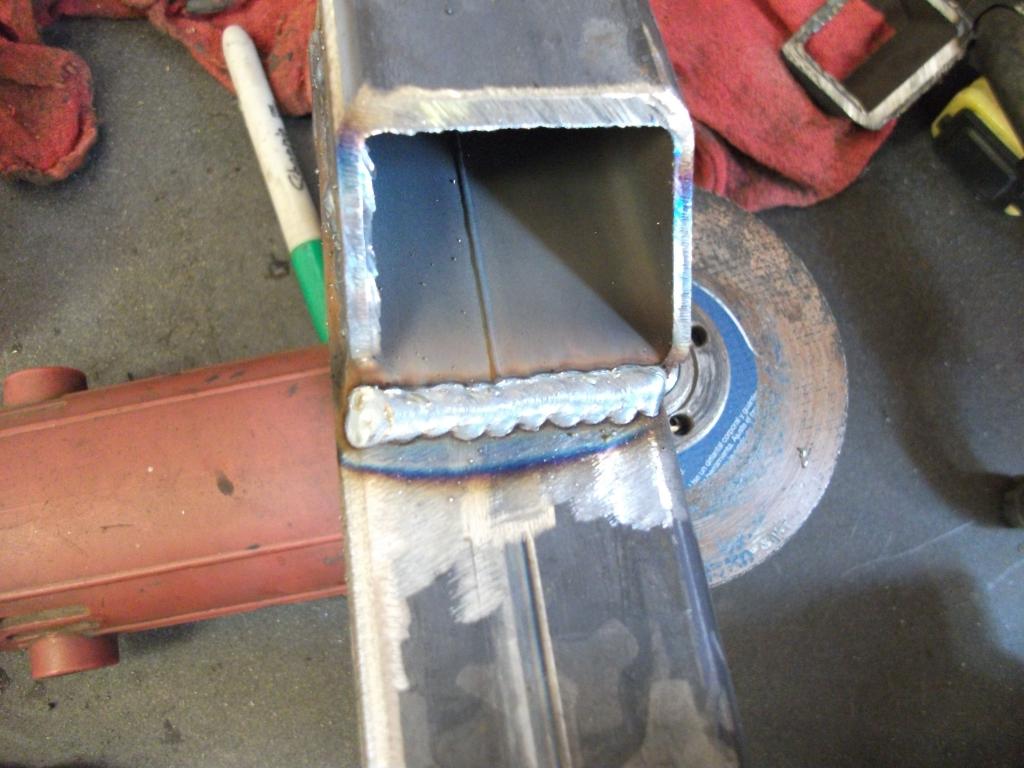
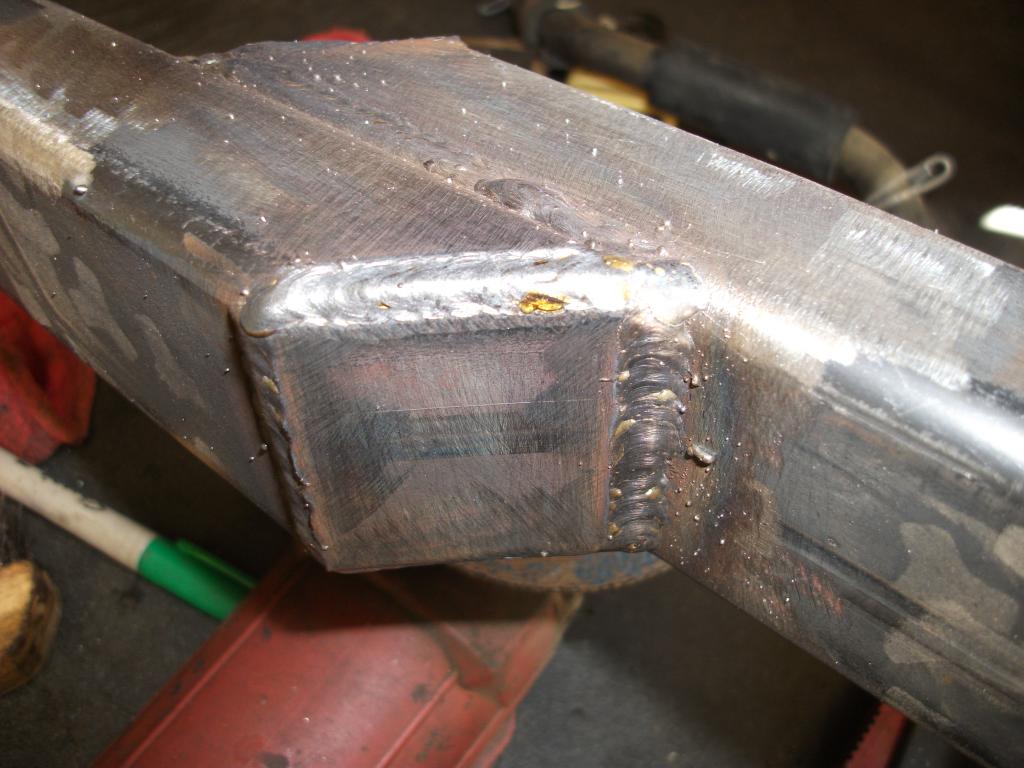
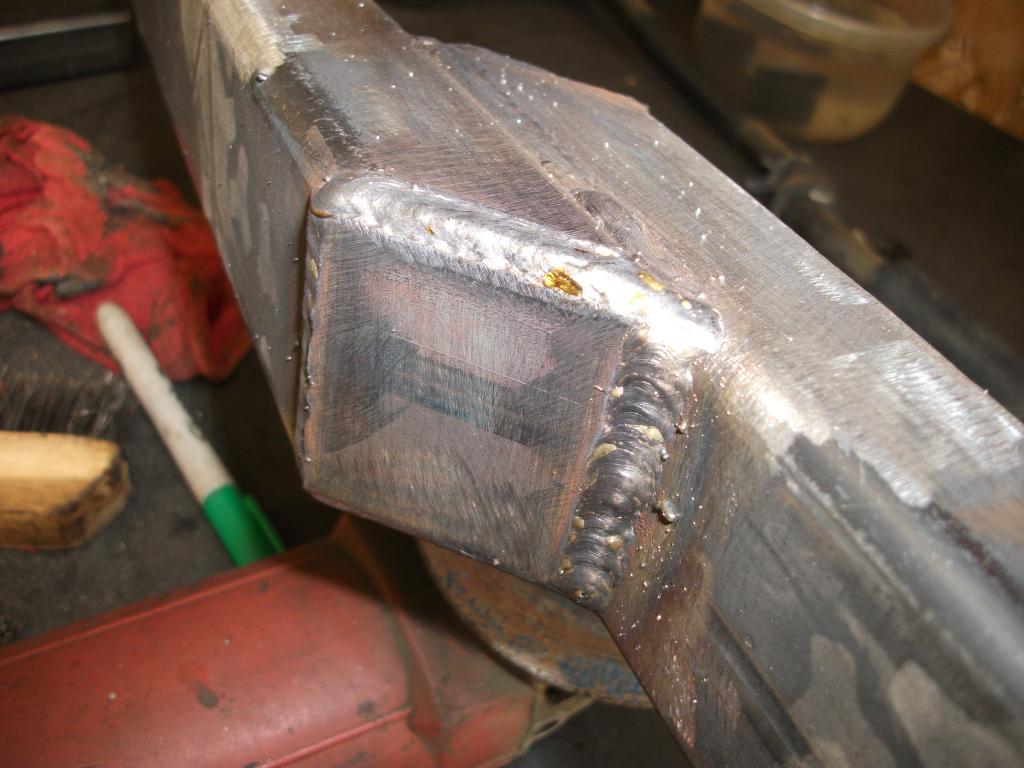
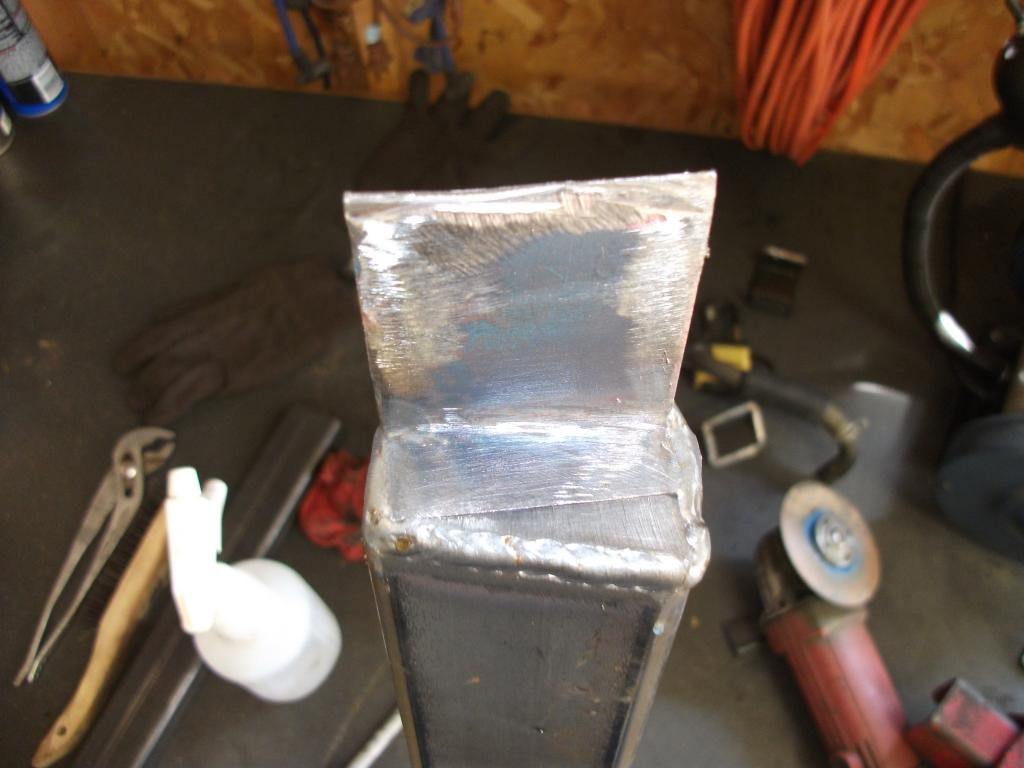
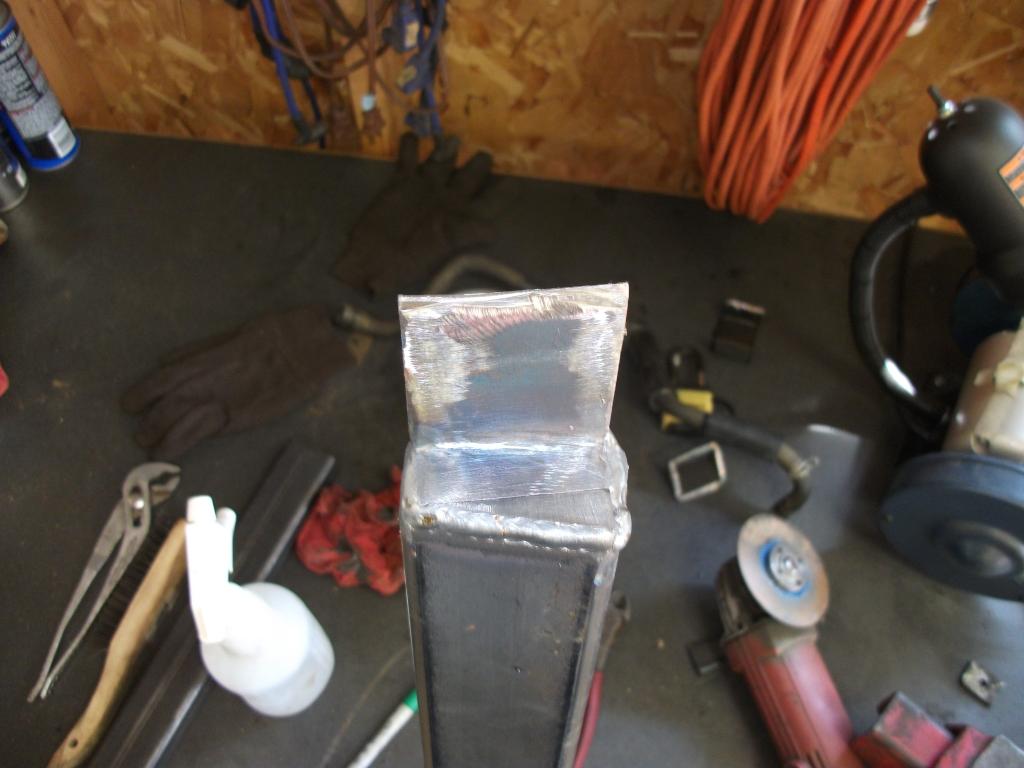
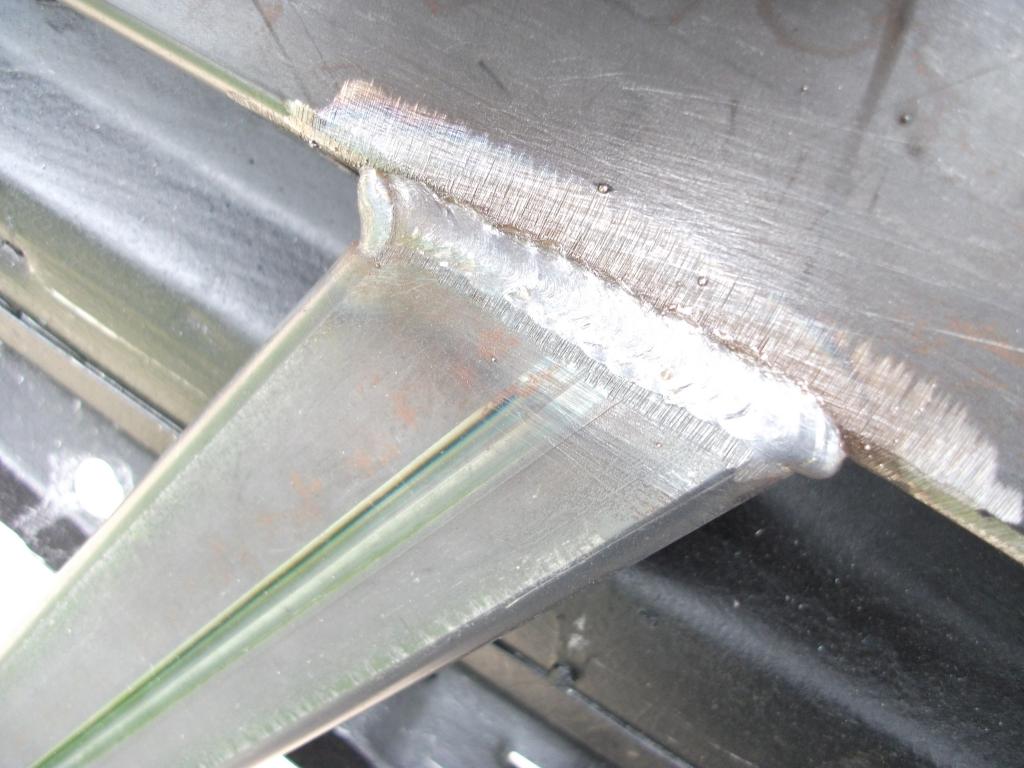
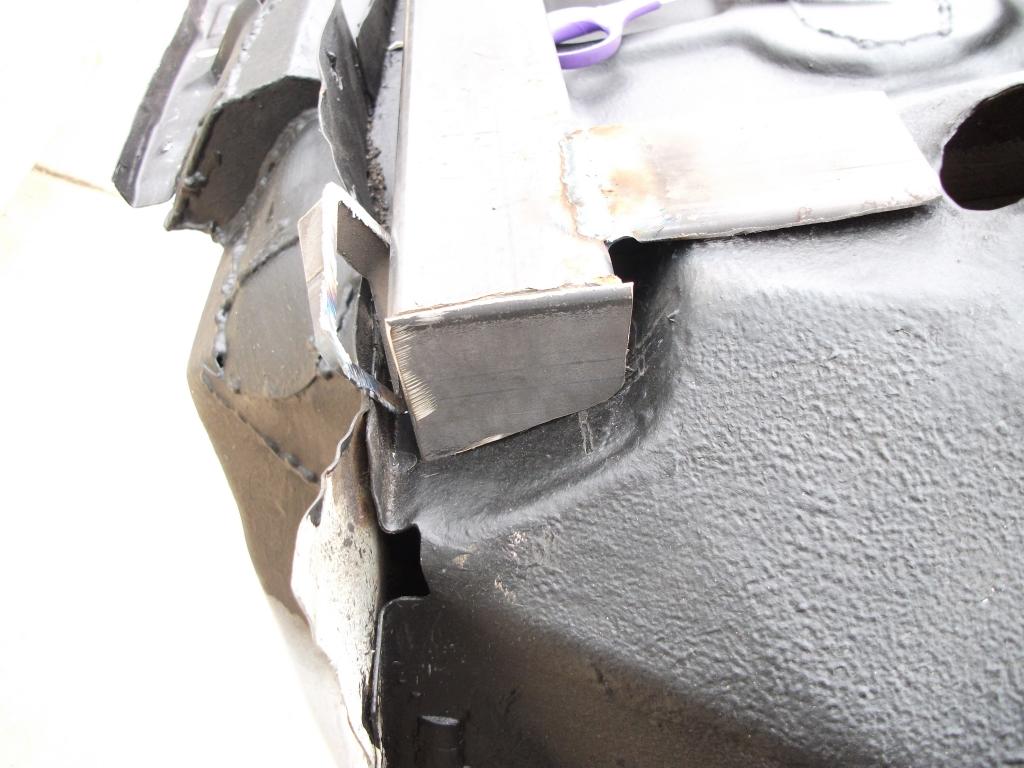
Got some work done on the subframe connectors today. Finish welded the passenger side, just need to add one more tube, clean, paint, and weld in.
I Tig welded this so the bead wouldn't push the tubing away from the cars subframe. First time I've ever Tig welded on a project. Practiced a little before hand, and didn't come out half bad.
Thanks. Tig isn't hard either. Just a little practice is all it takes. It's just soldering on a larger scale.
I've been putting off adding the last tubes to the crossmembers because I don't have the trans crossmember in place yet. I'm also on the fence about using my inner connectors and connecting them to the outers with tubing. I'm concerned they'll bottom out on a lowered car. However, this car won't be slammed so I'm just not sure yet.
Would you mind posting a close up picture of the Rustoleum Undercoating? I am debating whether to use Rustoleum, EZ Liner, or Al's Truck bed liner for the bottom of my IROC...
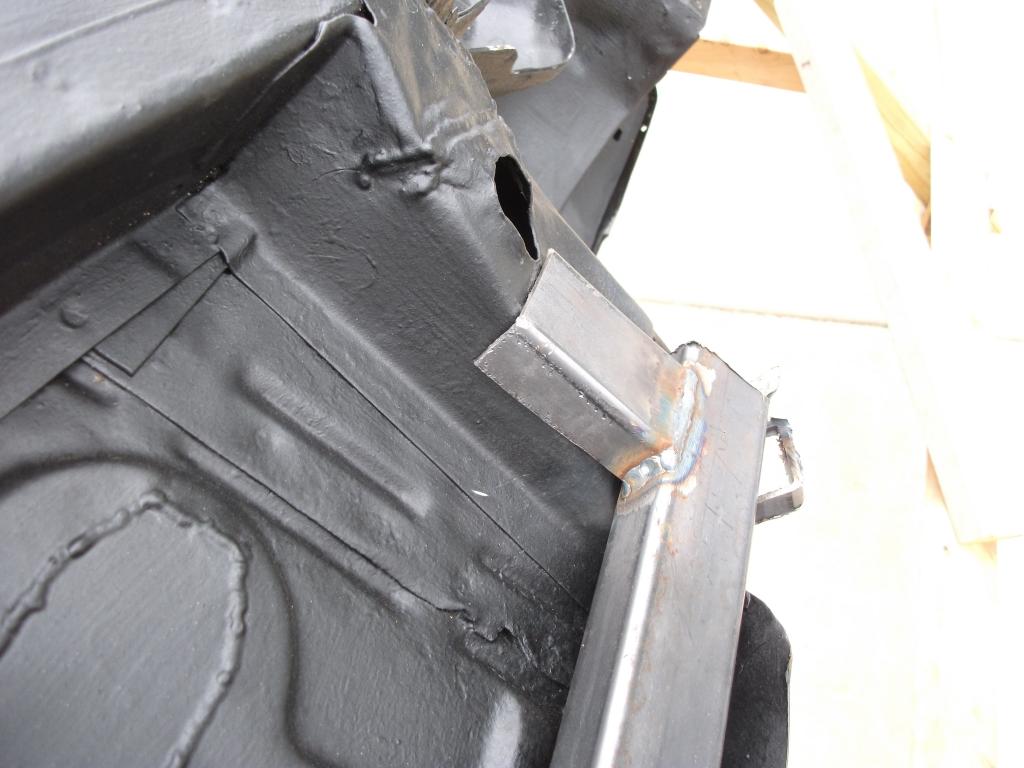
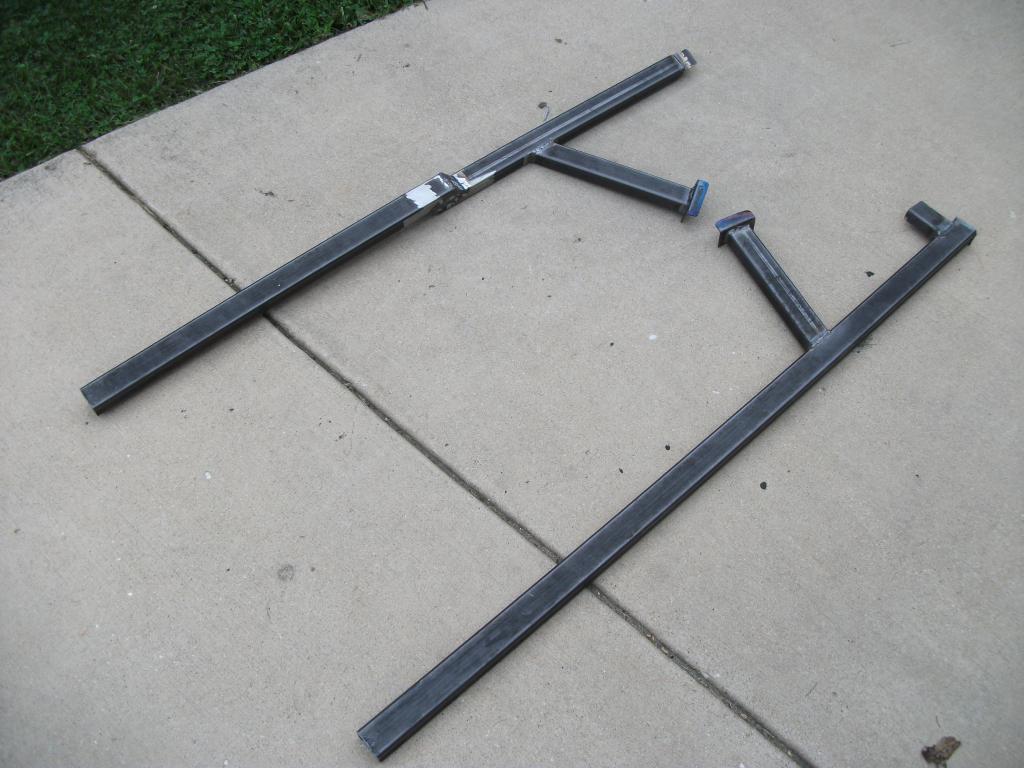
Ok the subframe connectors are done.....well as done as I can currently make them without the plate steel I need to finish the rear sections.
Denny from thirdgenranch hooked me up with a stock transmission crossmember that I used to make sure my design wouldn't hit it. I'll be using the stock crossmember to build my own for my T56. I'll link to that thread whenever I get to making it.
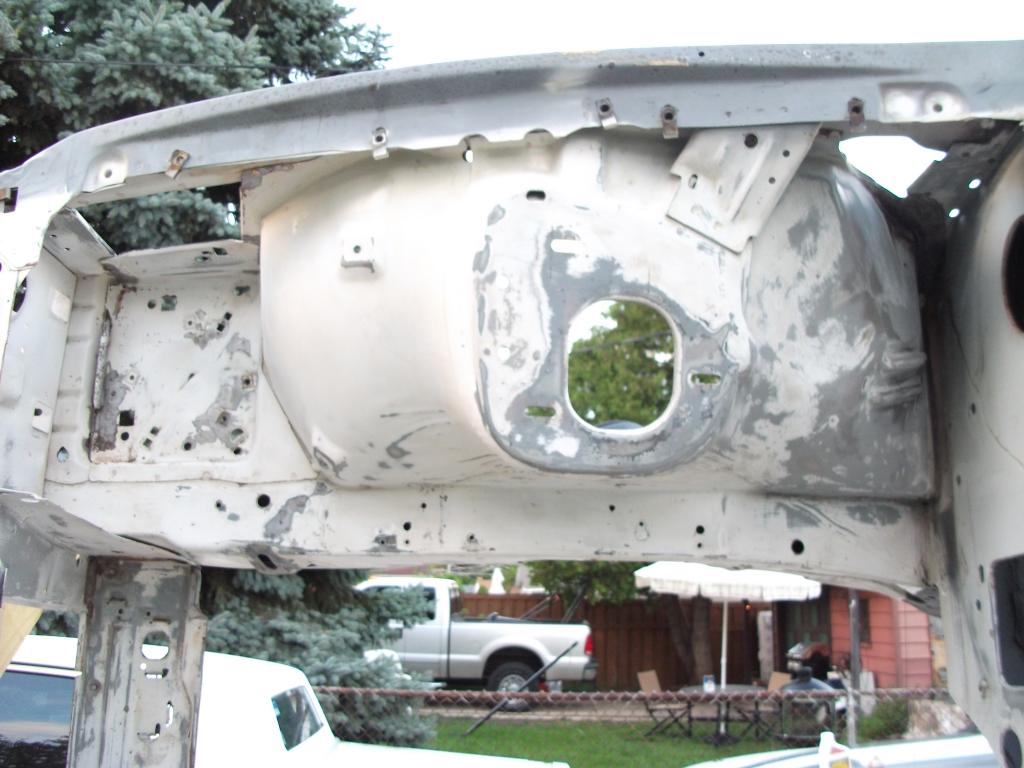
Little update. I started sanding on the engine bay to prep for primer/paint, and get rid of some lizard skin over-spray. I've been sanding with 60, 80, and 100 grit.
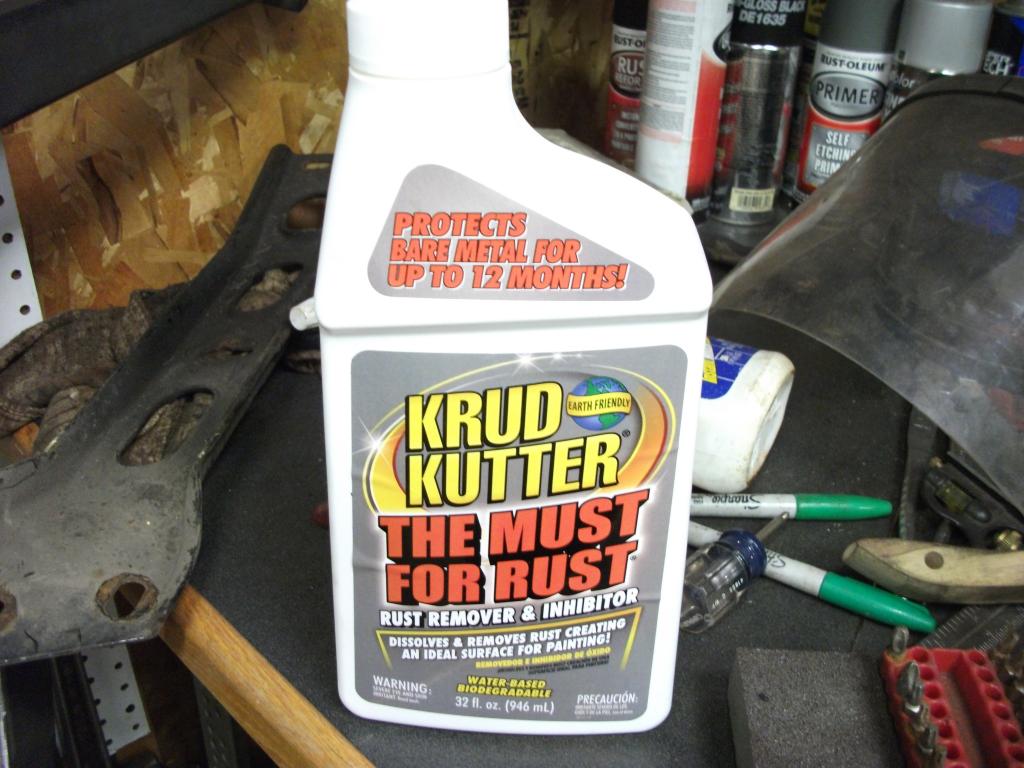
A few areas had small amounts of rust that I couldn't sand off so I used some rust treatment. It did an excellent job.
The epoxy primer and primer surfacer are almost ready to go on.
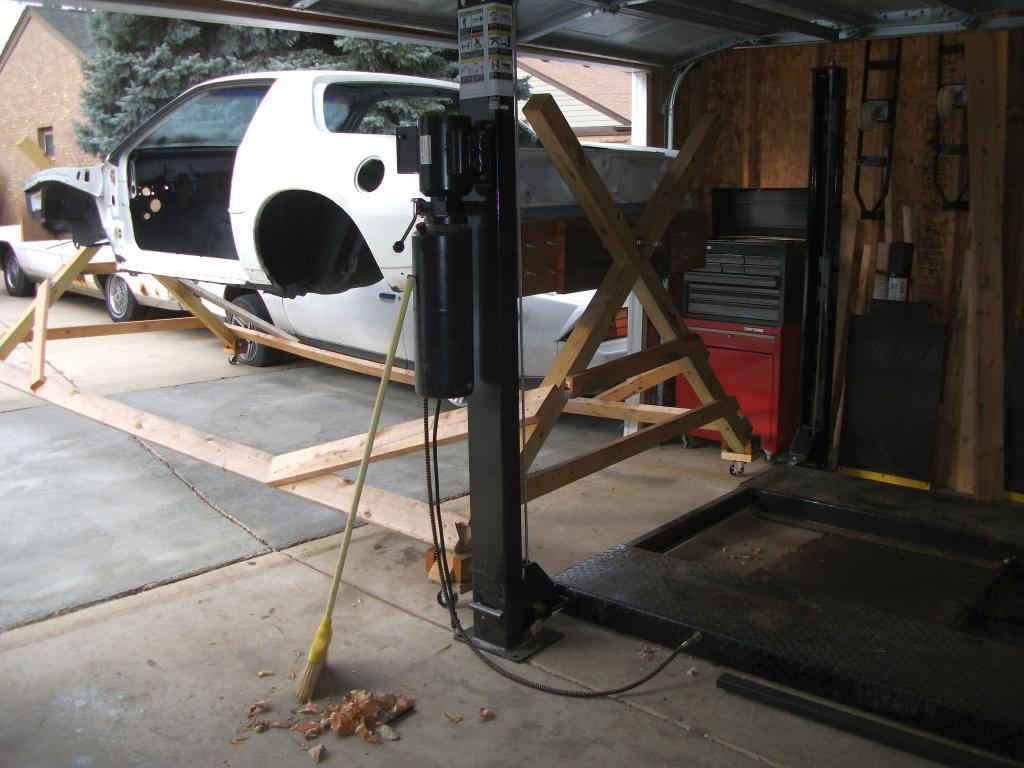
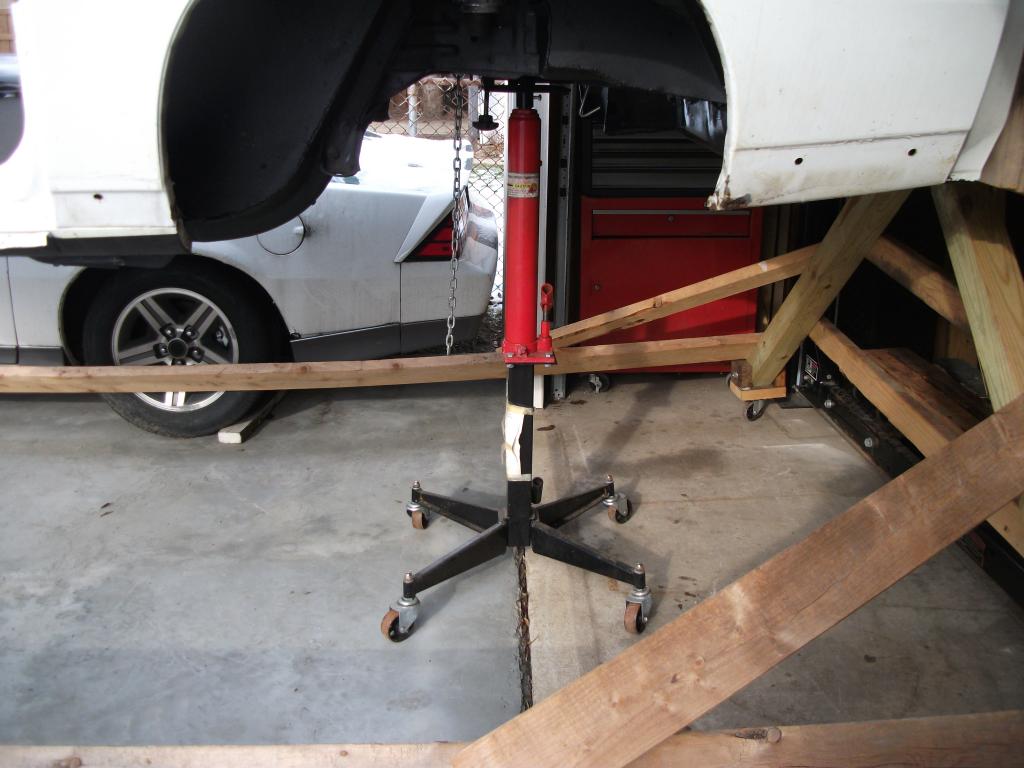
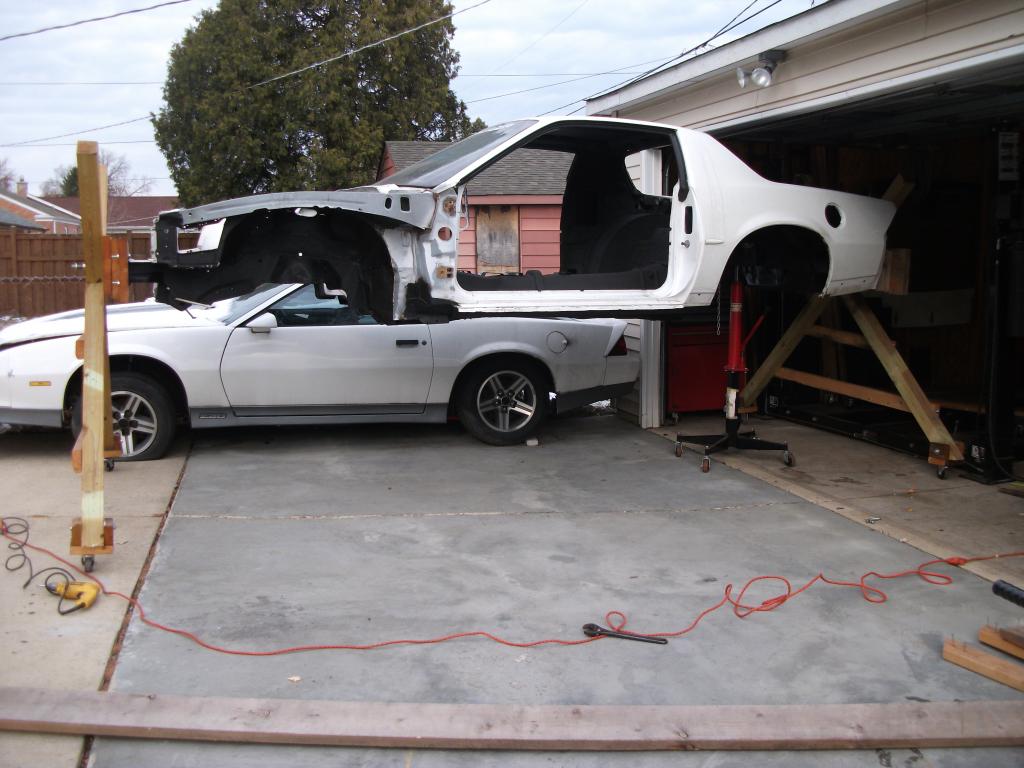
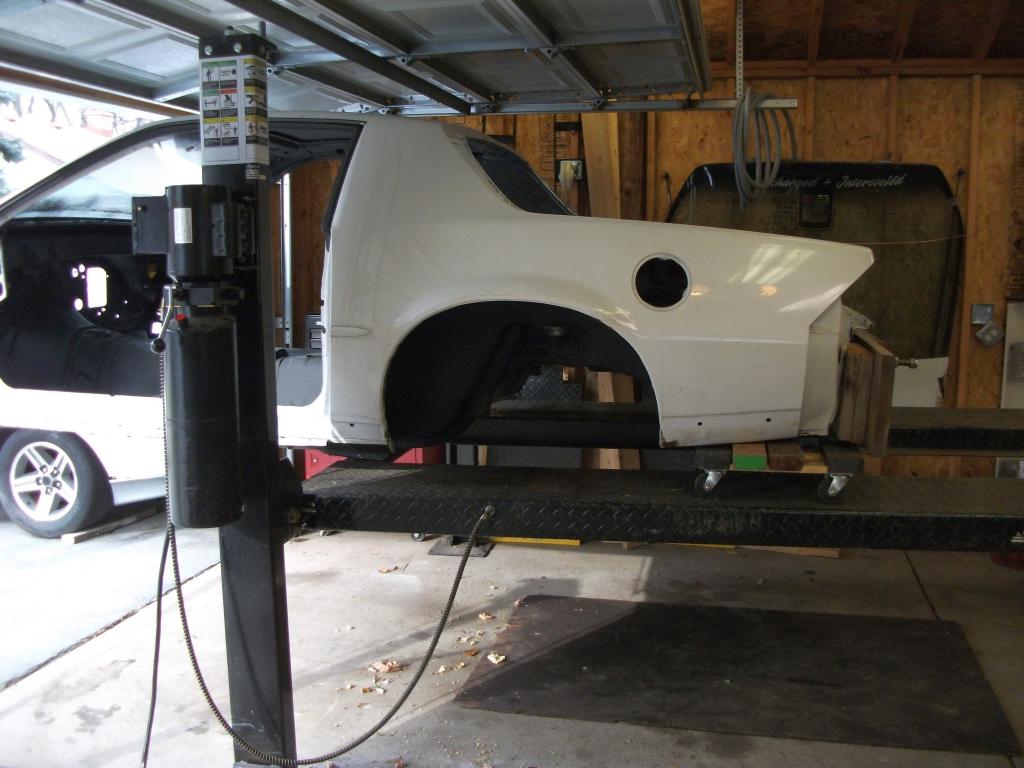
Got a minor update. Since i got a few questions about how I initially got the car onto the rotisserie, I thought I'd document how I got it off.
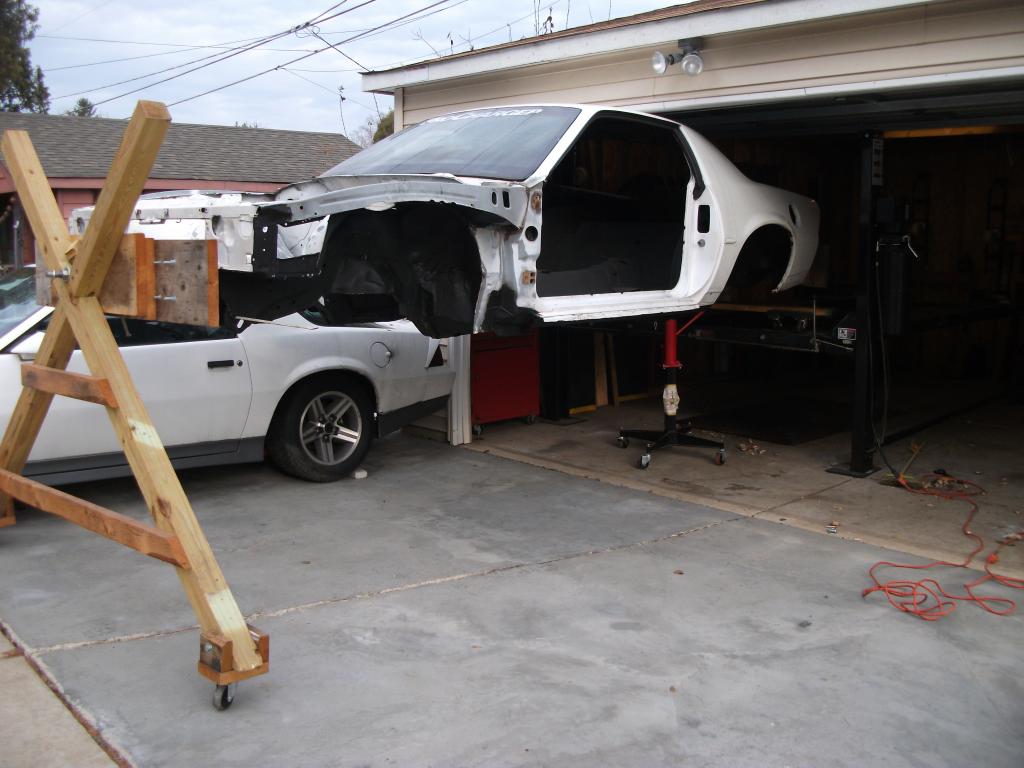
Since winter is here and will snow soon, I decided to take the car off the rotisserie so I could stack cars and park my 4runner in the garage.
All of the work that I needed the rotisserie for is done too, so I might as well get it off and move on. I kept everything of course since you never know when I'll want to put the car back on it.
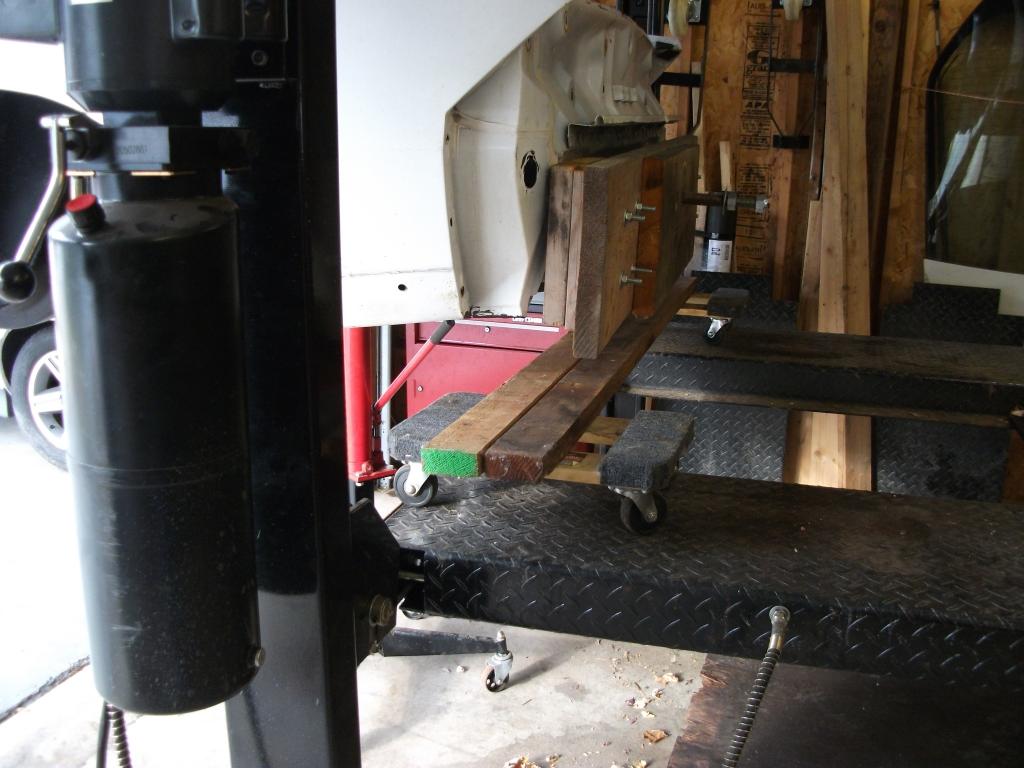
First I raised the lift to the level of the car and back it up to the edge of the lift.
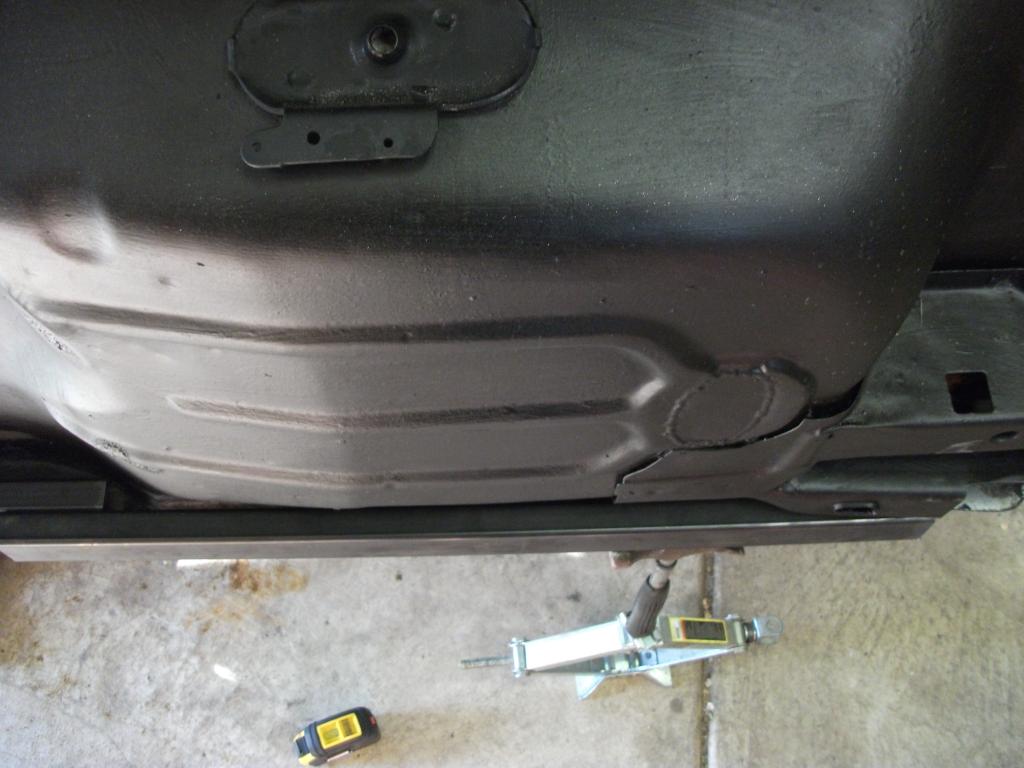
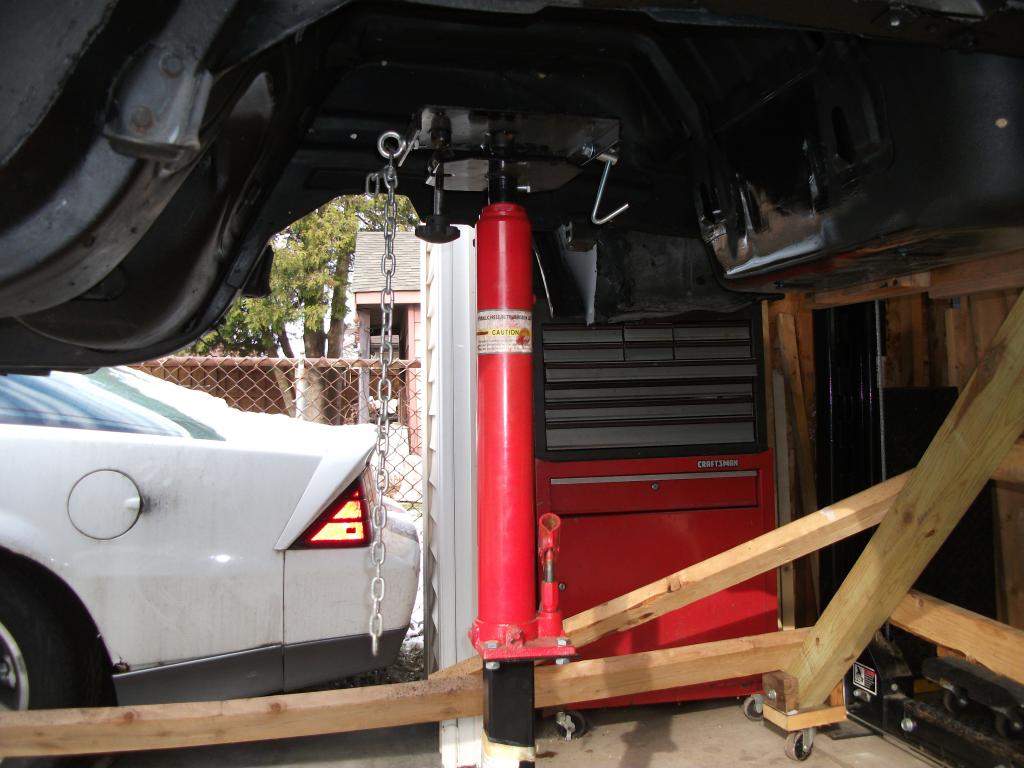
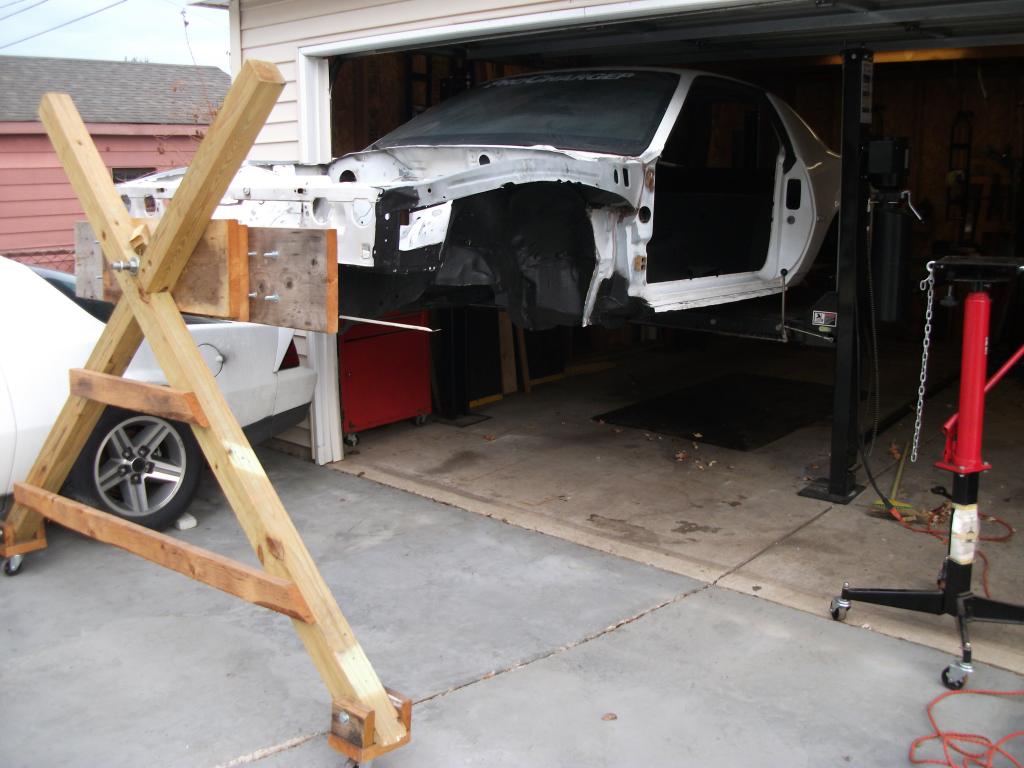
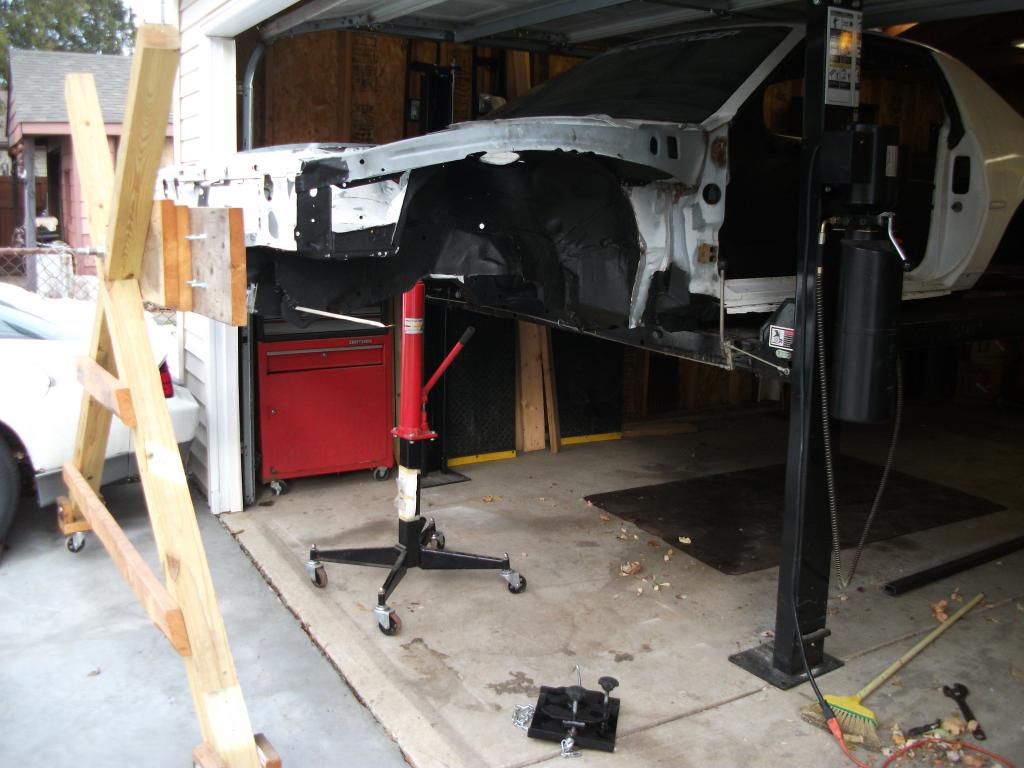
Then I put my trans jack where the fuel tank goes:
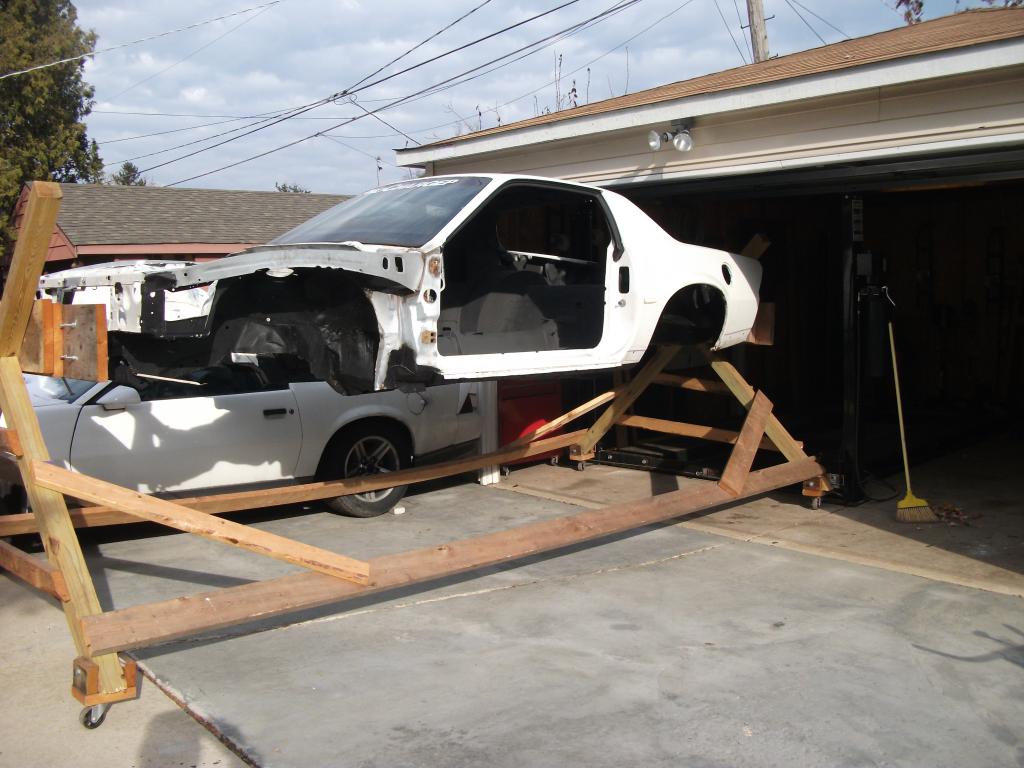
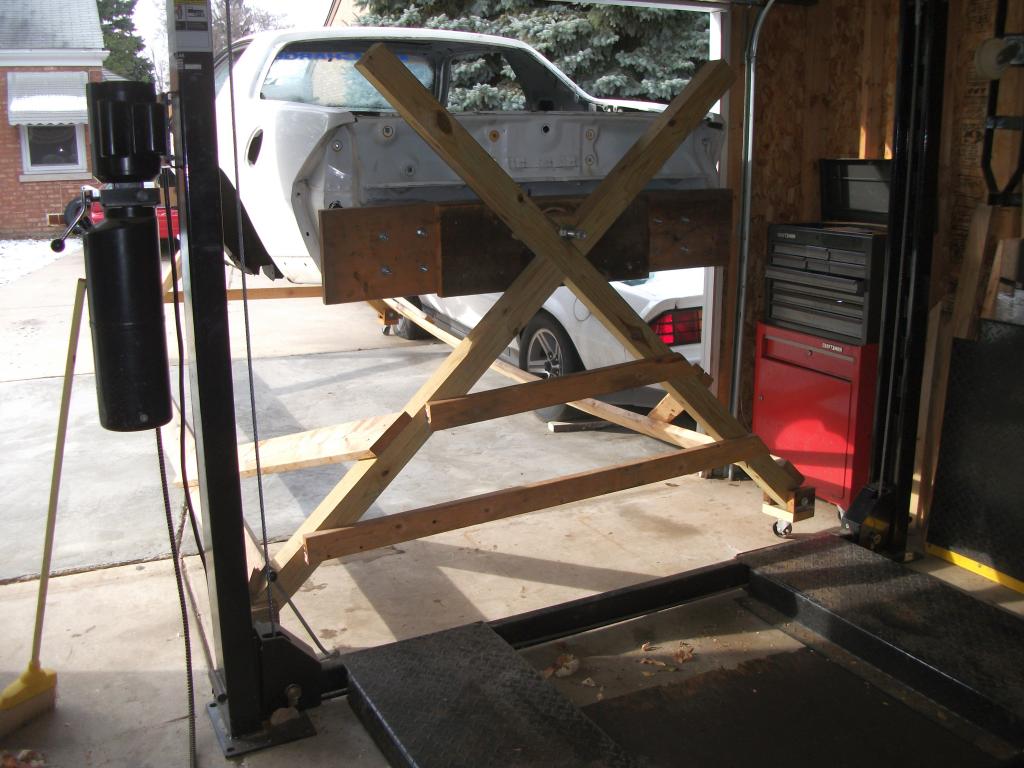
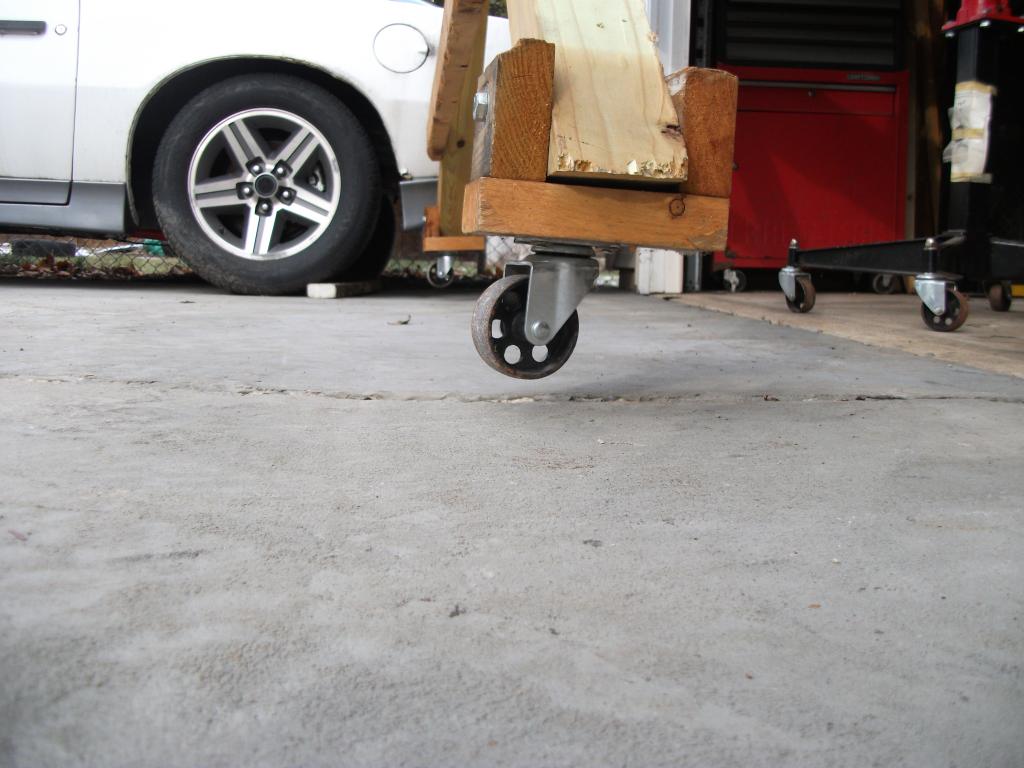
Then I started taking the rotisserie apart and backing the car over the lift
Very nice job.. I just did just about a complete tear down like this.
I like your subframe connectors. I went with jegster bolt in kit and bolted and fully welded them. I did notice that they metal off the back of the connectors that went through the control arm bolt. Might be worth welding a flat piece of metal on the back of each connector so the control bolt goes through your connector.
I see you brushed on the bedlinder. I have had good luck using a shultzs gun at higher pressure with that brand. Comes out textured and very even.
But yea great build. Only way to do them. You know every bolt of the car and what is done.
Yes the rear of the subframe connectors will have 1/8" plate wrapped around the control arm mount. I just haven't gotten that far yet.
I was thinking about what position to mount the connectors in, and I think on the rotisserie will be fine considering the car is literally broken down as far as it possibly could be.
Finally got back to work on the car. Bodywork is fully underway now! Right now I'm finished sanding the engine bay, roof and quarters. One dent to pound out in the passengers quarter, and a small area in the drivers wheel well to cut and replace. I decided to sand down the existing paint and not completely strip everything down to bare metal. Too time consuming and not necessary.
I'm constantly fighting myself on this car. I just don't know how far to go.....Once I think I'm done sanding somewhere I just keep finding more and more and MORE to do! I need to keep reminding myself that this isn't a show car. It's going to be driven and enjoyed and it doesn't need to be perfect. If I keep trying to make things perfect I'll simply never finish it.
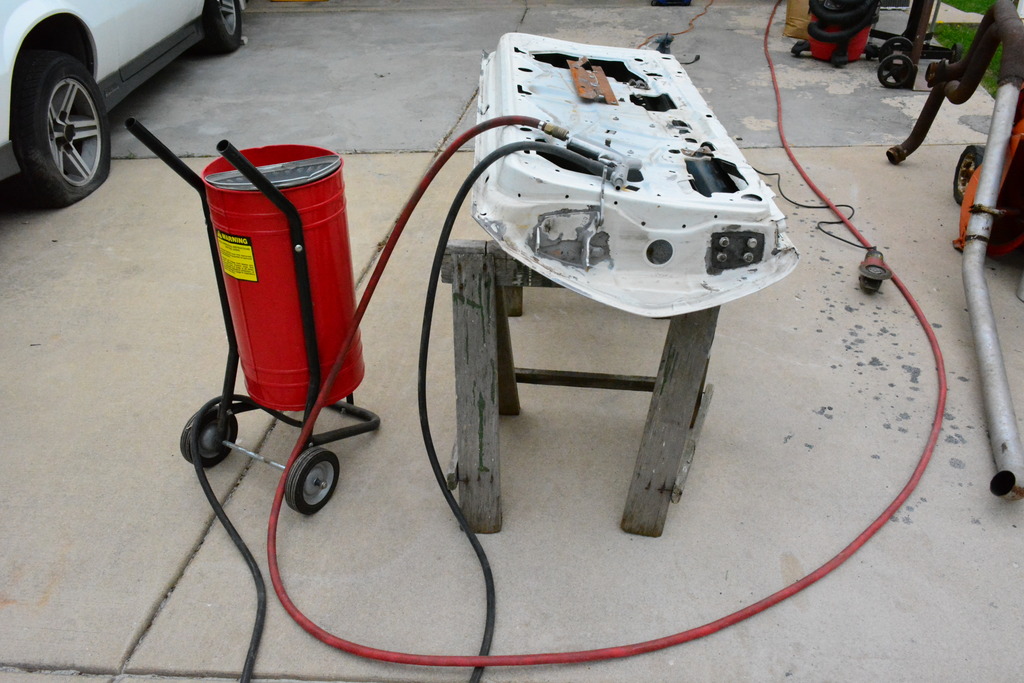
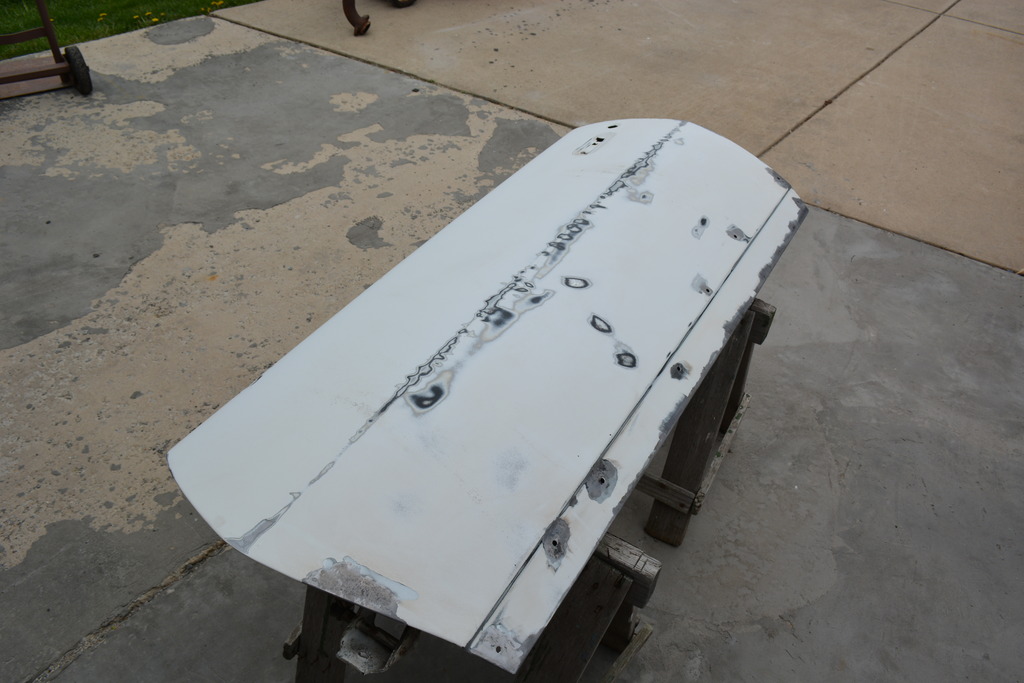
Also put the sandblaster to good use:
Somebody previously cut a hole in the drivers battery tray so I finished smoothing it out. Was very jagged before.
Also pull all the weatherstripping and molding off:
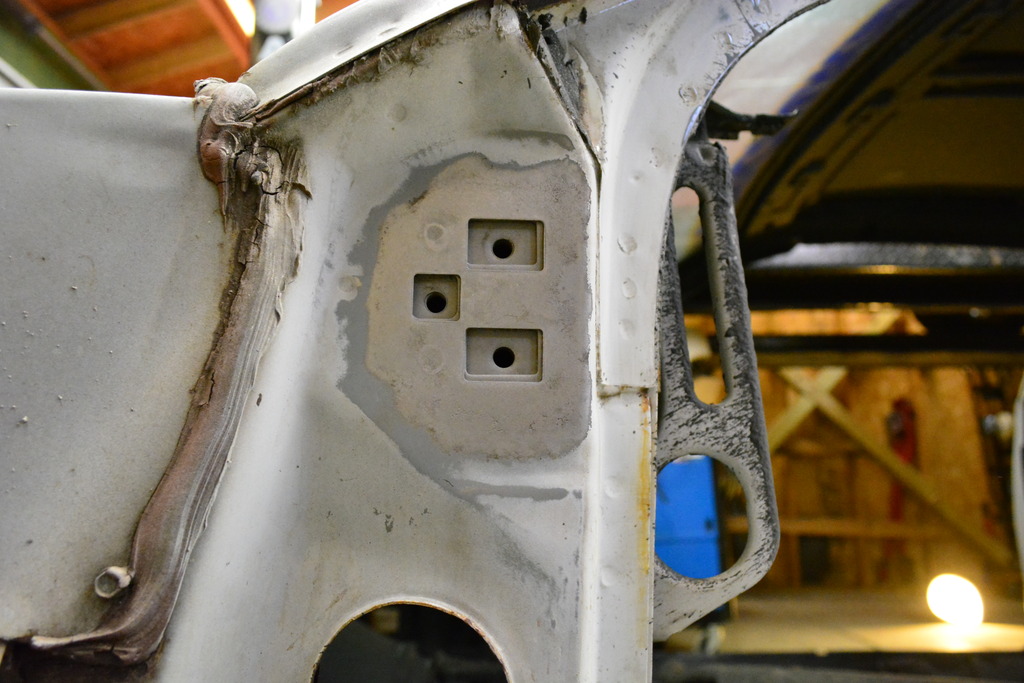
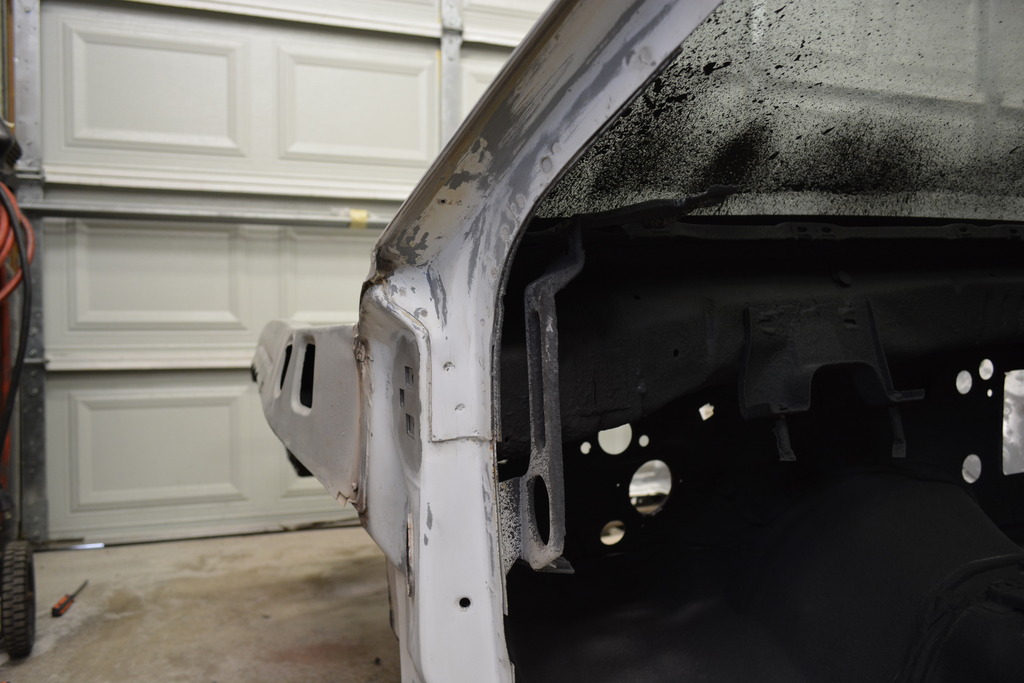
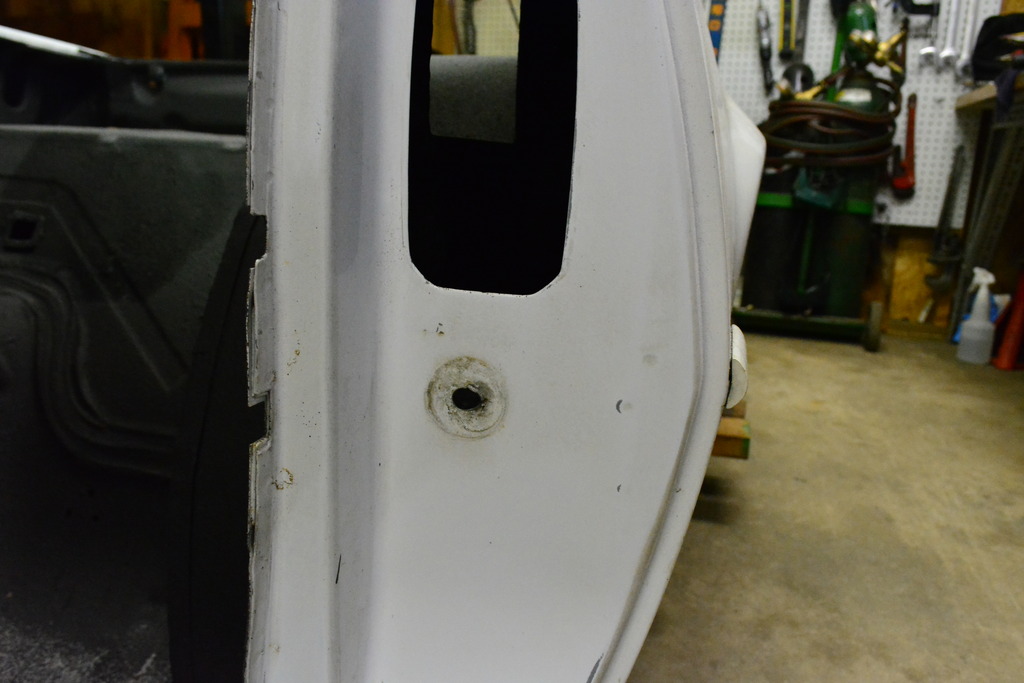
Drivers door striker hole is jacked up so I'll have to pound/weld that back into shape:
Fenders, hood, bumpers - coming off of the car in the very first pic of this thread.
Doors - Came got off of a '91 Firebird (not pictured yet) from a Victory Auto Wreckers free parts weekend ($50 as much as you can carry)
Ground FX - Have a pair from a parts yard that need some work. Not sure if I'll use them or find another set.
Paint will go like this:
Grey epoxy primer
Grey high-build primer
White sealer
White paint
Still not sure about black stripes pr accents.....opinions?
Here's where the engine bay is now. Not doing any more sanding on it.
Last edited by robguitargod1; Apr 25, 2015 at 10:04 PM.
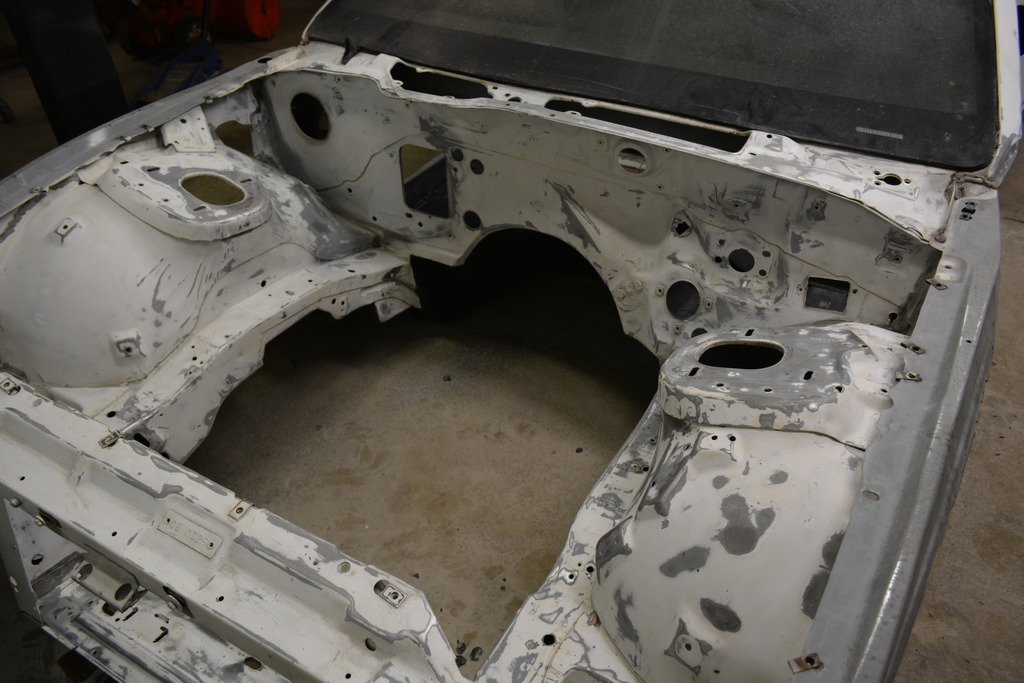
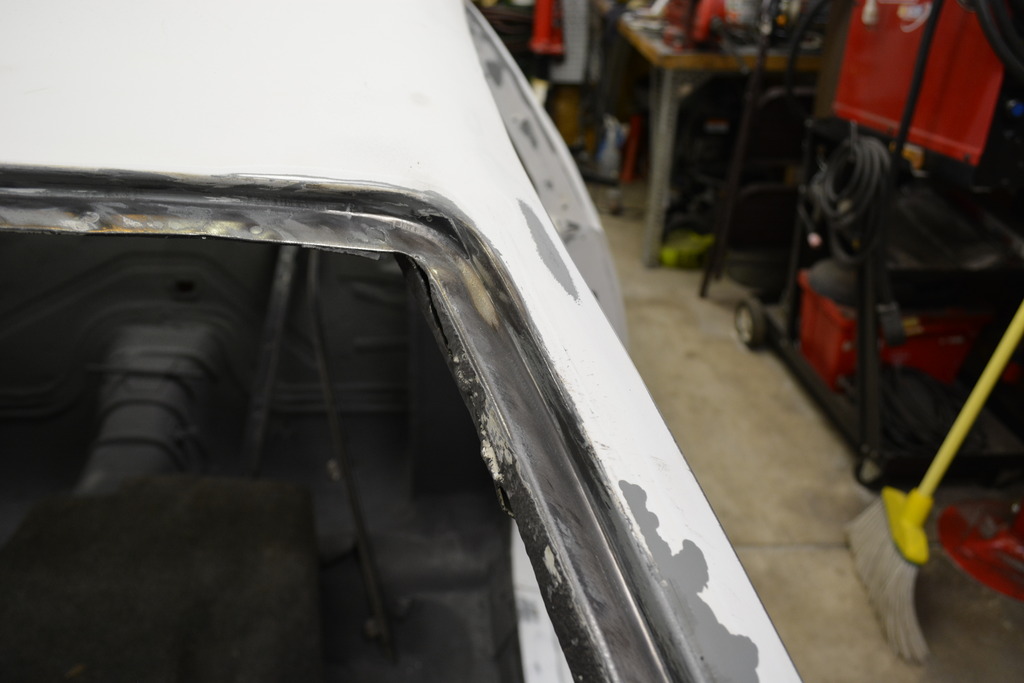
Finally pulled the windshield today. NEVER want to do that again! The tool I bought was garbage so I ended up just smashing it out then coming back with a razor and getting as much old sealant off as I could. Then I used a SUPER aggressive wire wheel on my angle grinder.
After all that I'm very happy with the results. No rust, but there were quite a few gnarly places under that windshield sealant in the form of welding slag and sharp metal points near the spot welds. I ground them all down of course. Kinda satisfying.
After coming this far I'm not going to puss out now! I'd like to have to do this only once!
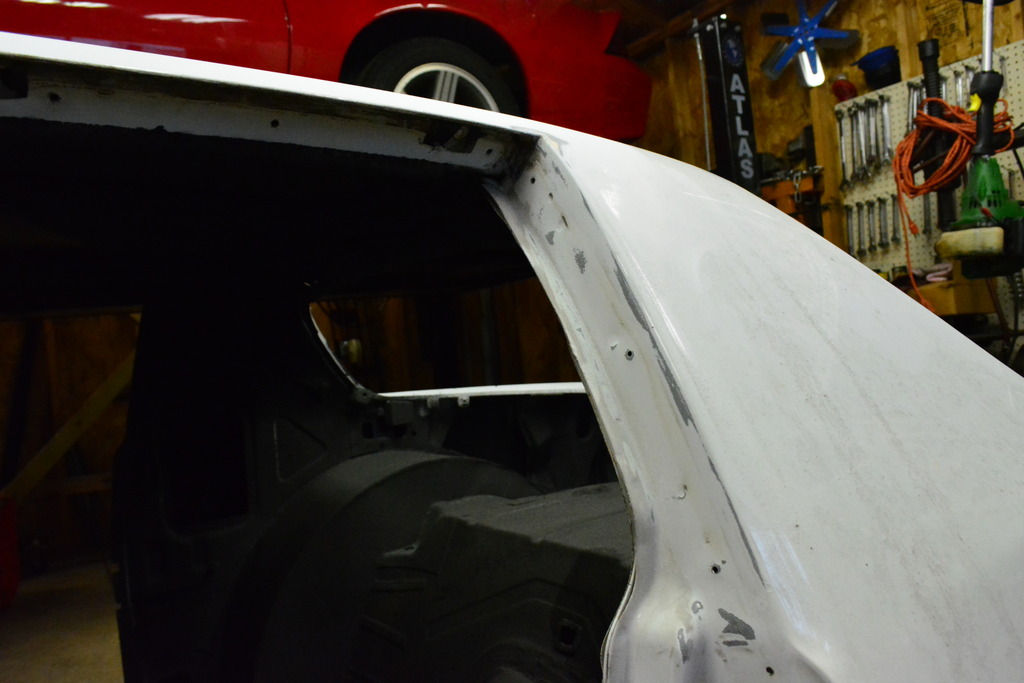
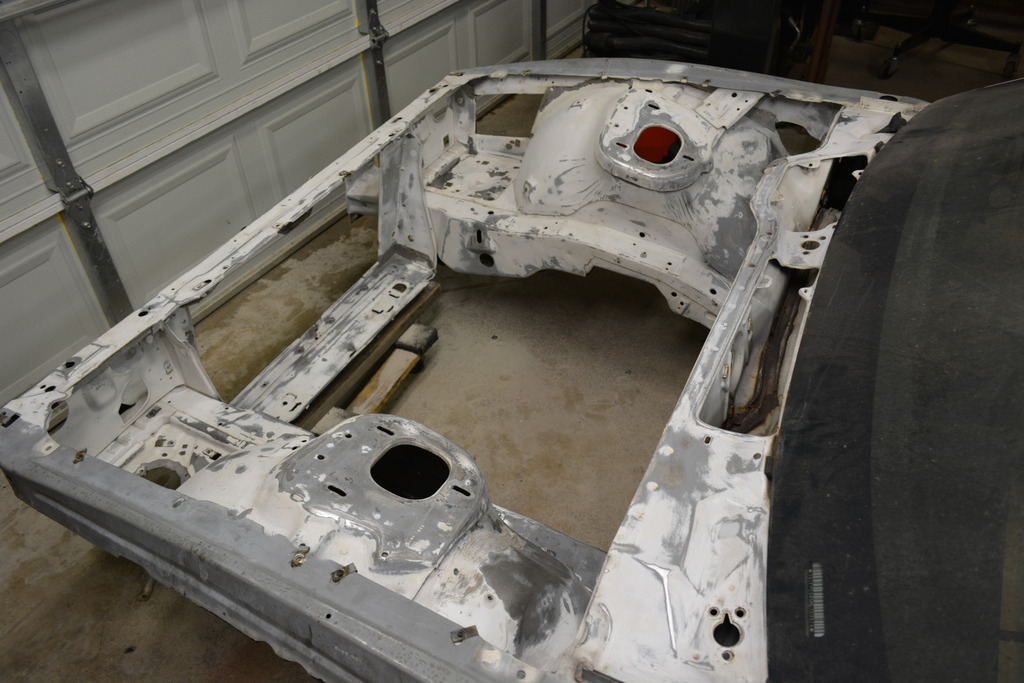
Today I sanded the windshield channel since I didn't get to it yesterday.
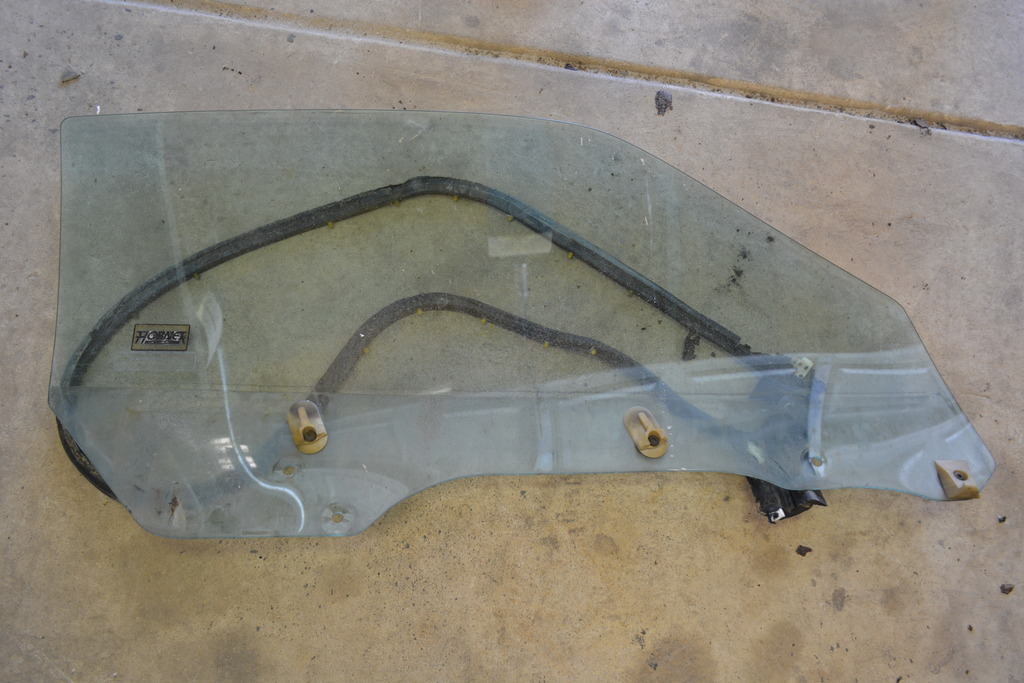
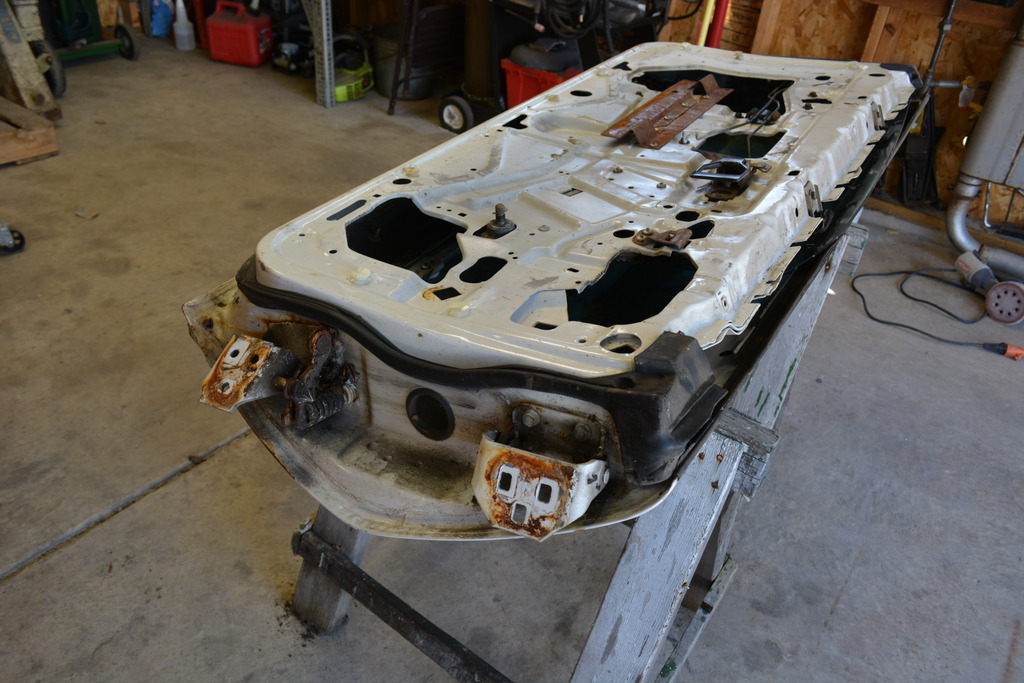
I also finally tore apart the doors (only got to 1 today) that I got from a parts yard years ago. I'm glad I grabbed them because they're about as clean as a midwest car door could get.
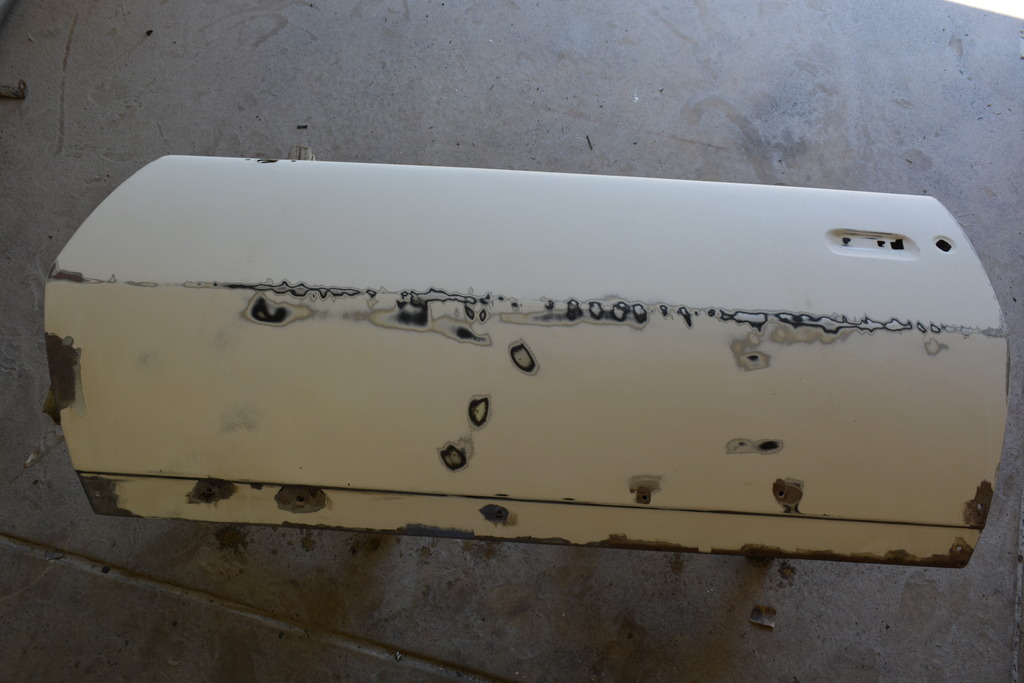
They came from a '90 or '91 Firebird so I'll have to weld 2 or 3 ground effect mounting holes and eventually drill the correct ones.
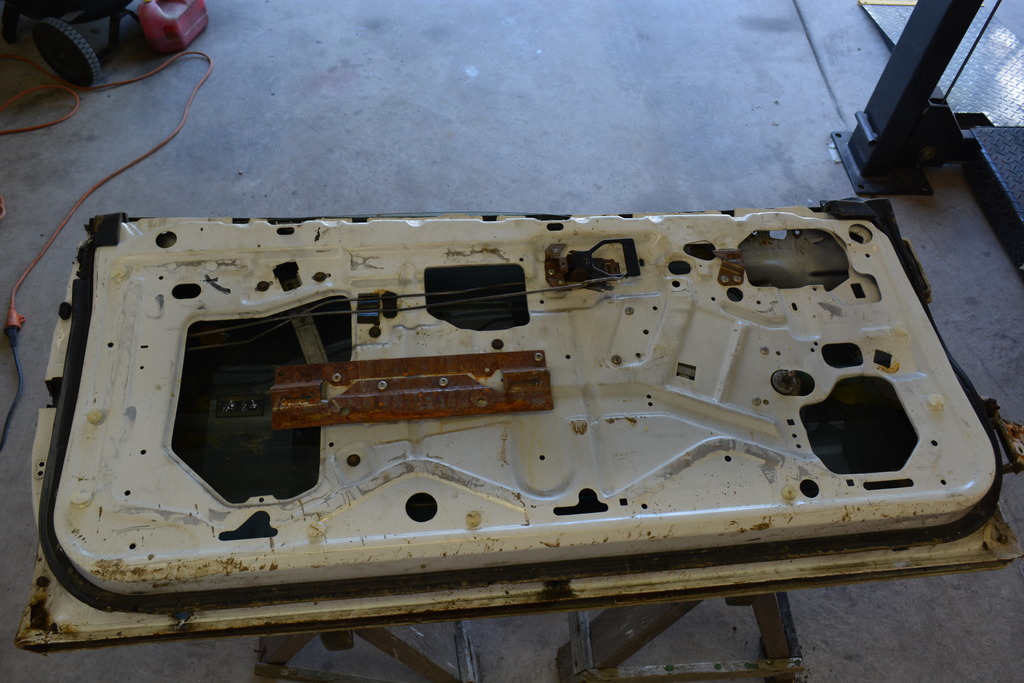
Since I still need to spray lizard skin on the inside of the doors I decided to gut them. Not very hard at all and since I know what I'm doing now the second door will be very easy.
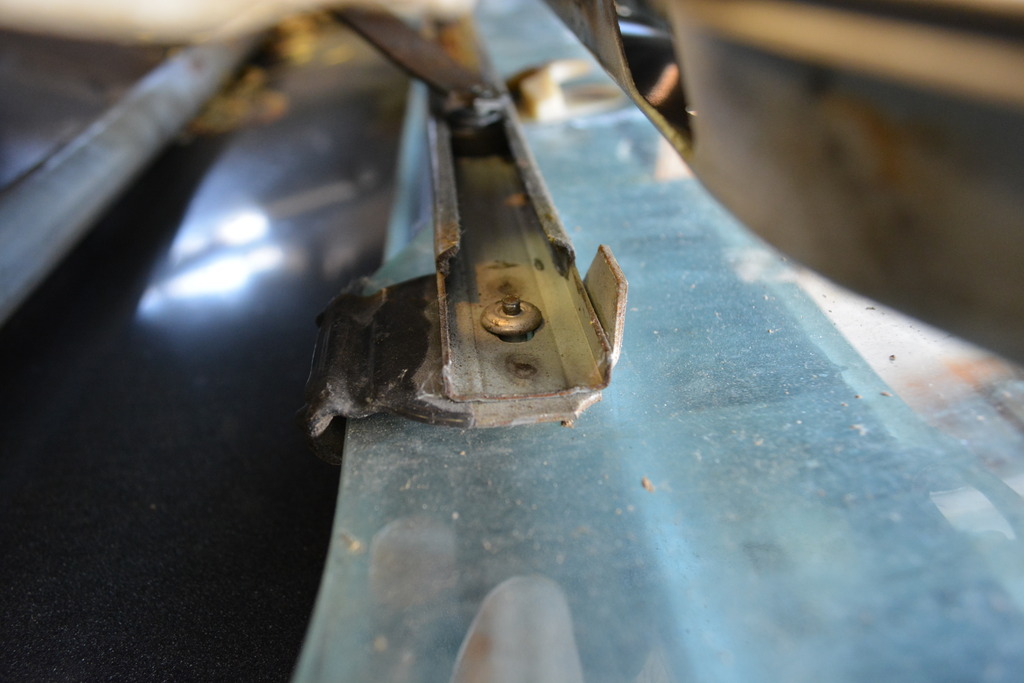
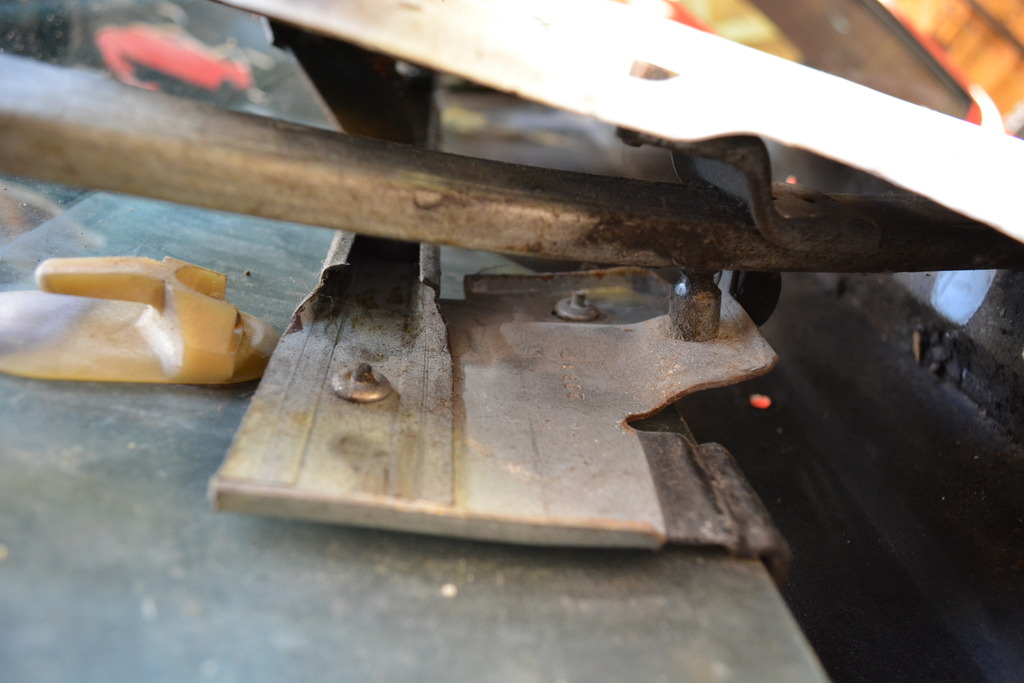
To remove the glass you have to drill/cut 3 rivets.
This one:
And these 2:
After then the window just pulls out:
And because I'm pulling the glass I'm sure I'll just replace it.
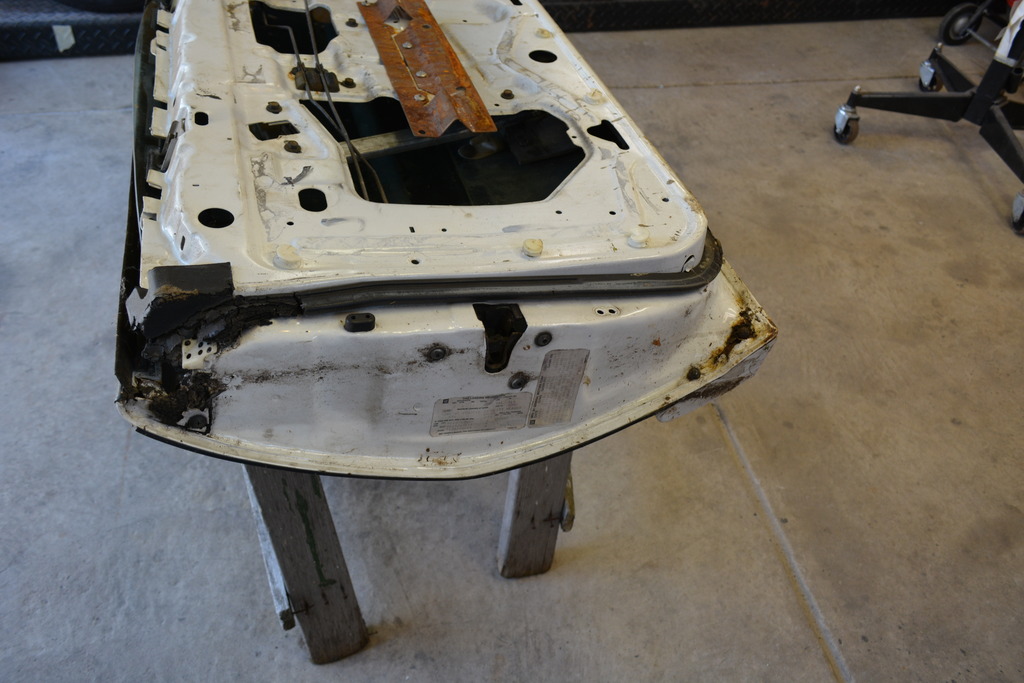
Well not anymore! What little rust I found on the door was sandblasted off then treated with a rust remover so it'll never come back. Nothing on the doors needed to be cut and patched luckily.
The drivers door hasn't been touched yet but I looked it over and appears to be in even better shape than the passenger side. I've also been trying how to adjust my Nikon cameras setting to take better pics. Some seem too dark to me.
I also need help..........This has been a one-man project until now. Without some bodywork help it'll simply take too long so and skilled hands feel free to contact me.
My goal is to have the car assembled and painted one month from now.