When you click on links to various merchants on this site and make a purchase, this can result in this site earning a commission. Affiliate programs and affiliations include, but are not limited to, the eBay Partner Network.
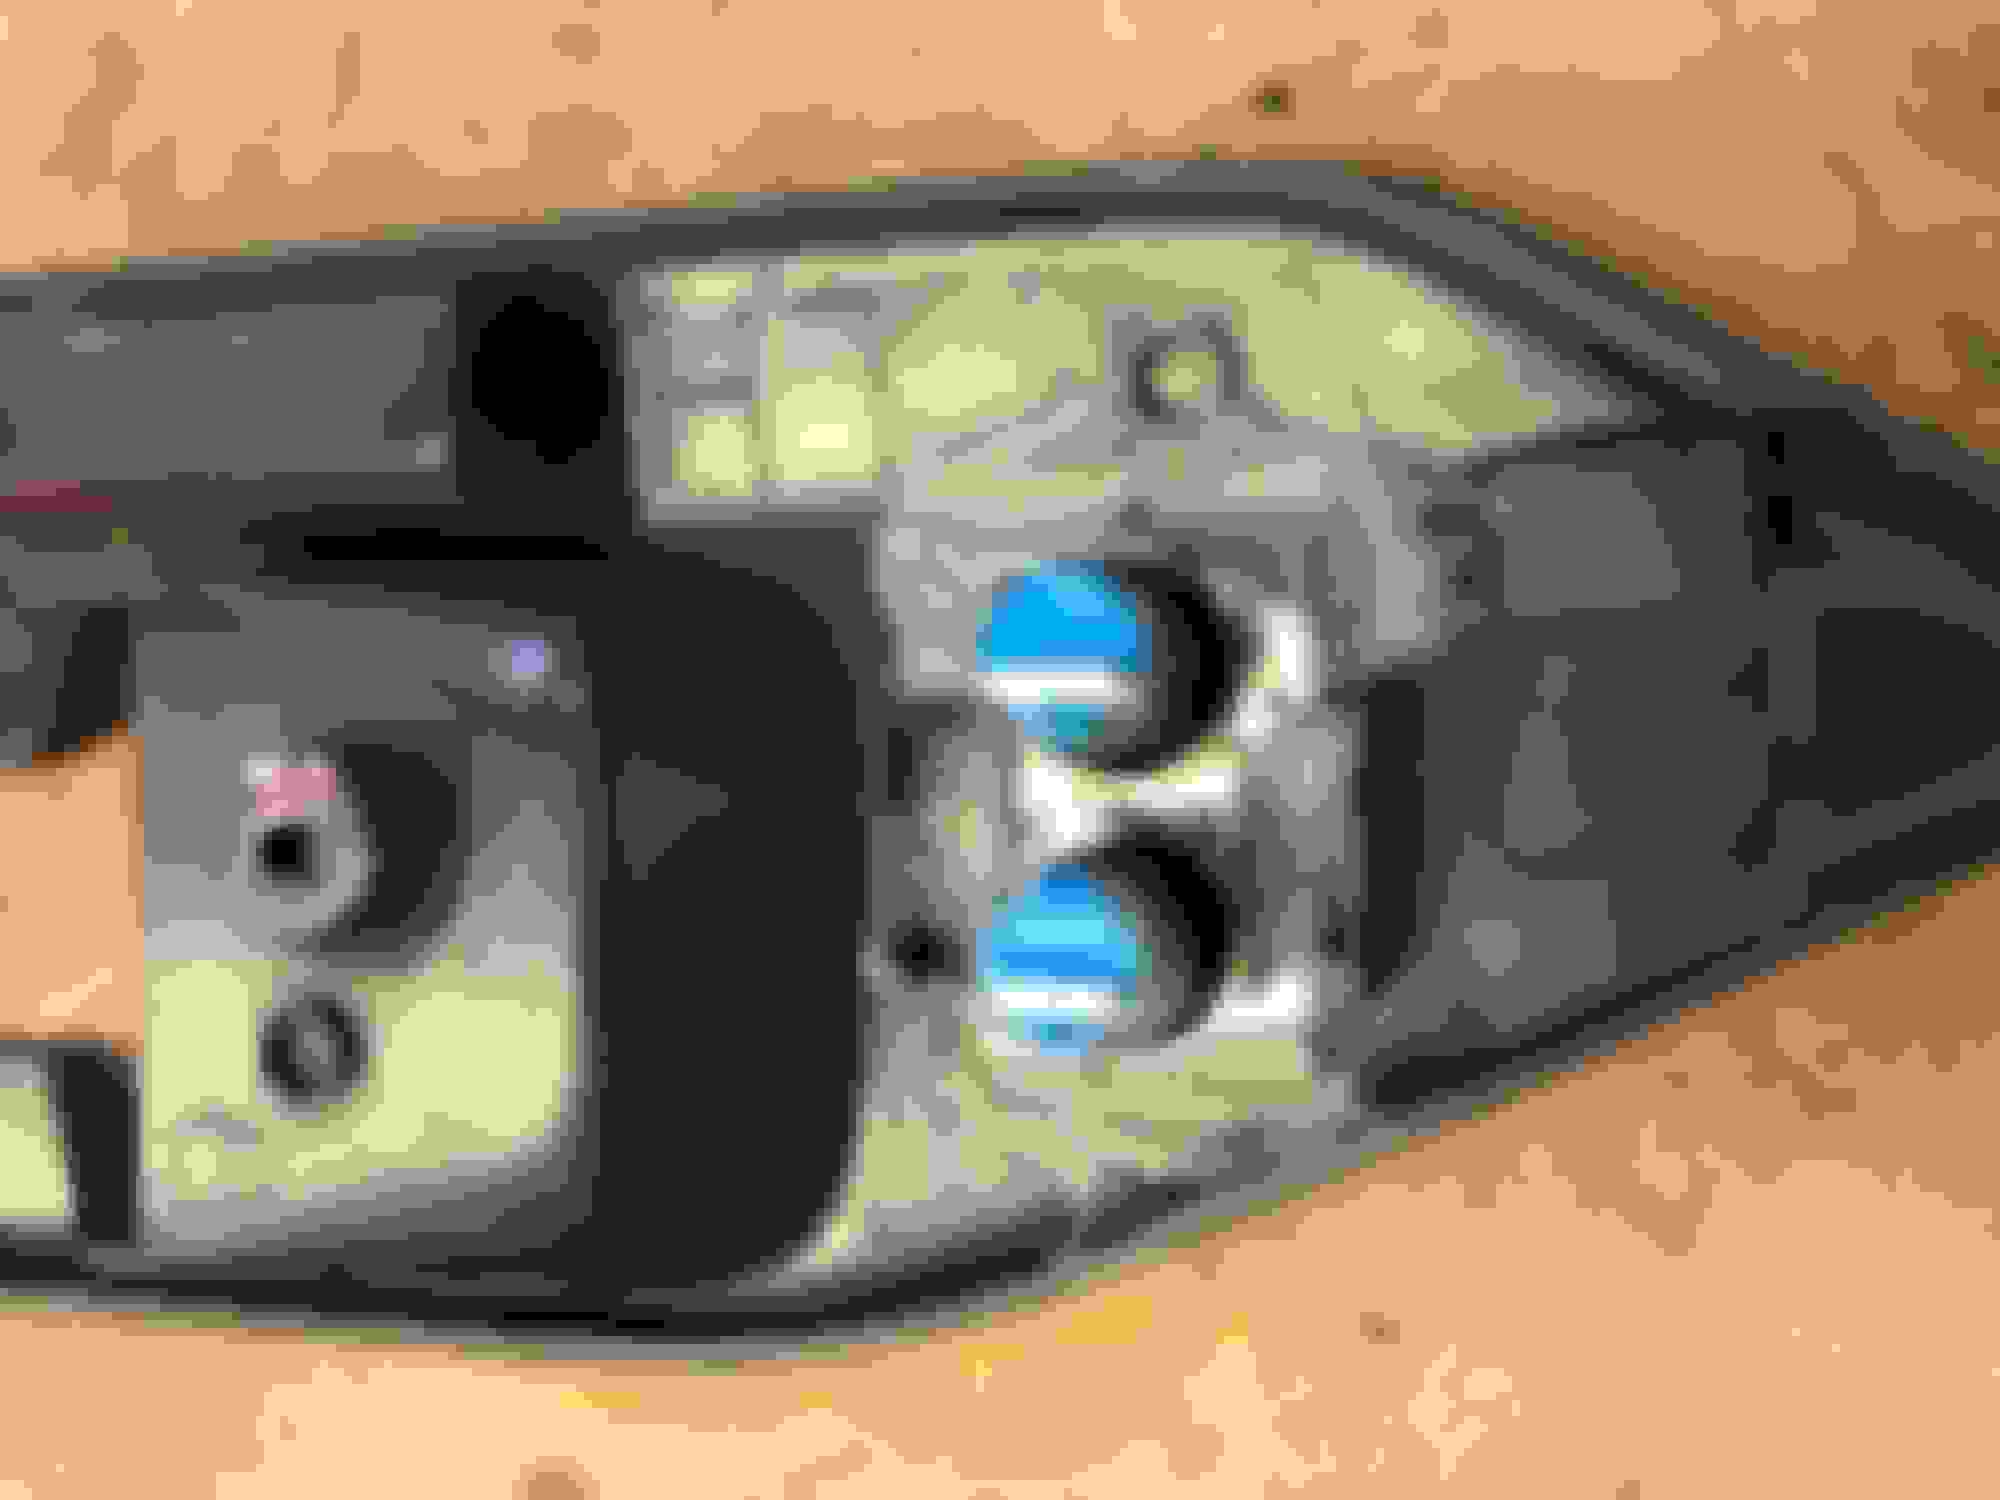
They were originally known as Isis Power and changed their name when, well…you know. I honestly don’t remember where I first heard of them, probably a magazine article. Here’s a screenshot of the inTOUCH control:
I brought the car to a local tuner this past Friday. Miles at MGP Tuning put his HP Tuners skills to work and taught the engine some manners. Not only does it idle better and drive really well…
…at the wheels.
Pretty good for a stock long block 5.3. That’s at 10lbs of boost. The turbo’s probably have some more, but the 60lb injectors are up close to 90% duty cycle, so this is it for a while.
Hmmm those numbers seem good for only 10lbs. I have a custom cam light port 862s, NNBS/TBSS intake and 60lb (at 43psi) injectors on 93 and I max the 60lb around 13-14psi. Crank them to 58psi and they become 70-72lb and good for a few more lbs. Your numbers seem high for 10lbs thought. Your easily 60-80hp under me with the stock 5.3 cam before boost. You verify the boost/MAP values are accurate?
Pump. Definitely need to go bigger injectors and add a sensor for E85, but that would allow me to safely add some boost.
something isn�t adding up for me. A stock 5.3 at 10lbs will not max out 70lb injectors on pump gas or get close to 90%. You should be in the low 500hp
range with 10lbs on an all stock motor and that�s at the crank. Stock 5.3s only make 300-330hp NA, 15lbs would be 600-660hp or double NA. 10lbs puts you in the 475-525 range. Something is off bc I run around on the street 12-13psi with a cammed 5.3 and I am just maxing out the 60lb at 43psi. What your numbers are suggesting at the wheels is at minimum a good turbo cam and prob a tad more than 10psi.
DONE!!!
(anybody that believes that probably doesn’t belong here)
It has some drivability issues (dies on deceleration with the clutch in) and a million little things that I can fix/make better. But, I can at least I can get it on the road. I plan to bring it to the Turkey Rod Run in Daytona next month.
Lol…I had it a couple inches lower, but my y-pipe isn’t tucked in as tight as I’d like it and the rear wheel clearance is real tight. I’m paranoid about banging up the underside and rubbing the tires on the wheel wells. The great thing about the weight jacks and coil overs is that I can adjust as necessary until I fix the clearances.
It's a long thread, so if I missed it, apologies. How did you assemble/wire your DRLs? (I know, all the really awesome parts of this build, and that's what I have a question about!)
For the DRLs…the LEDs are wired together in parallel on each side. They’re turned on by the InfinityBox automatically when Ignition is turned on. When the headlights turn on, the InfinityBox turns them off (and back on again when headlights turn off). I added relays to the ground side of the DRLs so that they turn off when the corresponding turn signal is engaged. Turn on the left turn signal and the left DRL goes off until the turn signal stalk is returned to neutral; same for right side (the DRL doesn’t flash, the relay is triggered by the stalk, not the turn signal light). If someone wanted to do this without an InfinityBox, just run the hot side of the DRL through the normally closed side of a relay back to ignition power. Wire in the headlights to activate the relay, disconnecting the DRL when the headlights are on.
Here’s my diagram:
Still working through a few gremlins here and there. I learned that there may be some cool-factor in the iPad control of the power windows, but in practice, it’s a pain sometimes. I added hard switches to both doors for those times when you want to adjust the windows without switching apps, changing screens, and tapping the iPad. The InfinityBox made it easy, three 22ga wires from the master cell to each door. I have a bus bar under the dash for the dimmable switches, so that made it 5 wires per side.
Lol�I had it a couple inches lower, but my y-pipe isn�t tucked in as tight as I�d like it and the rear wheel clearance is real tight. I�m paranoid about banging up the underside and rubbing the tires on the wheel wells. The great thing about the weight jacks and coil overs is that I can adjust as necessary until I fix the clearances.
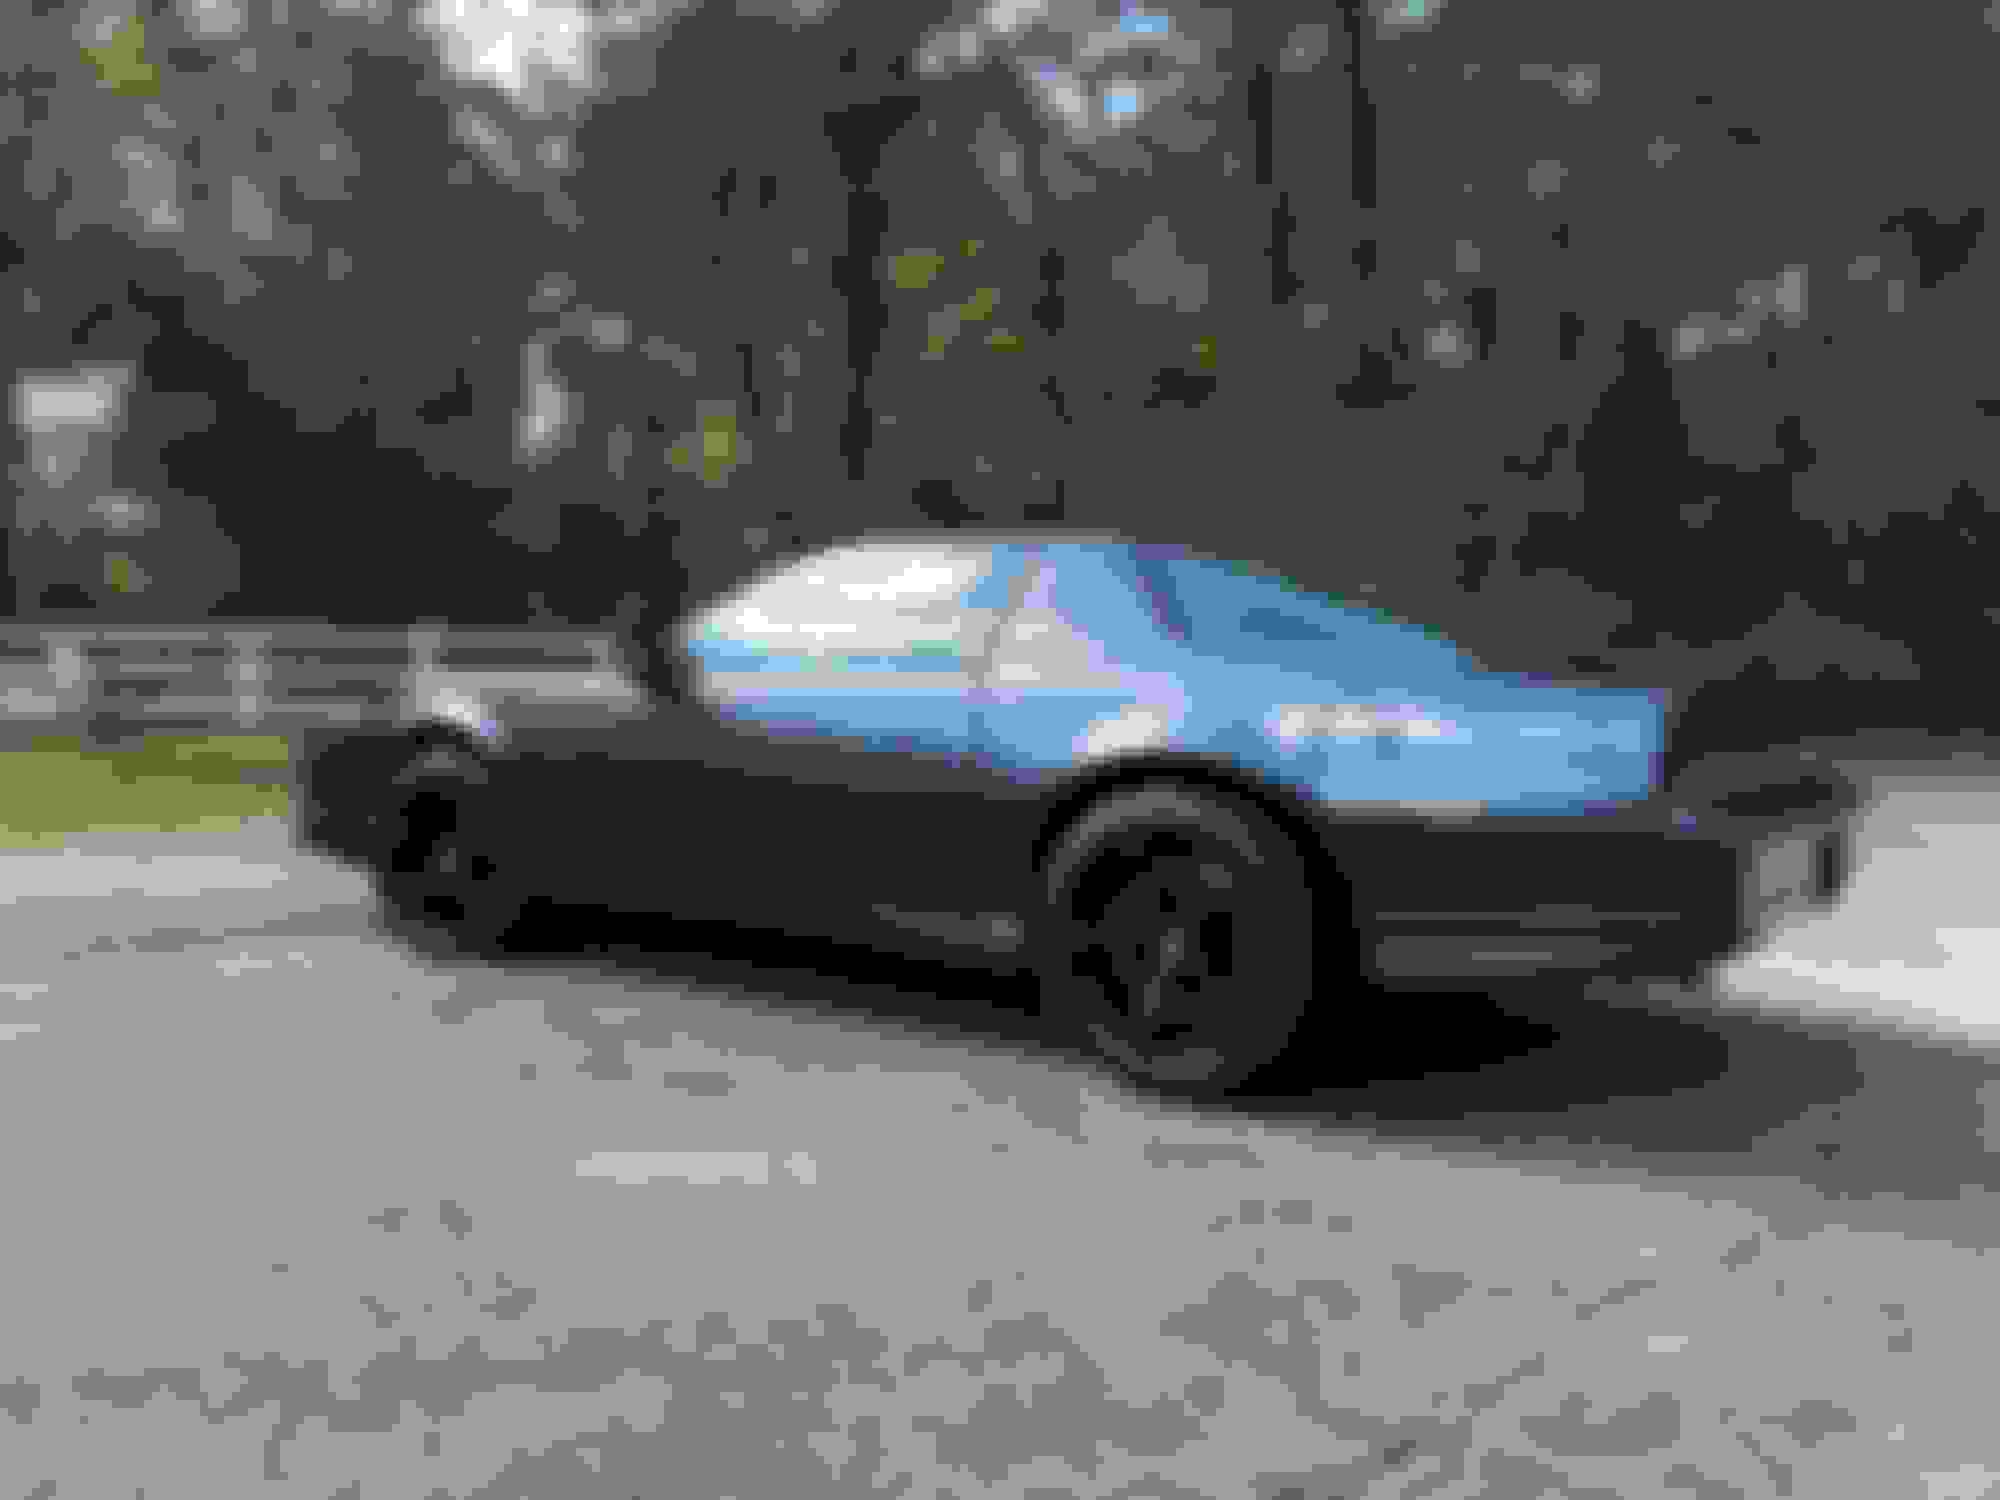
Everybody has a wing�gotta be different somehow
Beautiful car. Amazing how slippery it looks without the rear wing. Very clean lines.
I’m still getting some tire rub in the left wheel well on hard right turns. The rear end is moving in almost 1/4 inch (or the body moves out, depending on your perspective). I swapped one end of the PHR with a rod end to see if it helps. Interestingly, the attach point on this rear end must be slightly narrower than stock. I originally had to shave a little off the poly bushings to get it in, and this time I had to mill a few thousandths off each spacer to make it fit.
You probably need longer PHB mounts with more adjustability so you can make the PHB level at ride height. It will have a smaller arc of travel and the rear end will not move to the side as much.
Correct, my PHB is lowered at the rear end side a few inches and my car is in the OEM position on the frame rail. My car is lowered technically but I feel still has great ground clearance due to larger DIA wheels.
I also used to run rod end suspension and made the switch to poly For road noise and harshness and it did help. However like you are experiencing to some extend I had a heck of a time installing�. Rod end stuff is so much easier.
Interesting… I didn’t know there was a relocation option on the rear end side. I have the frame side relocated down for exhaust clearance, so the bar slopes up from pass side to driver side. In a right turn, however, the body sway would bring the bar closer to level, moving the rear to the outside of the turn.
Even so, I’ll look at relocation options.
Thanks for the input!
Jegs issued to sell a bolt on kit. But I just welded box tubing and cut the one long side open so it�s a C channel. I think I used 1/8� thick steel and it�s held up fine for years. Also as you extend the mount lower you have to triangulate the rear end extension side as you are increasing leverage and the point in which it mounts on the rear. I used 1/2� .083 wall square tubing and braced it to the rear LCA mount when I welded up my 8.8. I used the jegs as a base on how I made mine.
that actually looks like more than you need. For $110 They offer a fixed lower mount on the rear side that would prob work for you and just requires drilling one hole. But your stuck with a single lowered amount. https://www.umiperformance.com/home/product/1982-2002-gm-f-body-panhard-bar-lowering-bracket/ Mine is drilled for like 4 spaces at 1� increments or so for adjustability.
Last edited by customblackbird; Nov 5, 2022 at 01:28 PM.
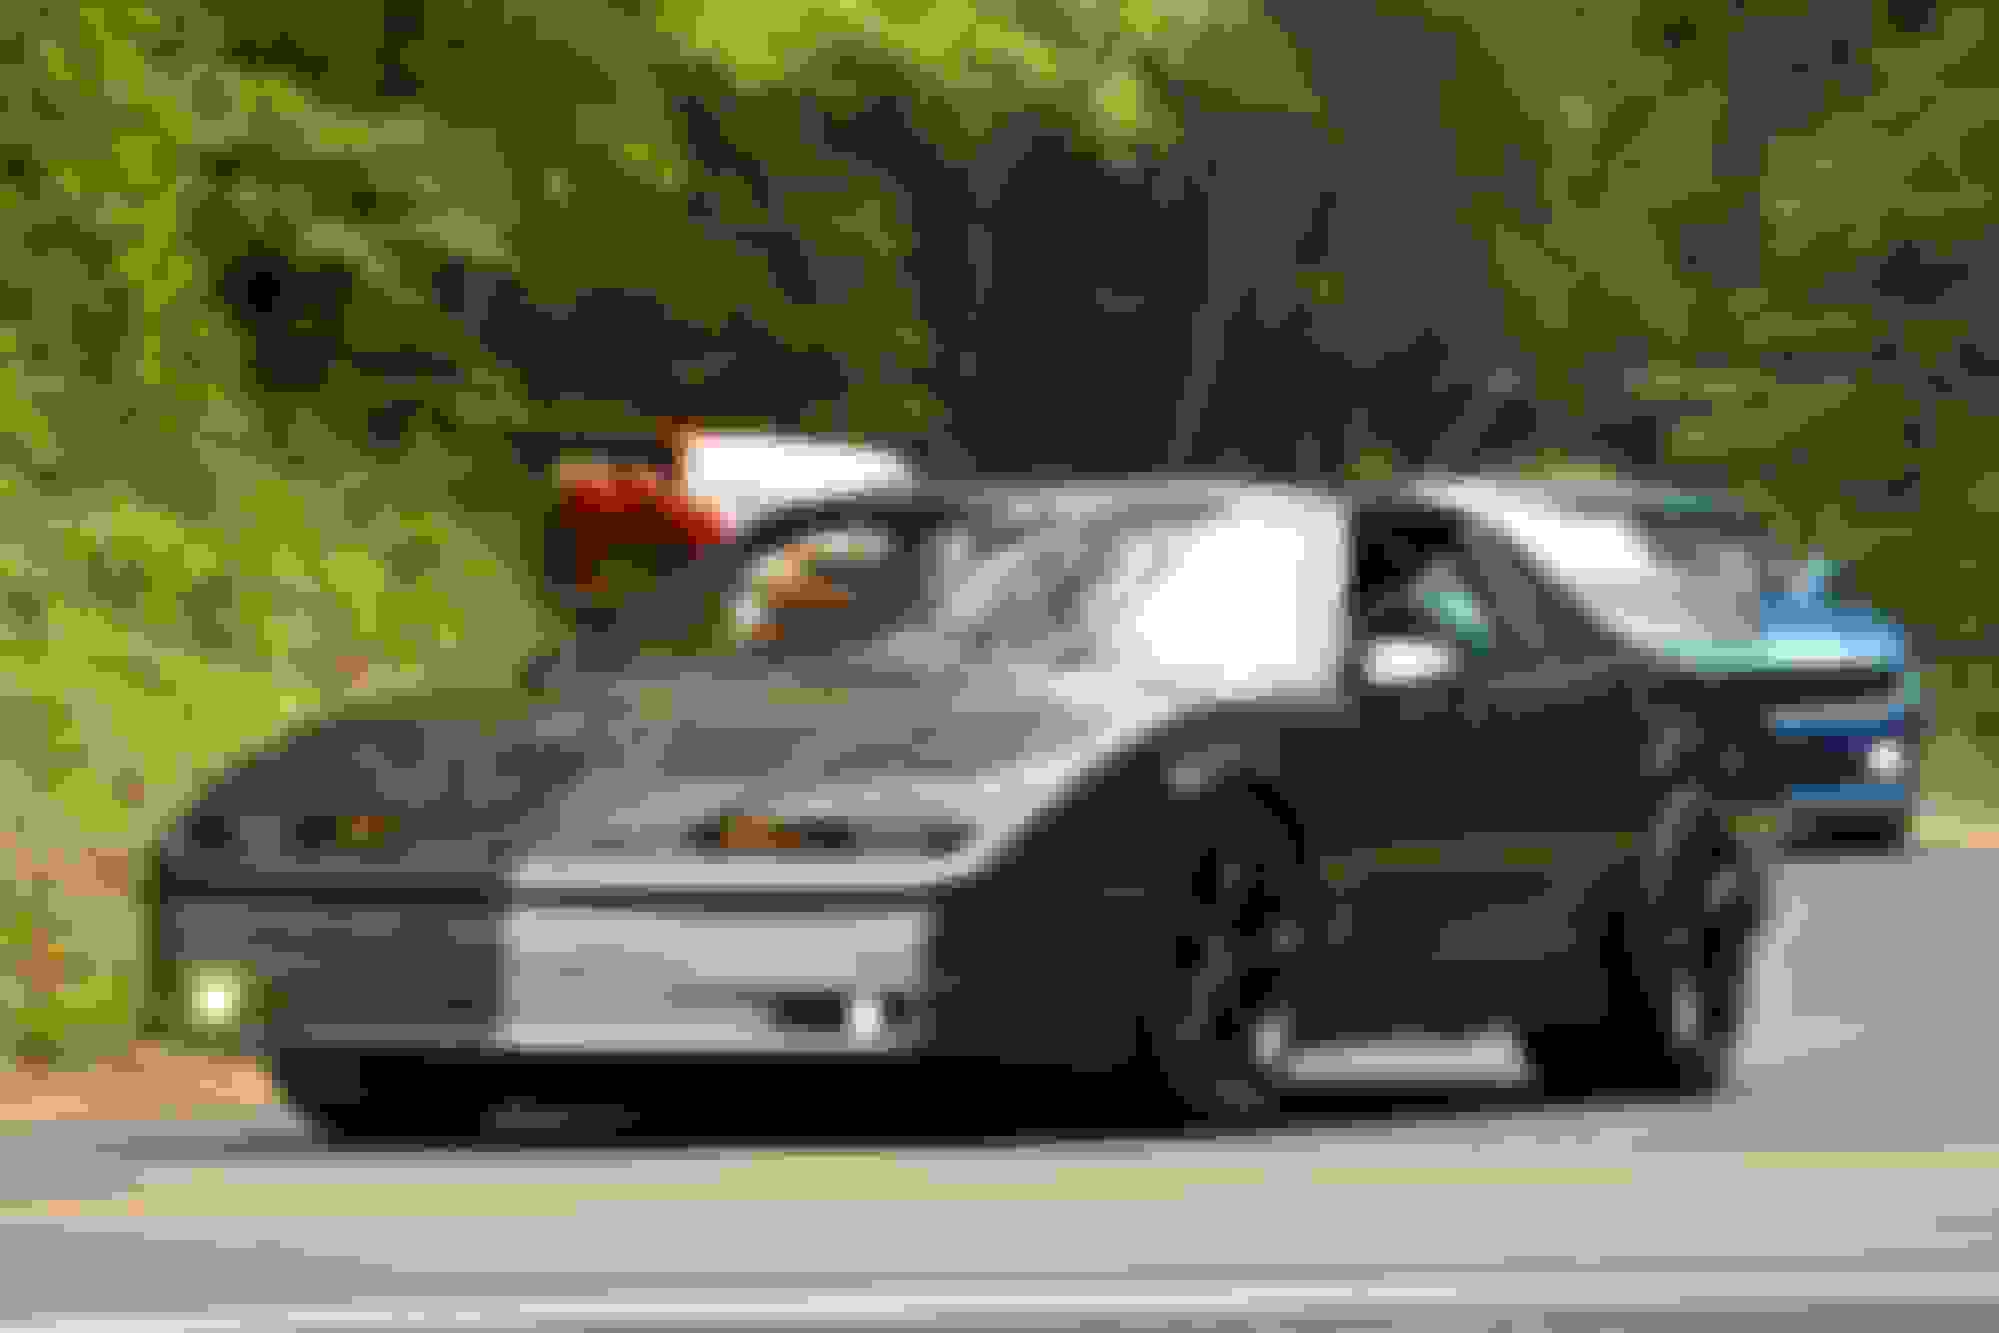
I attended the AACFA event at the Tail of the Dragon last month. Now I realize what the car was made for. The car and I learned a lot about each other and she performed like it’s in her DNA. The iPad in the dash registered over 1.1 lateral g’s a couple of times without a single squeak from the tires. Here a a few pics. I’ll post video once I get it all edited as well.
The car has been running really great and I�ve been really happy with it. I therefore did what most of us would do�I tore it apart to make it better
I live near a road course and I�ve been wanting to get it on the track but those AFM lifters have me paranoid. I decided to delete them, so of course I needed to add a bigger cam (and delete vvt) and head studs at the same time. I also added another fan to deal with my high oil temps.
I went with a BTR stage 1 turbo cam. The turbos spool noticeably faster. It will break the rear end loose rolling at 65 mph at 50% throttle. I�ll have to get it back on the dyno for wot tuning.
I swapped to a Corvette E38 ECM to better accommodate the manual transmission, but so far that�s been a total failure. Even when I copy all aspects of the previous tune, I can�t get it to idle well. I went back to the truck ECM and I�ll keep working with the folks on the hp tuners boards to try to figure all that out.
I never wanted a spoiler, but Firebirds are shaped a little bit like wings and mine wanted to fly at high speeds. It got really squirrelly over 80 so I figured it was time to compromise. First option was a servo controlled pop up spoiler that dropped back into the deck lid. That thought lasted a couple weeks before i decided to just buy a damn spoiler. I got a Z20 spoiler from Hawks that turned out pretty nice. Special thanks to Bruce for helping me through the tail light mounting.
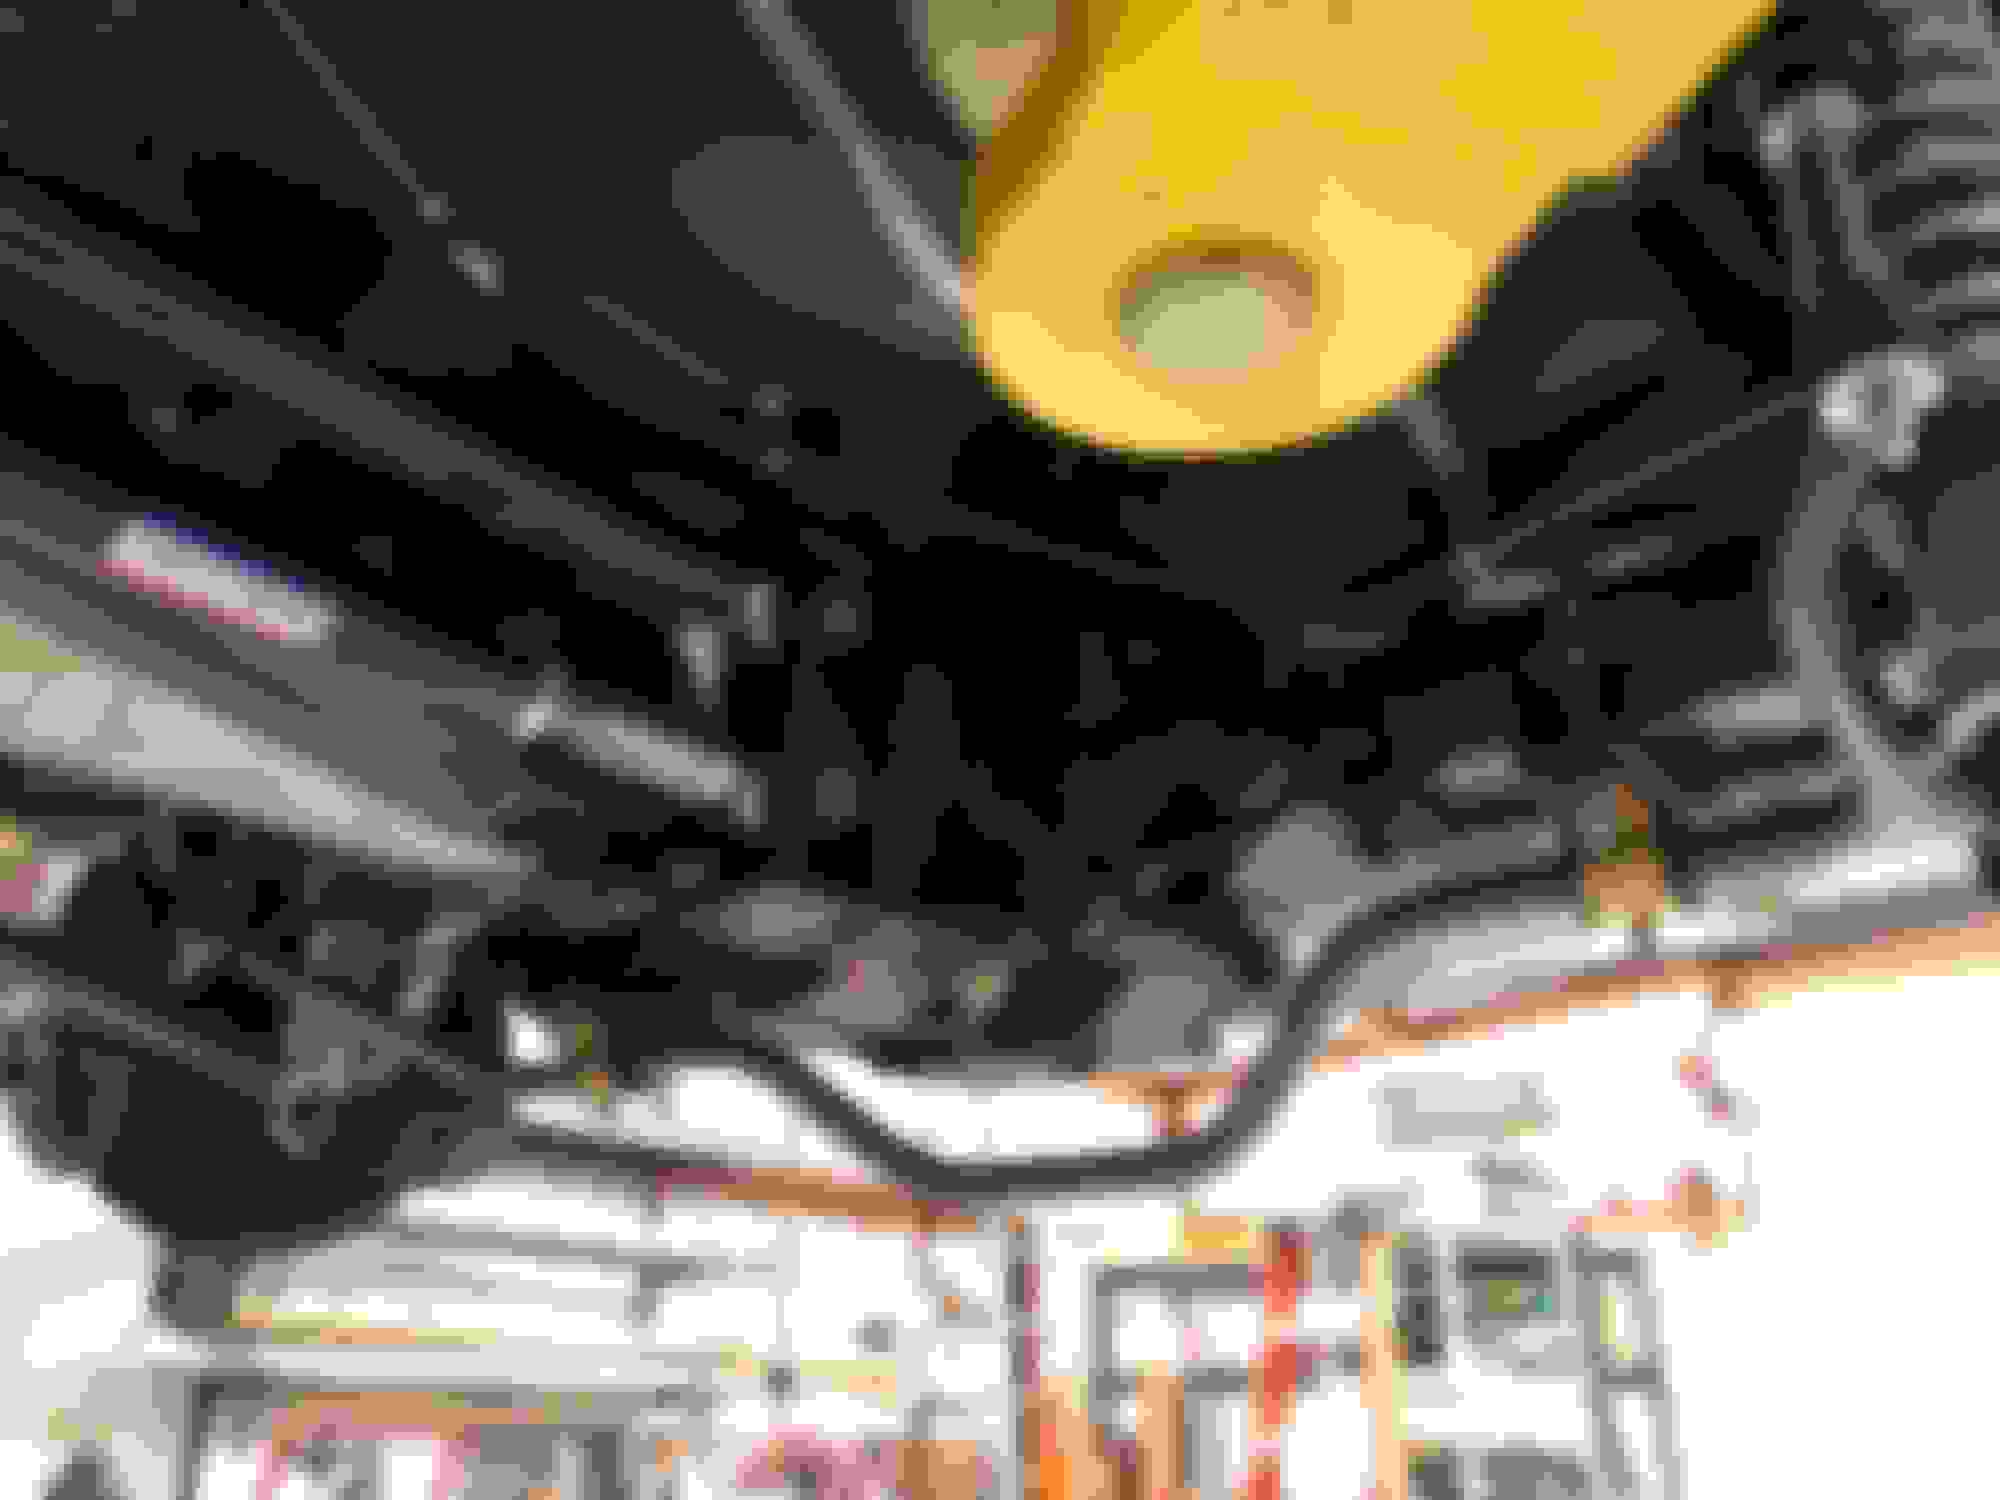
These types of projects are never really done. You'll remember back in post 57 that I had to made clearance for the rear tires. This included cutting off the factory bump stops. That left the rear floor and fuel tank to serve as bump stops instead. Not ideal. I'm getting the car ready for F-Body Fest in Tennessee next weekend and decided it was finally time to fab up some real bump stops.
I had some takeoffs from my GM Canyon that got a Timbren upgrade so I fabbed up a couple plates and 1" threaded rod to work off the spring perches (my coil overs rendered them otherwise obsolete). The threaded rods will give me an inch or two of adjustment.